You signed in with another tab or window. Reload to refresh your session.You signed out in another tab or window. Reload to refresh your session.You switched accounts on another tab or window. Reload to refresh your session.Dismiss alert
(Basically go down and copy and paste all these commands in your Terminal. That's it.)
If you already have Xcode, Homebrew and rbenv installed, go ahead and skip down to part 2.
A little housekeeping before we jump in. Because some people have had some trouble installing ruby gems, go through and install all this before you get going. This is all going to look a little strange, but you don’t need to understand what’s going on in order to make the website. A lot of this is just the base on which programming projects are done.
First, install Xcode -- the native command line tools for Mac.
xcode-select --install
We’ll be installing Homebrew, which is way to manage packages on your computer, and will come in handy with a lot of projects beyond this one. Then we’ll use Homebrew to install the necessary packages for completing this project. If you don’t already have Homebrew installed, do so by running the following command in your Terminal:
If your computer tells you Your system is ready to brew. Awesome! If not, follow their command prompts to fix the problem. If you get some warnings, that’s ok. Just keep going.
Now we need to get Homebrew running. On the command line type:
nano ~/.bash_profile
Your bash_profile is a file that you might add to over time. It holds settings your computer needs to run commands correctly on the command line. At the top of the page, paste:
export PATH=/usr/local/bin:$PATH
Then hit Ctrl + O then Enter to save the file. Ctrl + X to exit back to the Terminal.
source ~/.bash_profile
Now we’re going to install Ruby, the programming language used to write and run Jekyll using Homebrew. For good measure, we’ll install it with rbenv, which is just a way to keep track of all of our Ruby programs. This will make everything run more smoothly down the way. Type:
brew install rbenv ruby-build
When that’s done, copy and paste:
echo 'if which rbenv > /dev/null; then eval "$(rbenv init -)"; fi' >> ~/.bash_profile
That just ensures rbenv loads every time you open your Terminal. Load those new settings in your Terminal window:
source ~/.bash_profile
Now install Ruby:
rbenv install 2.2.3
Check that it’s installed correctly
ruby -v
If the command line says something to the effect of ruby 2.2.3p173 (2015-08-18 revision 51636) [x86_64-darwin15], you’re good to go. Else:
Static sites work off preset HTML pages written entirely by you, the website author. They’re pretty simple and fast to build, easy to edit, and extremely lightweight. They’re best for sites with relatively few pages -- like a portfolio, a personal blog, or single-project sites -- where you want a lot of control over the look of the pages.
Because they don't work off of a database (like Wordpress), static sites don't have Content Management Systems. They exist as just seperate files on your computer, which are then tied together with a static site generator. Therefore, once you learn what files do what, it's very easy to go in to edit templates, CSS and Javascript, and throw in goodies like D3 visualizations.
There are many static site generators in the vast code world, but I'll just talk about one, Jekyll.
Jekyll is written in Ruby, but you don't have to know Ruby to use it. It is natively supported by Github pages, which means you can quickly throw a beautiful Jekyll-driven page up to your github.io page for free. It is also supported by a number of other hosting services, and works fantastically with Amazon Web Service's s3, which was built just for hosting static sites.
Here I’ll go through the process of taking a Jekyll template and deploying it on s3. At the end, I’ll offer some resources on starting your own Jekyll site from scratch -- something that's worth the extra effort if you want more control over the design.
1. Install Jekyll
Jekyll can be installed via a RubyGem, which is just a Ruby module that you can download through your command line.
Open up your terminal and type
gem install jekyll
Done! If you had any problems installing the gem, you may need a Ruby environment. Please see me about installing one.
2. Find a template you want to use
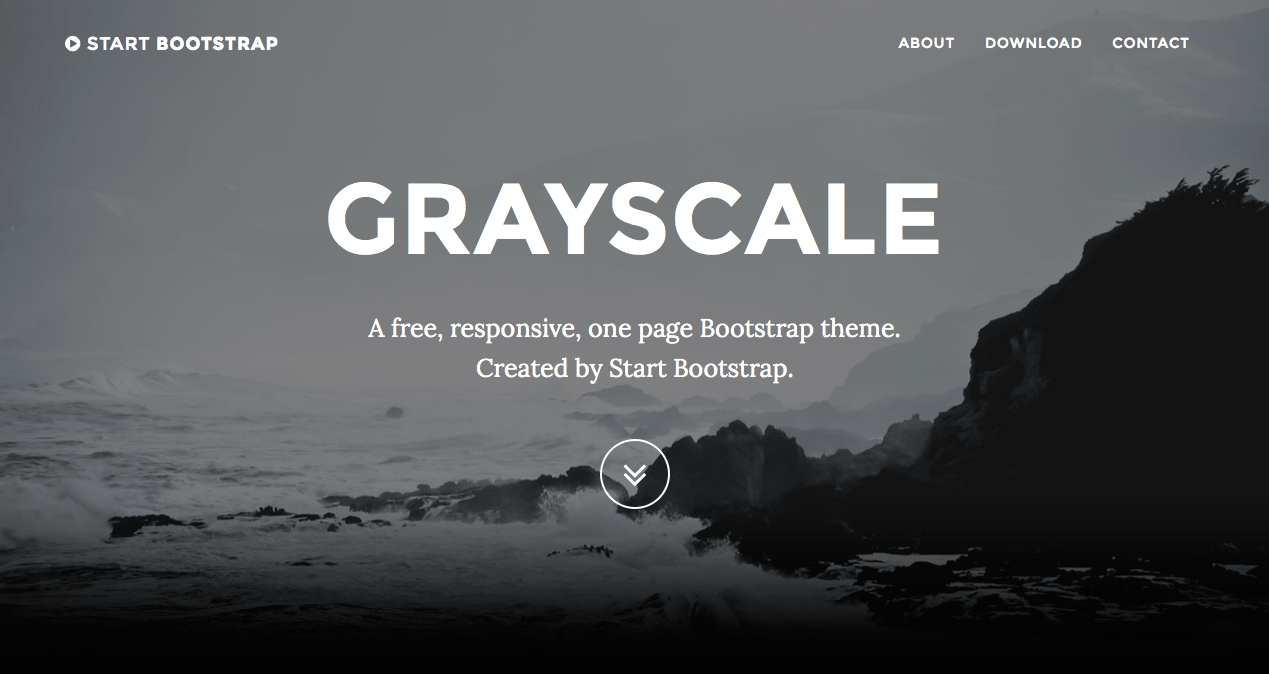
There are several websites with free Jekyll themes, but probably the most extensive is one simply called Jekyll Themes. Browse around and find one you like. I'm going to use Grayscale for our purposes today, because it's very pretty and seems like it would be good with a long-read with chapters with a little modification.
Just hit 'download' and a zipfile with the theme will download to your computer.
Make a directory called 'website' inside your Documents folder and move the zipfile into it. Unzip the zipfile.
Other templates I think are ripe for modifying for feature stories are:
Remember, because the templates are highly editable, it's easy to swap elements. A blog index could become a feature page by deleting just a few lines of code. Be creative. If you find something that has the general look of what you want, but isn't quite there, come talk to me and we'll make it happen.
3. Test the Jekyll site
If you've moved the folder into the right directory, you should be able to get into it from your terminal by typing
cd Documents/website/grayscale-theme-master/
From this directory you can serve the website to your local server by simply typing
Editing the _config.yml file is the first step towards making a Jekyll site your own. Every Jekyll site has one in the base of its directory. For Grayscale, the _config.yml looks like
# Site settingstitle: Grayscaleemail: your-email@domain.comurl: https://example.github.iodescription: "Write an awesome description for your new site here. You can edit this line in _config.yml. It will appear in your document head meta (for Google search results) and in your feed.xml site description."# Color settings (hex-codes without the leading hash-tag)color:
primary-dark: '#000000'links: '#219ab3'# Footer settingsfooter: Your Website# Social networks usernames (many more available: google-plus, flickr, dribbble, pinterest, instagram, tumblr, linkedin, etc.)social:
- title: twitterurl: https://twitter.com/SBootstrap
- title: facebookurl:
- title: stack-overflowurl: http://stackoverflow.com/questions/tagged/jekyll
- title: bitbucketurl: http://bitbucket.org/jekyll
- title: githuburl: https://github.com/IronSummitMedia/startbootstrap# Build settingsmarkdown: kramdownpermalink: pretty
Go in and replace all of the stock information with your personal or project information. The only fields you shouldn't touch are the build settings at the bottom of the page.
Save your changes and run jekyll serve again. You'll see the changes immediately in your reloaded browser.
You've changed the factory settings, but of course you'll want to change everything before you really deploy your website. For our purposes today though, we'll just go ahead and deploy what we have to a development server on Amazon.
Note: Don't close your Terminal or cd out of this directory. We will use it again later.
5. Sign up for an AWS account
For your purposes, you can just use a free AWS account. Sign up here.
Once done, hit 'Sign into the console' to see the AWS options. Find the 'S3' icon and click on it. (It's on the left with a reddish-orange icon)
6. Create your buckets
Click 'Create bucket' in the upper left hand corner of your screen. Make sure you choose 'Northern California' as your region. That will come into play later.
If you already have a url you want to use, create two buckets! Both should reference the name of your website. If you own www.example.com, you should create a bucket called example.com and one called www.example.com. Down the line, when you want to hook your website files up to your production URL, you will chain these two together.
Resources should be dropped into the <yourwebsite>.com bucket for right now though, the one minus the www at the beginning.
If you do not have a URL already registered, just create a test bucket for right now. I created one called 'bnm-test.'
7. Edit bucket information
Once you have a bucket, you need to authorize it for use with a static site. If you click on your bucket, a permissions panel will pop up on the right.
In the permissions section click on the option to 'Add bucket policy'. Edit, copy and paste the following code clip into the text box.
Then, click the section that says 'Static website hosting' and choose 'Enable website hosting'.
Enter index.html into the 'Index document' section, and leave the 'Error document' section blank. This simply tells S3 where to find your homepage.
After you've done this, you'll notice a long URL appear by 'Endpoint'. Mine was bnm-test.s3-website-us-west-1.amazonaws.com. This will be the development URL that your site will appear on. It also references the region that you indicated when creating the bucket, in our case us-west-1.
8. Download and configure s3_website
s3_website is a fantastic RubyGem that allows you to deploy your site straight from the command line in a few steps. It's created to work natively with Jekyll, so no need for further configuration.
Download it by running in your Terminal
gem install s3_website
Assuming that you are still in your project directory, run the following command
s3_website cfg create
This will create a config file at the root of your directory called s3_website.yml. If you open the file, you will see three fields.
Click on your username (or create a new user), then navigate to the 'Security Credentials' tab and 'Create Access Key.'
A popup window will appear. Click on 'Show User Security Credentials', then copy the Access Key ID and the Secret Access Key into their respective fields in your s3_config.yml and hit save.
Note: These are not my real credentials. Do not post your Secret Access Key anywhere. If you want to post this website to Github, make sure to to add s3_website.yml to your .gitignore.
10. Apply s3_website configurations
Now that you've configured your s3_website.yml file with your credentials, you must apply the changes. In your Terminal, run
s3_website cfg apply
When it asks you Do you want to deliver your website via CloudFront, the CDN of Amazon? [y/N] type 'n' then 'enter.'
All you have left to do is to push to s3. In your terminal type
s3_website push
Now you can visit the development URL from earlier and see your website! Check it out!
For those of you who have personal URLs you want to tie these to, keep going! For the rest of you, a development URL is fantastic for now.
12. Route to your URL
The process for redirecting your dev server to your personal URL is different for every hosting service, so I won't get into it here. However, here are some tutorials to do so with different popular hosts, and I'm more than happy to help along the way.