I spent this afternoon testing the new development branch of Skylark200 after seeing the announcement of Skylark version 2 (alpha) earlier this week. Below are my reflections and findings of my modeling so far. I used the SKYLARK200_design-kit_sketchup file as announced here.
Not all of it was intuitive and I have made quite a few assumptions so I would really welcome the thoughts of others in the community and the WikiHouse team to see if I understood everything correctly!
General principles identified
- Development branch is currently only available for SKYLARK200, not SKYLARK250
- Unlike v.1, v.2 does not use combs and pegs
- There are three butterfly connections to use to connect all the blocks: half butterfly, full butterfly, and a butterfly shape with a longer middle base
- The design kit comes with the full blocks assembled as well as the cut out forms next to each assembled block
Design errors identified
SKYLARK200_WINDOW-S2seems to have a missing top with butterfly cutouts compared to the other windows and door blocks:
Assumptions on how to build with the new design kit
- The floor beams and wall blocks including regular full walls, windows, doors and corners are modelled in the same way as version 1 but do not require combs and pegs to be fitted to connect them. Instead there are more butterfly connectors used.
- There are no "end beams" for the floors, instead there are 4 different END connecting pieces:
SKYLARK200_END-S0,SKYLARK200_END-S1,SKYLARK200_END-L0andSKYLARK200_END-L0-SX.
- It seems that similar to the combs in version 1, you need to fit them together to create the right length of an end beam depending on the size of the floor beam you are using, ensuring you align the cut outs for the butterfly connections correctly.
- The S0 and L0 end blocks have flat surfaces at the bottom indicating they would form the bottom foundation of the structure.
- The L0 block is used to form the corners of the end beam.
- The SO is used in between the LO to fill in the remaining pieces of the end beam. The SO fits perfectly on the bottom of a wall block.
- The S1 and L0-SX END blocks have butterfly cutouts at the bottom indicating they would potentially be used on a higher level to create a connection between floors. I am still unsure on whether this is correct and how to use these blocks, especially in Skylark200 which is developed for small, studio-style buildings.
- There is only one roof style available, which is the sloped roof with a 2 degree pitch.
- To lay the roof, you use the VERGE block on the outer edge of the structure and the roof beams in the middle of the structure.
Remaining questions on how to build with the new design kit
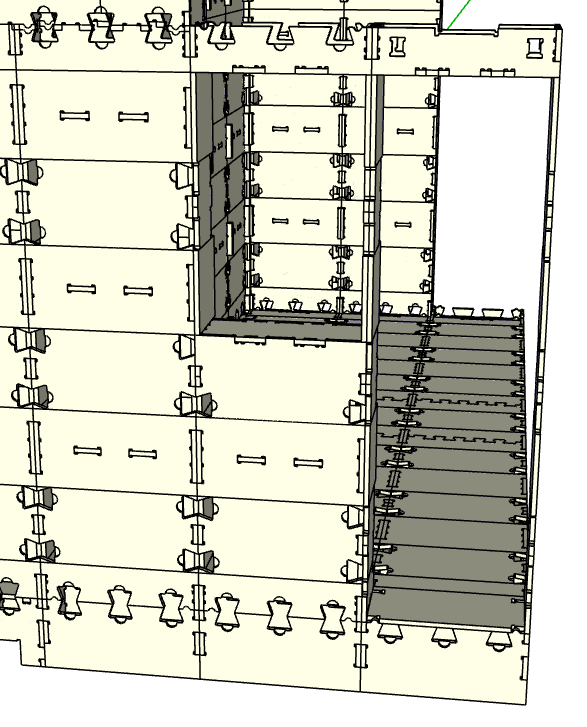
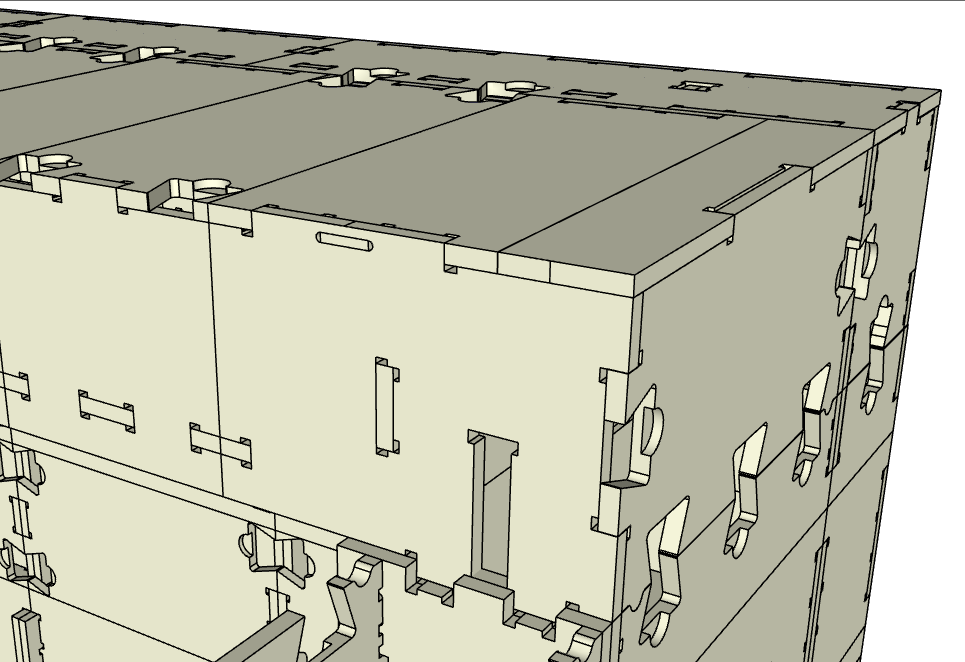
- Once you align the wall block on top of the ends of the floors, there seems to be a gap between the end blocks and the regular floor beams.
You can bridge that gap with the special butterfly connection (the one with the longer centre), but it makes me wonder if it will leave any problems with insulation and stability afterwards. Of course, I may not have modelled the correct ends to the floors (see reflections above).

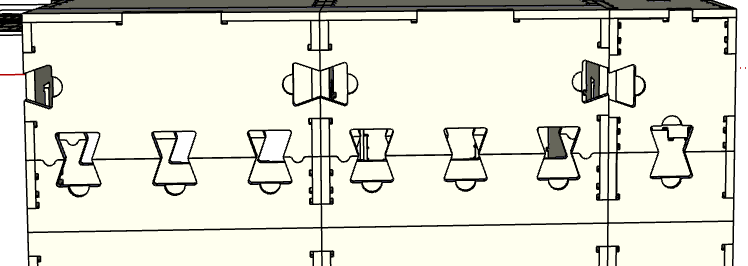
- The long windows and door blocks have a flat bottom and therefore you are only able to use them in a build using a half butterfly connection as they do not have full butterfly connectors on the bottom. This seems less strong than the other wall blocks and I wonder therefore if this is correct or whether these blocks still need a special bottom like the regular window blocks?
This becomes visible when you compare them to the regular window blocks which do have a special bottom to connect them to the floor blocks using butterfly connectors:
Here is a comparison when trying to use the SKYLARK200_WINDOW-S2 block on top of a floor beam vs using the SKYLARK200_WINDOW-S1 on a floor beam:
- When using the roof beams, I am wondering whether the blocks are correctly designed already or whether I am making a mistake (see my reflections above on using the END blocks.. perhaps I am missing something in the modeling?).
On the side of the roof beam, it seems as if there is still space for COMBS. I have used the SKYLARK200_ROOF-S while modeling:
In addition, the sides of the block do not align with the VERGE block on the right as the butterfly connection cutout does not align:
--
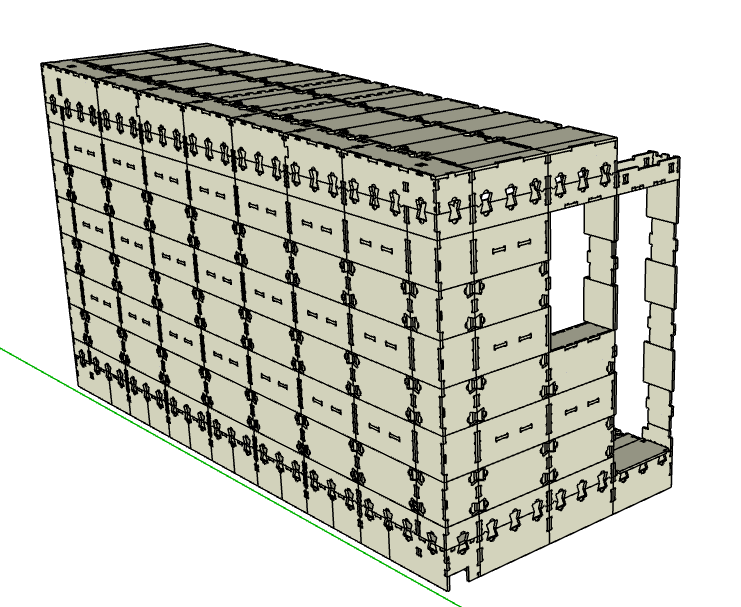
I think these were all my reflections so far. I modelled half a studio, mainly using regular walls and only trying the windows and doors to test the connections with the butterfly connectors. Here is a final picture of my model (I've uploaded it on my GitHub here):