-
-
Save bmatcuk/fda5ab0fb127e9fd62eaf43e845a51c3 to your computer and use it in GitHub Desktop.
| # First, we need to find our device. BEFORE inserting your USB drive, run the | |
| # following: | |
| diskutil list | |
| # This will output a bunch of info about all of the disk drives connected to | |
| # your Mac. Each entry will have a header in the form "/dev/diskX", where X is | |
| # some number starting at 0. Now, insert your USB drive and run the command | |
| # again. You should see a new entry. Make note of the name (ie, /dev/diskX). | |
| diskutil list | |
| # Now we need to format the drive for MS-DOS and include a Master Boot Record. | |
| # In the command below, replace "diskX" with the identifier of your USB drive. | |
| # WARNING: this will delete everything on the USB!! | |
| diskutil eraseDisk MS-DOS WIN10 MBR diskX | |
| # In the command above, MS-DOS is the format of the partition that will be | |
| # created on the USB. WIN10 is the name of that partition (it'll appear in | |
| # Finder as the name of your USB). MBR tells diskutil to create a Master Boot | |
| # Record, which is necessary for the USB to be bootable. | |
| # | |
| # Now, "open" the Windows ISO: | |
| open Win10xxxx.iso | |
| # Your Mac will "mount" the ISO as if it was a drive. A Finder window will open | |
| # to show the contents of the ISO. Close the Finder window; you don't need it. | |
| # Back in the terminal, let's find the mounted ISO: | |
| diskutil list | |
| # You should see a new entry. This time, we're looking for what's in the NAME | |
| # column. You should see something funny like CCCOMA_X64FRE_EN-US_DV9. The name | |
| # will differ depending on which ISO you downloaded. Make note of the diskX | |
| # identifier as well. Now, let's cd to the ISO: | |
| cd /Volumes/CCCOMA_X64FRE_EN-US_DV9 | |
| # And copy all the files over to our USB: | |
| sudo cp -r . /Volumes/WIN10/ | |
| # This will take a while; there's a lot of data (4+ GB). Grab a drink; relax. | |
| # | |
| # Once it's done, you can eject both the USB and the ISO. First, cd to another | |
| # directory otherwise OSX will not allow you to unmount the ISO (since being in | |
| # the directory means the ISO is "in use"): | |
| cd ~ | |
| # Eject the USB using the diskX identifier from the second step above: | |
| diskutil eject diskX | |
| # Eject the ISO using the diskX identifier from the fifth step above: | |
| diskutil eject diskX | |
| # Now insert the USB into your computer, (re)boot, and select the USB from the | |
| # boot device menu (you may need to press some key to show the boot device menu | |
| # - on my machine it's F12). | |
| # | |
| #Depending on how new your computer is, you may see the USB twice: once with | |
| # UEFI in front of the name, and the other without. If you see the UEFI option, | |
| # select that. |
I am going mad ... I have a install.esd file to split.. on a mac :(.
Looks I am stucked.
After going through all the above headaches, and the sledgehammer-nut issues and the worry of security risks, I found a straightforward solution adapted from a post by "cerberus" on this forum/thread: https://www.tenforums.com/tutorials/103340-dism-split-install-wim-file.html. No wimlib, no terminal.
The task: make a Windows 10 installer USB for a new PC, when I only have a Mac (running macOS Catalina). Solution:
- Get TWO usb sticks, and format using macOS Disk Utility. First >2GB, FAT32, Master Boot Record (MBR). Second >8GB, formatted as exFAT, MBR.
- Download the Windows 10 ISO. Open on the Mac desktop.
- Copy everything EXCEPT “sources” folder onto FAT32 USB (drag and drop).
- On the same USB, create a folder called “sources”, and copy into it the one file “boot.wim” from the “sources” folder in the ISO
- Copy everything from the ISO onto the exFAT USB. It seems not to matter that some materials will appear on both USBs.
- Plug both USBs into the PC.
The PC was able to boot from the FAT32 USB; and it found the install.wim file (and whatever else it needed) from the exFAT USB without any additional voodoo, and completed the install successfully.
Hope it works for you!
Can't we just get around the size issue by formatting the drive using exFAT instead of FAT32?
That might work on some systems – I gather that UEFI spec doesn't require FAT32 – it's just that implementations on particular motherboards may only have drivers for FAT32, and making it necessary to boot off a FAT32 USB. That was the case on our system and, according to what I've read, lots of others. Some systems might recognize NTFS, which also doesn't have the size limit, but that's not writeable on macOS.
@NealOccasional, I can't thank you enough for this solution!
@JensColman, you're welcome!
Thank you @NealOccasional 👏 👏 👏 👏
I was about to go insane last night, but finally found your post about using two USB sticks during the install, and it worked out of the box like a regular USB install.
I did the following -- reference for others:
# Get disk number of the USB drives
diskutil list

#
# USB 1 setup
#
## diskutil command description
## eraseDisk - erases the disk
## MS-DOS - creates a FAT32 filesystem
## WIN10_USB1 - a name for the USB drive
## MBR - use MBR partition scheme
## diskX - the disk number of USB 1
diskutil eraseDisk MS-DOS WIN10_USB1 MBR diskX

# I used balena Etcher and flashed the Windows ISO to USB 1.
## The program didn't complain and stuffed everything onto USB 1,
## but using just USB 1 for install, the Windows installer complains
## about not finding some .wim file.  USB 2 is needed.
# https://www.balena.io/etcher/

#
# USB 2 Setup
#
## diskutil command description
## eraseDisk - erases the disk
## ExFAT - creates an ExFAT filesystem
## WIN10_USB2 - a name for the USB drive
## MBR - use MBR partition scheme
## diskX - the disk number of USB 2
diskutil eraseDisk ExFAT WIN10_USB2 MBR diskX

#
# Mount the ISO file
#
open <Windows 10 ISO file>

# Use rsync to copy the Windows ISO's sources directory into USB 2
rsync -avh --progress /Volumes/<Windows 10 ISO Name>/sources /Volumes/WIN10_USB2
If others are in dire need to make this all work on a single large USB, it may be possible to create two partitions on a single USB; one FAT32 and another ExFAT, and use similar steps above; instead of using two USBs you will have to manage two partitions. I haven't tried this idea but it may also work.
The cp step can take a while. I found using --verbose gave me reassurance that something was still happening. e.g.
sudo cp -rv . /Volumes/WIN10/
Any ideas on why this step is taking so long for me: wimlib-imagex split /Volumes/CCCOMA_X64FRE_EN-US_DV9/sources/install.wim /Volumes/WIN10/sources/install.swm 4000
Stuck here:
Writing "/Volumes/WIN10/sources/install.swm" (part 1 of 2): 0 MiB of 5057 MiB (0%) written
I also have the same issue but I solved it by burnning the ISO to a DVD with SYSGeeker WonderISO tool.
Why I recommend you to burn ISO to DVD is because current builds of Windows 10 now exceed the FAT32 file size limit and consequently you can't UEFI boot from a flash drive as the install.wim file is too large for the file system. You know NTFS is not supported on a Mac, you need to format your USB as FAT 32 for UEIF computer. A DVD's file system does not have this limitation and will allow you to choose legacy or UEFI when you hold down the OPTION key at boot up. Yes, it's slower, but it works perfectly.
@NealOccasional Thank you!
@WindyRous Thanks for the tip. Can I assume that you are using a Dual Layer DVD with a capacity of 9.4GB? My DVD-R blanks are 4.7GB which is also too small for the Win10 installation files.
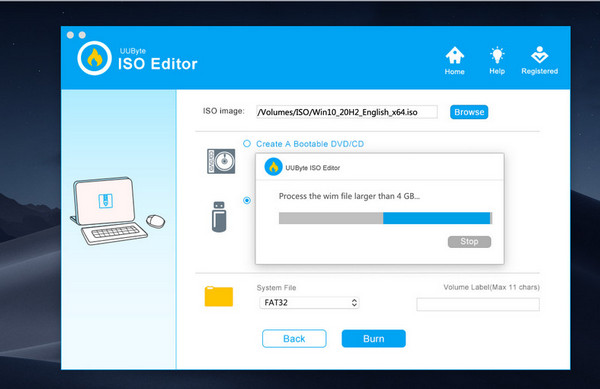
I am on an old MacBook Air with 4GB memory. The split command (wimlib-imagex split) was never completed successfully even I waited for hours. Then I switched to UUByte ISO Editor for Mac and it worked like a charm. It can handle large Windows 10 ISO by default. Waited about 10 minutes and a bootable Windows 10 USB is read. Here is the screenshot:
@NealOccasional and @tlhakhan Thank you So much!
Just did the solution pointed by @NealOccasional using two USB and it works!
Thanks a lot man, I was getting crazy to not be able to make it work.
@Kendeld00 did you purchase the subscription? I just kept getting a trial notification.
@Kendeld00 did you purchase the subscription? I just kept getting a trial notification.
Same... such a waist of time...
This helped a friend get it all working but there were some extra steps, so I will just go through and break them down, hopefully, it helps someone else:
Download the Windows 10 iso [(https://www.microsoft.com/en-gb/software-download/windows10)] and leave in the downloads folder
You will need to install x code
Launch the Terminal, found in /Applications/Utilities/
Type the following command string then follow the prompts
xcode-select --installNow you will need to install homebrew
Again open terminal and type the following code below and follow on-screen prompts which were just press Enter then enter a password (if you are new to the terminal like my friend, when it asks for a password and you start to type it looks like nothing happens, but just type out your password and hit enter and it will do the install (it will take 10 - 20 mins to download and install)
/usr/bin/ruby -e "$(curl -fsSL https://raw.githubusercontent.com/Homebrew/install/master/install)"then while your at it install wimlib which you will need later (if at anyone point it tells you can't install its more than likely because your not in the right directory, so just type
cdto go back basically, now install wimlib
brew install wimlibNext, follow the original help guide above to line 33 so that you change to the right directory
After you have done that skip the rest of that guide and follow BirkhoffLee's comments, which are
paste the following code, it does not need the install.wim bit fyi
rsync -avh --progress --exclude=sources/install.wim /Volumes/CCCOMA_X64FRE_EN-US_DV9/ /Volumes/WIN10After that is done you can then do the last lines they say
wimlib-imagex split /Volumes/CCCOMA_X64FRE_EN-US_DV9/sources/install.wim /Volumes/WIN10/sources/install.swm 4000This will also take some time I think 10 minutes and part 1 of two takes the longest so your percentage marker will not move for a while then jump to 91% percent so don't worry if it's not moving for at least 5 minutes, just be patient. After part 1 and 2 our done it should tell you you're done, that's when you can do the following like the original guide
cd
diskutil eject diskXThat's the thumbstick ready to plug into your pc :) from there it might be once plugging in the thumbstick and turning on your pc you may need to change boot order settings in your bios to pick on the thumbstick but that's it, hope that helped
Older ISO files has bigger more than 4Gigs size of file called install.wim which needs installing wimlib. Currently it's not available in brew formulae. Also, it's failing to build from source.
Thanks to Microsoft they compressed install.wim into 3.6Gigs which is now supported by Fat32. So you don't need to wimlib-imagex split
OK so none of the above really helped for the following use case:
Creating a bootable UEFI/GPT Windows 10 USB installation media. The two USB trick works for MBR, NOT GPT in my testing. And using wimlib to split install.wim doesn't work for GPT installs either. That UUIBYTE software doesn't seem to work either.
What did work was running a Windows 10 VM (I used VMWare Fusion but the free Virtualbox should do the trick) on the Mac and then using the official "media creation tool" inside the Windows 10 VM to create the USB drive. It's infuriating that this is the only way to create a valid USB from a Mac... but it is what it is.
literally what I ended up resorting to.
cp: ./sources/install.wim: File too large
brew install wimlib
rm /Volumes/WIN10/sources/install.wim

wimlib-imagex split /Volumes/CCCOMA_X64FRE_EN-US_DV9/sources/install.wim /Volumes/WIN10/sources/install.swm 3000
I tried many things, but the only thing that really worked for me was to download an older version of Windows 10 where the size of install.wim was still under 4GB, which is version 1803. This means you don't have to split the file, and you can just create an installation drive formatted at FAT32 by just copying all the files to it directly. I downloaded the ISO from archive.org (https://archive.org/details/windows-1803). You can then, once Windows 10 is installed, install the latest updates. Or alternatively, since you now have a working Windows 10 PC, you can use it to create an installation USB using the latest ISO and the official Microsoft tools.
> tenforums.com/tutorials/103340-dism-split-install-wim-file.html
@NealOccasional
I don't know why but your solution is the only one working for me. I tried splitting the file but still got an error. Thank you so much for such an easy solution!
I used to also resent the fact that the Windows installer is so problematic to write to a USB flash drive.
For this reason, I have developed software that solves this problem and saves users from suffering with Terminal.
WinDiskWriter
Free & Open-Source Windows bootable disk creator for Mac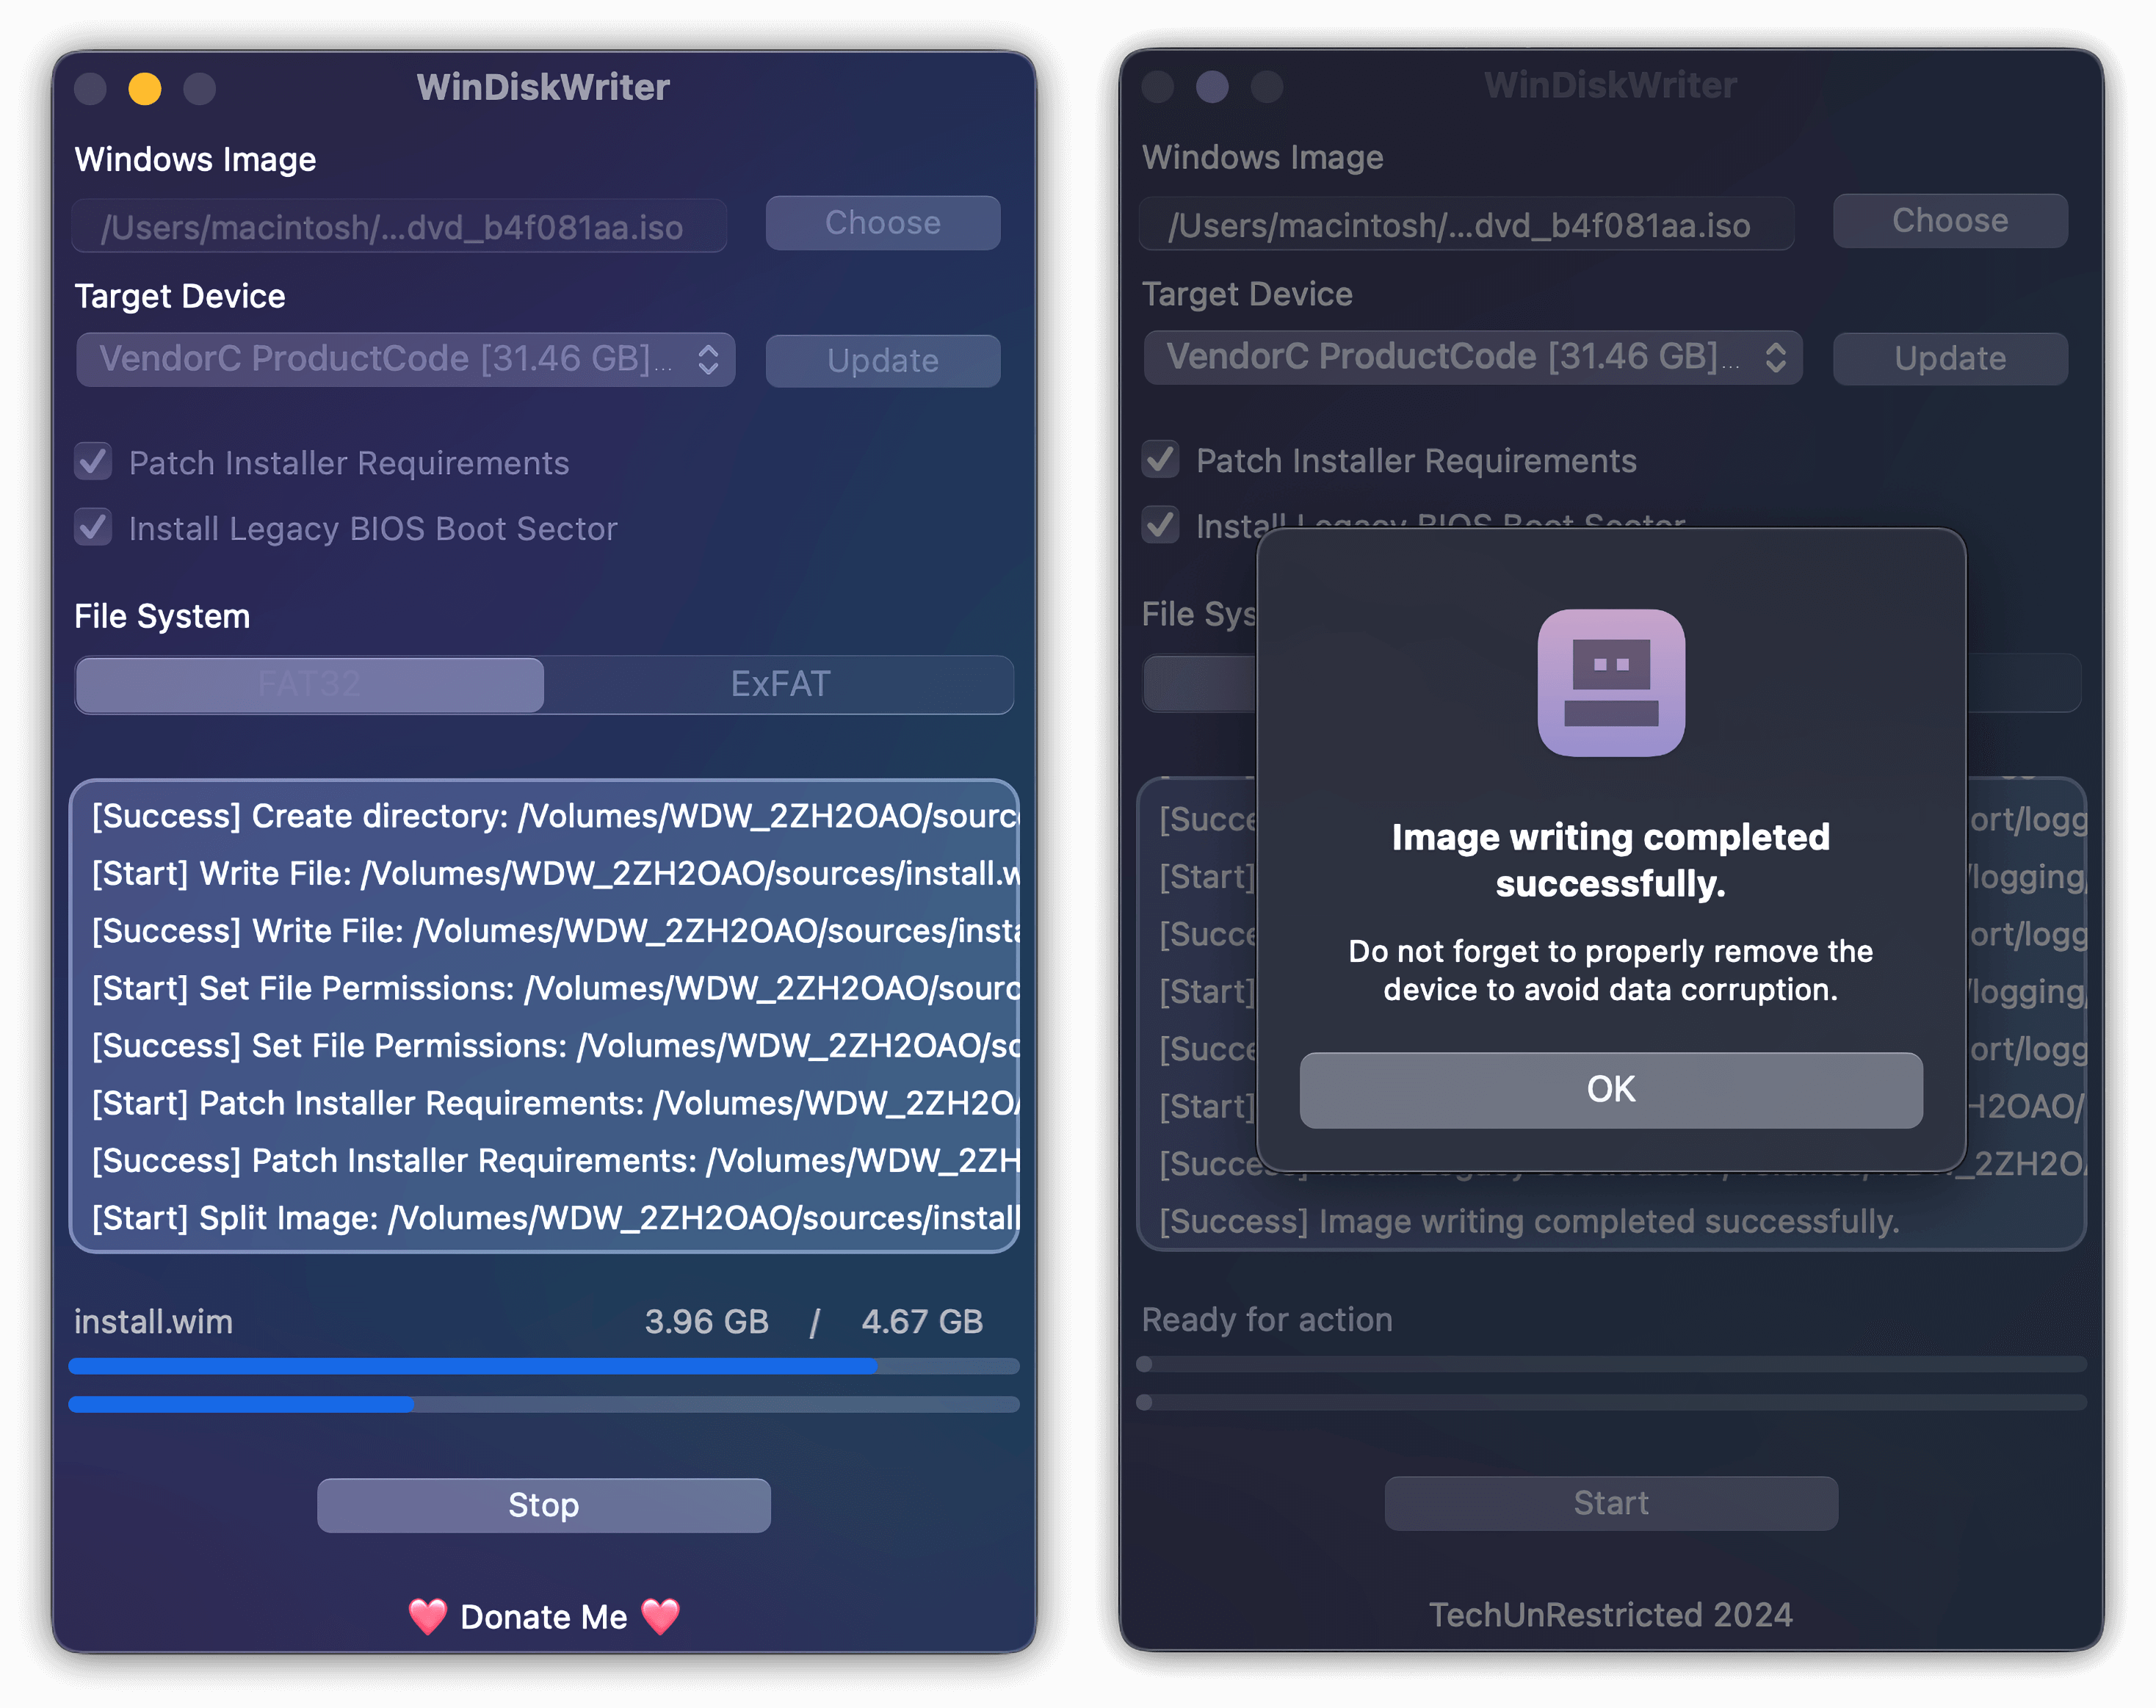
[You can download WinDiskWriter from its GitHub Repo]
Windows Versions Support:
- Windows 11
- Windows 10
- Windows 8.1
- Windows 8
- Windows 7
- Windows Vista
Boot Mode Support:
- UEFI
- Legacy BIOS
Additional Features:
- Windows 11 TPM & Secure Boot Path
- Legacy BIOS Support with grub4dos bootloader
The uubyte application in the above did not work for me - clicking Burn just opens a 'Buy Now' modal which does nothing when I click 'Free Trail' (sic).
However the above script and trick with wimlib worked for me only when formatting my drive as MBR, not GPT.