
| # import config. | |
| # You can change the default config with `make cnf="config_special.env" build` | |
| cnf ?= config.env | |
| include $(cnf) | |
| export $(shell sed 's/=.*//' $(cnf)) | |
| # import deploy config | |
| # You can change the default deploy config with `make cnf="deploy_special.env" release` | |
| dpl ?= deploy.env | |
| include $(dpl) |
I'm going to walk you through the steps for setting up a AWS Lambda to talk to the internet and a VPC. Let's dive in.
So it might be really unintuitive at first but lambda functions have three states.
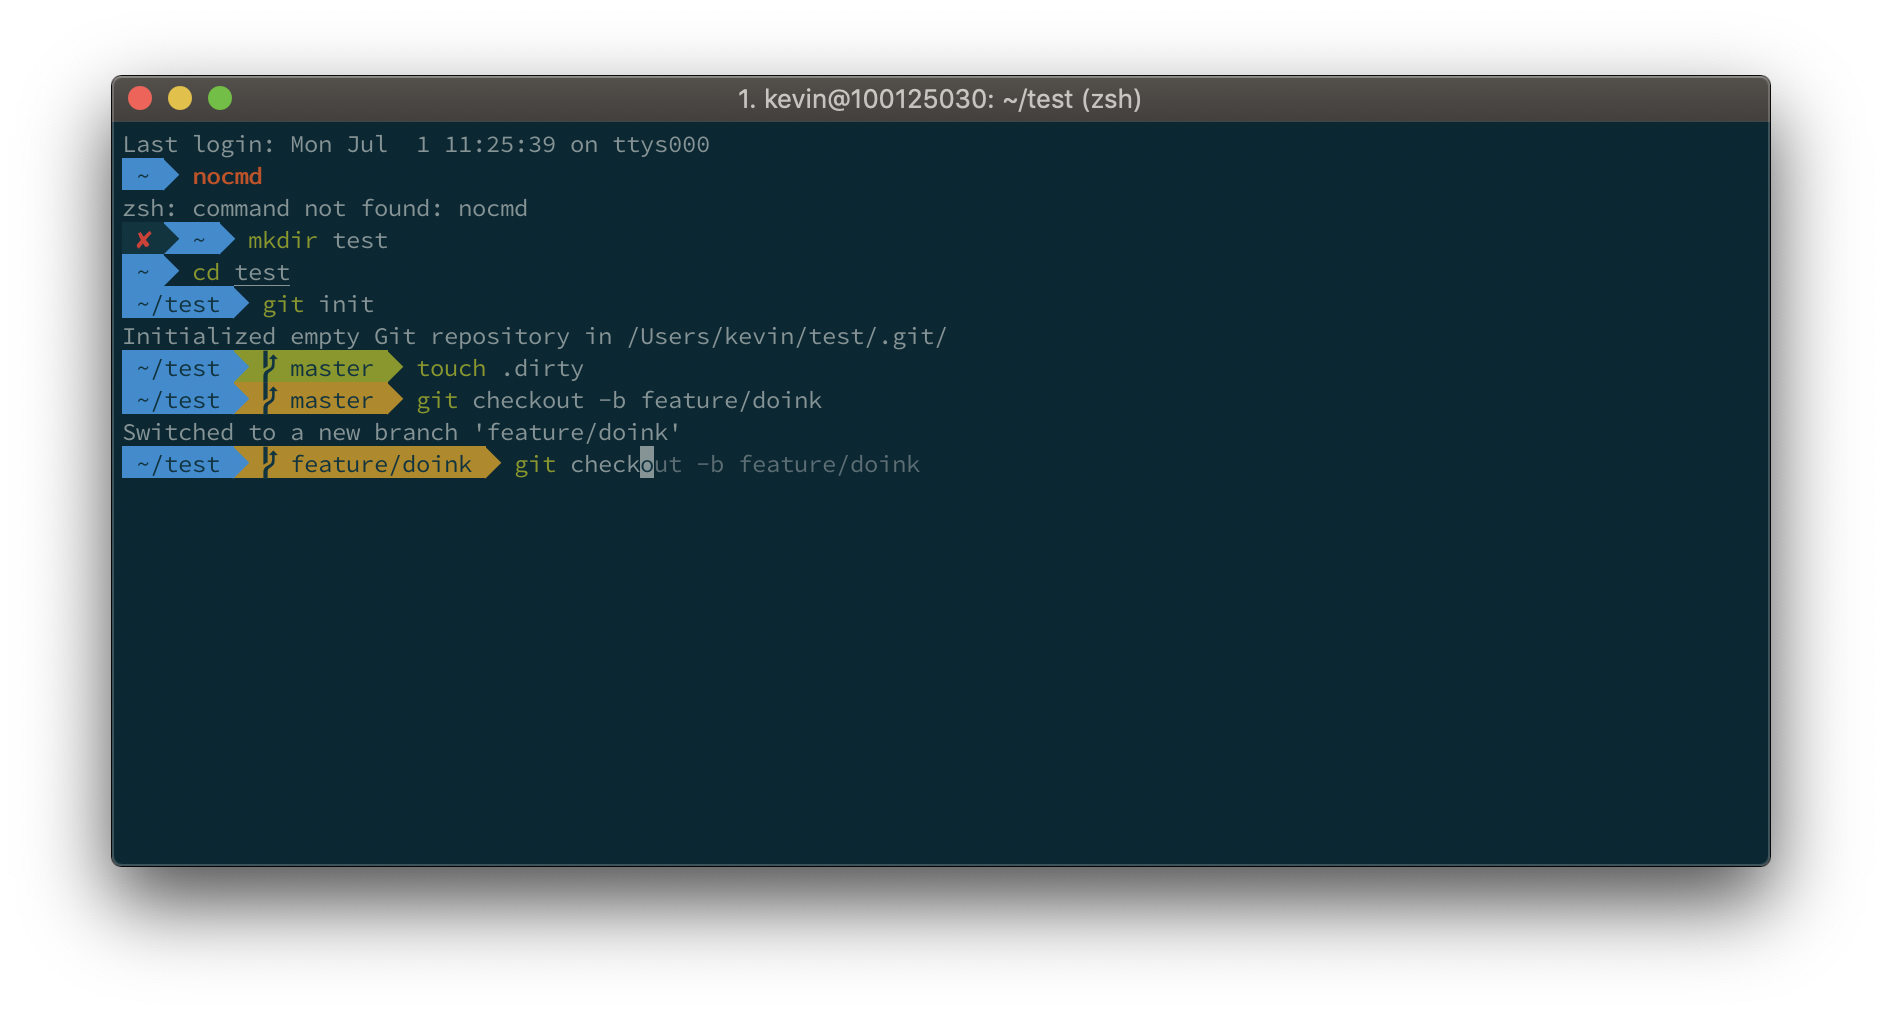
If you're like me you have a dir like ~/Workspace/Github where all your git repos live. I often find myself making a change in a repo, getting side tracked and ending up in another repo, or off doing something else all together. After a while I end up with several repos with modifications. This script helps me pick up where I left off by checking the status of all my repos, instead of having to check each one individually.
Usage:
git-status [directory]This will run git status on each repo under the directory specified. If called with no directory provided it will default to the current directory.
tell application "Spotlight" to inject SIMBL into Snow Leopard
| substitutions: | |
| device: optolink | |
| name: Optolink | |
| esphome: | |
| name: ${device} | |
| platform: ESP32 | |
| board: nodemcu-32s | |
| includes: | |
| - optolink.hpp |
| #!/sbin/openrc-run | |
| : ${MOSQUITTO_USER:=mosquitto} | |
| : ${MOSQUITTO_GROUP:=mqtt} | |
| : ${MOSQUITTO_CONF:=/etc/mosquitto/mosquitto.conf} | |
| : ${MOSQUITTO_PIDDIR:=/run/mosquitto} | |
| : ${MOSQUITTO_PIDFILE:=${MOSQUITTO_PIDDIR}/${SVCNAME}.pid} | |
| : ${MOSQUITTO_LOGDIR:=/var/log/mosquitto} | |
| : ${MOSQUITTO_PERSISTDIR:=/var/lib/mosquitto} | |
| : ${MOSQUITTO_BINARY:=/usr/sbin/mosquitto} |
| // Usage: | |
| // | |
| // 1. Put this in the file that gets first loaded by RequireJS | |
| // 2. Once the page has loaded, type window.rtree.map() in the console | |
| // This will map all dependencies in the window.rtree.tree object | |
| // 3. To generate UML call window.rtree.toUml(). The output can be used | |
| // here: http://yuml.me/diagram/scruffy/class/draw | |
| requirejs.onResourceLoad = function (context, map, depMaps) { | |
| if (!window.rtree) { | |
| window.rtree = {}; |
