- Cloud Vendor Based NoOps
- Detect text in images
- Detect handwriting in images
- Detect text in files
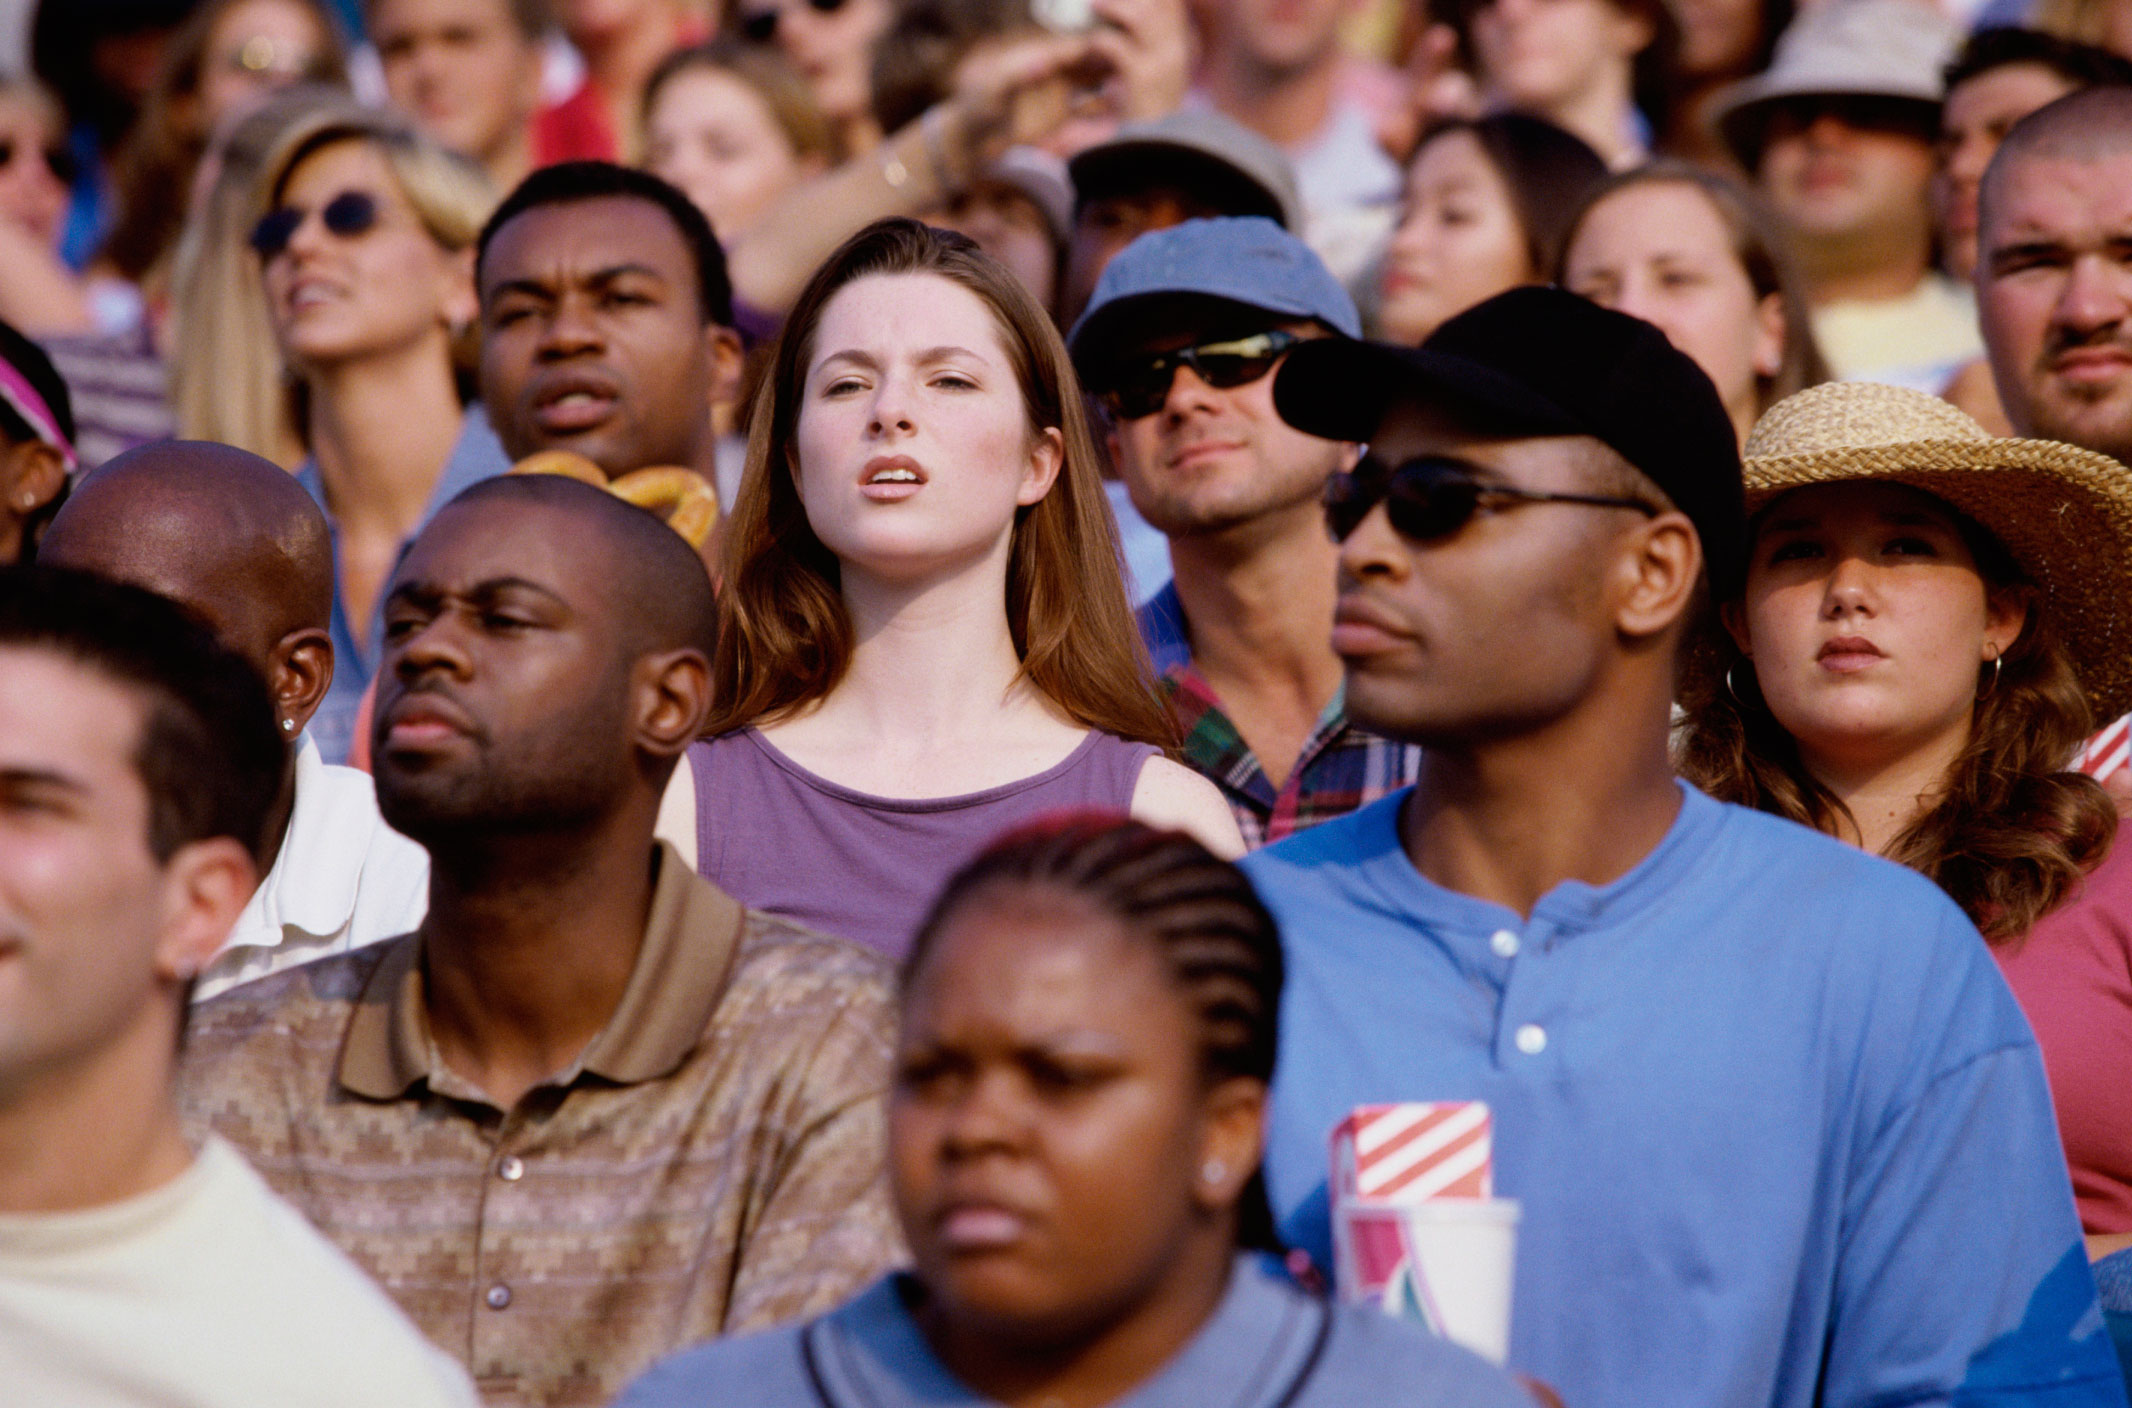
- Detect faces in images
- Detect multiple objects in images
Detect web references to an imageN/A- Detect landmarks in images
- Recognition of Face in images
-
Prerequisites are to have a valid and activated AWS account and permissions to use "Rekognition" cognitive services
- Prepare to configure AWS CLI
NB. Do not use the AWS account root user access key. The access key for the AWS account root user gives full access to all resources for all AWS services, including billing information. The permissions cannot be reduce for the AWS account root user access key.- Create a GROUP in the Console, such as
cognitive, and assignAmazonRekognitionFullAccessandAmazonS3FullAccessas Policy create-admin-group
Select one or more policies to attach. Each group can have up to 10 policies attached. - Create a USER in the Console, such as
aiuser, assign it to the GROUP, and save thecredentials.csvfile (store and keep it secret) create-admin-user - Set a PASSWORD for the user aws-password
- Create a GROUP in the Console, such as
- Run the
aws configurecommand to configure the AWS CLI using the keys for the USER (aiuser)
NB. The command prompts for: access key, secret access key, AWS Region, and output format; stores this in a profile ("default"), this is used when running an AWS CLI command without explicitly specify another profile.$ aws configure list Name Value Type Location ---- ----- ---- -------- profile <not set> None None access_key ****************MYVZ shared-credentials-file secret_key ****************nEac shared-credentials-file region <not set> None None - Creae S3 Bucket
- In this case the bucket is named
blobbucketand set toprivate, with LocationConstraint set to the specified region
$ aws s3api create-bucket --bucket blobbucket --acl private --region us-east-2 --create-bucket-configuration LocationConstraint=us-east-2 http://blobbucket.s3.amazonaws.com/- Upload files to the S3 Bucket (s3 and s3api commands)
$ aws s3 cp --recursive ../data/ s3://blobbucket/ upload: ../data/letter1.pdf to s3://blobbucket/letter1.pdf upload: ../data/faces1.jpeg to s3://blobbucket/faces1.jpeg upload: ../data/texthandwriting1.png to s3://blobbucket/texthandwriting1.png upload: ../data/landmark1.jpeg to s3://blobbucket/landmark1.jpeg upload: ../data/multiple1.jpeg to s3://blobbucket/multiple1.jpeg upload: ../data/texttyped1.png to s3://blobbucket/texttyped1.png upload: ../data/faces2.png to s3://blobbucket/faces2.png $ aws s3api put-object --bucket blobbucket --key texttyped1.png --body ../data/texttyped1.png --acl private { "ETag": "\"c9ad5d3165a38a49281c693f0a4bc694\"" }- List objects (files) in the S3 Bucket (s3 and s3api commands)
$ aws s3 ls s3://blobbucket 2019-10-02 02:43:13 26107 faces1.jpeg 2019-10-02 02:43:21 458795 faces2.png 2019-10-02 02:43:35 181092 landmark1.jpeg 2019-10-02 02:43:44 21578 letter1.pdf 2019-10-02 02:43:50 96078 multiple1.jpeg 2019-10-02 02:43:59 61840 texthandwriting1.png 2019-10-02 10:49:46 26107 texttyped1.png $ aws s3api list-objects --bucket blobbucket --query 'Contents[].{Key: Key}' | jq -r '.[].Key' faces1.jpeg faces2.png landmark1.jpeg letter1.pdf multiple1.jpeg texthandwriting1.png texttyped1.png- Trying to access this bucket over HTTP without authenticating is denied
<Error> <Code>AccessDenied</Code> <Message>Access Denied</Message> <RequestId>090832BE4B92F4DC</RequestId> <HostId> 27Ec+Sx6rPwGJFpWIQ4ktZrdlG5m710m+yUKjXJ9IfWE3GWXde6e2OdaY0OdKnV6Y3NEUSOI4iw= </HostId> </Error> - In this case the bucket is named
-
Verify that the file is in the S3 Bucket; create JSON request content file
$ ./pre-request.sh detect-text texttyped1.png
2019-10-02 11:06:19     186536 texttyped1.png
request.json
- Perform (input: JSON file "request.json"; output: JSON file "result$RANDOM.json)
$ ./run-request.sh detect-text request.json
result12541.json
- Review (text from output JSON) NB. It is capped at 100 words
$ jq -r '.TextDetections[].DetectedText' result12541.json | tr '\n' ' ' ; echo

Google is using deepfakes to fight deepfakes. With the 2020 US presidential election approaching, the race is on to figure how to prevent widespread out deepfake disinformation. On Tuesday, Google offered the latest contribution: an open-source database containing 3,000 original manipulated videos. The goal is to help train and test Google is using deepfakes to fight deepfakes. With the 2020 US presidential election approaching, the race is on to figure out how to prevent widespread deepfake disinformation. On Tuesday, Google offered the latest contribution: an open-source database containing 3,000 original manipulated videos. The goal is to help train and test
-
NB. This require Security Policy
AmazonTextractFullAccess, notAmazonRekognitionFullAccess -
Verify that the file is in the S3 Bucket; create JSON request content file
$ ./pre-request.sh detect-document-text texttyped1.png
2019-10-02 11:06:19     186536 texttyped1.png
request.json
- Perform (input: JSON file "request.json"; output: JSON file "result$RANDOM.json)
$ ./run-request.sh detect-document-text request.json
result22224.json
- Review (text from output JSON) NB. Missed "l" in "presidential"
$ jq -r '.Blocks[]|select(.BlockType=="LINE")|.Text'  result22224.json| tr '\n' ' '; echo

Google is using deepfakes to fight deepfakes. With the 2020 US presidentia election approaching, the race is on to figure out how to prevent widespread deepfake disinformation. On Tuesday, Google offered the latest contribution: an open-source database containing 3,000 original manipulated videos. The goal is to help train and test automated detection tools. The company compiled the data by working with 28 actors to record videos of them speaking, making common expressions, and doing mundane tasks. It then used publicly available deepfake algorithms to alter their faces. Google isn't the first to take this approach. As we covered in The Algorithm earlier this month, Facebook announced that it would be releasing a similar database near the end of the year. In January, an academic team led by a researcher from the Technical University of Munich also created another called FaceForensics++. The trouble is technical solutions like these can only go so far because synthetic media could soon become indistinguishable from reality. Read more here.
-
Verify that the file is in the S3 Bucket; create JSON request content file
$ ./pre-request.sh detect-text texthandwriting1.png
2019-10-02 11:06:18      61840 texthandwriting1.png
request.json
- Perform (input: JSON file "request.json"; output: JSON file "result$RANDOM.json)
$ ./run-request.sh detect-text request.json
result3587.json
- Review (text from output JSON)
$ jq -r '.TextDetections[].DetectedText' result3587.json | tr '\n' ' ' ; echo
oople CLoud 0 gle P fatform oople gle CLoud 0 P fatform
-
NB. Here using
AmazonTextractFullAccessPolicy, notAmazonRekognitionFullAccess -
NB. Here using
AmazonSNSFullAccessfor SNS andAmazonSQSFullAccessfor SQS andIAMFullAccessfor IAM -
Multi-step process:
- Setup SQS to receive SNS status notification aws-sqs
- Add Operaiton Permissions for Principal to the Queue, such as for "Everybody (*)"
- Setup SNS Topic and Subscription to recieve notification from StartDocumentTextDetection aws-sns
- Create IAM Role to allow Textract to publish to SNS, with the
AmazonTextractServiceRolePolicy - StartDocumentTextDetection operation to submit the OCR operation, returns a job identifier (JobId) for the next step aws-textract
- Check completion status queued in SQS from SNS
- GetDocumentTextDetection with job identifier (JobId) to access the OCR results in JSON output format aws-textract
- Setup SQS to receive SNS status notification aws-sqs
-
Example

| SERVICE | ARN |
|---|---|
| SQS ARN | arn:aws:sqs:us-east-2:deadbeef7898:SNStopic123 |
| SQS URL | https://sqs.us-east-2.amazonaws.com/deadbeef7898/SNStopic123 |
| SQS Principal Operation Permissions | SQS:AddPermission, SQS:DeleteMessage and SQS:ReceiveMessage |
| SNS Topic ARN | arn:aws:sns:us-east-2:deadbeef7898:topic123 |
| SNS Subscription ARN | arn:aws:sns:us-east-2:deadbeef7898:topic123:deadbeef-9863-41e8-b283-78290f63d316 |
| SNS Subscription Endpoint | arn:aws:sqs:us-east-2:deadbeef7898:SNStopic123 |
| Textract ARN Role | arn:aws:sqs:us-east-2:deadbeef7898:SNStopic123 |
$ aws sqs list-queues --region us-east-2
{
    "QueueUrls": [
        "https://us-east-2.queue.amazonaws.com/deadbeef7898/SNStopic123"
    ]
}

$ aws sns list-topics --region us-east-2
{
    "Topics": [
        {
            "TopicArn": "arn:aws:sns:us-east-2:deadbeef7898:topic123"
        }
    ]
}

$ aws sns list-subscriptions --region us-east-2
{
    "Subscriptions": [
        {
            "SubscriptionArn": "arn:aws:sns:us-east-2:deadbeef7898:topic123:b39a91fc-9863-41e8-b283-78290f63d316",
            "Owner": "deadbeef7898",
            "Protocol": "sqs",
            "Endpoint": "arn:aws:sqs:us-east-2:deadbeef7898:SNStopic123",
            "TopicArn": "arn:aws:sns:us-east-2:deadbeef7898:topic123"
        }
    ]
}

$ aws iam list-roles | jq '.Roles[]|select(.RoleName=="Textract2SNS")'
{
  "Path": "/",
  "RoleName": "Textract2SNS",
  "RoleId": "AROAYWZGLN25L6XSDYTI4",
  "Arn": "arn:aws:iam::deadbeef7898:role/Textract2SNS",
  "CreateDate": "2019-10-03T06:37:23Z",
  "AssumeRolePolicyDocument": {
    "Version": "2012-10-17",
    "Statement": [
      {
        "Sid": "",
        "Effect": "Allow",
        "Principal": {
          "Service": "textract.amazonaws.com"
        },
        "Action": "sts:AssumeRole"
      }
    ]
  },
  "Description": "Allows AWS Textract to call other AWS services on your behalf.",
  "MaxSessionDuration": 3600
}

$ aws textract start-document-text-detection --document '{"S3Object":{"Bucket":"blobbucket","Name":"sample.pdf"}}' --notification-channel '{"SNSTopicArn":"arn:aws:sns:us-east-2:deadbeef7898:topic123","RoleArn":"arn:aws:iam::deadbeef7898:role/Textract2SNS"}' --region us-east-2
{
    "JobId": "6014e9101702c9da1c505a4acdbd2e5675d630155dfa8da9205f77c34981b9b8"
}

$ aws sqs receive-message --queue-url https://us-east-2.queue.amazonaws.com/deadbeef7898/SNStopic123 --region us-east-2

$ aws textract get-document-text-detection --job-id "6014e9101702c9da1c505a4acdbd2e5675d630155dfa8da9205f77c34981b9b8" --region us-east-2 > textract-output-sample.json

$ jq -r '.Blocks[]|select(.BlockType=="LINE")|.Text' textract-output-sample.json | tr '\n' ' '; echo
A Simple PDF File This is a small demonstration .pdf file -- just for use in the Virtual Mechanics tutorials. More text. And more text. And more text. And more text. And more text. And more text. And more text. And more text. And more text. And more text. And more text. Boring, ZZZZZ. And more text. And more text. And more text. And more text. And more text. And more text. And more text. And more text. And more text. And more text. And more text. And more text. And more text. And more text. And more text. And more text. Even more. Continued on page 2 Simple PDF File 2 .continued from page 1. Yet more text And more text. And more text. And more text. And more text. And more text. And more text. And more text. Oh, how boring typing this stuff. But not as boring as watching paint dry. And more text And more text. And more text. And more text. Boring. More, a little more text. The end, and just as well.
-
Verify that the file is in the S3 Bucket; create JSON request content file

$ ./pre-request.sh detect-faces faces1.jpeg
2019-10-02 11:06:19      26107 faces1.jpeg
request.json
- Perform (input: JSON file "request.json"; output: JSON file "result$RANDOM.json)
$ ./run-request.sh detect-faces request.json
result10579.json
- Review (text from output JSON) - for expanded view use
jq . <output JSON filename>
$ jq -r '.FaceDetails[].Confidence' result10579.json
99.9998550415039
99.85765075683594
99.99970245361328
99.99711608886719
99.99925231933594
99.98178100585938
99.9980697631836
99.70393371582031
99.99464416503906
99.99987030029297
99.99915313720703
99.99749755859375
99.99079895019531
99.99903106689453
91.42262268066406
99.89049530029297
91.33202362060547
65.57625579833984
99.625244140625
81.71480560302734
-
Verify that the file is in the S3 Bucket; create JSON request content file
$ ./pre-request.sh detect-labels multiple1.jpeg
2019-10-02 11:06:18      96078 multiple1.jpeg
request.json
- Perform (input: JSON file "request.json"; output: JSON file "result$RANDOM.json)
$ ./run-request.sh detect-labels request.json
result24519.json
- Review (text from output JSON) - for expanded view use
jq . <output JSON filename>
$ jq -r '.Labels[]| "\(.Name) \(.Confidence)"' result24519.json
Bicycle 99.98738098144531
Transportation 99.98738098144531
Vehicle 99.98738098144531
Bike 99.98738098144531
Machine 99.97575378417969
Wheel 99.97575378417969
Handrail 85.58196258544922
Banister 85.58196258544922
Door 71.61861419677734
Staircase 66.0941390991211
Indoors 63.238643646240234
Interior Design 63.238643646240234
Walkway 62.390384674072266
Path 62.390384674072266
Wall 61.80942916870117
Building 55.82354736328125
Housing 55.82354736328125
N/A
- Verify that the file is in the S3 Bucket; create JSON request content file
$ ./pre-request.sh detect-labels landmark1.jpeg
2019-10-02 11:06:19     181092 landmark1.jpeg
request.json
- Perform (input: JSON file "request.json"; output: JSON file "result$RANDOM.json)
./run-request.sh detect-labels request.json
result27651.json
- Review (text from output JSON) - for expanded view use
jq . <output JSON filename>
$ jq -r '.Labels[]| "\(.Name) \(.Confidence)"' result27651.json
Architecture 99.82380676269531
Dome 99.82380676269531
Building 99.82380676269531
Spire 99.72821044921875
Tower 99.72821044921875
Steeple 99.72821044921875
City 88.84866333007812
Town 88.84866333007812
Urban 88.84866333007812
Downtown 88.47482299804688
Metropolis 82.51697540283203
Person 73.4709701538086
Human 73.4709701538086
Church 59.03559494018555
Cathedral 59.03559494018555
Monument 55.30182647705078
-
Target image
-
Source image (to find in the target image (show as downsampled to 2kb from original 4kb)

-
Verify that the files are in the S3 Bucket
$ aws s3 ls s3://blobbucket/faces1.jpeg
2019-10-02 11:06:19      26107 faces1.jpeg

$ aws s3 ls s3://blobbucket/face2match4kb.jpeg
2019-10-04 11:08:08       3859 face2match4kb.jpeg

$ aws s3 ls s3://blobbucket/face2match2kb.jpg
2019-10-04 11:52:34       1829 face2match2kb.jpg
- Perform output: JSON file "facematch.json
$ aws rekognition compare-faces --target-image '{"S3Object":{"Bucket":"blobbucket","Name":"faces1.jpeg"}}' --source-image '{"S3Object":{"Bucket":"blobbucket","Name":"face2match4kb.jpeg"}}' > facematch4kb.out

$ aws rekognition compare-faces --target-image '{"S3Object":{"Bucket":"blobbucket","Name":"faces1.jpeg"}}' --source-image '{"S3Object":{"Bucket":"blobbucket","Name":"face2match2kb.jpg"}}' > facematch2kb.out
- Review (text from output JSON) - for expanded view use
jq . <file>orcat <file>
$ jq -r '.FaceMatches[]| "Similarity: \(.Similarity) Face.Confidence: \(.Face.Confidence)"' facematch4kb.out
Similarity: 99.99290466308594 Face.Confidence: 99.98178100585938

$ jq -r '.FaceMatches[]| "Similarity: \(.Similarity) Face.Confidence: \(.Face.Confidence)"' facematch2kb.out
Similarity: 99.61591339111328 Face.Confidence: 99.98178100585938