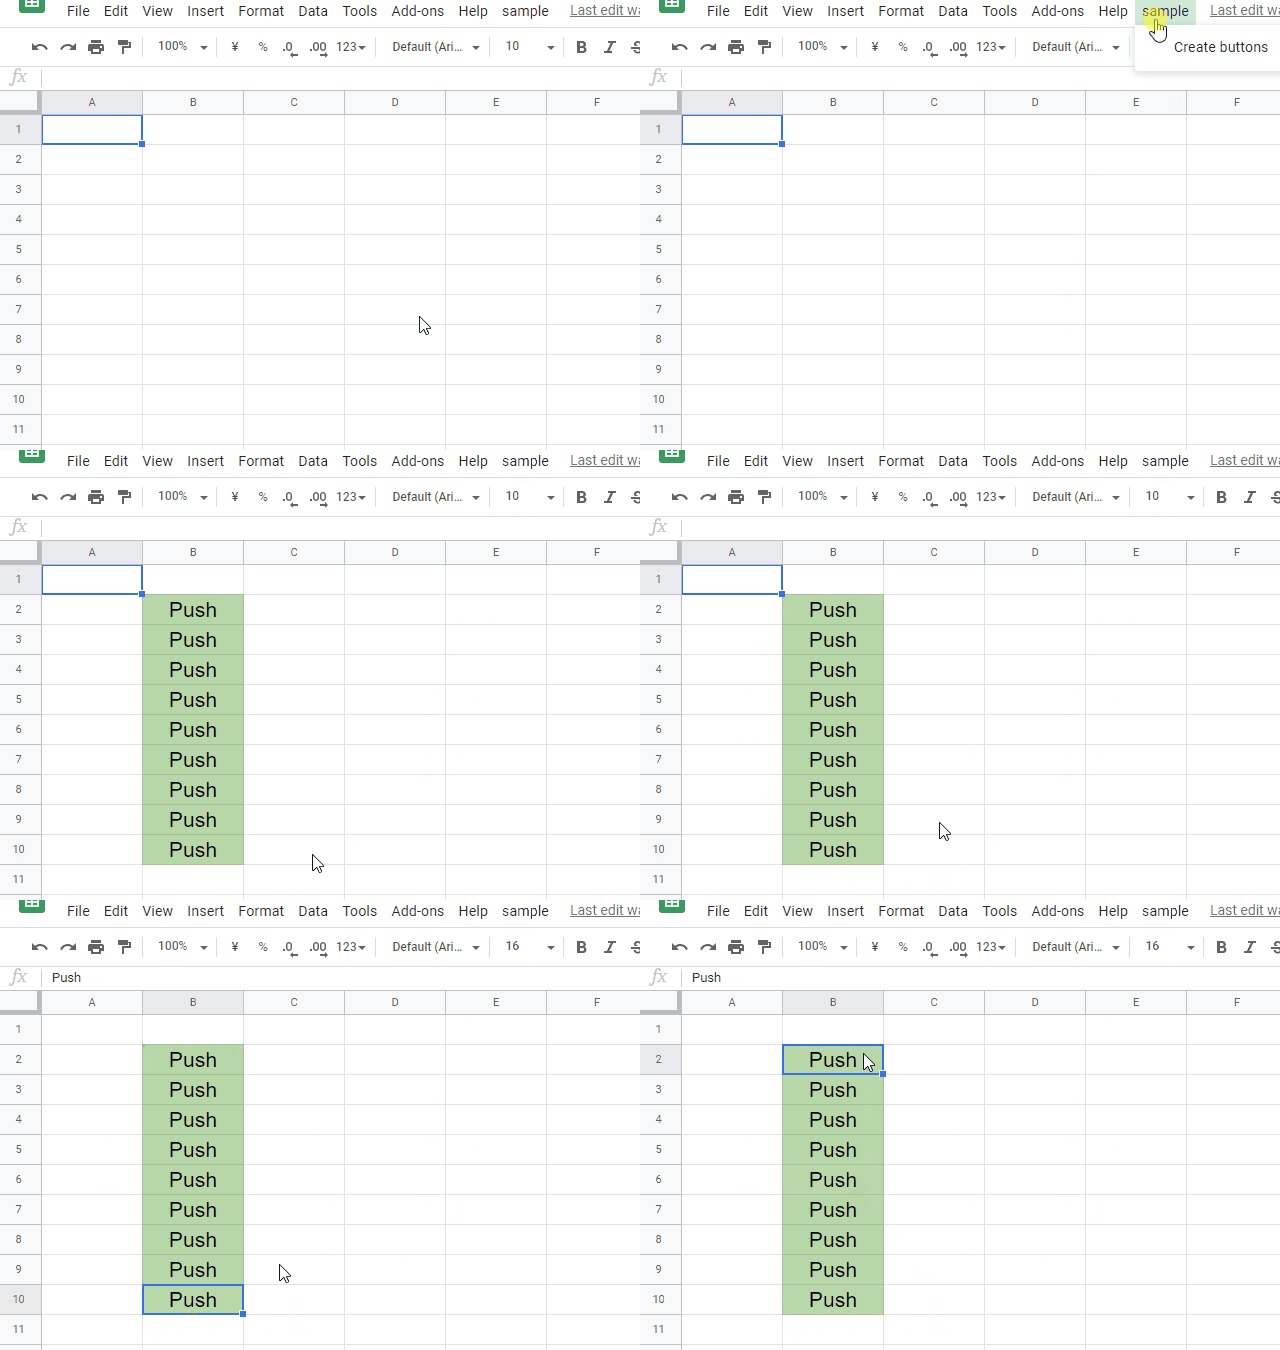
This is a sample script for creating the multiple buttons on Google Spreadsheet using Google Apps Script.
Recently, I have got several contacts about this. I thought that when this is published, it might be useful for other users. So I published this sample script.
Please copy and paste the following script to the script editor of the container-bound script of Google Spreadsheet. And, please set the variables and run the function createButtons. By this, the buttons are created to the cells.
In this sample script, the buttons are created to the cell "B2:B10" on "Sheet1". You can see this buttons at above demonstration video.
// Please set the following variables for using this sample script.
const sheetName = "Sheet1"; // Sheet name putting the buttons.
const rangeOfButtons = "B2:B10"; // Range putting the buttons.
const defaultTextOfButton = "Push"; // Text showing in the buttons.
const runningTextOfButton = "Running"; // Text showing in the buttons.
const defaultColor = "#b6d7a8"; // Default color of buttons.
const runningColor = "#ff0000"; // Color of buttons during running script.

// This function is used for creating the buttons.
function createButtons() {
  SpreadsheetApp.getActiveSpreadsheet()
    .getSheetByName(sheetName)
    .getRange(rangeOfButtons)
    .setHorizontalAlignment("center")
    .setVerticalAlignment("middle")
    .setFontSize(16)
    .setValue(defaultTextOfButton)
    .setBackground(defaultColor);
}

// This function is used for running the script by clicking the buttons.
function onSelectionChange(e) {
  const lock = LockService.getDocumentLock();
  if (lock.tryLock(10000)) {
    try {
      const range = e.range;
      const currentRow = range.getRow();
      const currentColumn = range.getColumn();
      const sheet = range.getSheet();
      const brange = sheet.getRange(rangeOfButtons);
      const bstartRow = brange.getRow();
      const bstartColumn = brange.getColumn();
      const bendRow = bstartRow + brange.getNumRows();
      const bendColumn = bstartColumn + brange.getNumColumns();
      if (
        !(
          sheet.getSheetName() == sheetName &&
          currentColumn >= bstartColumn &&
          currentColumn < bendColumn &&
          currentRow >= bstartRow &&
          currentRow < bendRow &&
          range.getValue() == defaultTextOfButton
        )
      )
        return;
      range.setBackground(runningColor).setValue(runningTextOfButton);
      SpreadsheetApp.flush();
      work(sheet, range); // This is your script.
      range.setBackground(defaultColor).setValue(defaultTextOfButton);
    } catch (e) {
      throw new Error(e);
    } finally {
      lock.releaseLock();
    }
  }
}

// Please set your script in this function.
// In this case, the active sheet and active range can be used as the arguments.
function work(sheet, range) {
  // Do something.
  Utilities.sleep(2000); // In this sample, 2 seconds are waiting.
}- This method uses the OnSelectionChange of the simple trigger. When the cell is clicked (selected), the event trigger is fired. By this, the script can be run.
- For example, when
const rangeOfButtons = "B2:B10"isconst rangeOfButtons = "B2:C10", the buttons are created to the cells "B2:C10".
