- install docker
- in order to run keycloak in a docker container, run the below command:
docker run -p 8080:8080 -e KEYCLOAK_ADMIN=admin -e KEYCLOAK_ADMIN_PASSWORD=admin quay.io/keycloak/keycloak:latest start-devIf you are using podman then just replace docker with podman in above bash command
- the above command will pull latest keycloak and run it on
localhost:8080 - once the container is created, we can run it from docker desktop containers from next time. this will also prevent unnecessary container duplications.
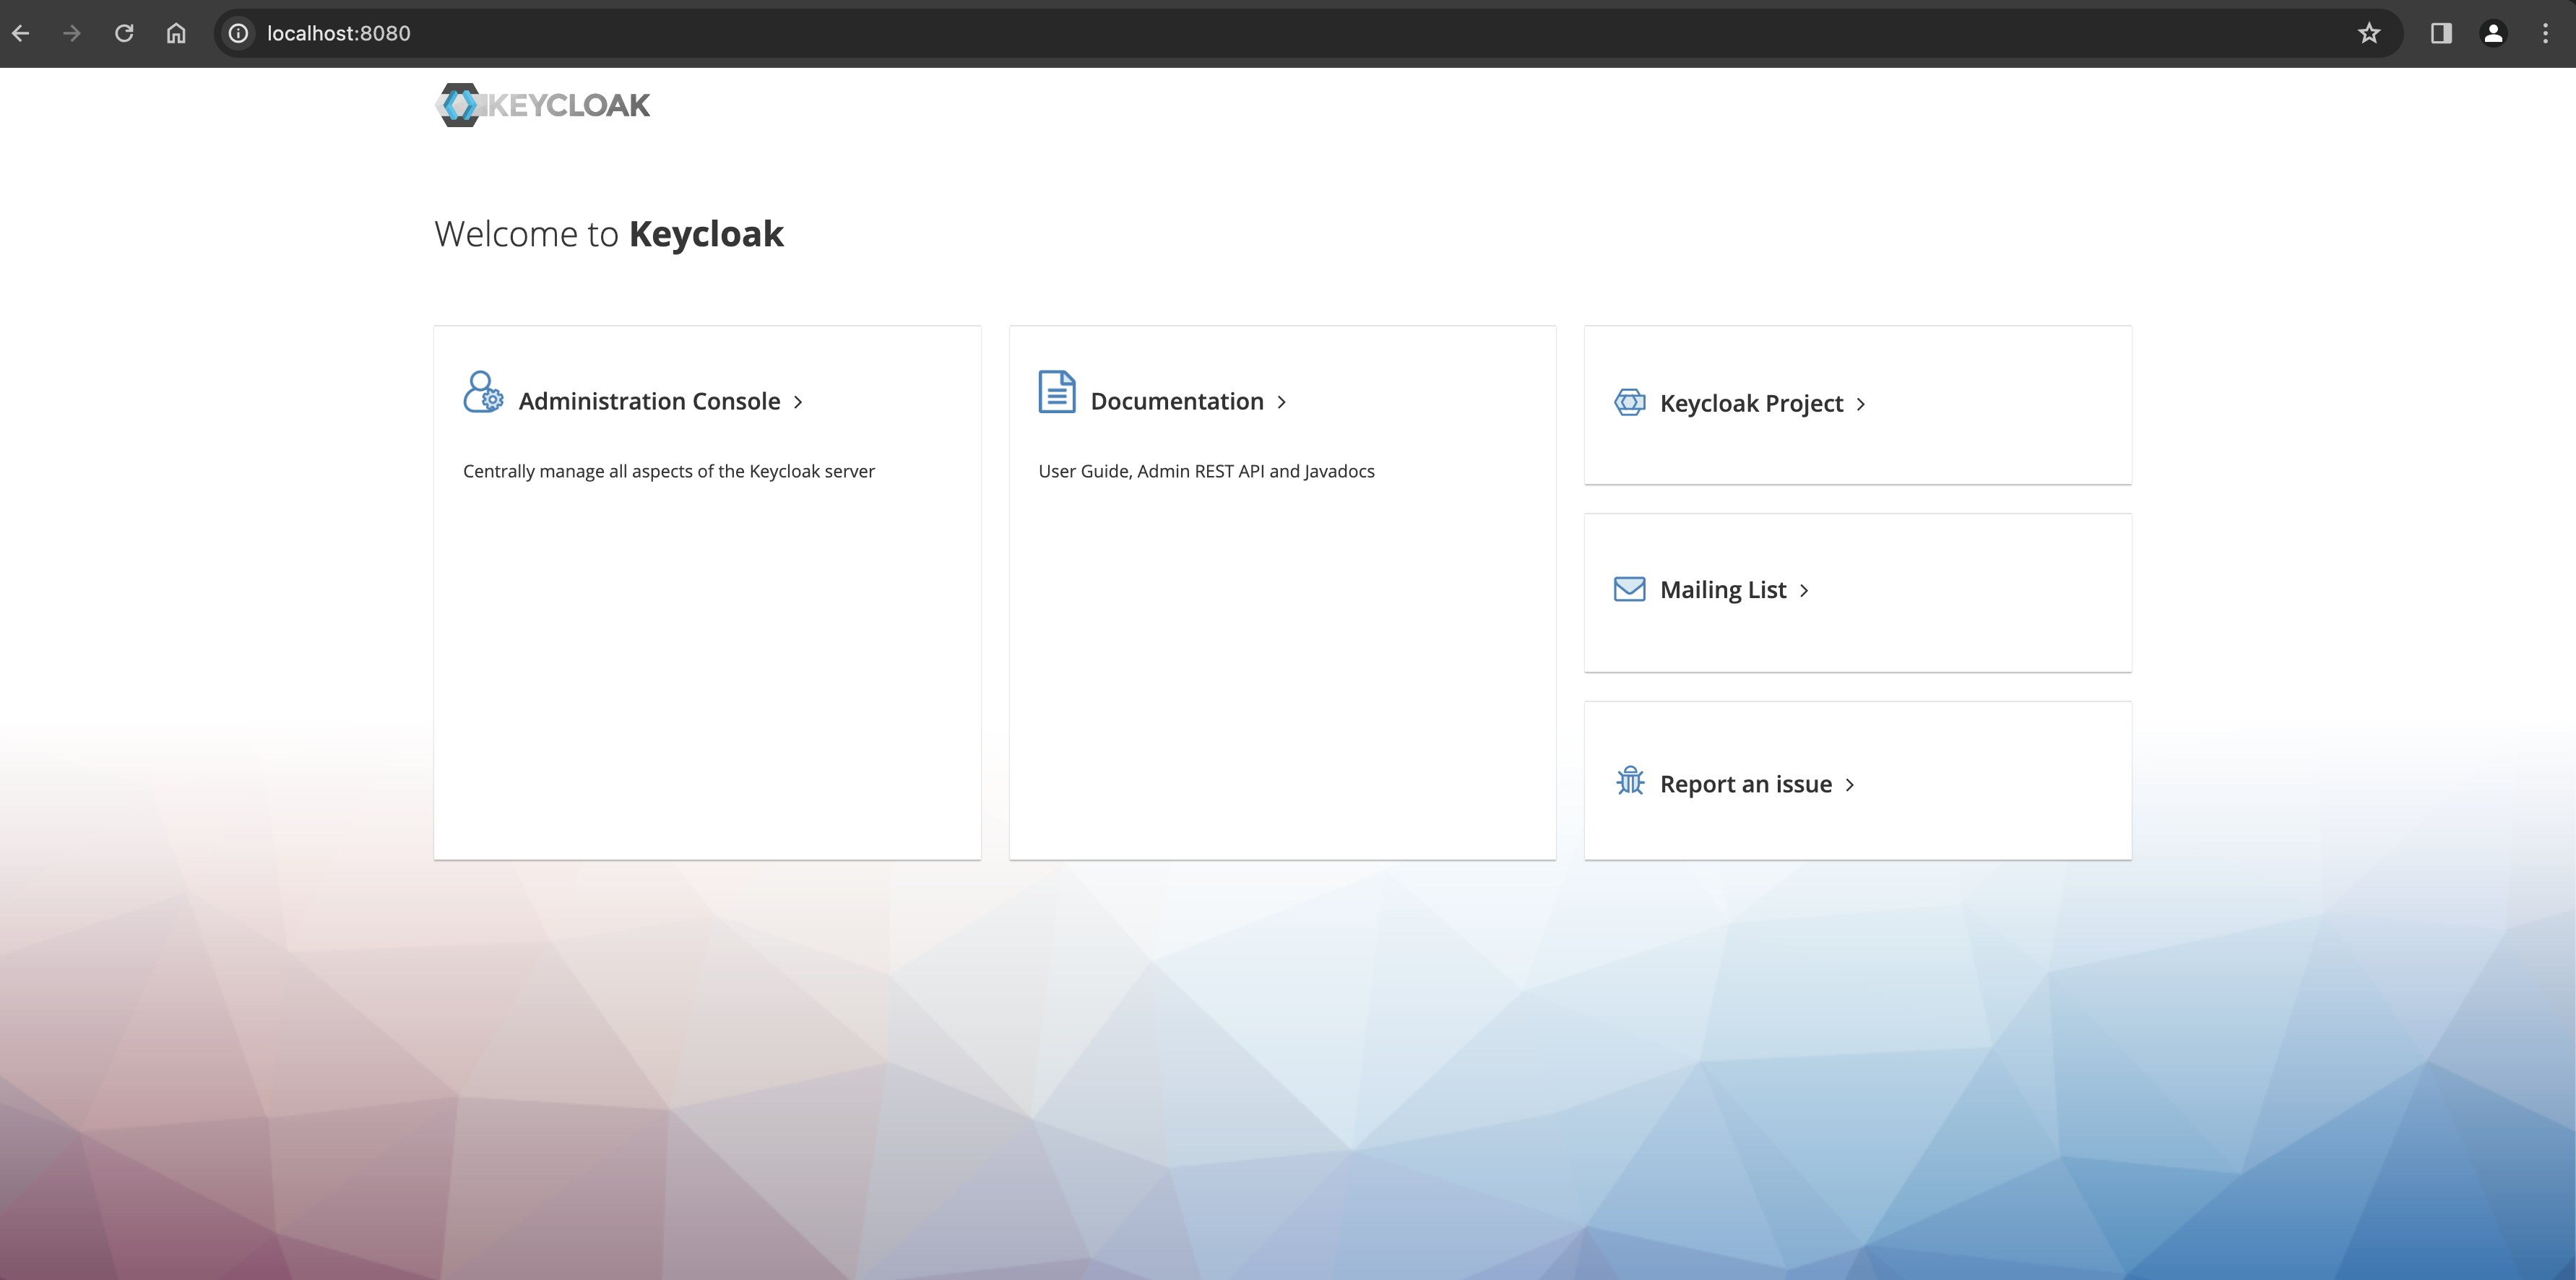
- navigate to above localhost and navigate to administration console and login as admin.
- create a realm from
masterdropdown with namekeycloak-react-auth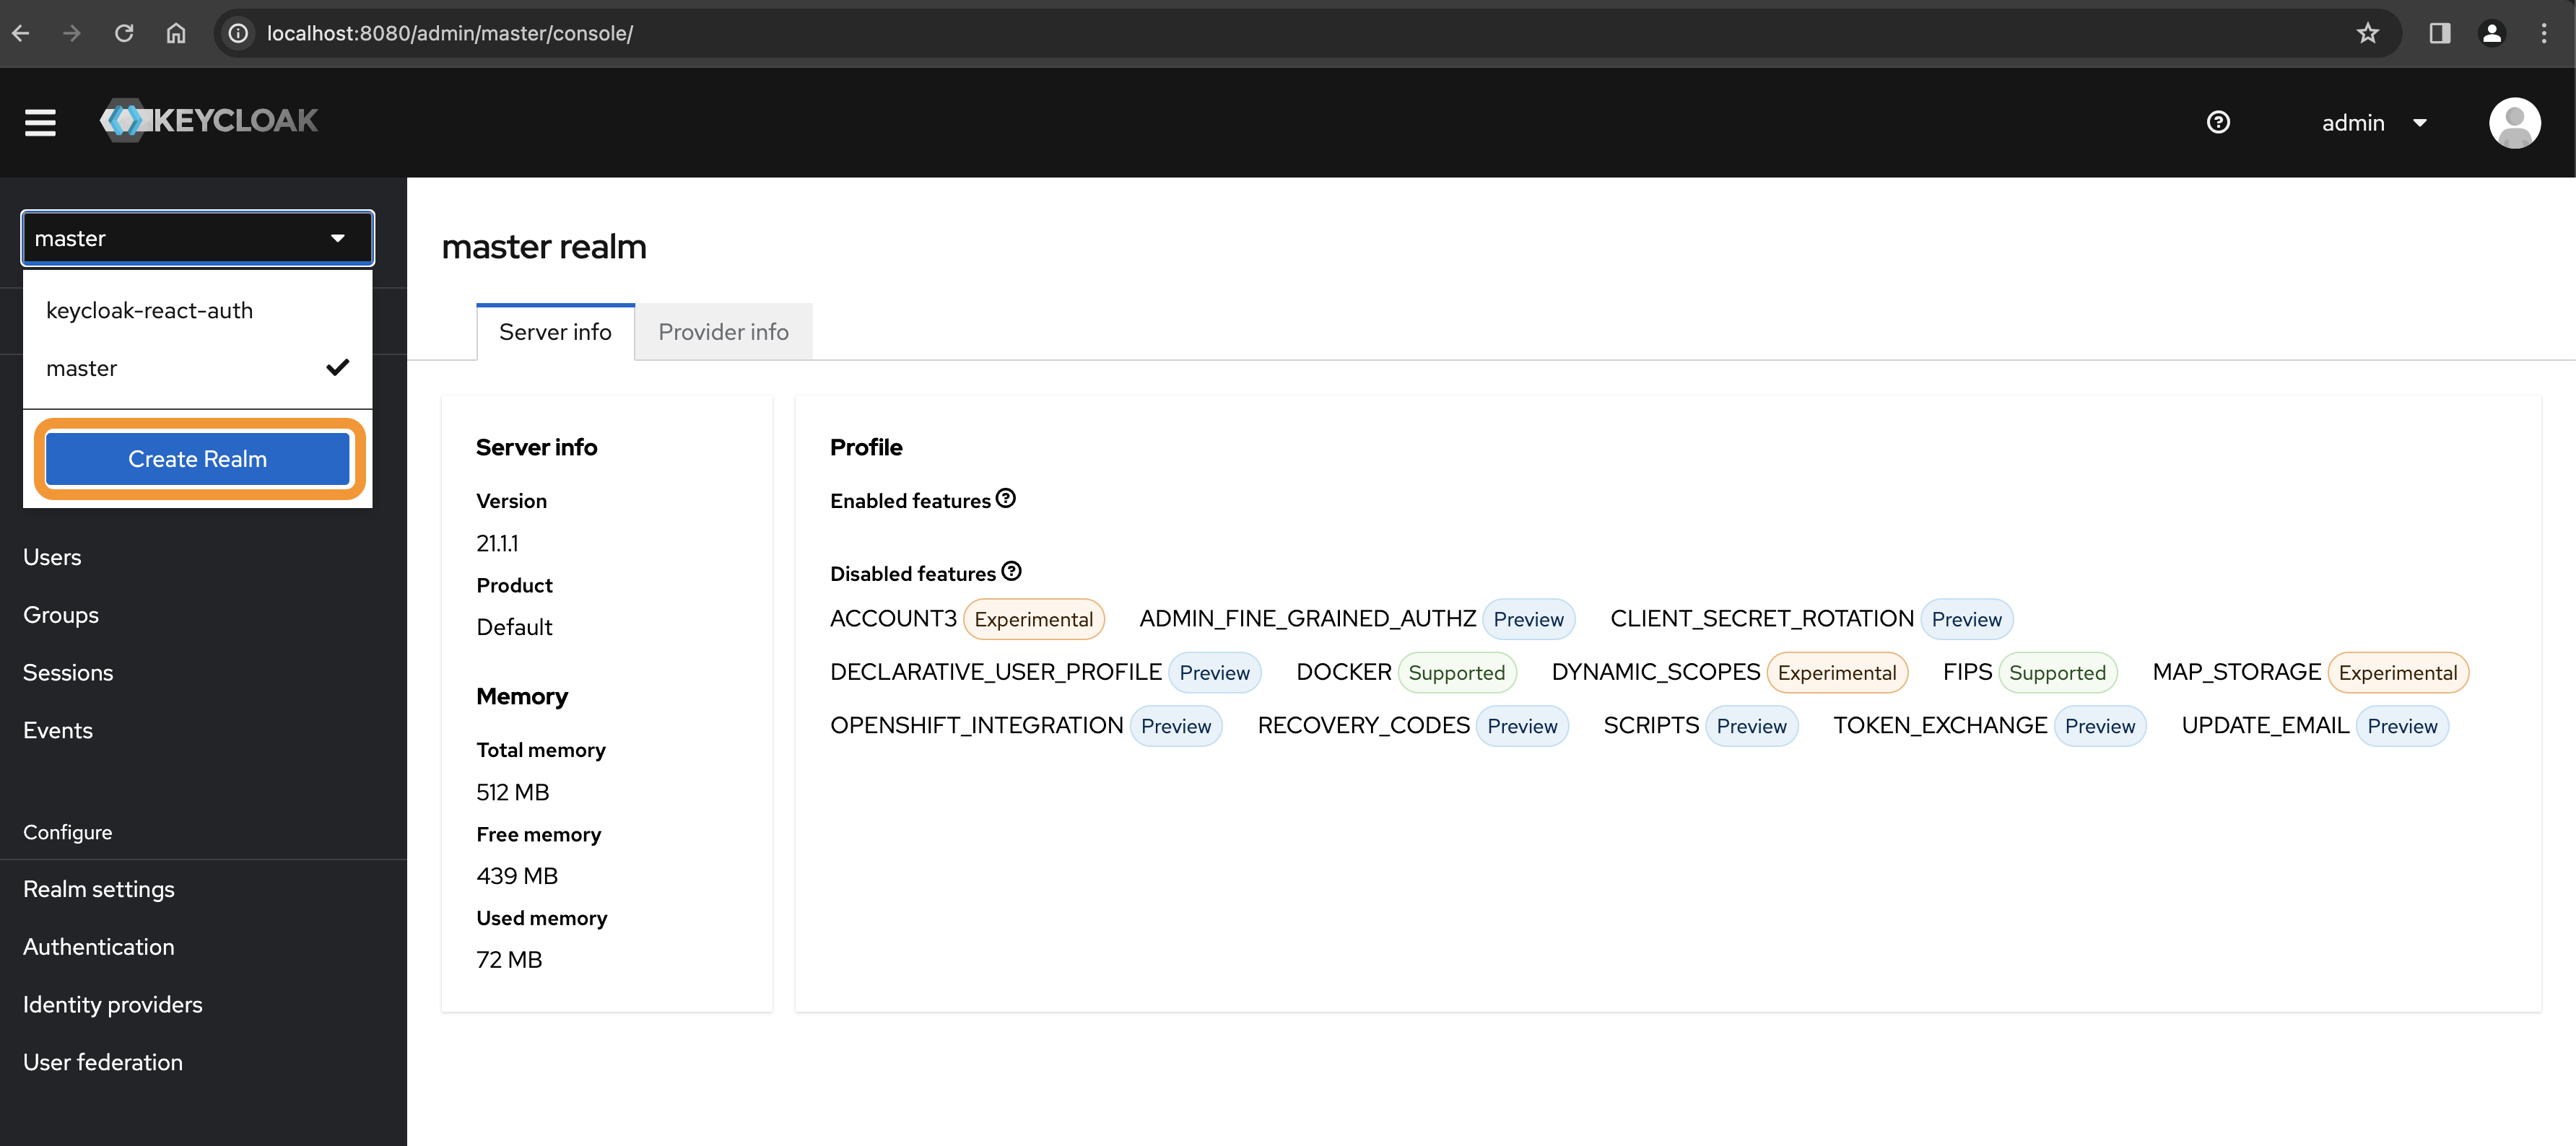
-
A realm can have multiple clients. frontend application needs a client along with realm to perform login actions.
-
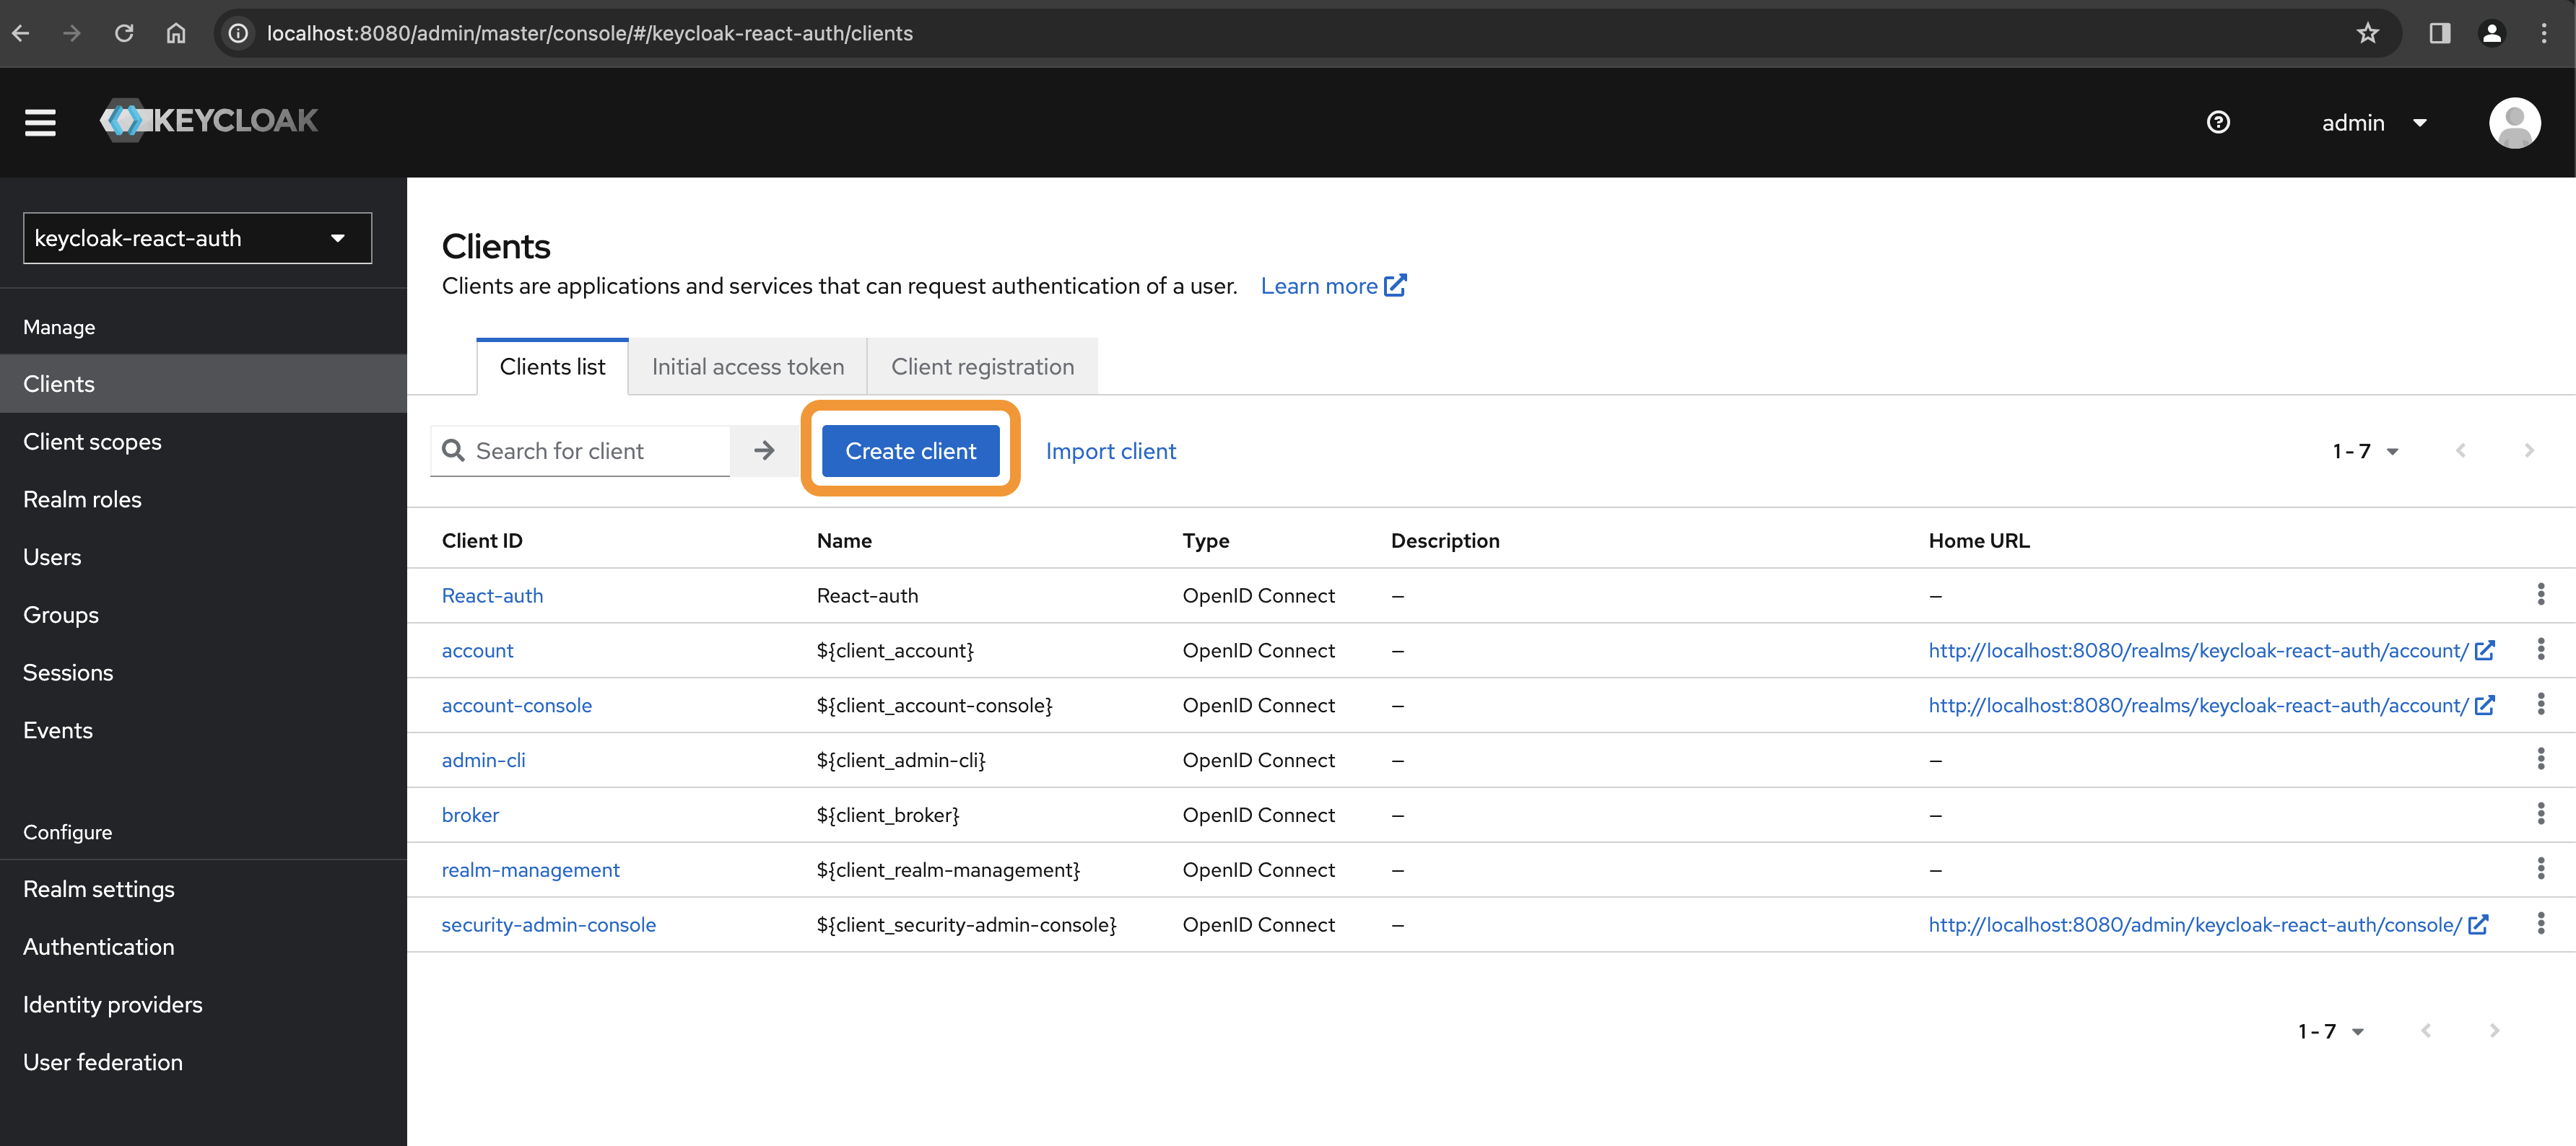
To create a
client, navigate to above realm from master dropdown. -
click on
Clientsin side navigation and click onCreate client. This opens a wizard:- in 1st step, provide
Client id: <hyphen-delimited-value> (in our case, React-auth) - keep defaults in next steps and create client.
- in 1st step, provide
-
after client creation, navigate to
Settingstab in above realm and set below things inAccess Settingssection:Valid redirect URIs: <frontend-application-protected-url> (in our case localhost:3000/about)Valid post logout redirect URIs: <frontend-application-default-url> (in our case localhost:3000/home)Web origins: <frontend-application-url> (in our case localhost:3000)
- Each client can contain different roles which are assigned to different users. these are more like permissions that a user can have.
- to create a role: navigate to
Rolestab in above client and click onCreate Role. provide a hyphen-seperated value

- Realm roles are super set of client roles. A realm role can contain multiple client roles.
- To create a realm role, navigate to above realm.
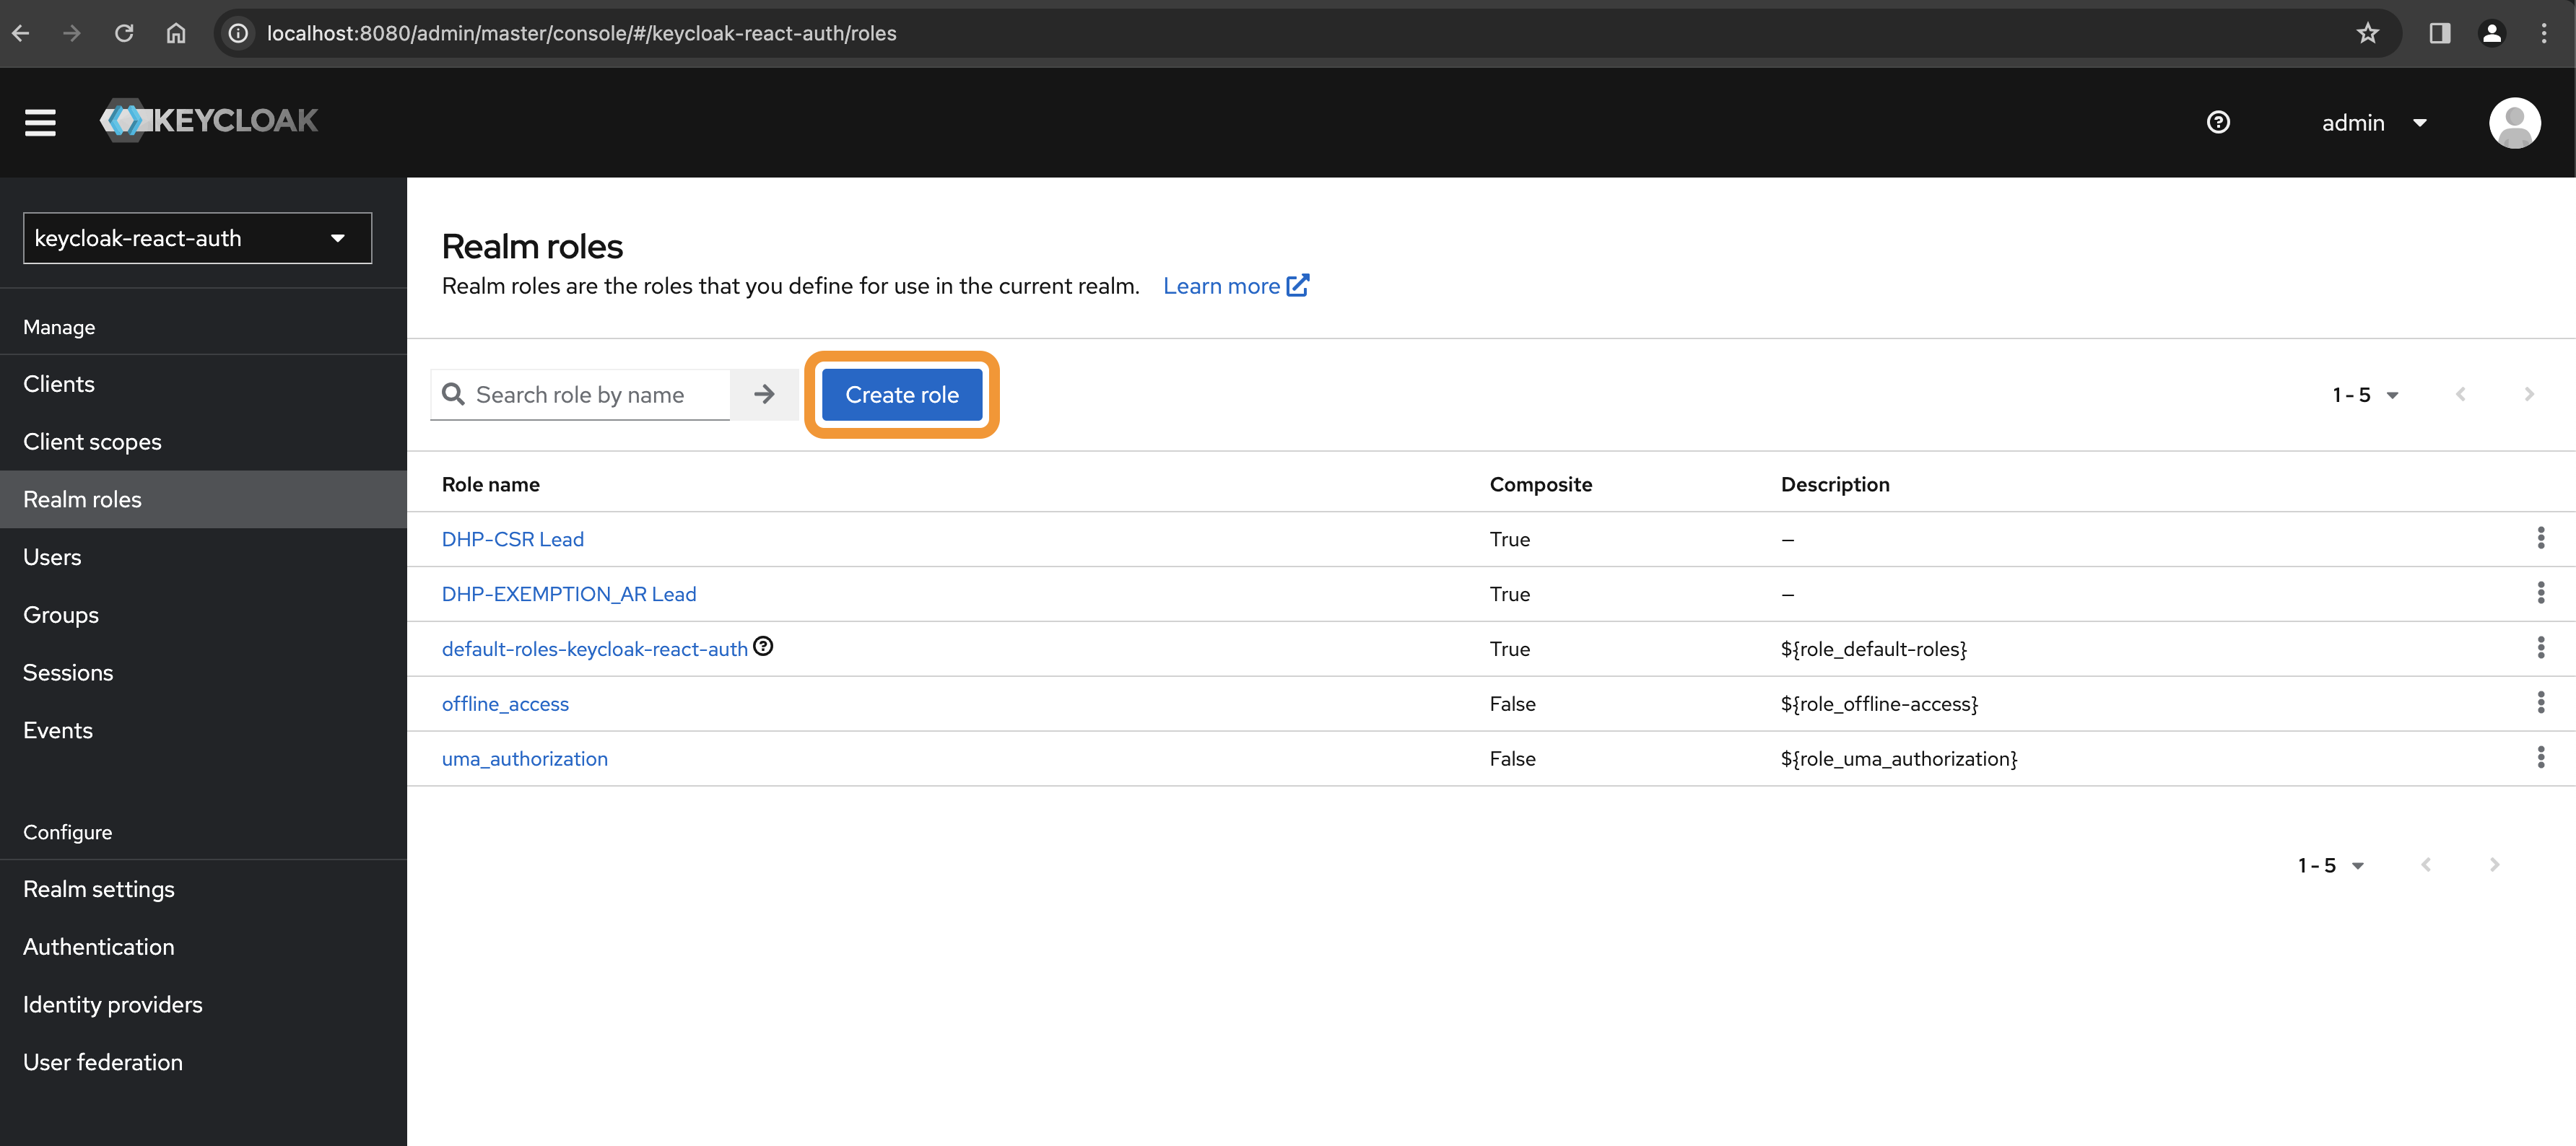
- click on
Realm rolesin side bar navigation and click onCreate role. - provide a hypen-seperated role name and save.
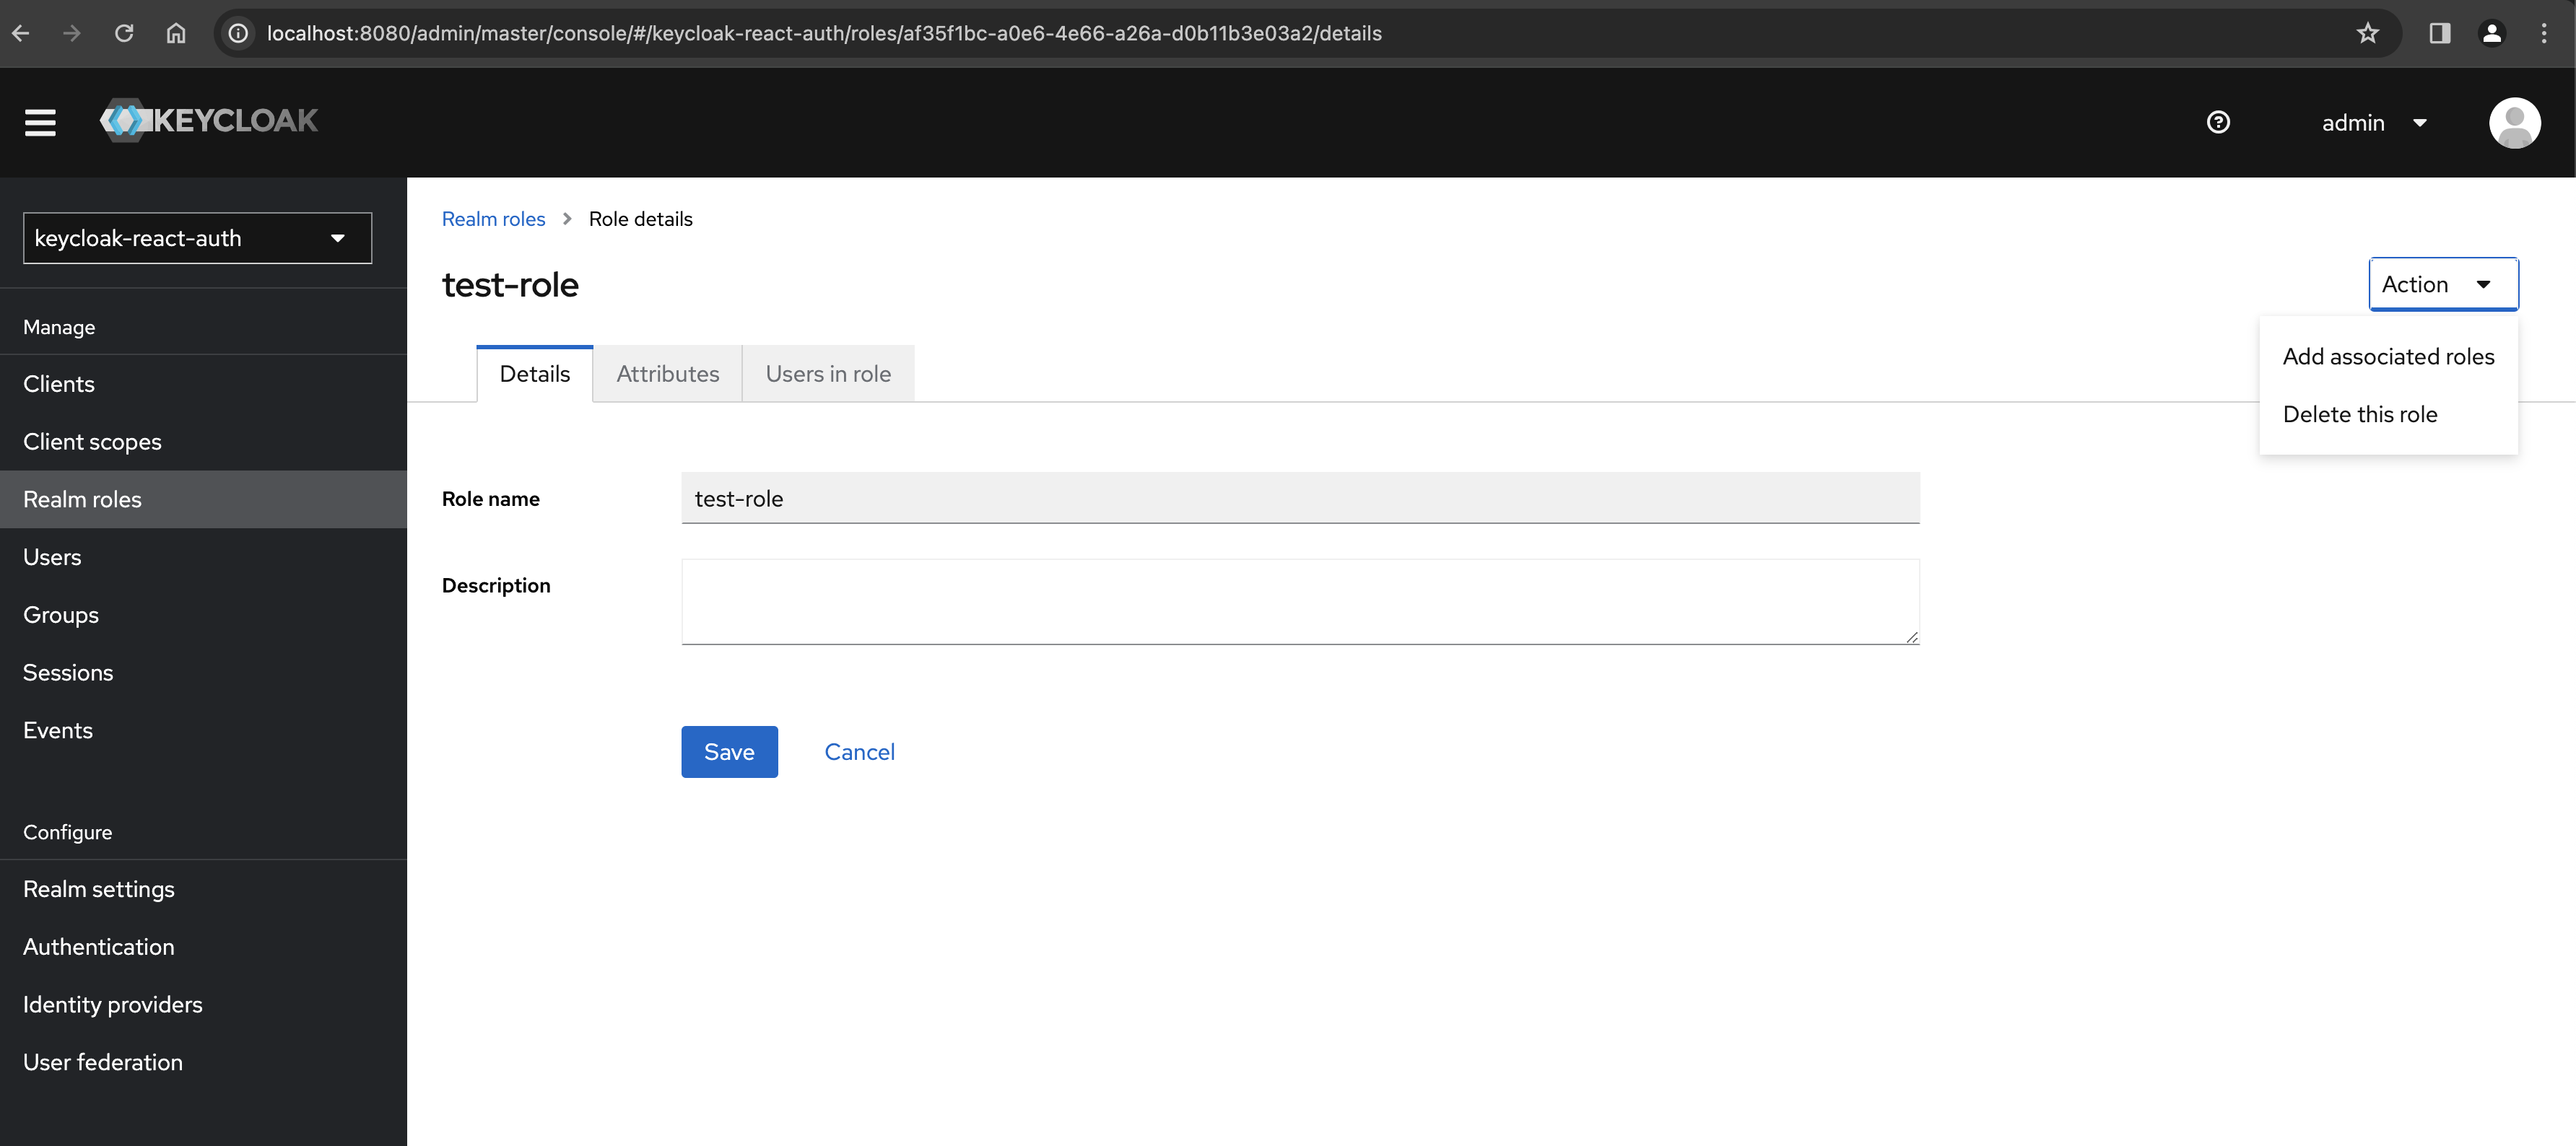
- to assign client roles to a given realm role, navigate to above role from the list of realm roles.
- click on
Actiondropdown in top-right corner and click onAdd associated roles - this opens a modal dialog with filter dropdown, search and list of roles
- click on filter and select
Filter by clients. this should show our client role which we created above along with defaults. - select our new client role and save.
- click on
- With this, we created a realm role and assigned some client roles to it.

- A user in keycloak is associated to realm role which in turn have specific set of permissions (client roles).
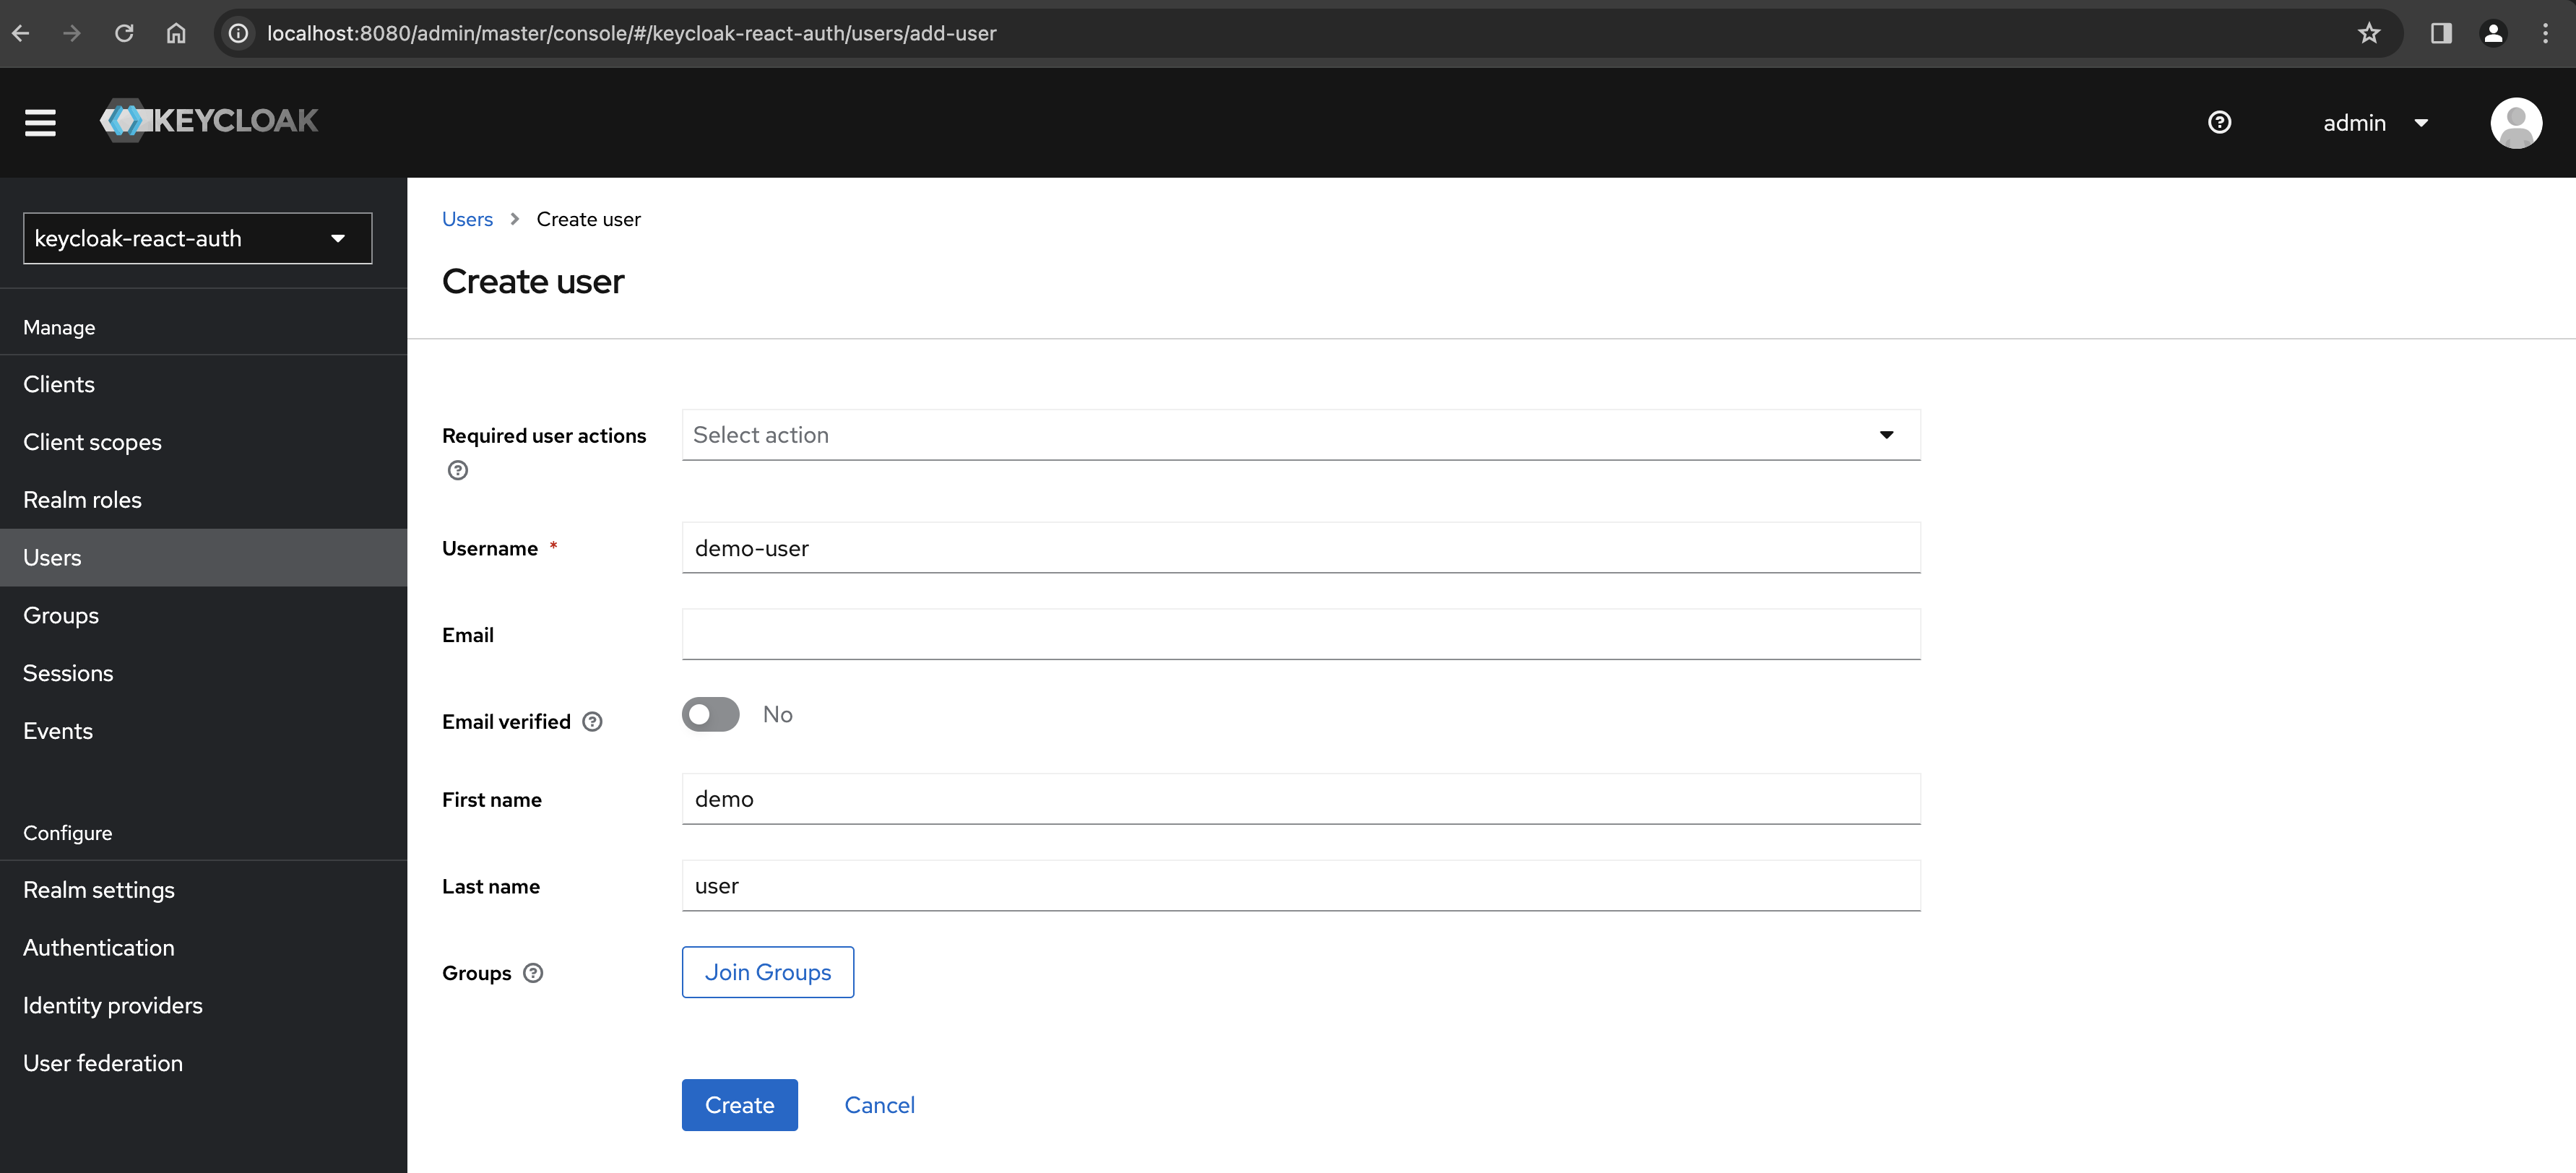
- To create a user, navigate to above realm and click on
Usersin side bar navigation. - Click on
Add user. provideusername,first name,last nameand ignore email verified. save user.
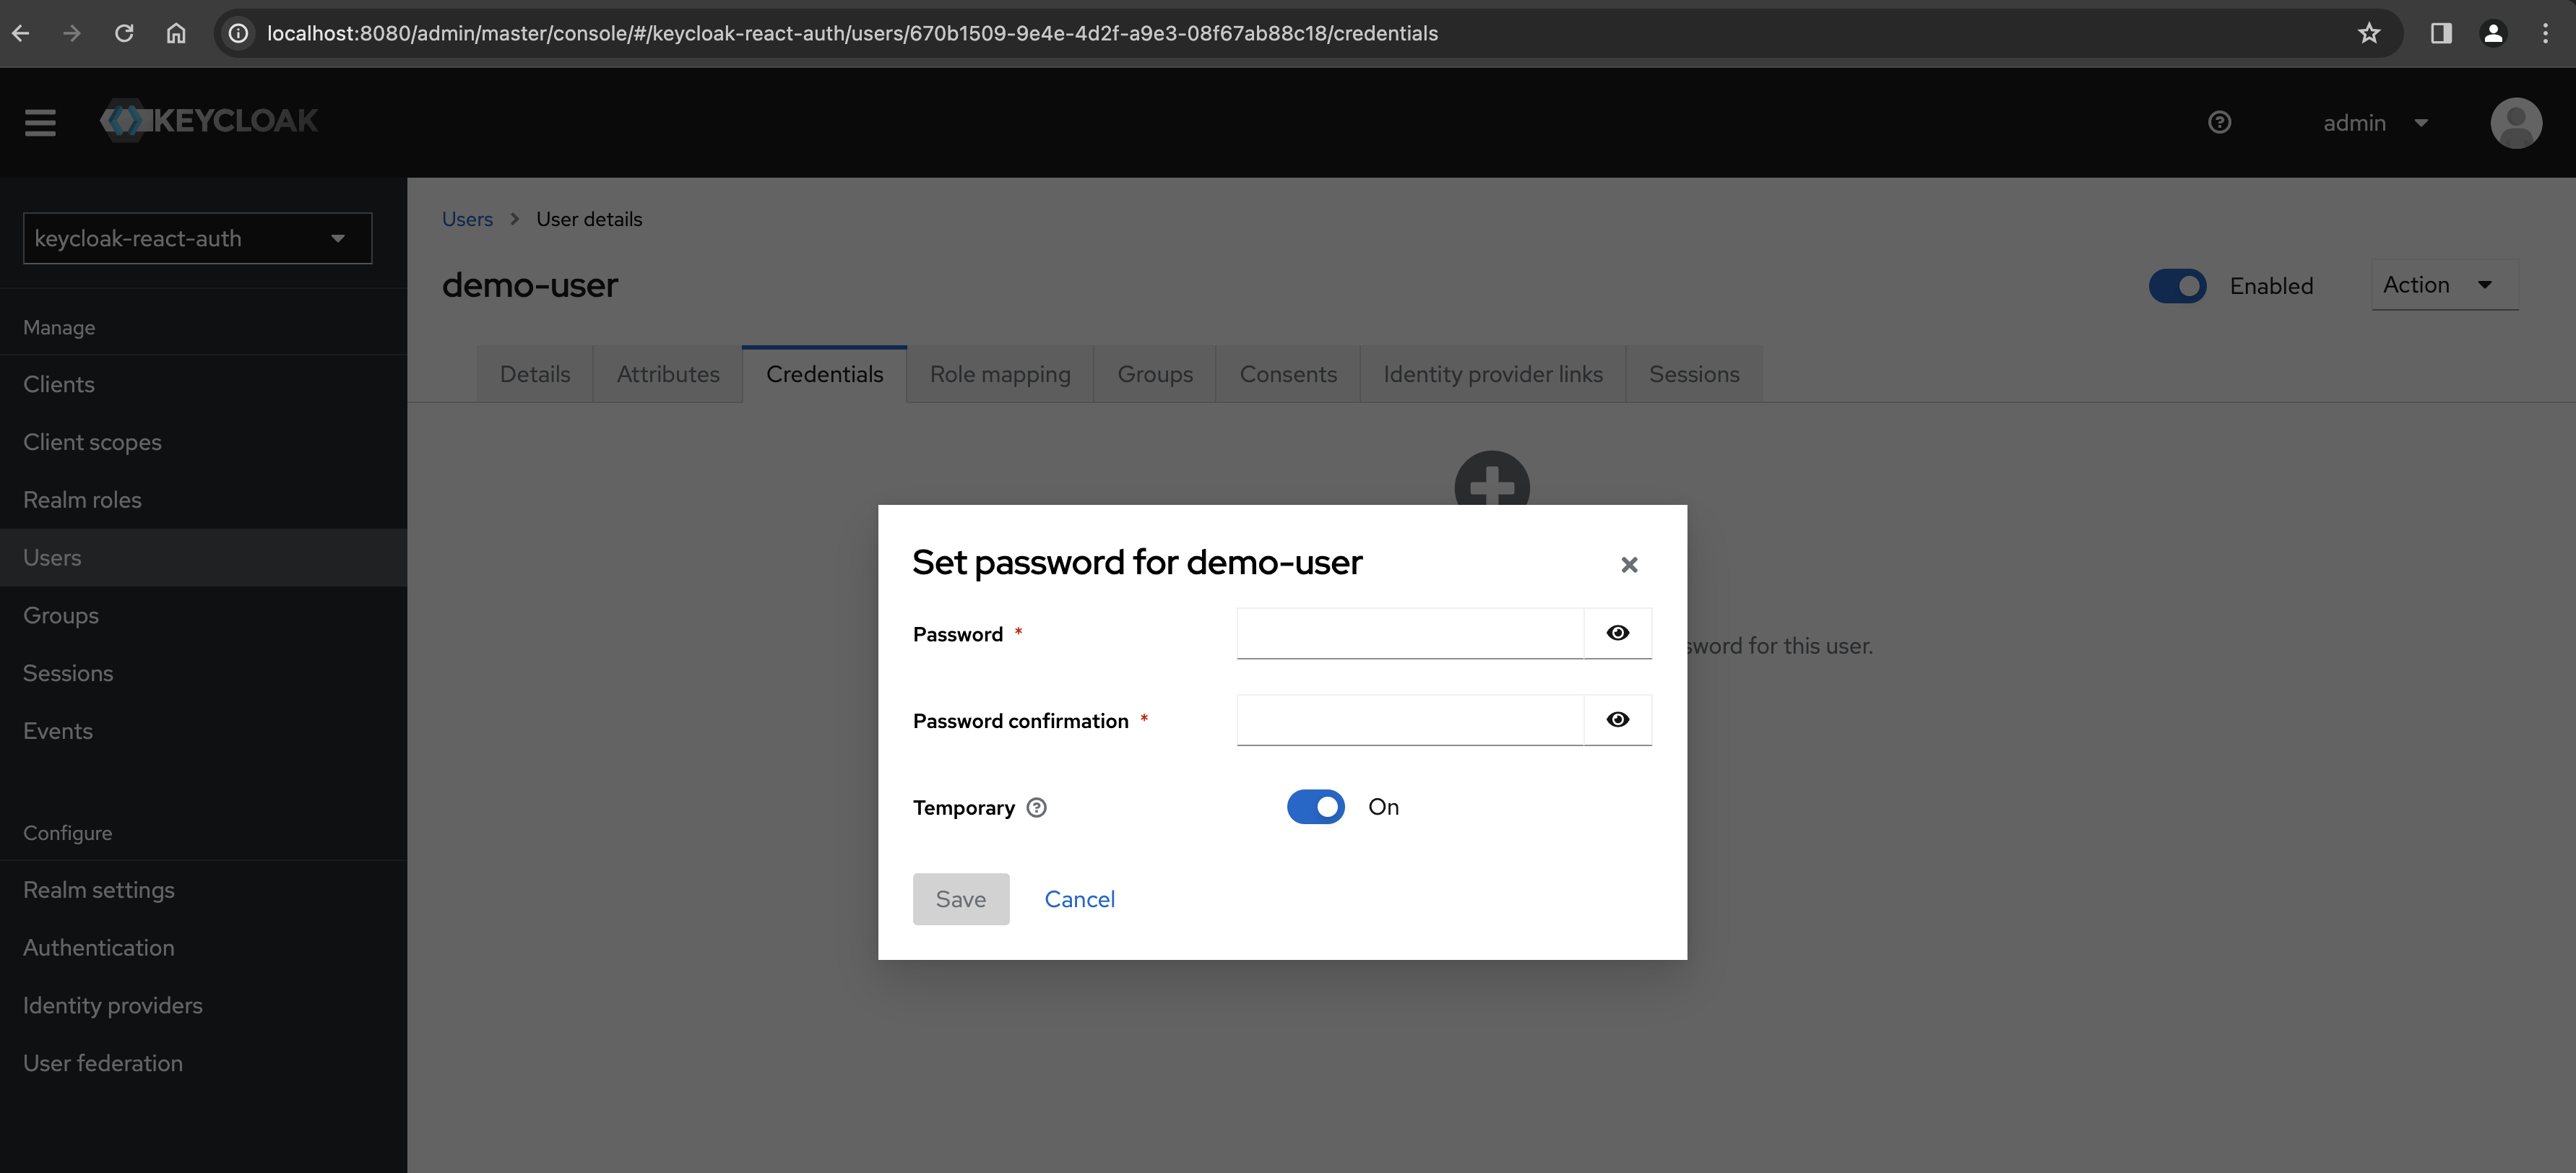
- To set up password for new user, navigate to new user from users list.
- navigate to
Credentialstab and add password
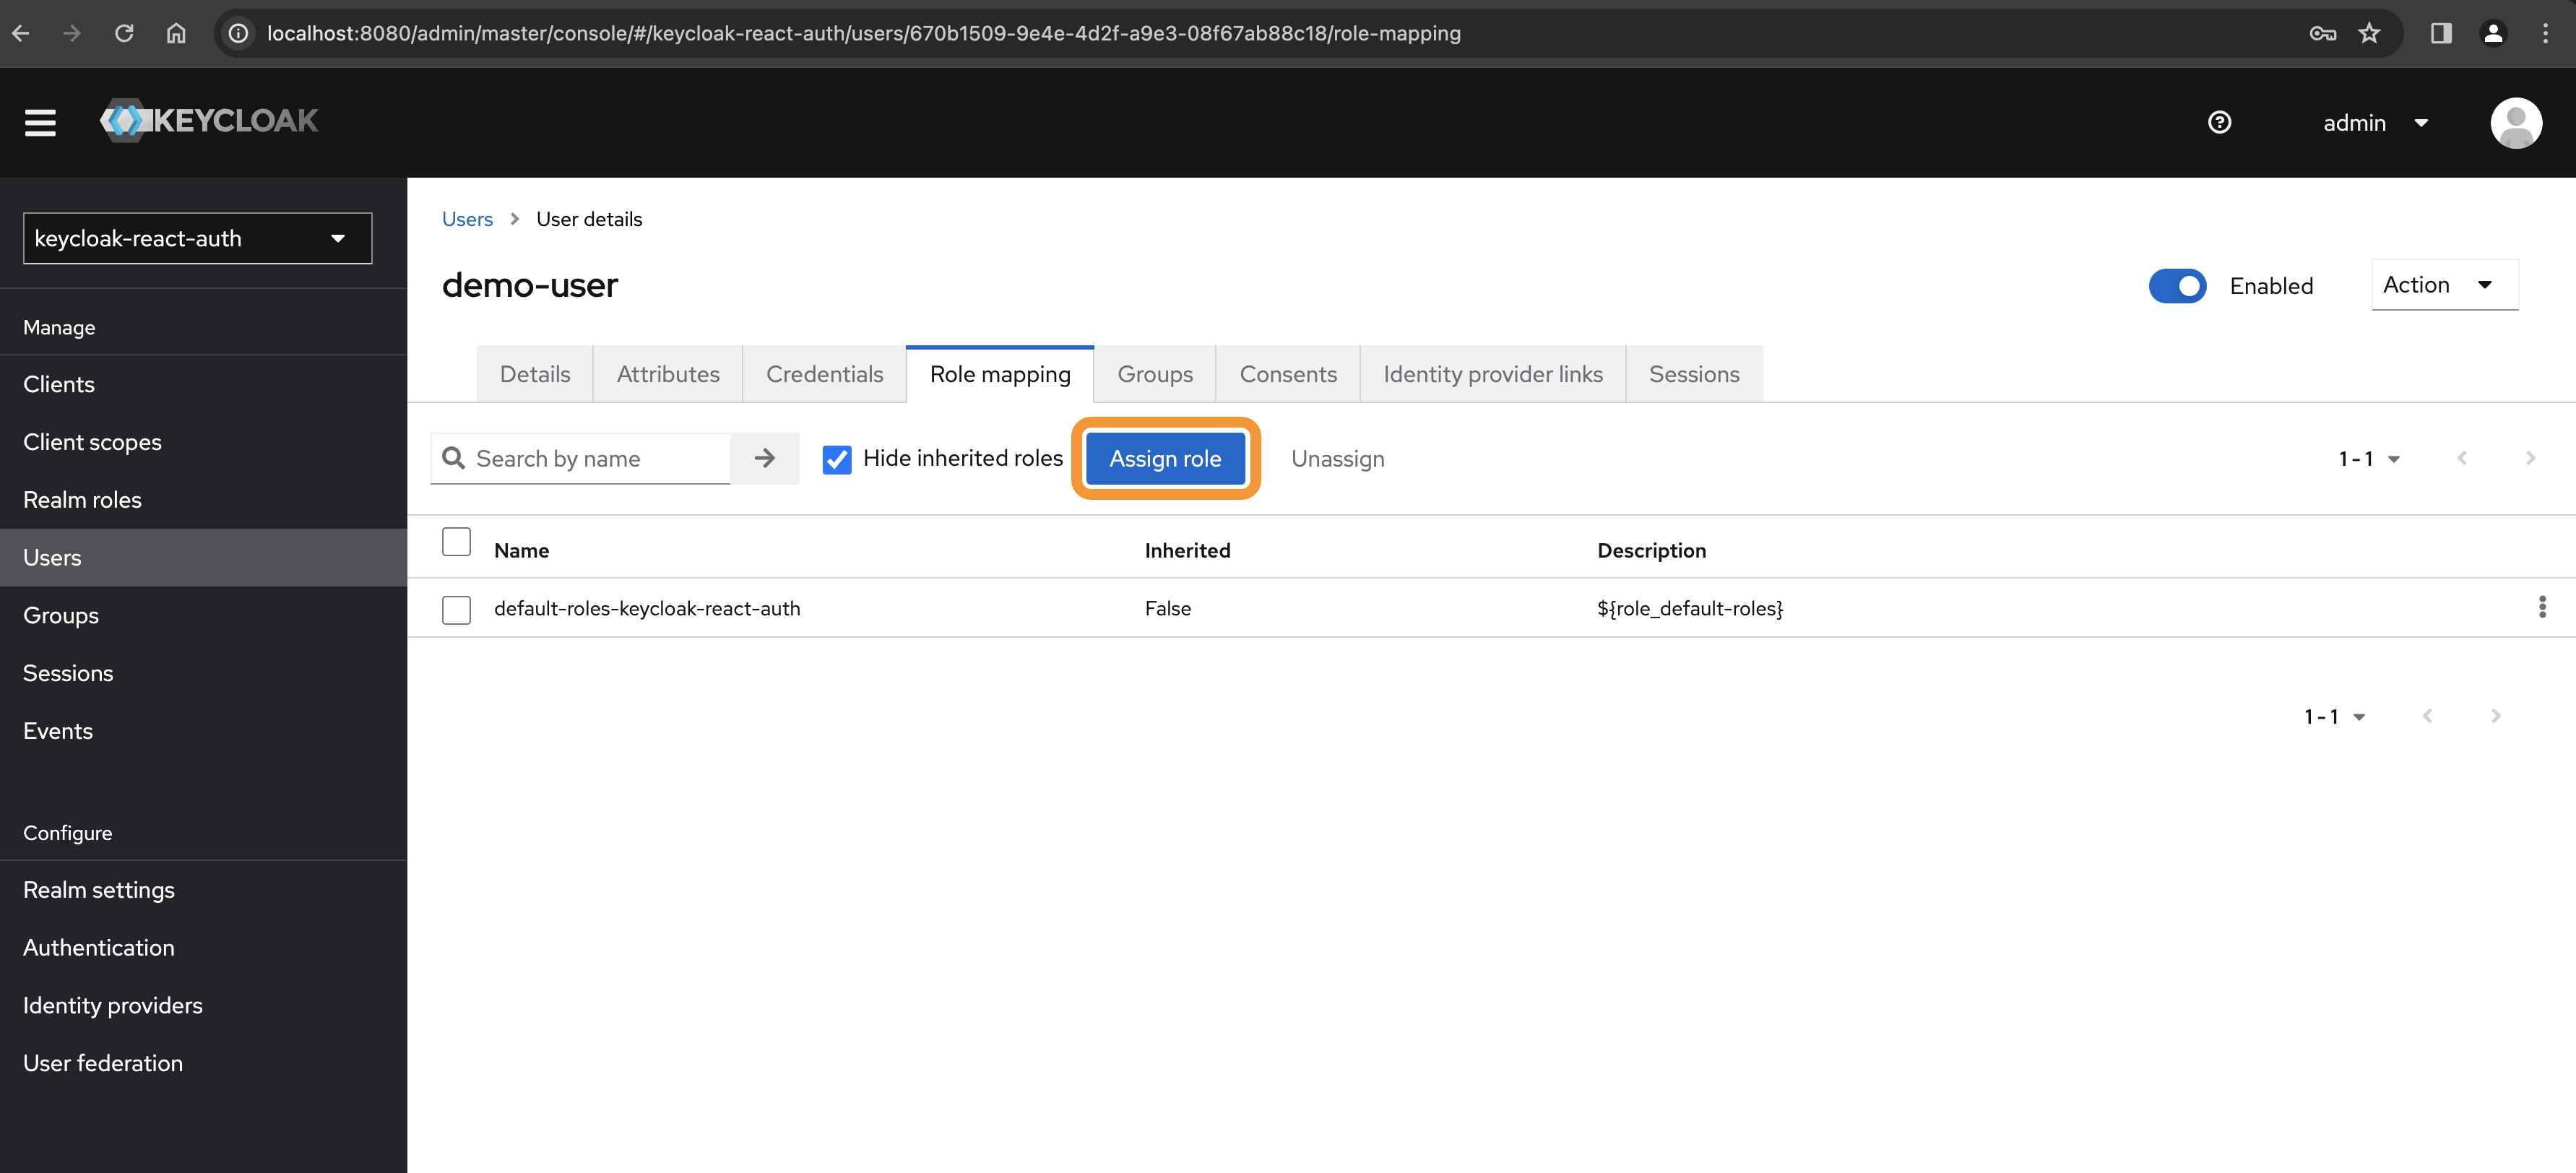
- To set a realm role, navigate to new user from users list.
- navigate to
Role mappingtab and click onAssign role - this opens a modal dialog with our realm role aloong with other default realm roles. select our realm role and save.
- with this, we created the user with specific role which has specific permissions.