Skip to content

Instantly share code, notes, and snippets.

@hugodahl
Last active February 8, 2021 02:03
Show Gist options
  • Save hugodahl/8b2c1e785bef5d4d82a446e4ba521d31 to your computer and use it in GitHub Desktop.
Save hugodahl/8b2c1e785bef5d4d82a446e4ba521d31 to your computer and use it in GitHub Desktop.
Running Adafruit_Blinka with the blinka_displayio_pygamedisplay library on macOS

About

Reasoning

This gist is to create the smallest necessary contents to create a Python environment on macOS that can support running the Adafruit_Blinka library along with the blinka_displayio_pygamedisplay library. This primary purpose for this is to shorten the feedback look when developing and testing graphical elements for CircuitPython. This allows the developer to work locally on their computer, without the need to have a CircuitPython hardware environment on-hand to do tests.

While this was created specifically ON and FOR macOS, it should work on any other platform compatible with Python3. If it doesn't, I'm afraid I will be of no help to you. However, if you provide feedback what what doesn't work, or what change is needed, I'm happy to incorporate it.

Process

The process to get this sample going is rather straightforward.

  1. Download the files from this gist
  • SimpleTest.py
  • CreateEnv.sh
  1. Put these files together in a directory where you'll be working from
  2. [Optional] Set the "execute" bit on CreateEnv.sh.
  3. Execute CreateEnv.sh
  • If you did step 3, all you should need to do is ./CreateEnv.sh
  • If you did not, you will need to call CreateEnv.sh with your prefered shell. Bash is assumed as a default.
  1. This will open the sample file in the system defined editor, from the $EDITOR environment variable, or its fallback.
  • Take this opportunity to review the file, but don't make any changes, to ensure the first run is succesful with the test script as-is).
  1. When you exit the editor, the script will run. You should see a window that is 320x200 pixels, with a pleasing blue colour to it. To exit the application, quit as you would any other application.

Key Notes

The key element here, particularly for macOS, are on lines #10, #25 and #28

  • Line #10: The value for the auto_refresh constructor parameter MUST be False.
  • Line #25: The "forever" loop MUST be the runtime of the display window.
  • Line #28: Calling display.refresh() is necessary to update the contents of the display window.

One more thing...

Since we've created a virtual environment (CreateEnv.sh line #12) and then unloaded it (line #28), it will no longer be active once the script is done running. To do more work in this environment, make sure you load (activate) the virtual environment using the command source ./.venv/bin/activate. When you're done, if you intend to keep your terminal open, use the command deactivate, which will unload (deactivate) the virtual environment.

You can find more information about virtual Python environments using virtualenv on the project's documentation page.

Thanks

A few notes of thanks and grartitude go to Adafruit for making such a wonderful ecosystem and community, to @foamyguy for the inspiration and "blinka_displayio_pygamedisplay" library, and the CircuitPython Community for help getting me going!

That's it!

Just remember to take your time, have fun, and you've got this! I have faith you can do it!

👍

#!/usr/bin/env bash
# Create and move into our working directory
mkdir DisplayTest
cp SimpleTest.py ./DisplayTest/
cd DisplayTest
# Create a virtual Python3 environment, to keep things sane
python3 -m virtualenv .venv
# Ensure we load our virtual environment
source ./.venv/bin/activate
# Required libraries to work with our sample
pip3 install --upgrade pip
pip3 install adafruit_blinka
pip3 install blinka_displayio_pygamedisplay
# "Let's rock" -Al Bundy
touch SimpleTest.py
$EDITOR SimpleTest.py
# "...and roll" -Me
python3 SimpleTest.py
# Then unload (deactivate) the virtual environment and keep things tidy.
# Follow instructions to load it anew
deactivate
import displayio
import time
import random
from adafruit_blinka import board
from blinka_displayio_pygamedisplay import PyGameDisplay
# The key here is "auto_refresh=False". Failing to do so will create a new thread
# for the rendering, and macOS (or the Python implementation for it) can only be
# performed on the main (UI) thread.
display = PyGameDisplay(width=320, height=240, auto_refresh=False)
splash = displayio.Group(max_size=10)
display.show(splash)
# Create a bitmap for us to work with on the display
color_bitmap = displayio.Bitmap(display.width, display.height, 1)
color_palette = displayio.Palette(1)
color_palette[0] = 0x2266DD
# Create outr sprite to display
bg_sprite = displayio.TileGrid(color_bitmap, pixel_shader=color_palette, x=0, y=0)
splash.append(bg_sprite)
# Must check display.running in the main loop, since this is a graphical application
while display.running:
# Repaint the display
display.refresh()
@kmatch98
Copy link

kmatch98 commented Feb 8, 2021

Hugo, huge thanks for writing up these instructions, I was able to get the blue screen on my Mac (running Big Sur). Yay!
Thanks for writing it up and making it easy to use!

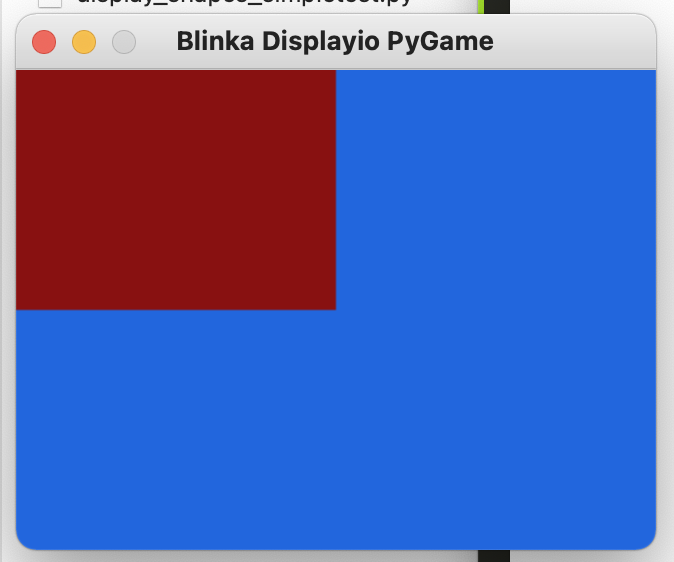
Here's with a red box added to the blue box. Success!
image


Two questions and one change I hade to make.

Question:

  1. I can't get it to find any of my libraries. Where do I store all my CircuitPython libraries so it will know where they are?
  2. After closing the pygame window with the red x, it closes the virtual environment automatically. How to I setup the script so it leaves the environment open so I can keep debugging with python3 CoolSnakes.py by typing it onto the command line?

Comment:

I had to add source .venv/bin/activate after creating the virtual environment. I found the instructions here, under the section called "Installing from PyPI".

Here's my CreateEnv.sh file.

#!/usr/bin/env  bash

# Create and move into our working directory
mkdir DisplayTest
cp SimpleTest.py ./DisplayTest/
cd DisplayTest

# Create a virtual Python3 environment, to keep things sane
python3 -m virtualenv .venv
source .venv/bin/activate

# Required libraries to work with our sample
pip3 install --upgrade pip
pip3 install adafruit_blinka
pip3 install blinka_displayio_pygamedisplay

# "Let's rock" -Al Bundy
touch SimpleTest.py
$EDITOR SimpleTest.py

# "...and roll" -Me
python3 SimpleTest.py

@hugodahl
Copy link
Author

hugodahl commented Feb 8, 2021

Oh, right on. I totally forgot to load the virtual environment 🤦 So of course PIP saved all libraries into the global cache. I'll update my script here to fix that.

The pitfalls of automatically loading and unloading virtual environments from one's shell 🙁

@kmatch98
Copy link

kmatch98 commented Feb 8, 2021

I added this to the top of my SimpleTest.py file to get it to add my current directory to the library. I suspect there is a better way to add some other location permanently so I don't have to put it in each file.

Another thing I noticed is that Blinka doesn't seem to work with .mpy files. I had to go to github and download the raw .py of the library files.

import sys
sys.path.append('./lib')

Sign up for free to join this conversation on GitHub. Already have an account? Sign in to comment