(AKA How to Correct Rolling Shutter in NukeX Without Plugins) – 11th December 2014
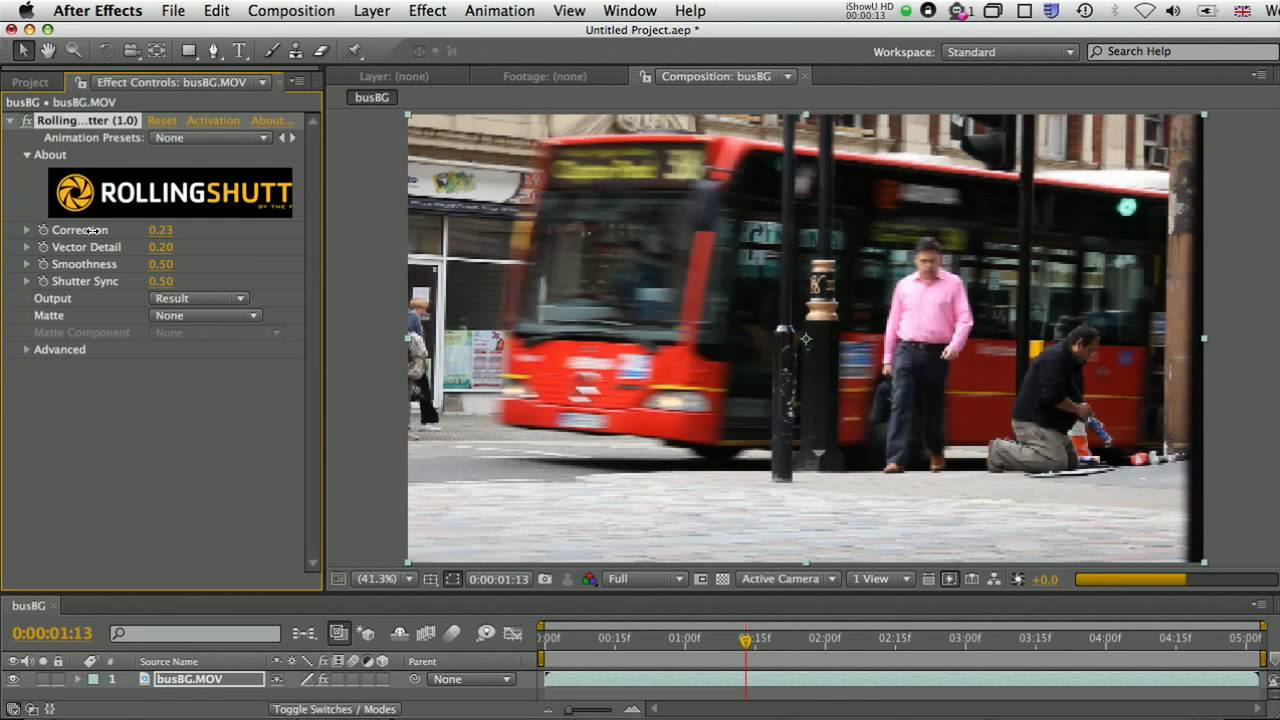
As you may know, The Foundry had a really good plugin for Nuke and After Effects called RollingShutter, used to try and remove the so-called effect that most of current cameras’ sensors introduce in the footage.
(VIDEO) RollingShutter - an introduction
Every other popular rolling shutter fix uses the “global skew” method mentioned in the video, even After Effects’ Warp Stabilizer and Rolling Shutter Repair in its default setting (the Pixel Motion mode suggests a more accurate approach). This method is fundamentally wrong unless the camera is just panning and nothing moves in the shot.
This is not to say that Warp stabilized footage doesn’t look good: in fact, RollingShutter sometimes introduces disgusting ripple artefacts around edges, while its counterparts don’t. But when it comes to matchmoving and compositing CG over real, knowing accurately where each part of the image would be in real life instead of a rough overall estimate, is key for a good result.1
 Exaggerated ripple artefact
RollingShutter has been discontinued. its latest Nuke version being released before Nuke 7. Even though it’s based on Kronos, it contains its own copy of it, which means that while Kronos technology keeps being improved, RollingShutter can’t take advantage of it. First it was GPU acceleration— I can live without that, but now Kronos 2 offers motion vectors with less artefacts.
Time to make our own improved RollingShutter.
| Original | RollingShutter | Proposed method |
|---|---|---|
 |
 |
 |
First of all let’s know the VectorGenerator node better. It generates motion vector fields, which are sets of two values per pixel (or channels) that tell where and how fast each pixel is moving: one for the horizontal axis (u), one for the vertical (v). VectorGenerator, however, creates two sets of vectors: forward and backward. Reading the online help or the user guide, we can find out what they mean:
- The backward vector field: the x and y offsets per pixel that, when applied to the previous frame in the sequence, allow you to reconstruct an approximation to the current frame.
- The forward vector field: the x and y offsets needed to transform the next frame into an approximation to the current one.
This is important, as it tells us these motion vectors are not meant to be applied to the frame they belong to, but to its neighbours. How do we ‘apply’ them though? With the IDistort node. Let’s try it:

Nuke copy/paste
set cut_paste_input [stack 0]
version 9.0 v1
BackdropNode {
 inputs 0
 name BackdropNode1
 label "Offset = 1\nGives previous frame"
 note_font_size 13
 selected true
 xpos -104
 ypos -101
 bdwidth 134
 bdheight 106
}
BackdropNode {
 inputs 0
 name BackdropNode2
 label "Offset = –1\nGives next frame"
 note_font_size 13
 selected true
 xpos 188
 ypos -103
 bdwidth 134
 bdheight 106
}
BackdropNode {
 inputs 0
 name BackdropNode3
 label "<center>
In 1’s rgb = out rgb\nThe rest is taken from in 2 automatically"
 note_font_size 13
 selected true
 xpos -105
 ypos 34
 bdwidth 430
 bdheight 106
}
BackdropNode {
 inputs 0
 name BackdropNode4
 label "UV channels = backward"
 note_font_size 13
 selected true
 xpos -106
 ypos 169
 bdwidth 149
 bdheight 102
}
BackdropNode {
 inputs 0
 name BackdropNode5
 label "UV channels = forward"
 note_font_size 13
 selected true
 xpos 177
 ypos 166
 bdwidth 149
 bdheight 102
}
BackdropNode {
 inputs 0
 name BackdropNode6
 label "Previous frame warped\nto look like current frame"
 note_font_size 13
 selected true
 xpos -108
 ypos 309
 bdwidth 141
 bdheight 89
}
BackdropNode {
 inputs 0
 name BackdropNode7
 label "Next frame warped\nto look like current frame"
 note_font_size 13
 selected true
 xpos 186
 ypos 307
 bdwidth 141
 bdheight 89
}
BackdropNode {
 inputs 0
 name BackdropNode8
 label "Current frame"
 note_font_size 13
 selected true
 xpos 66
 ypos 309
 bdwidth 93
 bdheight 90
}
BackdropNode {
 inputs 0
 name BackdropNode9
 label "They look mostly the same."
 note_font_size 13
 selected true
 xpos -107
 ypos 429
 bdwidth 437
 bdheight 58
}
push $cut_paste_input
VectorGenerator {
 motionEstimation Regularized
 Advanced 1
 Tolerances 1
 name VectorGenerator1
 selected true
 xpos 72
 ypos -77
}
set N37a7f80 [stack 0]
TimeOffset {
 time_offset -1
 time ""
 name TimeOffset2
 selected true
 xpos 217
 ypos -47
}
push $N37a7f80
clone node12490c490|ShuffleCopy|25917 ShuffleCopy {
 inputs 2
 in rgb
 in2 none
 red red
 green green
 blue blue
 out rgb
 name ShuffleCopy1
 selected true
 xpos 217
 ypos 88
}
set C2490c490 [stack 0]
IDistort {
 channels rgb
 uv forward
 name IDistort2
 selected true
 xpos 217
 ypos 222
}
Dot {
 name Dot3
 selected true
 xpos 251
 ypos 367
}
push $N37a7f80
Dot {
 name Dot1
 selected true
 xpos 106
 ypos 371
}
push $N37a7f80
TimeOffset {
 time_offset 1
 time ""
 name TimeOffset1
 selected true
 xpos -79
 ypos -42
}
push $N37a7f80
clone $C2490c490 {
 inputs 2
 xpos -79
 ypos 88
 selected true
}
IDistort {
 channels rgb
 uv backward
 name IDistort1
 selected true
 xpos -79
 ypos 222
}
Dot {
 name Dot2
 selected true
 xpos -45
 ypos 369
}
Great, this means we can make a frame resemble its next or previous neighbour. And what’s more, changing IDistort’s UV scale we can create intermediate frames, or otherwise said, estimate where everything was at a certain time in-between two recorded frames. This is what we need to correct rolling shutter.
Suppose that, in our footage, everything that moves to the right slants so its bottom is more to the right than its top. This means that the camera scans the frame from top to bottom, so by the time it captures the bottom pixels, the objects have already moved further to the right.
To compensate this, we want to mimic the effect of a shutter that scans the other way round: bottom to top. We could do so if we were able to change IDistort’s UV scale along the height of the image. And guess what, we can.

You may have already noticed that the UV scale is just a multiplier for the vectors’ intensity, we can see this clearly if we put a Multiply node before IDistort, with its channels set to motion, and change its value: it has the same effect as changing the UV scale. So the only thing we have to do is multiply the motion vectors by a linear vertical ramp.
As you can see in the diagram above, it doesn’t take the whole time there is from frame to frame for the sensor to scan, but a portion of it: there’s a gap in between, which means the ramp doesn’t have to go all the way up to 1, but to a smaller value that we don’t know. This value depends on the camera, but we can leave the ramp from 0 to 1 and use the UV scale to dampen it to the value our camera needs, once we’ve built everything.
So, to recap, the higher in the image the closer we want it to the next frame. To achieve this, we need to get the backwards vectors of the next frame, multiply them by a ramp that goes from 0 in the bottom to 1 in the top, and use the result to IDistort the current frame. Let’s do it:

Nuke copy/paste
set cut_paste_input [stack 0]
version 9.0 v1
BackdropNode {
 inputs 0
 name BackdropNode1
 label "Offset = –1\nGives next frame"
 note_font_size 13
 selected true
 xpos 163
 ypos -113
 bdwidth 103
 bdheight 90
}
BackdropNode {
 inputs 0
 name BackdropNode2
 label "In 1 = backward u,v\nOut = backward u,v\nCopies next frame’s backward vectors"
 note_font_size 13
 selected true
 xpos -8
 ypos -6
 bdwidth 216
 bdheight 94
}
BackdropNode {
 inputs 0
 name BackdropNode3
 label "Generates ramp in backward u,v\nFrom 0 in the bottom to 1 in the top\nInput is to make sure it inherits the frame’s dimensions\nYou can use Ramp node"
 note_font_size 13
 selected true
 xpos 127
 ypos 105
 bdwidth 310
 bdheight 112
}
BackdropNode {
 inputs 0
 name BackdropNode4
 label "backward = A’s backward * B’s backward"
 note_font_size 13
 selected true
 xpos -17
 ypos 240
 bdwidth 251
 bdheight 89
}
BackdropNode {
 inputs 0
 name BackdropNode5
 label "UV channels = backward\nUV scale = depends on cam"
 note_font_size 13
 selected true
 xpos 18
 ypos 347
 bdwidth 184
 bdheight 92
}
BackdropNode {
 inputs 0
 name BackdropNode6
 label "Set backward to 0"
 note_font_size 13
 selected true
 xpos 286
 ypos 21
 bdwidth 105
 bdheight 66
}
push $cut_paste_input
VectorGenerator {
 motionEstimation Regularized
 Advanced 1
 Tolerances 1
 name VectorGenerator1
 selected true
 xpos 63
 ypos -60
}
set N10ea2860 [stack 0]
TimeOffset {
 time_offset -1
 time ""
 name TimeOffset1
 selected true
 xpos 173
 ypos -56
}
push $N10ea2860
ShuffleCopy {
 inputs 2
 in backward
 in2 none
 red red
 green green
 blue blue
 out backward
 name ShuffleCopy1
 selected true
 xpos 63
 ypos 57
}
set N5e29a190 [stack 0]
Expression {
 channel0 backward
 expr0 y/(height-1)
 channel1 none
 channel2 none
 channel3 none
 name Expression1
 selected true
 xpos 196
 ypos 183
}
push $N5e29a190
Merge2 {
 inputs 2
 operation multiply
 Achannels backward
 Bchannels backward
 output backward
 name Merge1
 selected true
 xpos 63
 ypos 286
}
IDistort {
 channels rgb
 uv backward
 uv_scale 0.37
 name IDistort1
 selected true
 xpos 63
 ypos 403
}
push $N5e29a190
Shuffle {
 in backward
 red black
 green black
 out backward
 name Shuffle1
 selected true
 xpos 299
 ypos 57
}
Ramp {
 output backward
 p0 {0 0}
 p1 {0 {height}}
 name Ramp1
 selected true
 xpos 299
 ypos 176
}
And there you have it. Now it’s a matter of tweaking IDistort’s UV scale until nothing wobbles. This is the same as RollingShutter’s Correction knob. However, if you happen to have the plugin installed and want to compare results, you’ll see they don’t quite match. This is due to RollingShutter’s Shutter Sync knob, where 0 means the correction is done top to bottom, and 1, bottom to top, which is our case. So set that to 1 and you should see both solutions matching, and probably less artefacts with our method than with RollingShutter.
The less IDistorted a part of the image gets, the less prone to artefacts it will be. So now we are correcting in favour of the bottom of the frame, but depending on the footage, it can be better to make the top part stay more in place (equivalent to Shutter Sync set to 0). To get this, we would be using the previous frame’s forward vectors instead, and the ramp would be inverted.
RollingShutter permits a Shutter Sync between 0 and 1, and it would be a bit complex yet possible to implement that into our method, but when elements change direction quickly it gives an undesirable effect, so it’s not worth it really.
To reapply the rolling shutter effect to CG elements, or if your camera scans bottom to top, in RollingShutter you would just use a negative Correction value, but please don’t ever use a negative UV scale with our method. The correct way is to change the set of vectors being used, from the next frame’s backward vectors to the previous frame’s forward ones, or vice-versa.
As a final note, I tried changing VectorGenerator’s Motion mode to Local (the old one that RollingShutter uses), and the result was way poorer than RollingShutter, so it does do something else than what we just did. I’m guessing it has something to do with the Block Size and Warp Mode in RollingShutter’s Advanced tab, which aren’t present in VectorGenerator or IDistort. But thanks to Kronos 2 and its Regularized mode, the results are pretty comparable, if not better.
Footnotes
-
Some matchmoving software, such as 3DEqualizer, have built-in rolling shutter compensation for the calc/solve, so it would be best to use the raw footage instead. Similarly some renderers, RenderMan for example, are capable of rendering with rolling shutter, so no correction is needed for the final comp. Although it’s quite arguable whether this gives a better result than rendering normally and compositing over a corrected plate. ↩