Skip to content

Instantly share code, notes, and snippets.

View CodeXSky's full-sized avatar
🏠
Working from home

Le Song Hung CodeXSky

🏠
Working from home
View GitHub Profile
@CodeXSky
CodeXSky / Example.js
Created June 14, 2023 09:00 — forked from hungls-2814/Example.js
EIP-712 Signing
const ethUtil = require('ethereumjs-util');
const abi = require('ethereumjs-abi');
const chai = require('chai');
const typedData = {
types: {
EIP712Domain: [
{ name: 'name', type: 'string' },
{ name: 'version', type: 'string' },
{ name: 'chainId', type: 'uint256' },
@CodeXSky
CodeXSky / index.js
Created February 28, 2023 14:03 — forked from MagRelo/index.js
local websocket connection to ganache-cli
const Web3 = require('web3')
// *WRONG*
// const localProviderUrl = 'wss://localhost:8545'
// Result:
//
// connection not open on send()
// Error in subscription wss://localhost:8545
// Error: connection not open
@CodeXSky
CodeXSky / using-multiple-github-accounts-with-ssh-keys.md
Last active February 6, 2024 05:16 — forked from oanhnn/using-multiple-github-accounts-with-ssh-keys.md
Using multiple github accounts with ssh keys

Problem

I have two Github accounts: oanhnn (personal) and superman (for work). I want to use both accounts on same computer (without typing password everytime, when doing git push or pull).

Solution

Use ssh keys and define host aliases in ssh config file (each alias for an account).
How to?

  1. Generate ssh key pairs for accounts and add them to GitHub accounts.
@CodeXSky
CodeXSky / dydxFlashLoanTemplate.sol
Created March 30, 2022 15:37 — forked from cryptoscopia/dydxFlashLoanTemplate.sol
A single-file simplest possible template for a contract that obtains a flash loan from dydx, does things, and pays it back.
// SPDX-License-Identifier: AGPL-3.0-or-later
// The ABI encoder is necessary, but older Solidity versions should work
pragma solidity ^0.7.0;
pragma experimental ABIEncoderV2;
// These definitions are taken from across multiple dydx contracts, and are
// limited to just the bare minimum necessary to make flash loans work.
library Types {
enum AssetDenomination { Wei, Par }
@CodeXSky
CodeXSky / postgres-brew.md
Created March 22, 2021 15:54 — forked from ibraheem4/postgres-brew.md
Installing Postgres via Brew (OSX)

Installing Postgres via Brew

Pre-Reqs

Brew Package Manager

In your command-line run the following commands:

  1. brew doctor
  2. brew update
Key Sublime Text 3.2.1 Build 3207
----- BEGIN LICENSE -----
Member J2TeaM
Single User License
EA7E-1011316
D7DA350E 1B8B0760 972F8B60 F3E64036
B9B4E234 F356F38F 0AD1E3B7 0E9C5FAD
FA0A2ABE 25F65BD8 D51458E5 3923CE80
87428428 79079A01 AA69F319 A1AF29A4
A684C2DC 0B1583D4 19CBD290 217618CD
@CodeXSky
CodeXSky / For Mac 4.2.6 unlimited trial.md
Created December 30, 2020 06:51 — forked from rise-worlds/For Mac 4.2.6 unlimited trial.md
Beyond Compare 4 license for Windows, Mac, Linux

for 4.2.4 or higher,4.2.5,4.2.6 ,it's works , this is the way which makes Always in evaluation mode 。

  1. go to the dir : /Applications/Beyond Compare.app/Contents/MacOS
  2. change the name BCompare to BCompare.bak
  3. touch a file name BCompare , and chmod a+u BCompare
  4. insert BCompare the content :
#!/bin/bash
rm "/Users/$(whoami)/Library/Application Support/Beyond Compare/registry.dat"
"`dirname "$0"`"/BCompare.bak $@
@CodeXSky
CodeXSky / iterm2-solarized.md
Created December 3, 2020 08:56 — forked from kevin-smets/iterm2-solarized.md
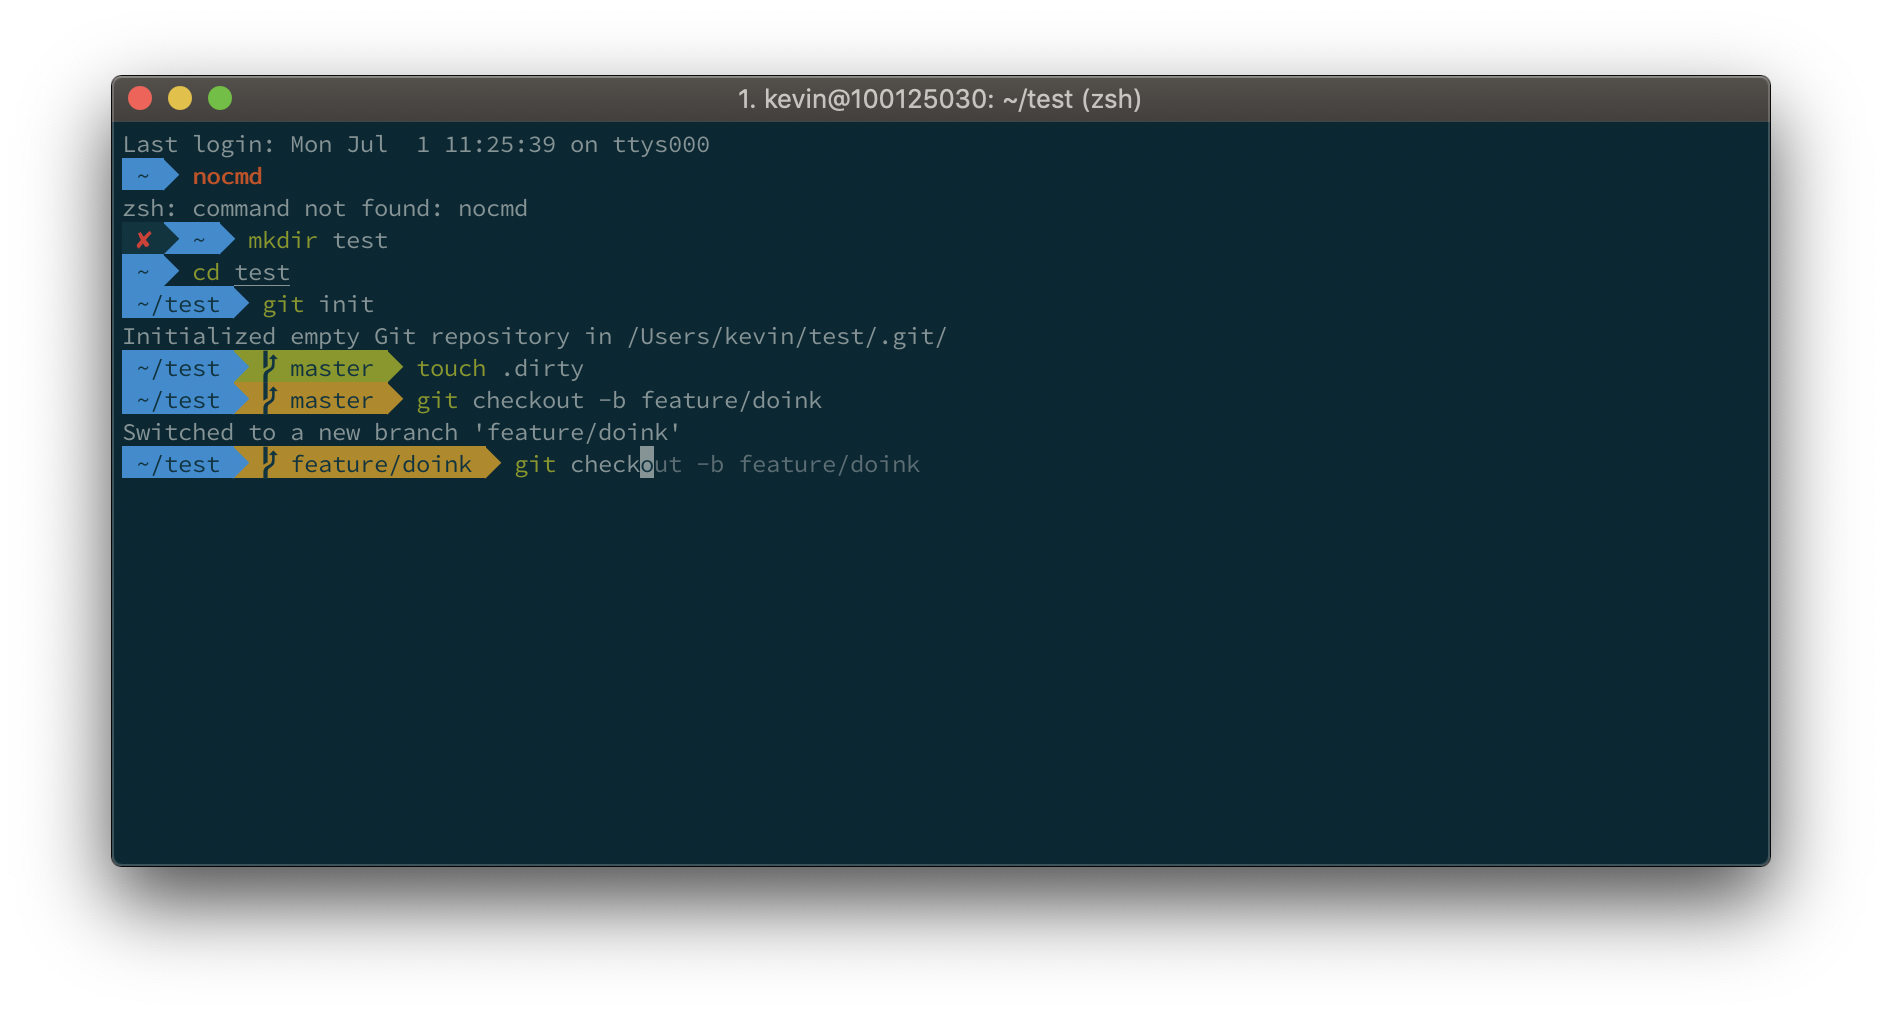
iTerm2 + Oh My Zsh + Solarized color scheme + Source Code Pro Powerline + Font Awesome + [Powerlevel10k] - (macOS)

Default

Default

Powerlevel10k

Powerlevel10k

@CodeXSky
CodeXSky / ubuntu_agnoster_install.md
Created December 2, 2020 02:36 — forked from renshuki/ubuntu_agnoster_install.md
Ubuntu 16.04 + Terminator + Oh My ZSH with Agnoster Theme

Install Terminator (shell)

sudo add-apt-repository ppa:gnome-terminator
sudo apt-get update
sudo apt-get install terminator

Terminator should be setup as default now. Restart your terminal (shortcut: "Ctrl+Alt+T").

Install ZSH

@CodeXSky
CodeXSky / ngrok-installation.md
Created September 23, 2020 02:57 — forked from wosephjeber/ngrok-installation.md
Installing ngrok on Mac

Installing ngrok on OSX

brew cask install ngrok

Using ngrok

The easiest way to use ngrok to tunnel into your localhost is if your local project is running on a specific port (e.g. not using named vhosts). You just run ngrok http [port number].

You can quickly boot up a local webserver using ruby. cd into the project's root directory and run ruby -run -e httpd . -p [port number].