(本教程基于此 this pastebin 文档编写, 并且适合于 Yosemite 正式版)
(免责声明: 本教程旨在说明如何在 VirtualBox 中运行 Mac OS X 操作系统, 并且本系统仅供测试使用.)
-
本教程需要在 Mac OS X 环境下操作
-
安装 VirtualBox
-
从 App Store 下载 Yosemite
-
打开 Terminal.app
-
安装
iesd工具, 来自定义 OS X InstallESD 镜像:
gem install iesd -
从 App 提取 BaseSystem 安装镜像:
iesd -i "/Applications/Install OS X Yosemite.app" -o yosemite.dmg -t BaseSystem
事实上,完成第 6 步之后生成的 dmg 文件,就可以引导 VirtualBox 了,直接从第 15 步开始安装就行了。 -
将镜像转换为 UDSP (sparse image) 格式:
hdiutil convert yosemite.dmg -format UDSP -o yosemite.sparseimage -
挂载 InstallESD 镜像
hdiutil mount "/Applications/Install OS X Yosemite.app/Contents/SharedSupport/InstallESD.dmg" -
挂载 sparse 镜像:
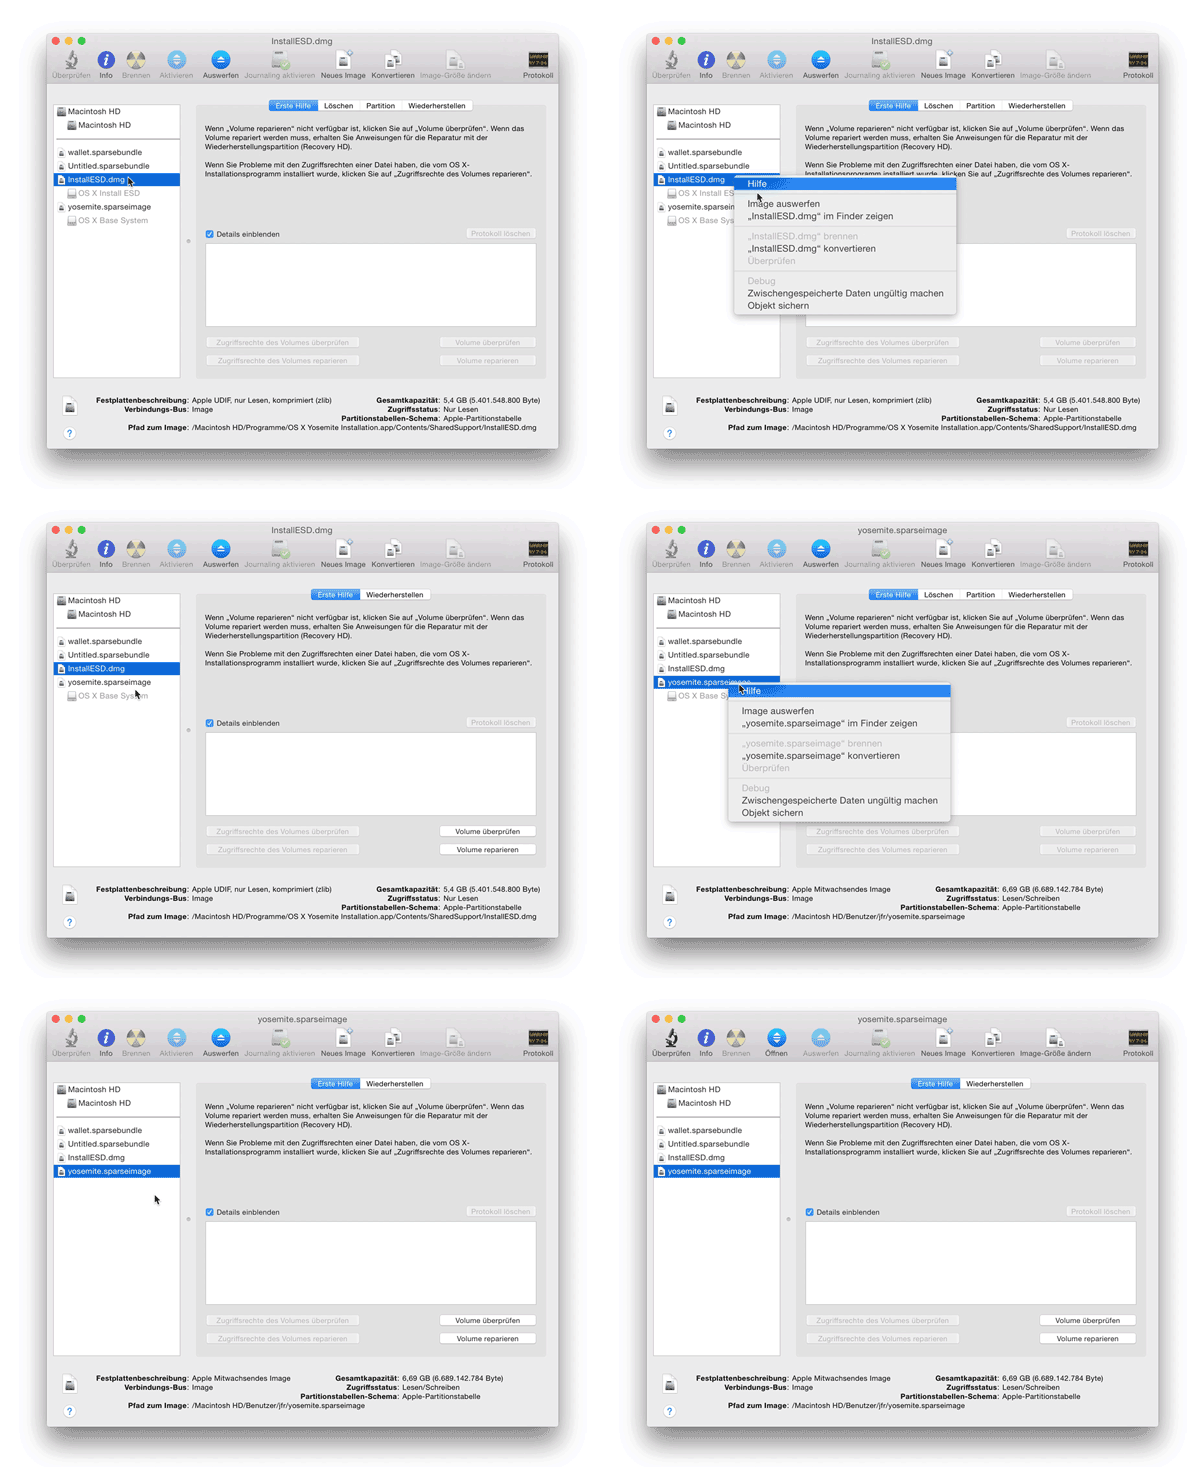
hdiutil mount yosemite.sparseimage -
拷贝 base system 到 sparse 镜像中:
cp "/Volumes/OS X Install ESD/BaseSystem."* "/Volumes/OS X Base System/" -
卸载 InstallESD 镜像
hdiutil unmount "/Volumes/OS X Install ESD/" -
卸载 sparse 镜像:
hdiutil unmount "/Volumes/OS X Base System/" -
卸载已挂载的磁盘:
- via
diskutil:
diskutil unmountDisk $(diskutil list | grep "OS X Base System" -B 4 | head -1)
diskutil unmountDisk $(diskutil list | grep "OS X Install ESD" -B 4 | head -1) - 第十二步, 如果返回 "resource busy" 消息, 请尝试使用 Disk Utility:
- 将 sparse 镜像转换为 UDZO 格式 (compressed image):
hdiutil convert yosemite.sparseimage -format UDZO -o yosemitefixed.dmg
以上步骤不再需要执行,因为 dmg 文件已包含 BaseSystem.*
14. 添加 yosemitefixed.dmg 镜像到 VirtualBox
15. 修改虚拟机芯片组为 "PIIX3"
16. GNU/Linux 需要手动执行以下命令来设置 VM 的 CPUID, 型号, 版本, SMC 等信息才能正常启动 Mac OS X (感谢@liar666):
VBoxManage modifyvm "YourVMname" --cpuidset 00000001 000306a9 04100800 7fbae3ff bfebfbff
VBoxManage setextradata "YourVMname" "VBoxInternal/Devices/efi/0/Config/DmiSystemProduct" "MacBookPro11,3"
VBoxManage setextradata "YourVMname" "VBoxInternal/Devices/efi/0/Config/DmiSystemVersion" "1.0"
VBoxManage setextradata "YourVMname" "VBoxInternal/Devices/efi/0/Config/DmiBoardProduct" "Iloveapple"
VBoxManage setextradata "YourVMname" "VBoxInternal/Devices/smc/0/Config/DeviceKey" "ourhardworkbythesewordsguardedpleasedontsteal(c)AppleComputerInc"
VBoxManage setextradata "YourVMname" "VBoxInternal/Devices/smc/0/Config/GetKeyFromRealSMC" 1
17. 启动虚拟机, 打开内置的 Disk Utility 并在虚拟盘创建新的 HFS+ 分区
18. 安装, 即可!
安装 BeamOff.app 禁用 beam 同步, 提高图形重绘速度.
安装以后可以有效解决虚拟机卡顿的问题, 速度与物理机无恙.
请尝试重新安装 VirtualBox 修复此问题
尝试使用以下步骤修复此问题:
- 关闭虚拟机
- 打开终端
- 执行以下命令调整客户机 CPUID:
VBoxManage modifyvm 'YourVMname' --cpuidset 1 000206a7 02100800 1fbae3bf bfebfbff
由于 VirtualBox 未提供 Mac OS X 客户机的增强包, 因此存在不能自动调整分辨率, 不能设置共享文件夹, 声卡无驱动等问题, 不过虚拟机稳定性好于 VMware. VMware 能够安装 VMtools, 可使用增强功能, 不过目前声卡驱动与系统存在冲突, 时常造成 core dump, 其他方面 VMware 和 VirtualBox 都是比较完美的.

