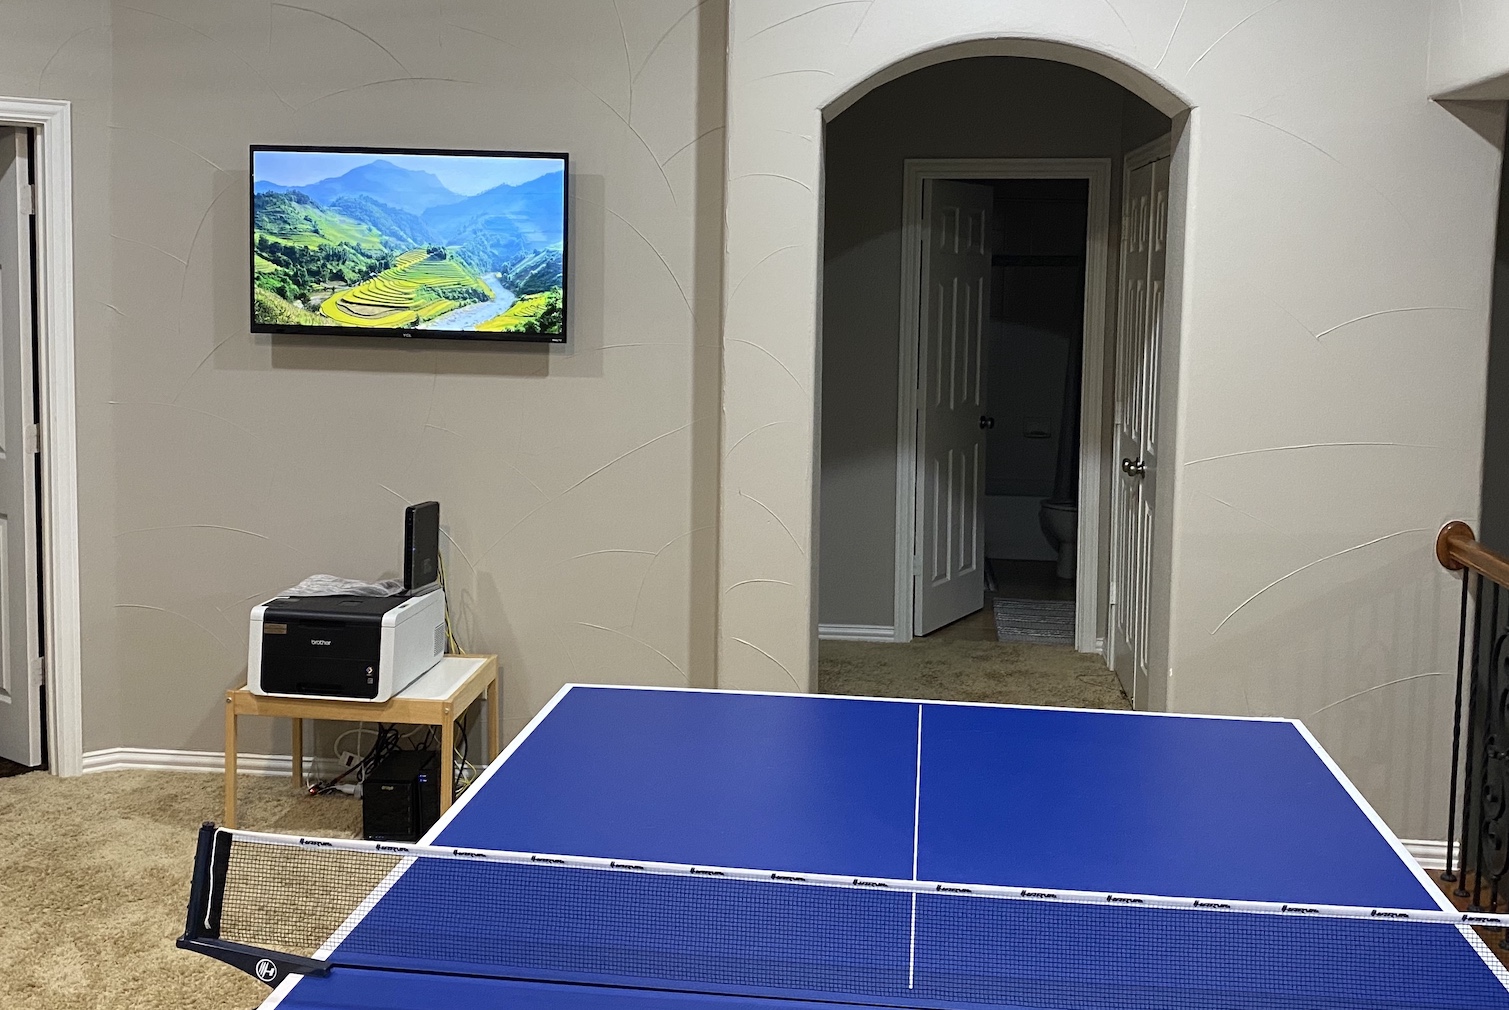
I like to have a Raspberry Pi computer set up as a digital Vision Board, which is also the same as a photo frame or slideshow.
Assuming you already have a Raspberry Pi, even the original RPi 1 will work, and have it set up with Rasberrian OS and can SSH into it.
# install the FEH image viewer
sudo apt-get install --yes feh

# make a directory for the images
mkdir -p ~/vision-board/imgs
Copy the images you want displayed to the RPi's ~/vision-board/imgs folder anyway you like. Here's what I like to use...
# from my laptop
# I've added an entry in my ~/.ssh/config to name the RPi 'tara' so I can 'ssh tara'
# If you don't do this, replace tara below with pi@[ipaddress] for your RPi
rsync -avh --delete "~/vision-board/imgs" tara:vision-board/imgs# test from the RPi
feh -F -Z -Y -D5 --recursive /home/pi/vision-board/imgsSome common feh options...
-F             full-screen
-Z             zoom picture to fit screen
-D #           display each image for # seconds
-z             randomize the image order
--recursive    show images in the folder or below
--auto-rotate  automatically roate images (only if compiled with exif=1)
Create a script to run the slideshow. This script could also be run from a remote SSH session to start the slideshow on the RPi because
Edit ~/vision-board/slideshow.sh in your favorite editor and add these lines
#!/bin/bash
export DISPLAY=:0.0; XAUTHORITY=/home/pi/.Xauthority feh -F -Z -Y -D5 --recursive --auto-rotate /home/pi/vision-board/imgs &
Make script executable
chmod +x ~/vision-board/slideshow.shIf your RPi is set to launch into the Raspberry Pi GUI desktop, do this to make the slide show launch automatically
Edit /home/pi/.config/autostart/autostartslideshow_image_changer.desktop and add:
[Desktop Entry]
Type=Application
Name=Slideshow Image Changer
Comment=Slideshow Image Changer
Exec=/home/pi/vision-board/slideshow.sh
Terminal=true
By default the RPi will shut off the monitor after 10 minutes. This will keep the monitor on.
- Edit
/etc/lightdm/lightdm.conf - Under
[SeatDefaults]: - Add the line:
xserver-command=X -s 0 -dpms
- If running on a TV, remember to check the overscan settings:
sudo raspi-config> Advanced Options > Overscan
That's it! Enjoys =)
Thanks to these helpful predecessors. Much has changed with the RPi over the years, but their bits and pieces helped me pull together the current set of instructions above.
