Friends who have some knowledge of digital currency should know about Binance. Binance recently launched a blockchain that is compatible with Ethereum (EVM) and runs smart contracts, called Binance Smart Chain. This chain uses proof of stack alliance (POSA) to conduct node election and consistency verification. Participants use BNB mortgage to participate. If the verification transaction is successful, a valid block is proposed, and the transaction fee in the block will be charged.
What we, at WhiteMatrix Academy want to introduce today is how to deploy a smart contract on BSC using Binance IDE and Metamask.

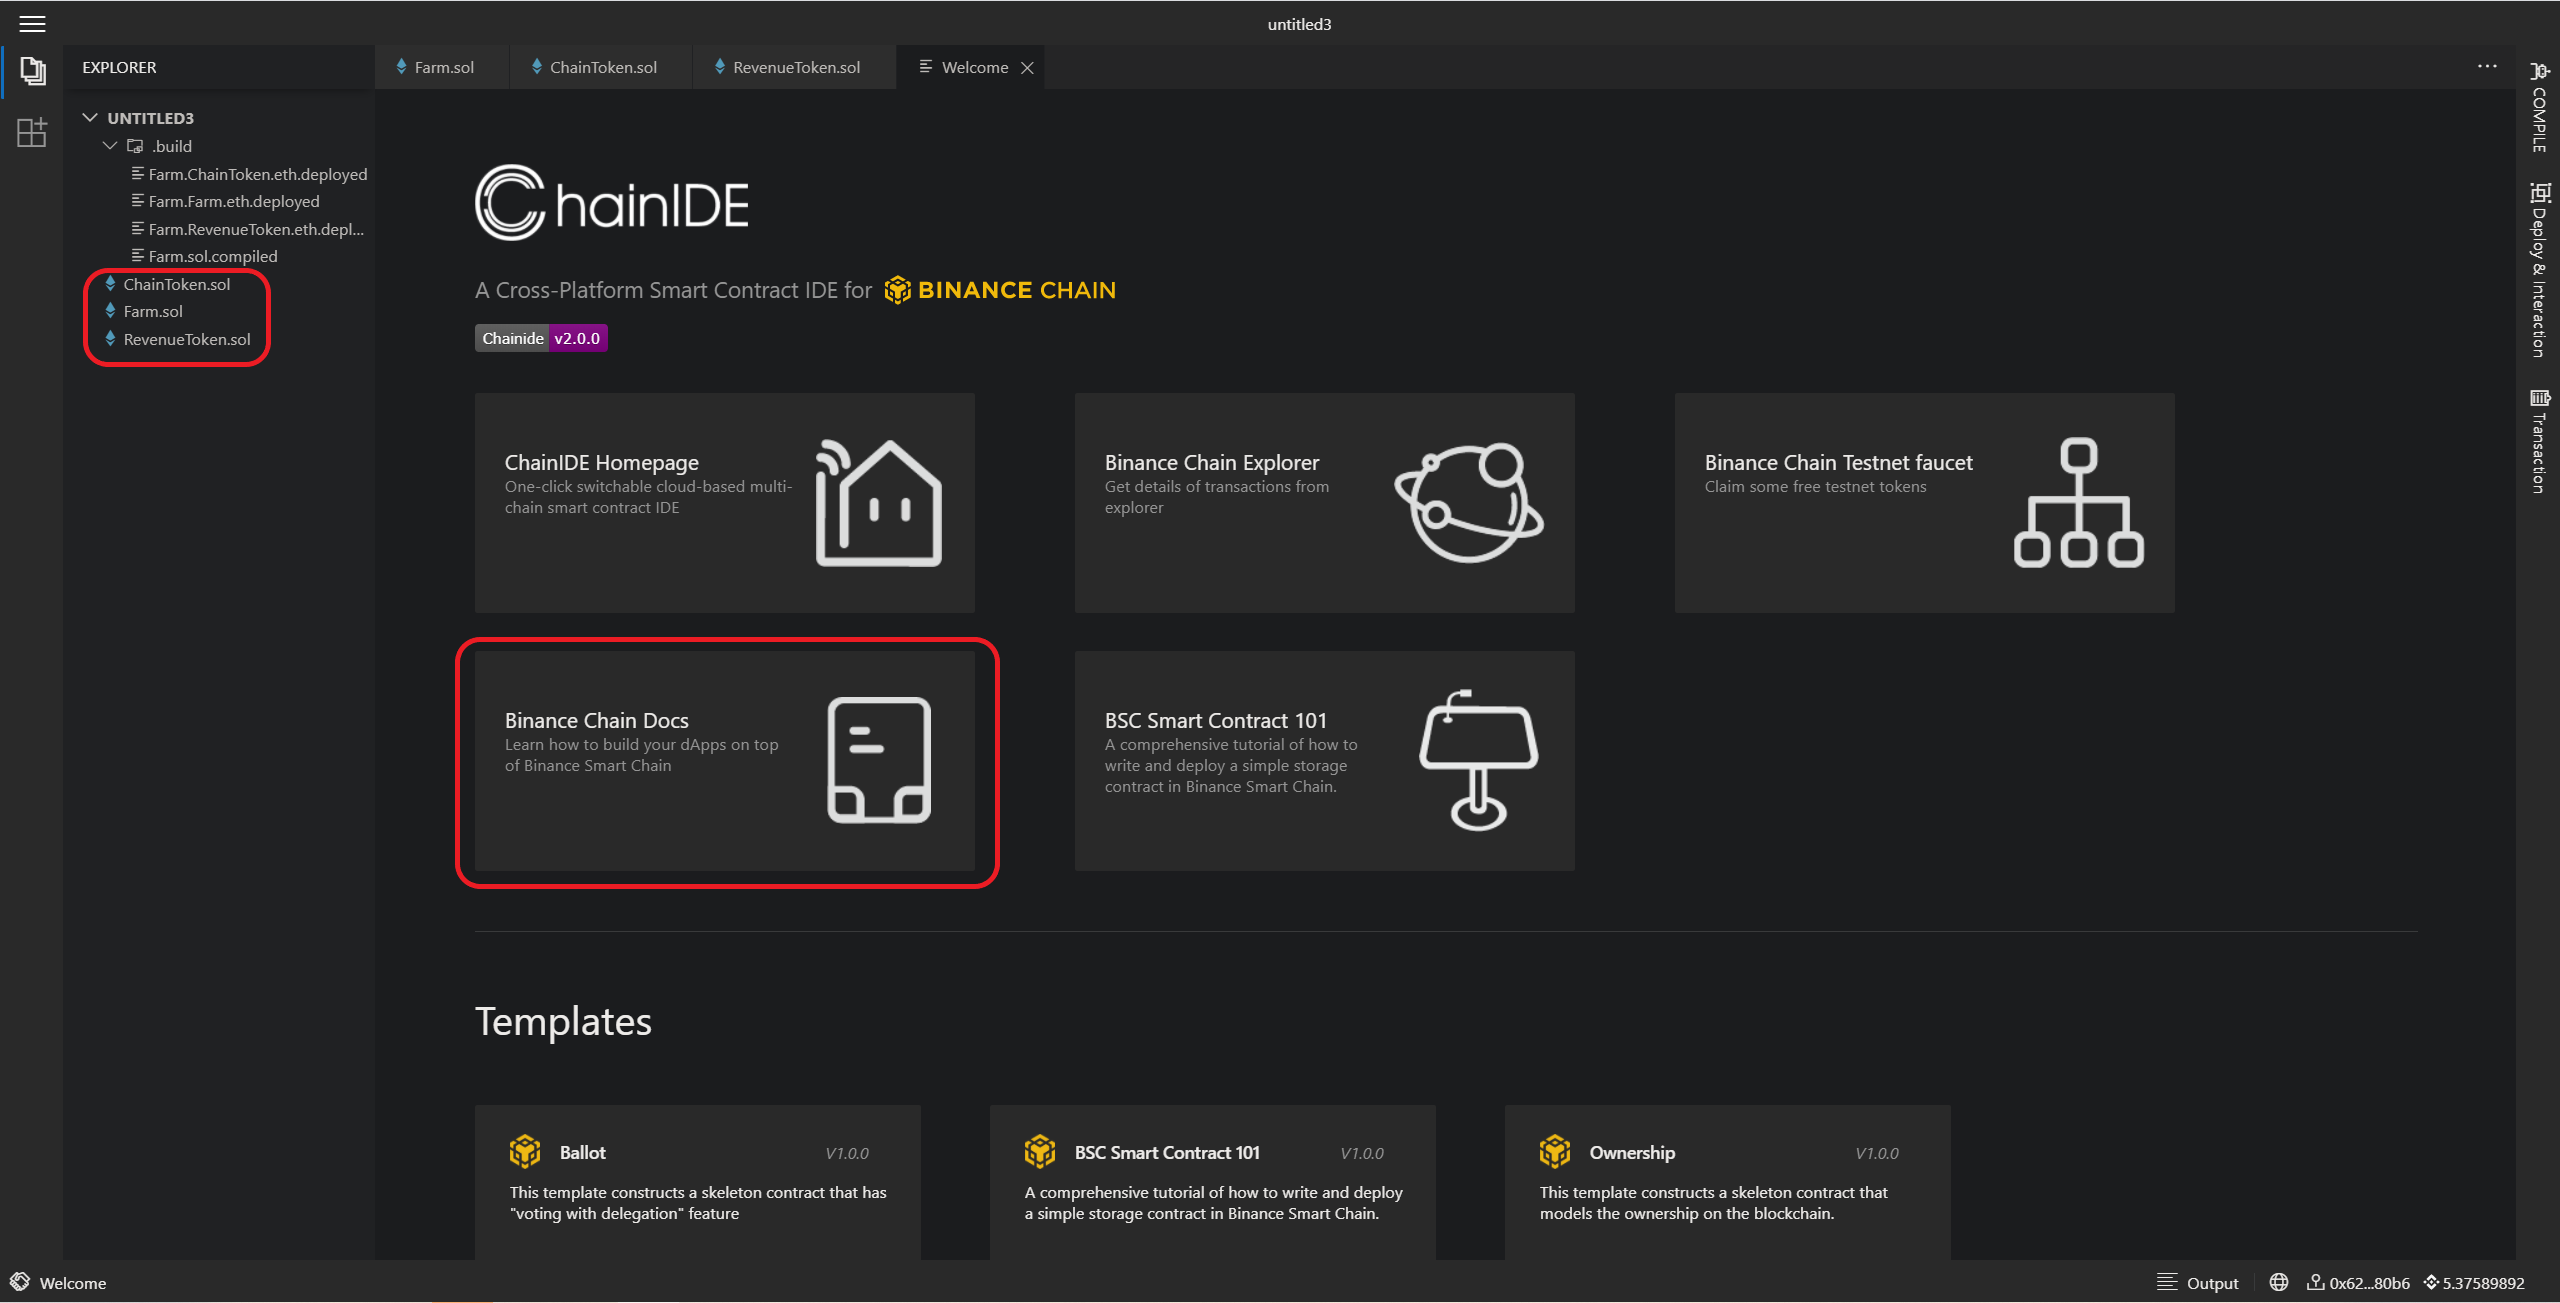
First of all, after entering the website, we first find out how to create a new project. In the blue box on the left, it says Create Project. After clicking it, it will jump to a new project.

Here we can see that two files will be automatically generated. The above is the type reference for ERC20 (githubImport.sol), and the following is a simple smart contract for deposit and withdrawal. I will post the contents of the contract here to let everyone know.

The contract includes a variable and two functions, which correspond to writing and reading respectively.

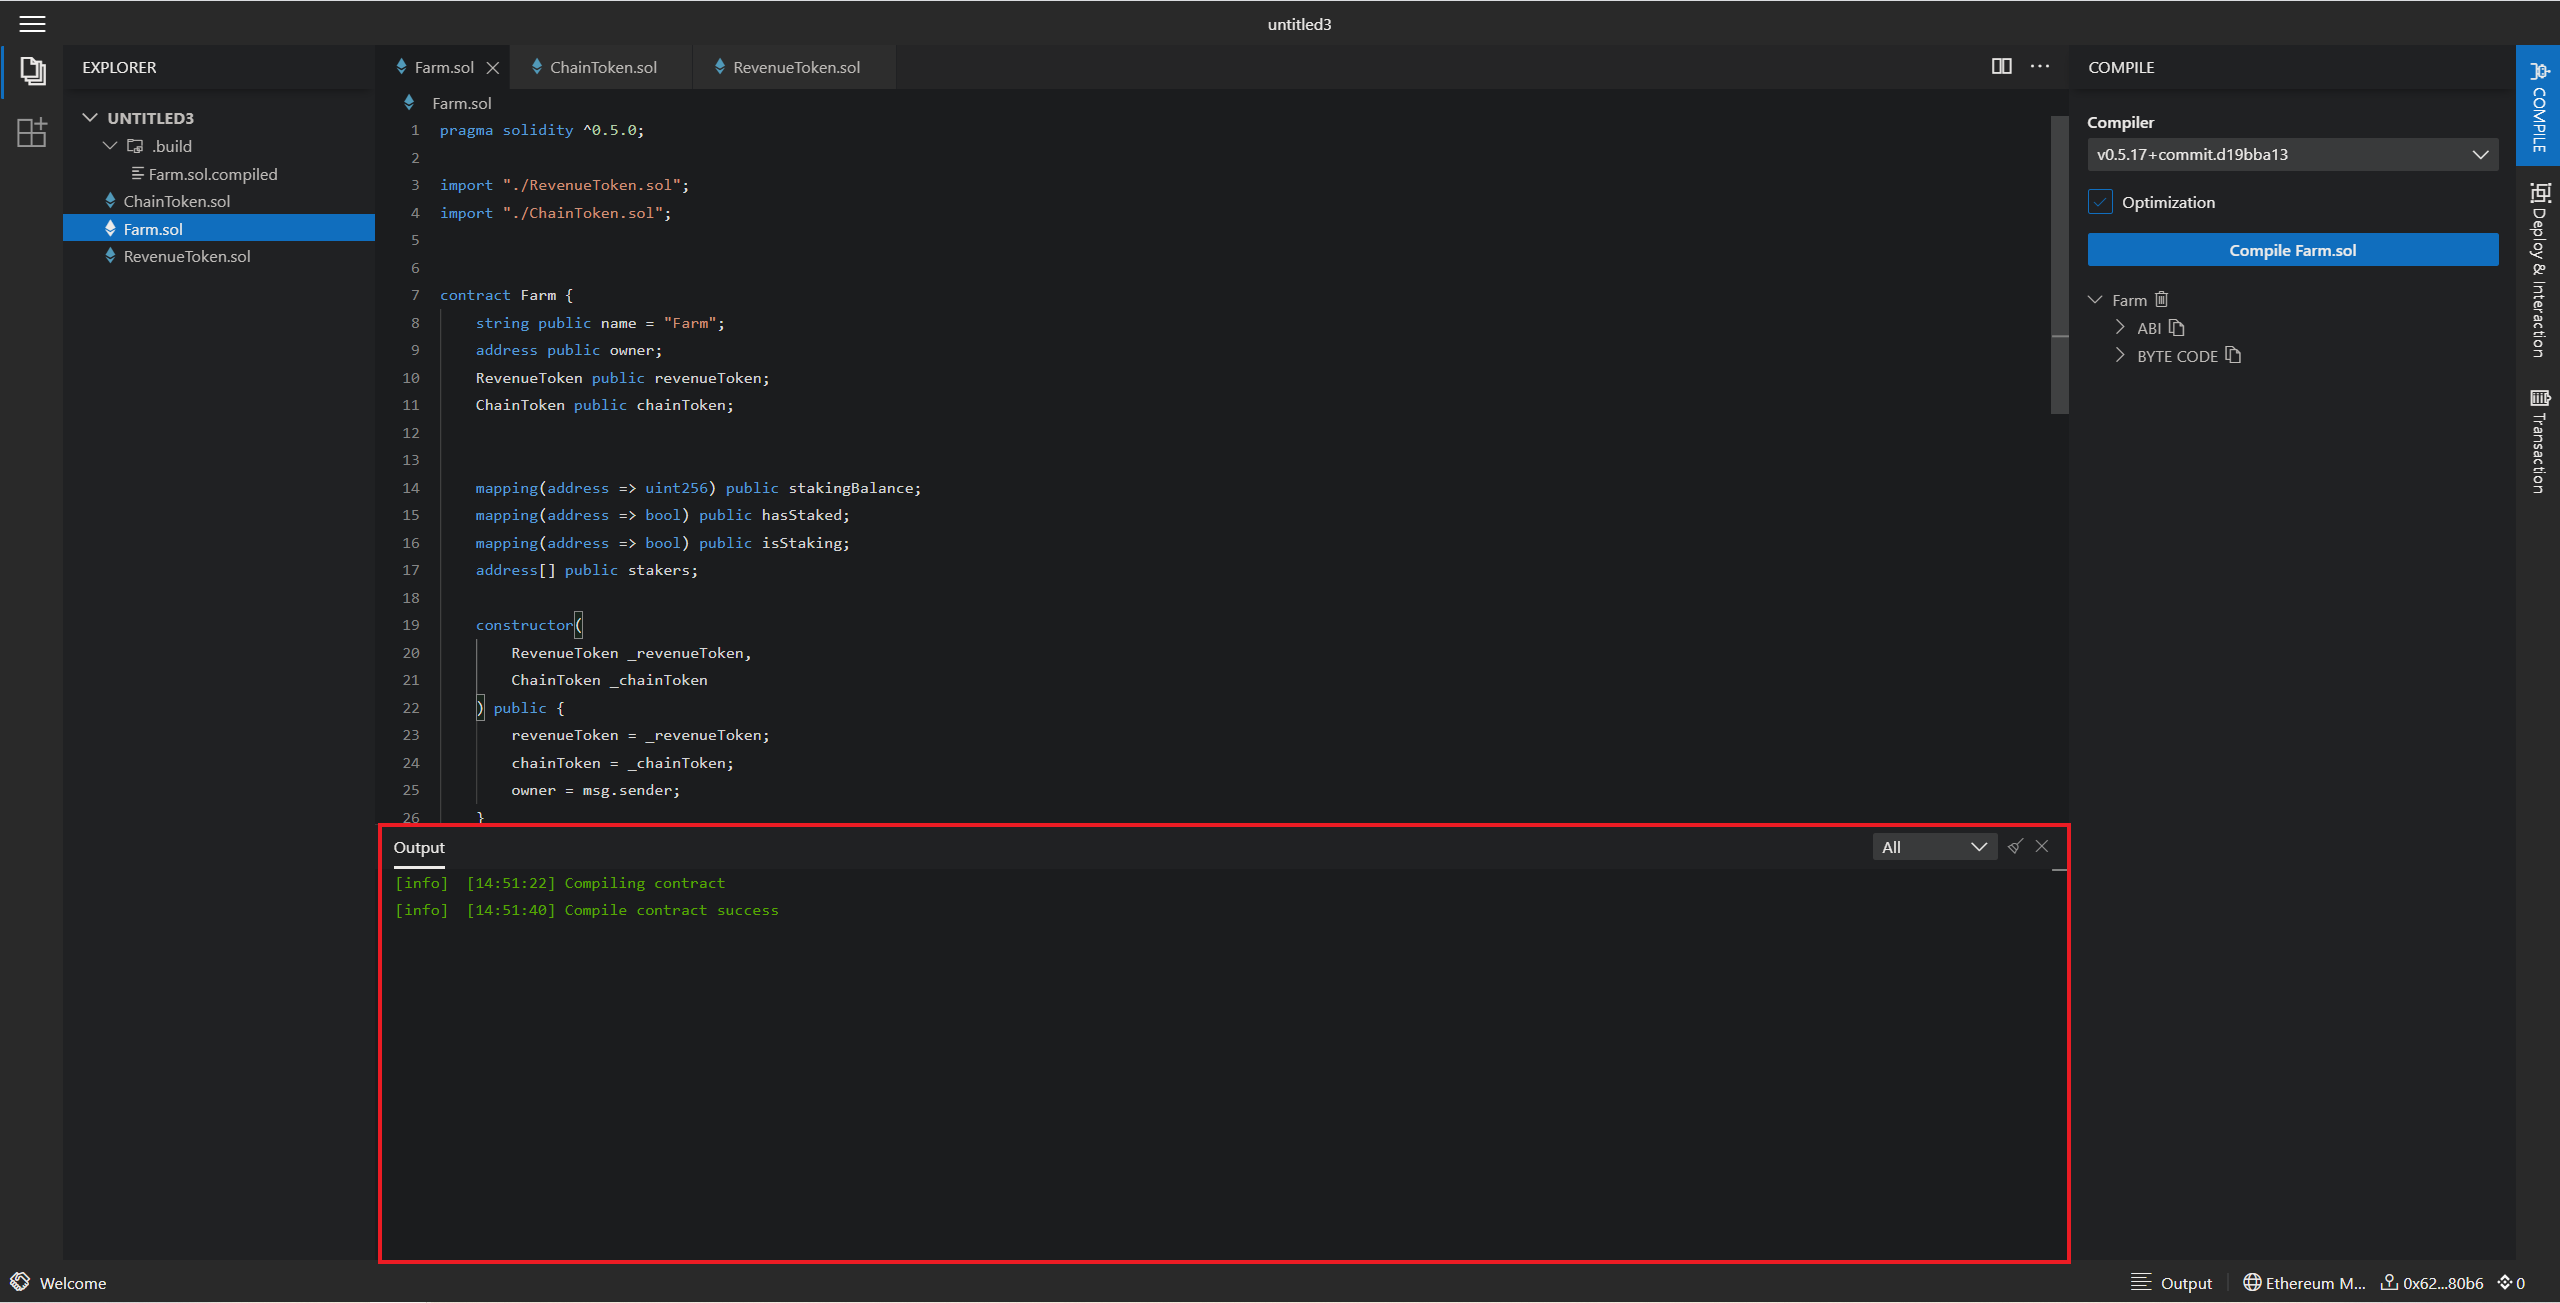
After we have written the smart contract, click compile on the right side and a side border like this will appear. First, select a complier based on the version definition in our previous smart contract. The previous definition is >=0.4.22 <0.7.0, . So here I choose a version of 0.6.8, which is in line with the version definition. After selecting, click on the blue box Compile 'storage.sol' below to compile, and the following words will appear after compiling successfully.

After the compilation is complete, we will deploy the contract. One thing to note here is that there are two chains on BSC for contract deployment, one is the test network and the other is the main network. The testnet can be deployed by receiving test tokens from the faucet of the testnet, while the mainnet needs to purchase BNB from Binance's official website and deposit it in its own BEP20 address before deployment.
First, let's talk about the contract deployment on the testnet. The deployment cost on the testnet is relatively low and the process is relatively simple.
Unlike the general Ethereum EVM deployment, deployment on the Binance Smart Chain requires some settings for Metamask.

First, we open the small fox wallet (metamask), click on the Ethereum Mainnet and select the network option, and then click on Custom RPC. After clicking to enter, there will be 5 places to fill in, the content is as follows:
Network Name:BSC Testnet
New RPC URL :https://data-seed-prebsc-1-s1.binance.org:8545/
Chain ID:97
Currency symbol:BNB
Block Explorer URL:https://testnet.bscscan.com

Fill it out as above and click save. At this time, the BSC Testnet option will appear in the network option bar. Then we can go to the faucet of the BSC test network to get test tokens. Website address: https://testnet.binance.org/faucet-smart Enter your wallet address in the box in the middle of the website (the wallet address is at the top of the open metamask window, click to copy). Switch the network to BSC Testnet, and then we can see that we have some BNB in our wallet.
Then we need to connect Metamask to the chainide website so that the deployment program can call our wallet address.
First switch the browser to the window where chainide is located, then click on the icon of Metamask, there are three small dots in the upper right corner, and then select Connect site.

At this time, a box like this will appear, click Manually connect to current site and then click to confirm step by step.

Then when you open Metamask, there should be a green dot on the upper left, and it will be connected at the same time, which means that the link to the website has been successful.

Next, we deploy the contract. First, click Deploy & interaction on the right, and you will enter the deployment box, set the Value to 60, and then confirm that the deployed contract is correct and click Deploy.

At this time, we will jump out of this Metamask interface. It should be noted that if the above Gas Price is not 60, you need to modify it yourself. Sometimes if the deployment fails, the Gas price may not be high enough. If it is not enough, give it a try to 100. Yes.

Then we can see the successful deployment information on the interface, and the functions in the contract will appear in the Interact on the right, which means the deployment has been successful.
Next, we can try to call them, that is, click Interact, and then set and submit the value of the function to implement the call to the contract.
We just finished talking about the contract deployment content of the testnet. Next, let’s talk about the mainnet. The difference between the mainnet and the testnet lies in its network settings and token purchases.
We still click on the Metamask network and select Custom RPC. After clicking to enter, there will be 5 places to fill in, the content is as follows:
Network Name:BSC Mainnet
New RPC URL :https://bsc-dataseed1.binance.org/
Chain ID:56
Currency symbol:BNB
Block Explorer URL:https://bscscan.com/ <

Fill it out as above and click save. At this time, the BSC Mainnet option will appear in the network option bar.
On the BSC chain, the handling fee is deducted by BNB, so if you want to deploy a contract, you need to have a certain amount of BNB in your wallet.
We can exchange a certain amount of BNB on Binance's platform and then withdraw it to our account.
!Tips: It should be noted that when withdrawing, the BSC chain is selected.

After completing the above recharge operation and confirming that there are tokens in the account, the rest of the operation is the same as the above testnet deployment.
The tutorial on using ChainIDE to deploy the BSC Binance Smart Chain is explained here. Students who have questions can leave a message in the comment area. Different platforms bring more possibilities due to different architectures, and hope you can try more , Make progress together.