Skip to content

Instantly share code, notes, and snippets.

@DeepNeuralAI
Last active September 23, 2019 01:40
Show Gist options
  • Star 0 You must be signed in to star a gist
  • Fork 1 You must be signed in to fork a gist
  • Save DeepNeuralAI/f1feb391544492012cd0705fadd85ec5 to your computer and use it in GitHub Desktop.
Save DeepNeuralAI/f1feb391544492012cd0705fadd85ec5 to your computer and use it in GitHub Desktop.
APIs

API

image

"APIs are how we are going to build software in the future, we are just going to glue it together"

The term API is one of those technical words that most people think they understand, but have a tough time explaining.

I'm going to give you a short primer on:

  1. What an API is
  2. Why you need to know it
  3. What you need to build one yourself

Application Programming Interface

api

At the simplest level, APIs is an interface to allow applications to communicate with each other.

To go one step further, an API also allows others to share data in a standardized and documented way.

An API is NOT:

  • A server
  • A database

We can think of an API as an access point to a database.

Types of APIs

Public APIs

Example:

Interesting Note: The Facebook - Cambridge Analytica scandal was an example of how a public API could be abused

Private APIs

A good example might be information shared between a company and its customers / partners.

For example, Spotify allows its partners access to its API so that BMW, Ford, Tesla vehicles can natively use Spotify in the built in dashboard systems.

The API Revolution

Amazon Alexa

We can log into Uber by using our Google or Facebook login credentials.

APIs allow Uber to request verification of your identity from Facebook. APIs on the Facebook side then confirm to Uber that the person who is signing in is who they say they are.

Summary

Alright, hopefully you sort of understand. Seems kind of like a black box, where you request information, and then magically you get a response back.

You don't need to know how that information is obtained, or the code it went through to get it. This is how many developers view APIs -- as a black box.

An analogy for those that are still figuring it out:

Imagine if the electrical sockets in each house on the block were different. Or imagine if the socket configuration changed everytime the power company updated their facilities. 

This would make it extremely unpredictable and very difficult to build something that could reliably and consistently use power.

By standardizing and documenting an interface, developers of appliances (TVs, fridges, washer/dryer, etc) can obtain electrical power from any socket.

Working with APIs

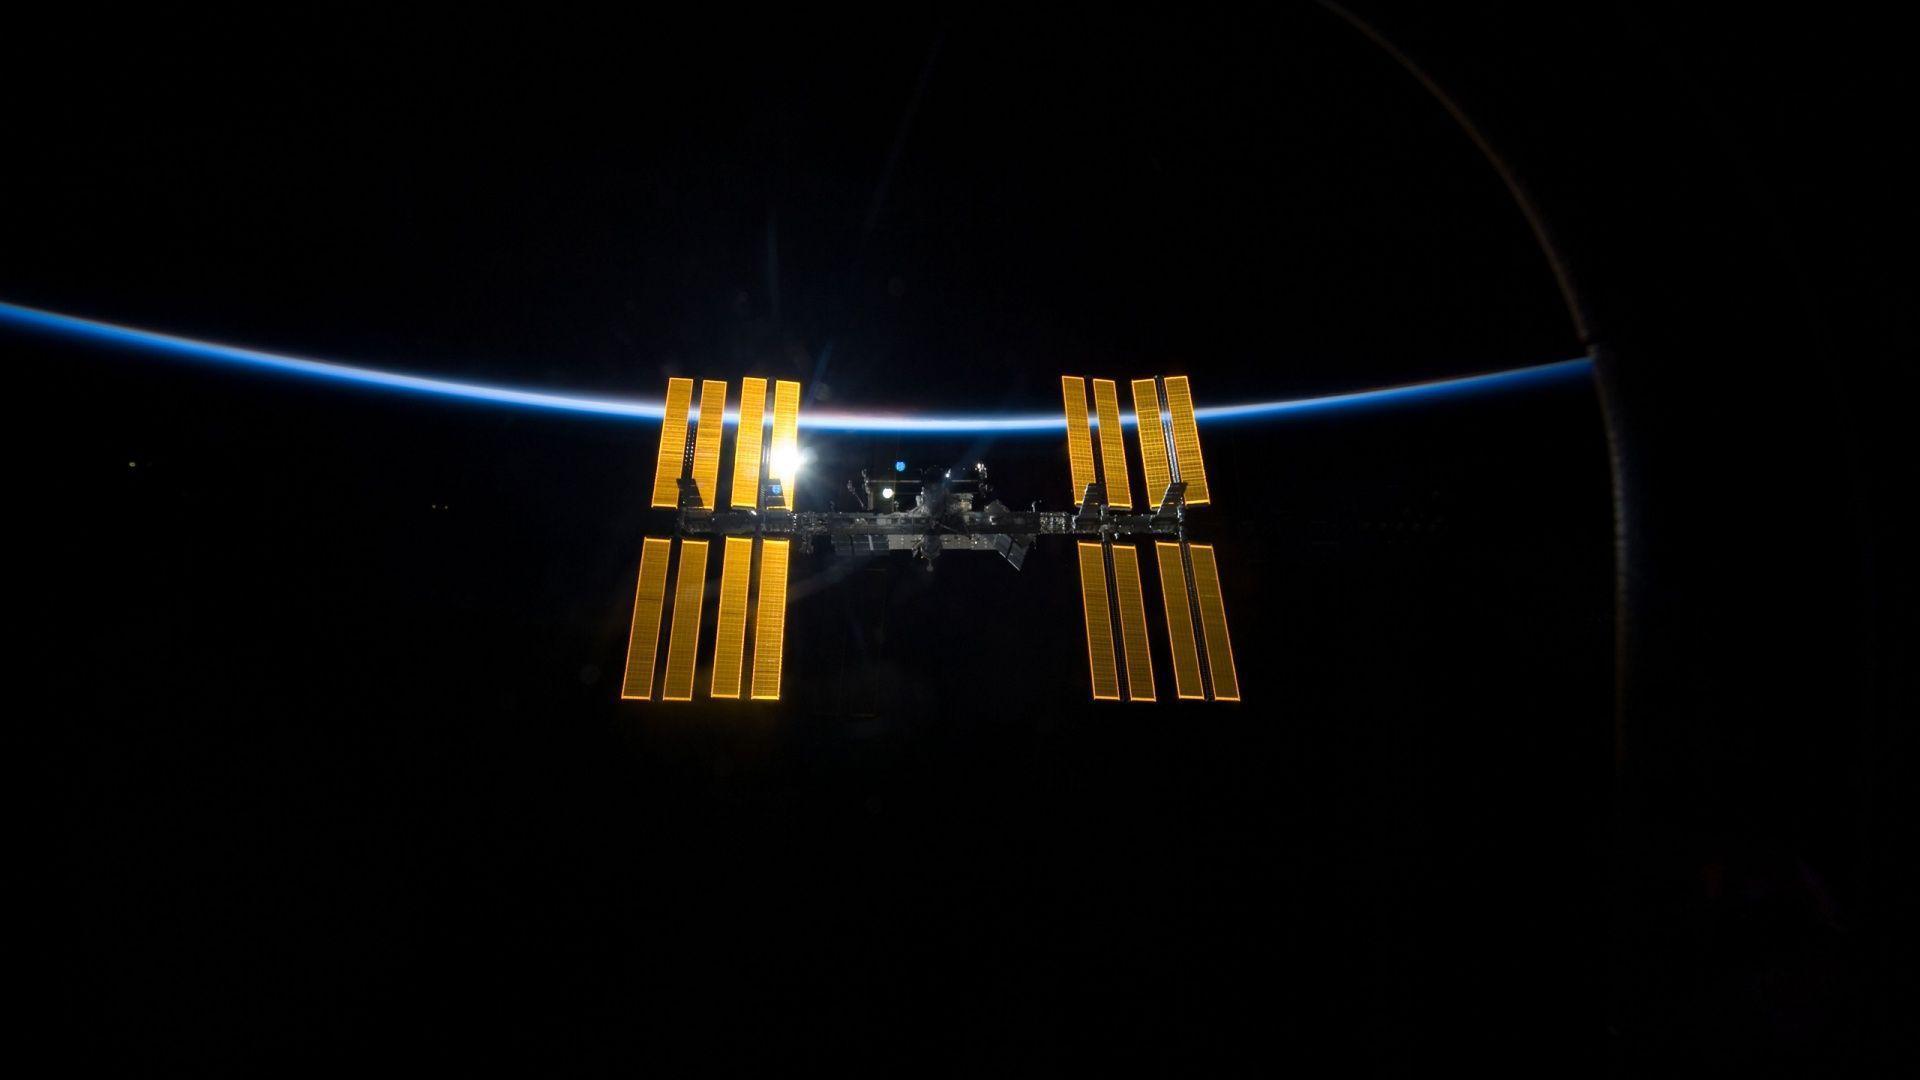
iss

Sweet & Simple

We can use the fetch() function and a URL to get data.

In this case, we are going to build a small appplication that is going to map the location in degrees of longitude and latitude of the International Space Station.

When we make a request to the ISS API, we will get back data in a JSON (JavaScript Object Notation) format.

The fact that it returns a JSON format means that we can access this from many types of applications. Ones that are written in Java, Ruby, Python, JS, PHP, etc. This makes an API both scalable and platform independent.

Where The ISS At?

Using the "Where the ISS at" REST API, we can get the current, past, or future position of the ISS.

First thing we should always do is look at the API documentation.

We observe the following:

  • No authentication required
  • There are rate limits - 1 per second
    • You can track your usage using the X-Rate-Limit header
  • All responses will return a JSON format
    • Successful responses will have a 2XX response code
    • Errors will have response codes other than 2XX

Second thing, what are the endpoints?

Side note: an endpoint is another term for a URL or the end of a communication channel. Some people also think of an endpoint as the end of the URL

Example Endpoint: https://api.wheretheiss.at/v1/satellites

Example Response:

[
    {
    "name": "iss",
    "id": 25544
    }
]

Example Endpoint: https://api.wheretheiss.at/v1/satellites/25544

Example Response:

{
    "name": "iss",
    "id": 25544,
    "latitude": 50.11496269845,
    "longitude": 118.07900427317,
    "altitude": 408.05526028199,
    "velocity": 27635.971970874,
    "visibility": "daylight",
    "footprint": 4446.1877699772,
    "timestamp": 1364069476,
    "daynum": 2456375.3411574,
    "solar_lat": 1.3327003598631,
    "solar_lon": 238.78610691196,
    "units": "kilometers"
}

Client Side Programming Challenge

image

To Do:

  1. Write an Asynchronous function to get ISS position data
  2. Write some JS to insert lat, long into HTML page
  3. Plot the lat and long on a map using Leaflet.js
    • Include Leaflet CSS in head section of HTML
    • Include Leaflet JS script file
    • Put a div element with a certain id where you want the map to be:
    <div id="mapid"></div>
    Make sure the map container has a defined height in the CSS.
      #mapid { height: 180px; }
  4. Create a map object
  • Initialize map using the following:
      const map = L.map('mapid').setView([0, 0], 1);
      // setView(lat, long, and zoom level)
  • If we look at our HTML page, we notice there is nothing shown but a grey box. We need to find some tiles. (We are going to use OpenStreetMaps)
    • Define a variable called attribution and assign the following:
      const attribution = '&copy; <a href="https://www.openstreetmap.org/copyright">OpenStreetMap</a> contributors';
    • Define a variable called tileURL and assign the following:
        const tileURL = 'https://{s}.tile.openstreetmap.org/{z}/{x}/{y}.png';
    • Define a variable called tiles and assign the following: L.tileLayer(tileUrl, { attribution });
      • Add tiles by writing tiles.addTo(map)
        const tiles = L.tileLayer(tileURL, {attribution})
        tiles.addTo(map)
  1. Create a marker
  const marker = L.marker([0, 0]).addTo(map);
  1. Update the marker everytime the position changes (or on refresh):

  2. Change the marker to an ISS icon

  // From docs

  let myIcon = L.icon({
      iconUrl: 'my-icon.png',
      iconSize: [38, 95],
      iconAnchor: [22, 94],
      popupAnchor: [-3, -76],
      shadowUrl: 'my-icon-shadow.png',
      shadowSize: [68, 95],
      shadowAnchor: [22, 94]
  });

  L.marker([50.505, 30.57], {icon: myIcon}).addTo(map);
  1. Use setInterval() to automatically refresh every 2000 ms
#mapid {
height: 300px;
width: 600px;
}
<!DOCTYPE html>
<html lang="en">
<head>
<meta charset="UTF-8">
<meta name="viewport" content="width=device-width, initial-scale=1.0">
<link rel="stylesheet" href="index.css">
<link href="https://stackpath.bootstrapcdn.com/bootstrap/4.3.1/css/bootstrap.min.css" rel="stylesheet" integrity="sha384-ggOyR0iXCbMQv3Xipma34MD+dH/1fQ784/j6cY/iJTQUOhcWr7x9JvoRxT2MZw1T" crossorigin="anonymous">
<title>Where the ISS At?</title>
</head>
<body>
<h3>Fetch JSON Data from API</h3>
<hr>
<h4>Where is the ISS?</h4><br>
<p>Latitude:
<span id="lat"></span>
</p>
<p>Longitude:
<span id="lon"></span>
</p>
<!-- insert map div here -->
<script src="index.js"></script>
</body>
</html>
const api_url = // fill in here
async function getISSData() {
const response = await fetch(api_url);
// console.log(response)
const data = // use response above to format to json (hint: use await also);
const {latitude, longitude} = // Use object destructuring to define latitude and longitude from data;
console.log(latitude, longitude)
// create two document elements (one for latitude and one for longitude) and use innerText to pass in values
map.setView([latitude, longitude]);
map.getZoom();
// use your updateISSMarker function here eventually
}
const issIcon = L.icon({
iconUrl: 'INSERT YOUR ICON HERE',
iconSize: [50, 50],
iconAnchor: [25, 16]
})
const updateISSMarker = (lat, long, marker) => {
// update the marker position
}
const showMap = () => {
const map = // initialize map object here
// Making a map and tiles
const attribution =
'&copy; <a href="https://www.openstreetmap.org/copyright">OpenStreetMap</a> contributors';
const tileUrl = 'https://{s}.tile.openstreetmap.org/{z}/{x}/{y}.png';
const tiles = // use docs to figure out how to create tiles (hint: use L.tileLayer);
tiles.addTo(map);
L.marker([0, 0]).addTo(map);
}
// Final Steps: Call your showMap() and getISSData() functions
//showMap();
//getISSData()
// use setInterval to call your getISSData() function every 2000 ms
const api_url = 'https://api.wheretheiss.at/v1/satellites/25544';
const showMap = () => {
const map = L.map('mapid').setView([0, 0], 1);
// Making a map and tiles
const attribution =
'&copy; <a href="https://www.openstreetmap.org/copyright">OpenStreetMap</a> contributors';
const tileUrl = 'https://{s}.tile.openstreetmap.org/{z}/{x}/{y}.png';
const tiles = L.tileLayer(tileUrl, { attribution });
tiles.addTo(map);
return map
}
const issIcon = L.icon({
iconUrl: 'iss200.png',
iconSize: [50, 50],
iconAnchor: [25, 16]
})
const updateISSMarker = (lat, long) => {
marker.setLatLng(lat, long)
}
async function getISSData() {
const response = await fetch(api_url);
// console.log(response)
const data = await response.json();
// Object destructuring
const {latitude, longitude} = data;
console.log(latitude, longitude)
document.querySelector('#lat').innerText = latitude;
document.querySelector('#lon').innerText = longitude;
map.setView([latitude, longitude]);
// map.getZoom();
updateISSMarker([latitude, longitude]);
}
const map = showMap();
const marker = L.marker([0, 0], {icon: issIcon}).addTo(map);
setInterval(getISSData, 2000);
Sign up for free to join this conversation on GitHub. Already have an account? Sign in to comment