
Foto source: NASA Goddard Space Flight Center on Flickr.com
If you’re using Microsoft Azure for running your web applications in the cloud, you can configure the whole setup using the Microsoft Azure Portal in your web browser.
But from an automated point of view, it would be very convenient using Microsoft Azure CLI as it allows you to automate the setup and provisioning of your application architecture.
In this example we’re going deploy a web application that requires the following:
- Hosted in West Europe
- Running on a Web App instance
- Connecting with a MySQL database
- Connecting with SendGrid for sending out emails
- Connecting with a Search Engine for indexing
See also the video on deploying a web app to Microsoft Azure using the Azure portal.
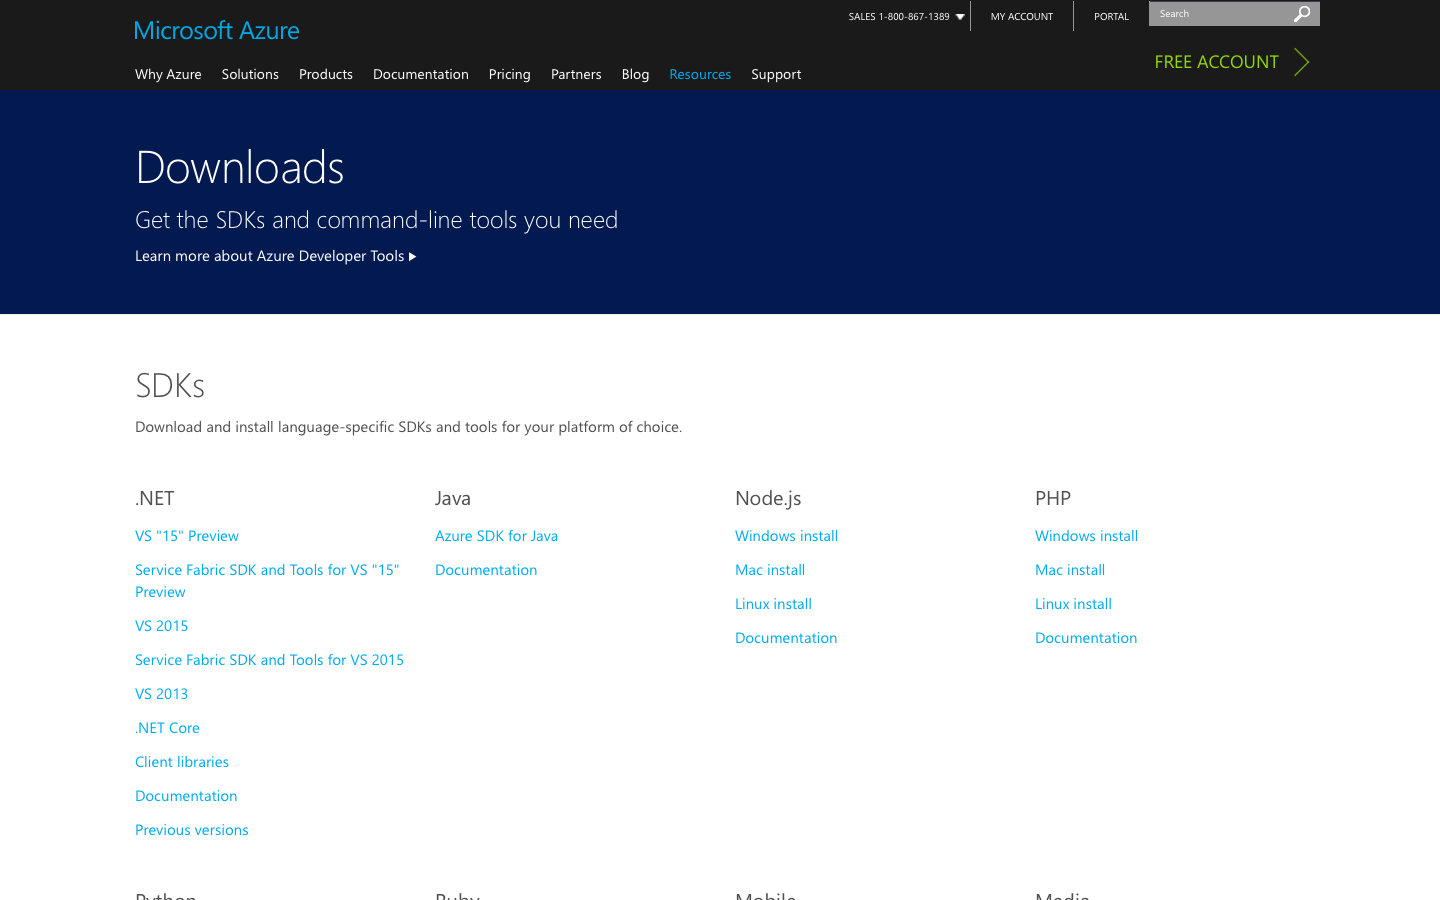
Go to Microsoft Azure Downloads and download the PHP Azure SDK.
Once you have the SDK installed, you need to configure it for using your instances.
Let’s start by logging into your Microsoft Account.
azure login
info: Executing command login
info: To sign in, use a web browser to open the page https://aka.ms/devicelogin. Enter the code <code> to authenticate.
You will get to see this page when you click the link. Where it states “Code” is where you enter the code you received in the command line.

It might be that you have multiple subscriptions in your account, in that case you can list all subscriptions in your account and see which one is active.
azure account list
Executing command account list
Name          Id                  Current  State
-------------  -----------------  -------  -------
Pay-As-You-Go  ABC-DEF-123-456AB  true     Enabled
Foo            ZYX-WVU-986-543ZY  false    Enabled
Bar            KLM-NOP-456-789KP  false    Disabled
account list command OK
If we want to make account “Foo” the current subscription, we just need to set it.
azure account set Foo
You can also use it’s Id to set it, especially convenient if you have long subscription names.
azure account set ZYX-WVU-986-543ZY
When you list your account subscriptions again, you’ll see that “Foo” has become the current subscription.
azure account list
Executing command account list
Name          Id                  Current  State
-------------  -----------------  -------  -------
Pay-As-You-Go  ABC-DEF-123-456AB  false    Enabled
Foo            ZYX-WVU-986-543ZY  true     Enabled
Bar            KLM-NOP-456-789KP  false    Disabled
account list command OK
When running your application in “the cloud”, it is important to define the location where you want to run it. In most cases, having the application close to your end-users would be the best approach.
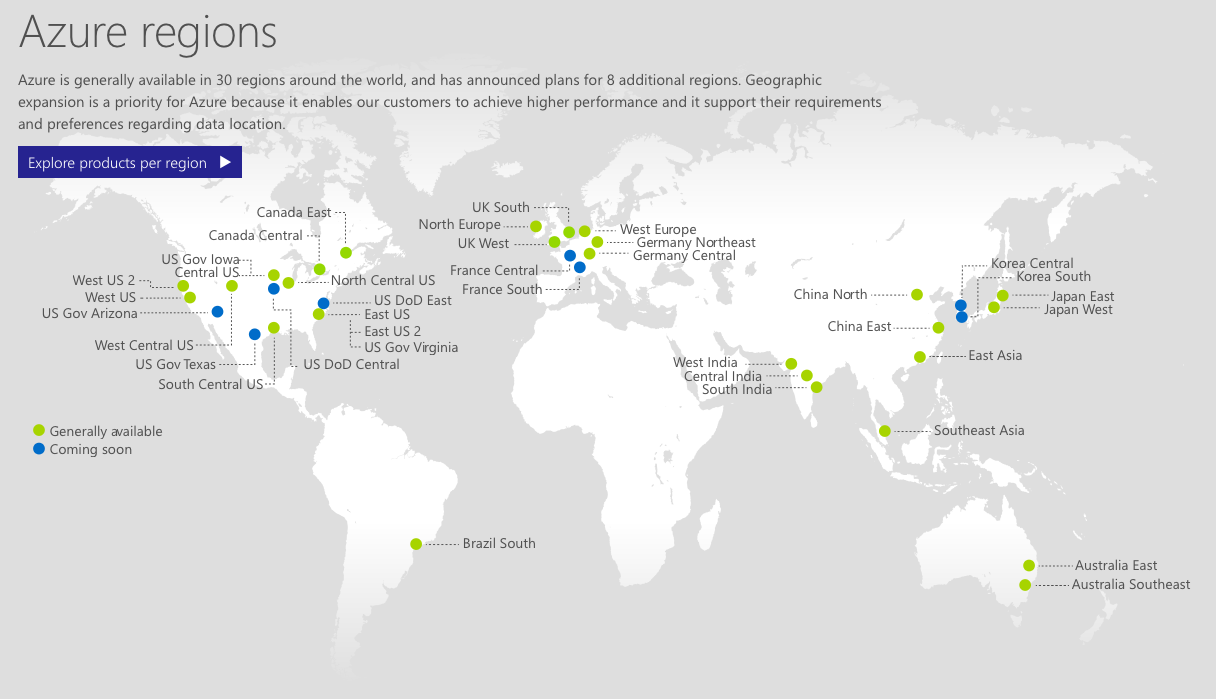
There are 30 regions globally with 8 more in the pipeline. But not all regions are offering the same services, so please check out the Microsoft Azure Regions Overview to figure out which region closest to your users offers the services you want to use.
Bring up the list of locations to see if your preferred location is available.
azure location list
In our case we choose “West Europe” as it offers all the services we’re going to need for our application.
Now that we know where we’re going to deploy our app, we should create a resource group. A resource group in Azure is a way to combine related resources such as storage accounts, web apps and databases into a logical entity so it’s easier to maintain, manage and deploy as a single entity. To understand more about resource groups, please read Azure Resource Manager documentation.
azure group create -n cloudcrm-grp -l westeurope -t cloudcrm
This command will create the group for us and ensures we now have a single point to manage.
An important step is to decide which service plan we’re going to choose for our web application as this has a direct impact on our pricing model. In our case we choose the free tier (F1) to run our application on, but there are several tiers to choose from.
Here’s an overview of the current available tiers for Web Apps.
| Code | Name | Code | Name | Code | Name |
|---|---|---|---|---|---|
| F1 | Free | D1 | Shared | ||
| B1 | Basic Small | B2 | Basic Medium | B3 | Basic Large |
| S1 | Standard Small | S2 | Standard Medium | S3 | Standard Large |
| P1 | Premium Small | P2 | Premium Medium | P3 | Premium Large |
For more details on available service plans, please read Azure Web App Service Plans.
Let’s create a free service plan for our application.
azure appserviceplan create -g cloudcrm-grp -n cloudcrm-pln -l westeurope -k F1
We want our web app to be pulled from our GitHub repository so we can set up continuous deployment for our application.
The first thing we need to do is to create the web app instance to host our web app.
azure webapp create -g cloudcrm-grp -n cloudcrm-web -l westeurope -p cloudcrm-pln
We can check cloudcrm-web.azurewebsites.net to see if the instance is running.

This will create an empty, default instance for us. In the next step we will start provisioning it for Continuous Deployment using our GitHub repository.
Because we want to automatically push our application from our GitHub CloudCRM repo, we need to make a small change to the original deployment template.
There are a bunch of templates created in user land to do all sorts of provisioning tasks. Check out github.com/davidebbo for some easy to use templates.
We’re needing the WebAppLinkedToGithub.json template to deploy directly from our repository.
curl -O https://raw.githubusercontent.com/davidebbo/AzureWebsitesSamples/master/ARMTemplates/WebAppLinkedToGithub.json
This is a template file and doesn’t have concrete implementations. So in order to use the template for our benefit, we need to feed it with our own parameters.
There are two ways we can provide parameters to this template, the easiest way is to create a separate parameter file.
NOTE: Make sure this parameter file is in your .gitignore to protect sensitive data to be exposed.
WARNING: At the time of writing this article, the original WebAppLinkedToGithub.json file doesn’t contain any parameters for your own GitHub repository URL and branch. For an updated version with above mentioned parameters use https://raw.githubusercontent.com/DragonBe/AzureWebsitesSamples/github-params/ARMTemplates/WebAppLinkedToGithub.json.
Create a new file called WebAppLinkedToGithubParam.json and open it in your favourite editor. Add the following in that parameter file.
{
    "$schema": "https://schema.management.azure.com/schemas/2015-01-01/deploymentParameters.json#",
    "contentVersion": "1.0.0.0",
    "parameters": {
        "siteName": {
            "value": "cloudcrm-web"
        },
        "hostingPlanName": {
            "value": "cloudcrm-pln"
        },
        "siteLocation": {
            "value": "westeurope"
        },
		"sku": {
			"value": "Free"
		},
		"workerSize": {
			"value": "0"
		},
		"githubUrl": {
			"value": "https://github.com/in2it/cloudcrm.git"
		},
		"githubBranch": {
			"value": "master"
		}
   }
}
Once you have created this file you can create a new deployment configuration.
azure group deployment create -g cloudcrm-grp -n cloudcrm-dpl-gh -f WebAppLinkedToGithub.json -e WebAppLinkedToGithubParam.json -m Incremental
When we revisit cloudcrm-web.azurewebsites.net we now see that our application is deployed from our master branch on our cloudcrm repository.
There’s no such thing as having a web application if you don’t have a database connected to it.
Again we can download a template for setting one up for us.
First check what’s available.
azure group template list | grep -i mysql
This will give you a list of templates created by a diversity of providers.
We will pick the one provided by SuccessBricksInc, which offers scalable MySQL configurations through ClearDB.
SuccessBricksInc SuccessBricksInc.ClearDBMySQLDatabase.1.2.0
So go ahead and download the template.
azure group template download SuccessBricksInc.ClearDBMySQLDatabase.1.2.0 .
This will give you a template named createDatabase.json. Now we need to provide a parameters JSON file for this template so we can deploy it.
Create a file called createDatabaseParam.json and open it with your favourite editor. The following you can enter into that file.
{
    "$schema": "https://schema.management.azure.com/schemas/2015-01-01/deploymentParameters.json#",
    "contentVersion": "1.0.0.0",
    "parameters": {
	    "databaseName": {
	      "value": "cloudcrmdb"
	    },
	    "databaseLocation": {
	      "value": "westeurope"
	    },
	    "databaseSku": {
	      "value": "Free"
	    }
   }
}
You can validate your template with parameters before you deploy it.
azure group template validate -g cloudcrm-grp -f createDatabase.json -e createDatabaseParam.json
Once all is validated, we create a new deployment to launch the MySQL Database setup.
azure group deployment create -g cloudcrm-grp -n cloudcrm-dpl-db -f createDatabase.json -e createDatabaseParam.json -m Incremental
To use SendGrid as your mail delivery service, you can pull the required template straight from the Azure Template list.
azure group template list | grep -i sendgrid
This will result in something like the following.
SendGrid SendGrid.SendGrid.1.0.7
Now we can download the template so we can make it ours.
azure group template download SendGrid.SendGrid.1.0.7 .
This will provide a Sendgrid.json file, which we can now provision with parameters.
Create a SendgridParam.json file, open it with your favourite editor and add the following in it.
Save it and run again your deployment again.