- Introduction
- What is React Query
- Features of React Query
- Caching
- Prefetching
- Request retry
- Optimistic updates
- Comparison between Apollo, URQL, and React Query
- Is React Query good enough?
- Benefits of using React Query in your React application
- Steps to use React Query Library to fetch data from API
- Getting started with your React app
- App structure
- Getting started with React Query
- Alternatives to React Query
- Conclusion
- Further readings
- Videos on React Query and Examples
- Further readings
- CTA messaging and CTA link
Building a full-stack application is incomplete until when you can exchange data between different components. Fullstack application refers to being able to carry out the CRUD operations. The most important aspect of a full-stack application is the ability to exchange data. There are different ways to do this which range from using the Fetch API, to using your custom useFetch hook, to using the Axios library, and lots more.
React Query is a library that will help you carry out CRUD operations in your React Application also, helping you manage state, synchronization, caching, and error handling.
React Query is a ReactJS preconfigured data management library which gives you power and control over server-side state management, fetching, and caching of data, and error handling in a simple and declarative way without affecting the global state of your application.
Server data is asynchronous - it can easily be outdated, this is because the data is not stored in your React application. This is where React Query shines, to allow you to manipulate the asynchronous data, cache it, and also, update or synchronize it.
There is absolutely no point trying to re-invent the wheel by trying to write your code that will handle caching, optimistic UI updates, and other handy features. There are a handful of libraries that provides these features out of the box.

Aside from the benefits discussed already, React Query, you should consider using this library for your next project because of the following reasons:
- Caching: Window focus refetching – This allows React Query to pre-fetch data depending on your application activity
- Request retry: Ability to set the number of request retries in the event of errors.
- Prefetching – React Query is able to pre-fetch data depending if your application needs fresh data after an update request. React Query is able to update your data in the background.
- Optimistic updates React Query is able to handle complex caching so that your application is fully optimized.
- Apollo is a GraphQL implementation that enables developers to manage data in their applications. The team at Apollo also made the Apollo Client, a GraphQL client that can be used in your React applications.
- URQL is a highly customizable and versatile GraphQL client for React, Svelte, Vue, or plain JavaScript, with which you add on features like normalized caching as you grow.
- React Query, on the other hand, is an open-source project by Tanner Linsey. As pointed out above, React Query is a pre-configured library that solves the problem of fetching, caching, and optimistic data updates in your React applications.
| Comparison | React Query | URQL | Apollo Client | |
|---|---|---|---|---|
| GitHub stars | 29k | 7.4 | 18k | |
| Ease of use | Very easy | Easy | Easy | |
| Platform required | React | React, Preact, and Svelte | React, GraphQL | |
| Query support | ✅ | ✅ | ✅ | |
| Window Focus Refetching | ✅ | ✅ | 🛑 | |
| Customizable | ✅ | ✅ | ✅ | |
| Caching | ✅ | ✅ | ✅ | |
| Data fetching | ✅ | 🛑 | 🛑 | |
| GraphQL | 🛑 | ✅ | ✅ |
React Query is a big thing because it helps with server-state data management. This means that you no longer have to worry about keeping everything in a standard global state because most libraries were created to handle client state only and the server state is way different. React Query is good enough because this library will help you to fetch, synchronize, update, and cache your remote data while also reducing the amount of code you need to write by providing you two simple hooks and one utility function. With React Query, you do not need to write boilerplate codes to enable React Query to work with React as is the case with the other libraries.
- Ease of fetching data
- React Query is becoming the standard way to fetch data
- Fun ways of fetching data
- Highly customizable
- Lightweight
In this tutorial, you will be creating a React app using CRA.
You will scaffold a new React project. In this tutorial, I refer to my React app as react-query-tutorial. In your terminal, type the following:
npx create-react-app react-query-tutorialAfter having created your app and all dependencies automatically installed, you will need to navigate into the project directory and run the app. For that, run the following command in your terminal:
cd react-query-tutorial && npm startYou should see similar output below in your terminal:
$ npm start

> react-query-tutorial@0.1.0 start
> react-scripts start
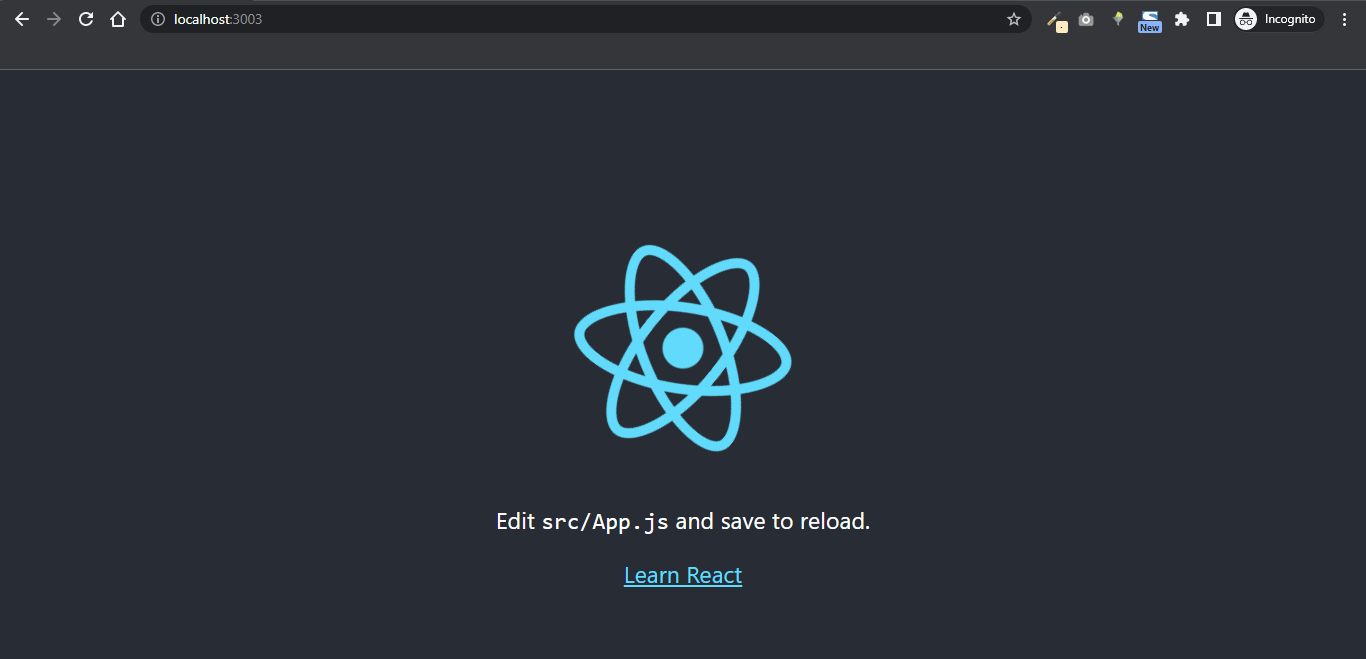
You should get the following in your terminal upon completion of the commands above:
Compiled successfully!

You can now view react-query-tutorial in the browser.

  Local:            http://localhost:3000
  On Your Network:  http://192.168.137.1:3000

Note that the development build is not optimized.
To create a production build, use npm run build.
webpack compiled successfully
Your React app will then start hot reloading your development environment and your app should be running on localhost:3000 by default.
-
Install React Query and react-query-devtools
yarn add react-query && yarn add react-query-devtools -for
npm install react-query && npm install react-query-devtools -fYou installed
react-query-devtoolsbecause it is difficult to debug data fetching, that is why you need to install react-query-devtools. It will help you to see and understand how React Query fetches the current data. The-fflag is passed to the command to resolve any dependencies issues while installingreact-query-devtools. -
Next, you will import
QueryClientProviderandQueryClientin yourApp.jslike so:// App.js import { QueryClient, QueryClientProvider } from "react-query"; import { ReactQueryDevtools } from "react-query-devtools"; const queryClient = new QueryClient({}); const App = () => { return ( <QueryClientProvider client={queryClient}> {/* The rest of your application */} <ReactQueryDevtools initialIsOpen={true} /> </QueryClientProvider> ); }; export default App;
You initialized ReactQueryDevtools's initialIsOpen to true to enable the dev tools to default to being open.
-
useQueryHook TheuseQueryhook handles the fetching of data. It is called whenever you need to fetch data. It accepts a unique key for the query and a function that returns a promise. The unique key is used to refetch, cache, and share your query internally.- Using the
useQueryhook
const fetchedData = useQuery(key, promiseBasedFn);
- Using the
The useQuery hook returns a handful of objects such as isSuccess, isError, isLoading, isFetching, data, and error.
Enough said, let us get your hands dirty with code by walking you through actually using React Query and the useQuery hook to fetch data in your React Application.

-
For the purpose of this tutorial, you will be using the GitHub REST API to get a list of public repositories of the
Eunit99on GitHub. You will make the request to the following endpoint https://api.github.com/users/eunit99/repos. It returns all the stored data about the user, eunit99. With this response, you can decide to render it whichever way we like in your React app. -
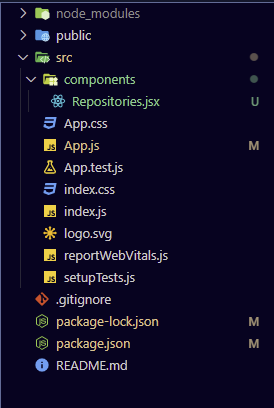
You will create a component called
Repositories.jsxwhich will display a list of user's repositories.
Your folder structure might look like so:
-
Next, you will make use of Axios as your promise-based function to fetch our data. Start by installing it by hitting the command
npm i axioson your terminal. -
Then inside your
Repositories.jsxcomponent, paste the following code:// components/Repositories.jsx import React from "react"; import axios from "axios"; import { useQuery } from "react-query"; export default function Repositories() { const { isLoading, isError, data, error, refetch } = useQuery(["repo"], () => axios .get("https://api.github.com/users/eunit99/repos") .then((res) => res.data) ); if (isLoading) return "Loading..."; if (error) return "An error has occurred: " + error.message; console.log(data) return ( <> ... </> ) };
Explanations of what is going on
- You pass in a unique key called
repoto the useQuery hook - The second argument to the useQuery hook is the promise-based function for fetching our data where you make use of Axios.
- Another notable thing you did is that you make use of object destructuring to destructure your object response. You will make use of them in the next example.
- You pass in a unique key called
-
The complete
Repositories.jsxcomponent will look like so:// components/Repositories.jsx import React, { Fragment } from "react"; import axios from "axios"; import { useQuery } from "react-query"; export default function Repositories() { const { isLoading, isError, data, error, refetch } = useQuery(["repo"], () => axios .get("https://api.github.com/users/eunit99/repos") .then((res) => res.data) ); if (isLoading) return "Loading..."; if (error) return "An error has occurred: " + error.message; console.log(data) return ( <> {data.map(repo => { return ( <Fragment key={repo.id} > <ul> <li> <a href={repo.clone_url}> {repo.name} </a> </li> </ul> </Fragment> ) })} <button type="button" onClick={refetch}> Fetch again </button> </> ); };
Finally, your end result will look like so:

In this tutorial, you learned about React Query and how to use it to to handle data fetching in your React application .
You can find the complete source code of this tutorial in this repository.
- How and Why You Should Use React Query by Nathan Sebhastian
- React Query - Powerful asynchronous state management for TS/JS, React, Solid, Vue, and Svelte
- 7 Tips for Using React Query in Large Projects - Better Programming


If you’re looking out for cool React tools that’ll help you to write component code faster and be production ready faster than your competition, don’t forget to check out the CopyCat plugin for React!
Happy Coding!