This is a simple guide to set up TypeScript in WebStorm. You don't need to have Node.js installed on your system if your IDE has an interpreter. NVM is also recommended if you'd like to stay up to date with all versions (if you'd like to manage all your versions).
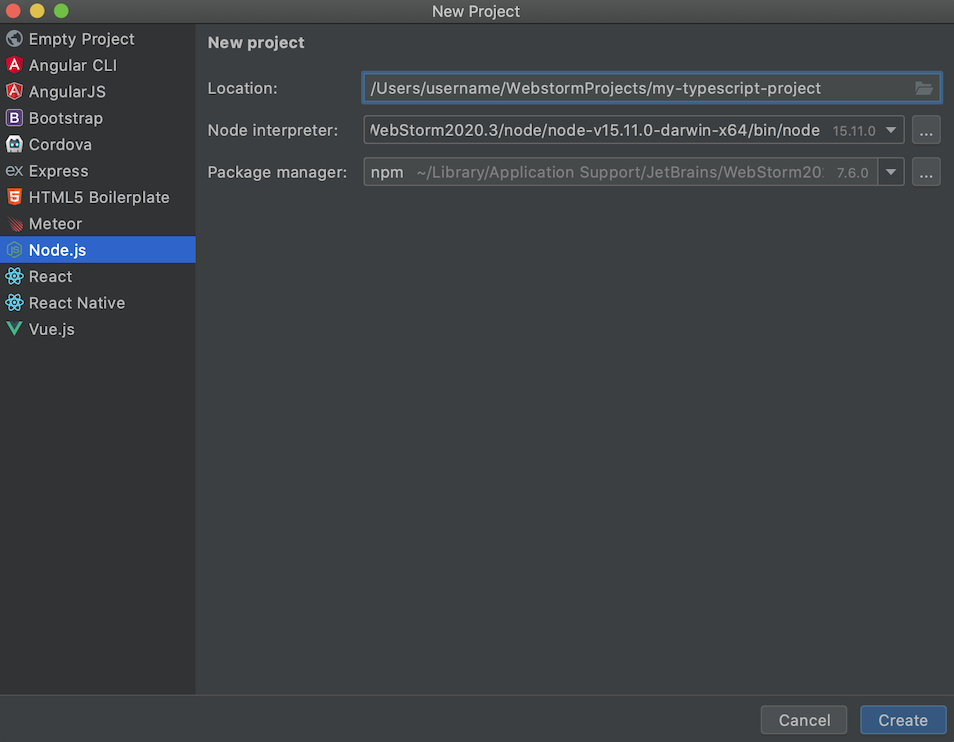
- Open your WebStorm IDE and create a new project, you can create either an empty project (and configure it later) or a preconfigured Node.js project.
- Press Create.
- Open the settings
IntelliJ IDEA > Preferencesfor MacOS (⌘ + ,) orFile > Settingsfor Windows or Linux. - Go to
Languages & Frameworks < Node.js and NPM. - Click the
+on the bottom left or press⌘ + Non MacOS.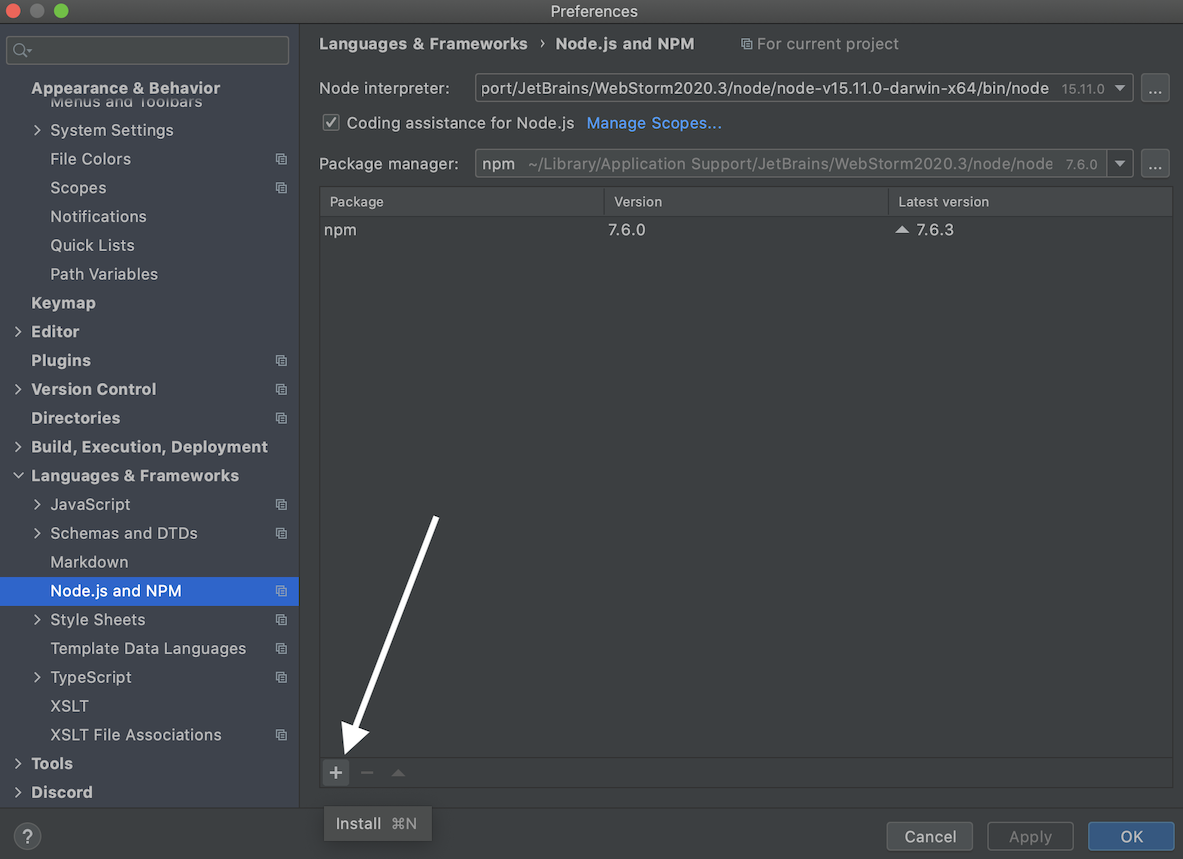
- On the available packages window, search for
ts-nodeand install it. - Once it's installed, exit the settings.
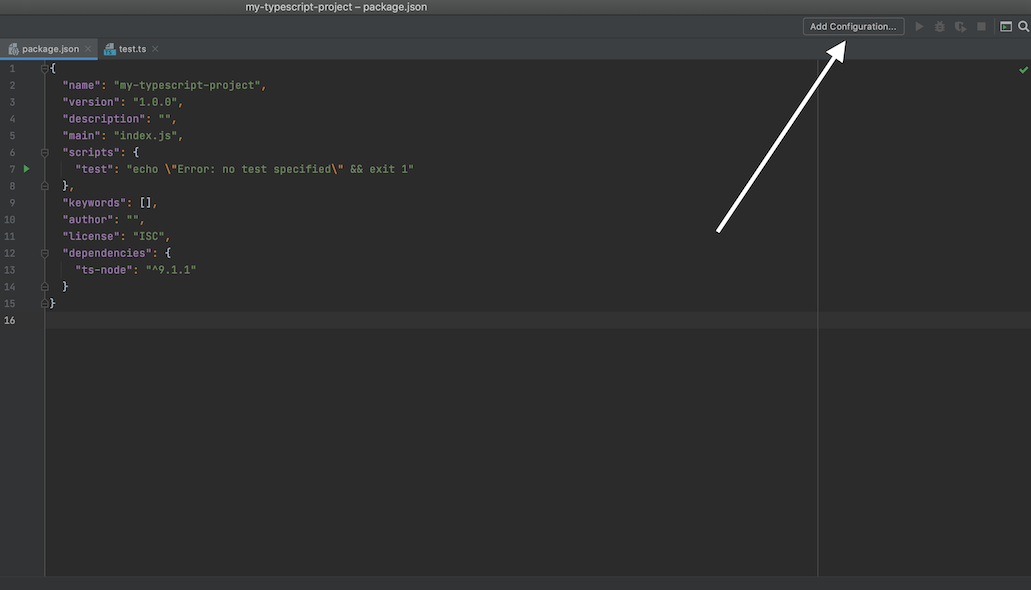
- Go to the top right and click on
Add Configuration...and press the+symbol on the modal to add a configuration.
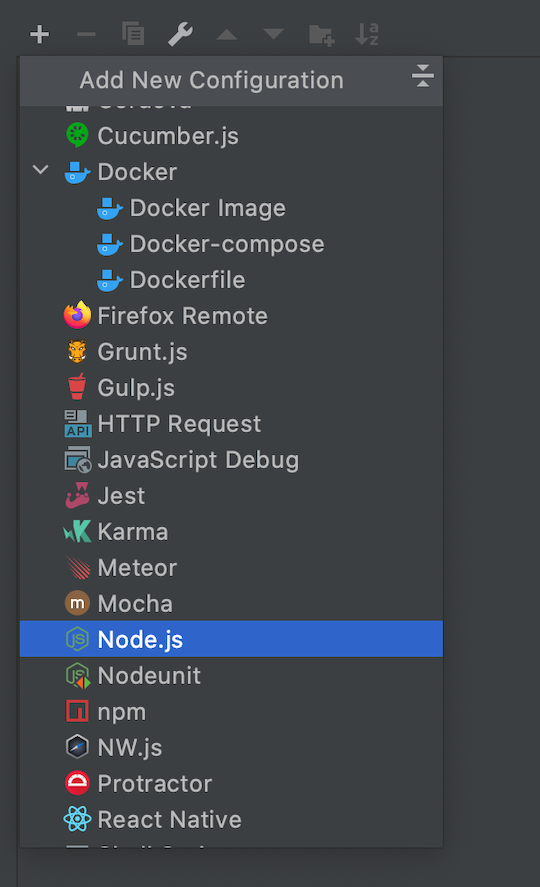
 9. Select
 Node.js for your configuration.
 10. In your
 Node Parameters, add this line (and a TS file you plan to run/debug):
--require ts-node/register- Your configuration should something close to this:
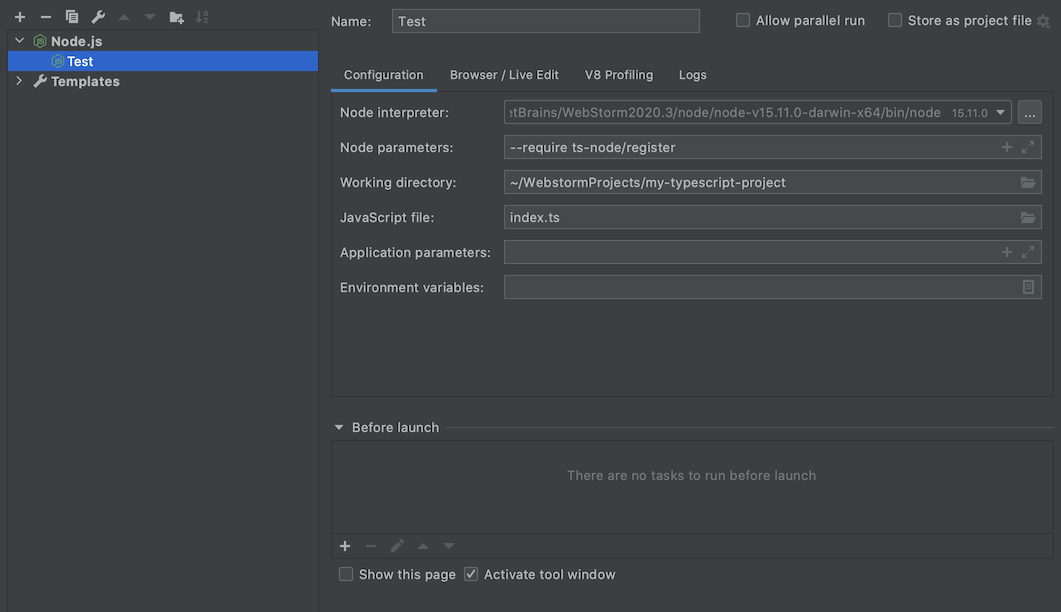
- In your run/debug configuration(s), you can add a TypeScript file in the
JavaScript fileconfiguration as a path. - Create a TypeScript file (if you haven't) or use an existing TypeScript file then run it.
You're all set now! Now you can run TypeScript code via the ts-node script in WebStorm.