For a detailed explanation of the fork-and-clone process, please see this GitHub help page.
To make code changes, please follow the following instructions
-
Make sure that you are in the
opensource/folder on your local machine. -
Click on the "Fork" button on the top-right corner (at the same level as the oppia/oppia-android repository name):
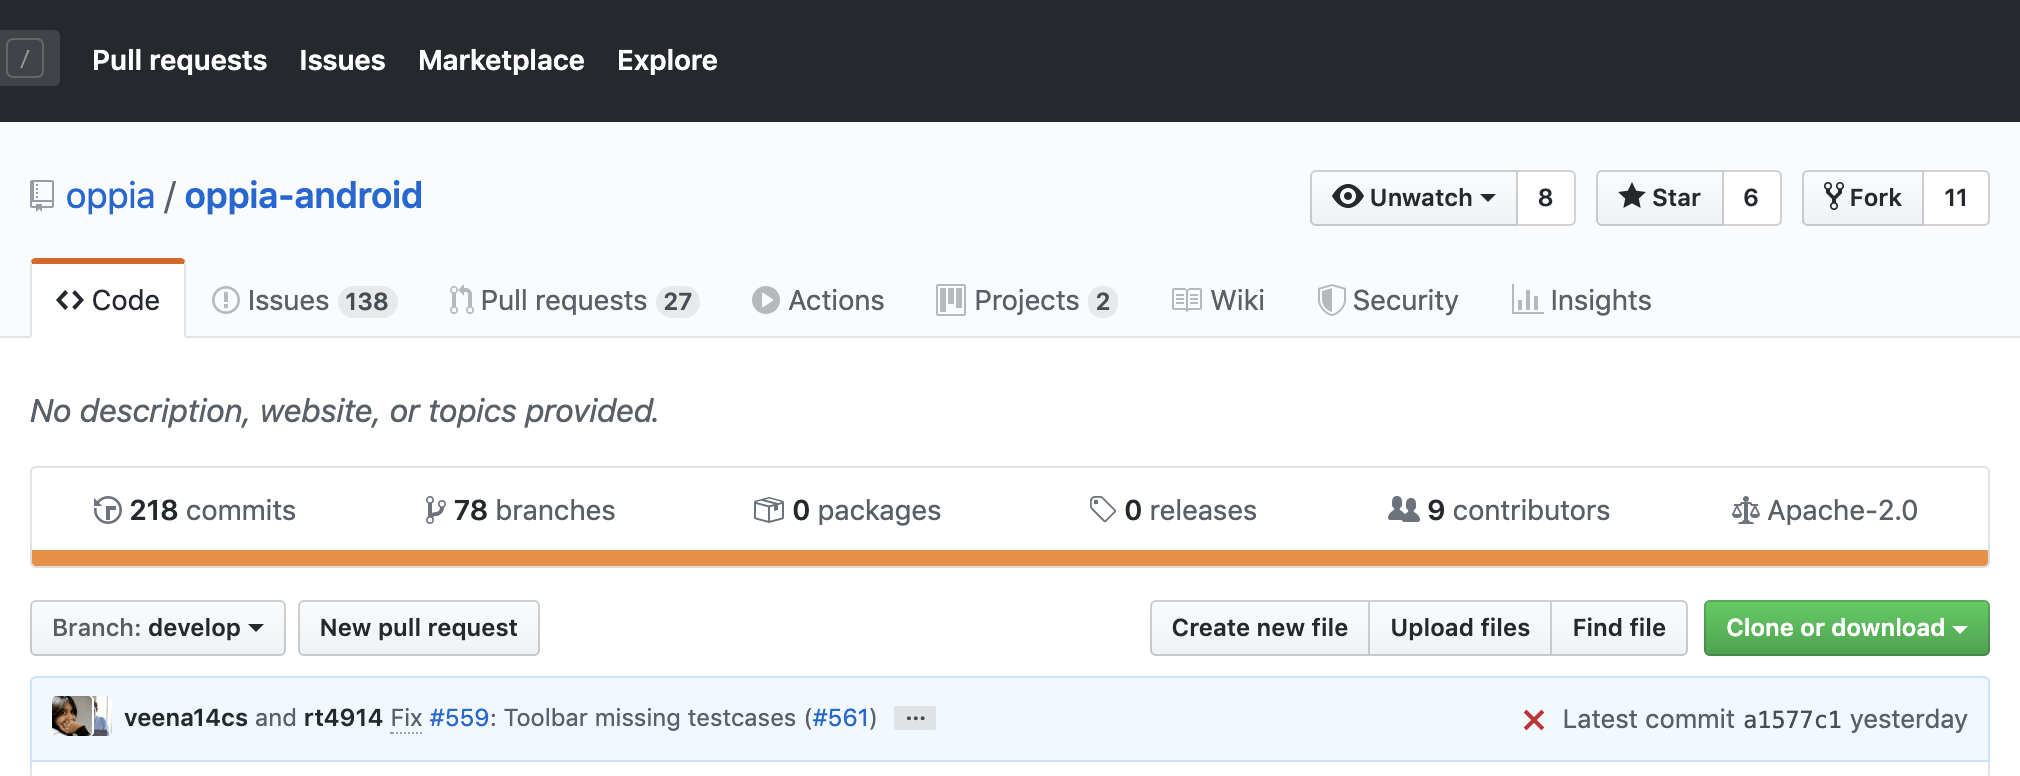
-
You can now see Oppia-Android under your repositories. It will be marked as forked from
oppia/oppia-android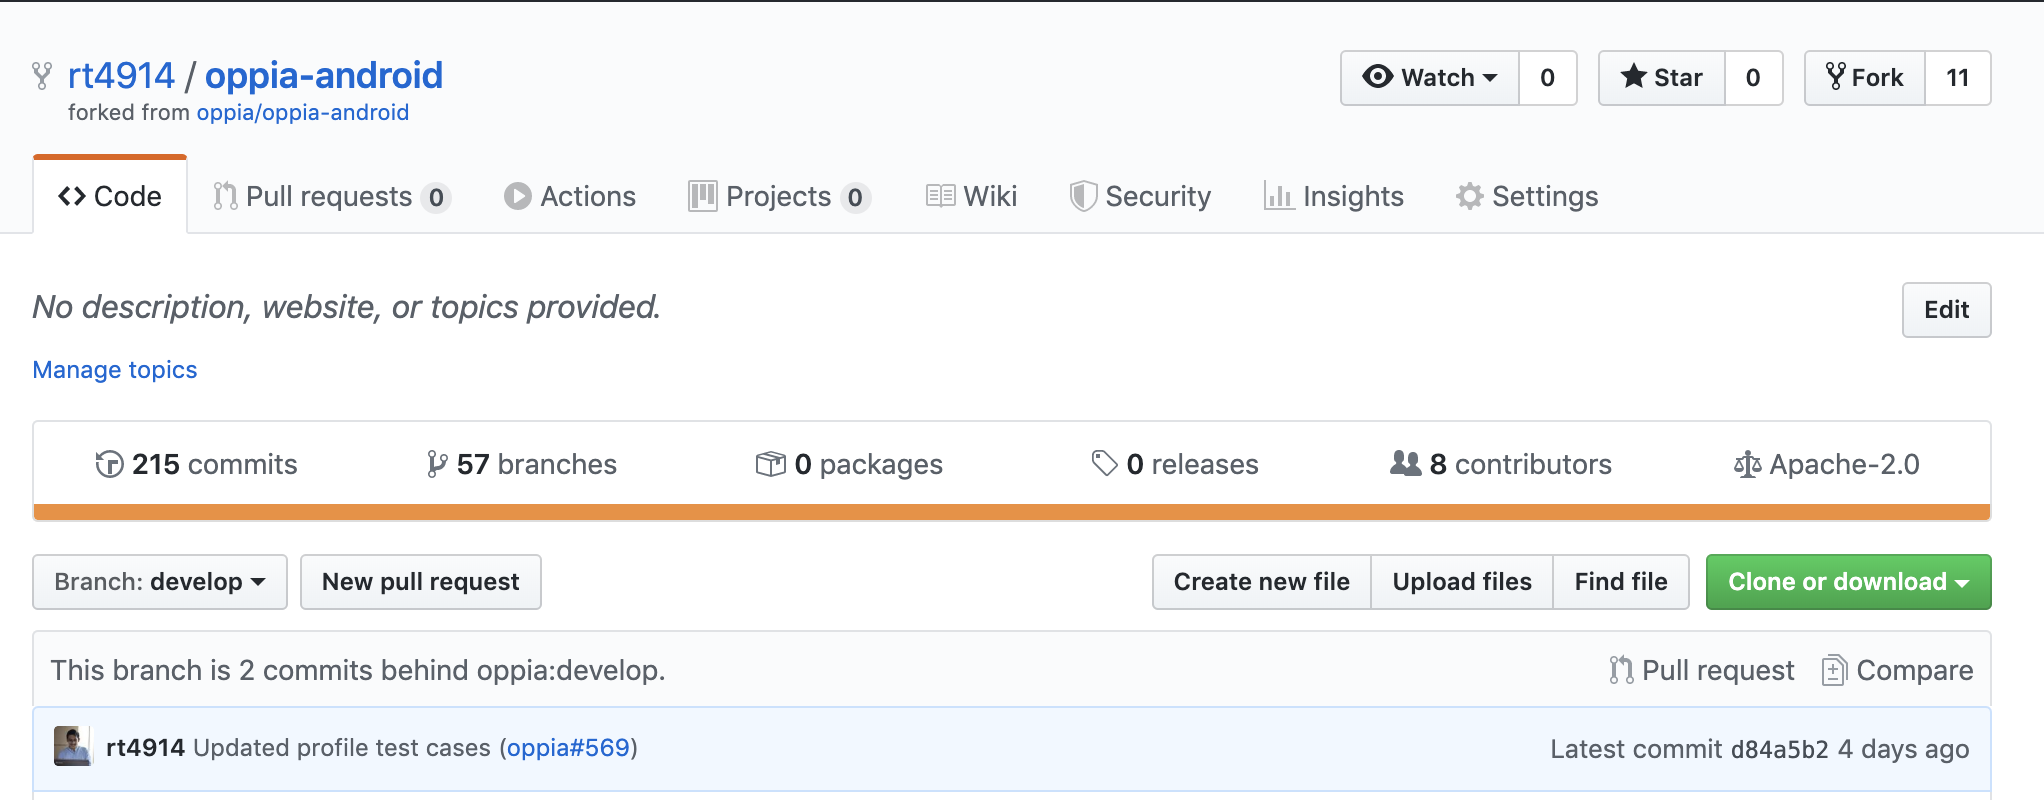
-
Clone this repository to your local computer by running
git clone https://github.com/USERNAME/oppia-android.gitin a terminal. -
To keep your local repository, forked repository and main oppia-android repository in sync, configure your remote repositories by running the following two commands in a terminal:
git remote -v(this lists your current remote repositories)git remote add upstream https://github.com/oppia/oppia-android(this adds oppia/oppia-android as an upstream repo)
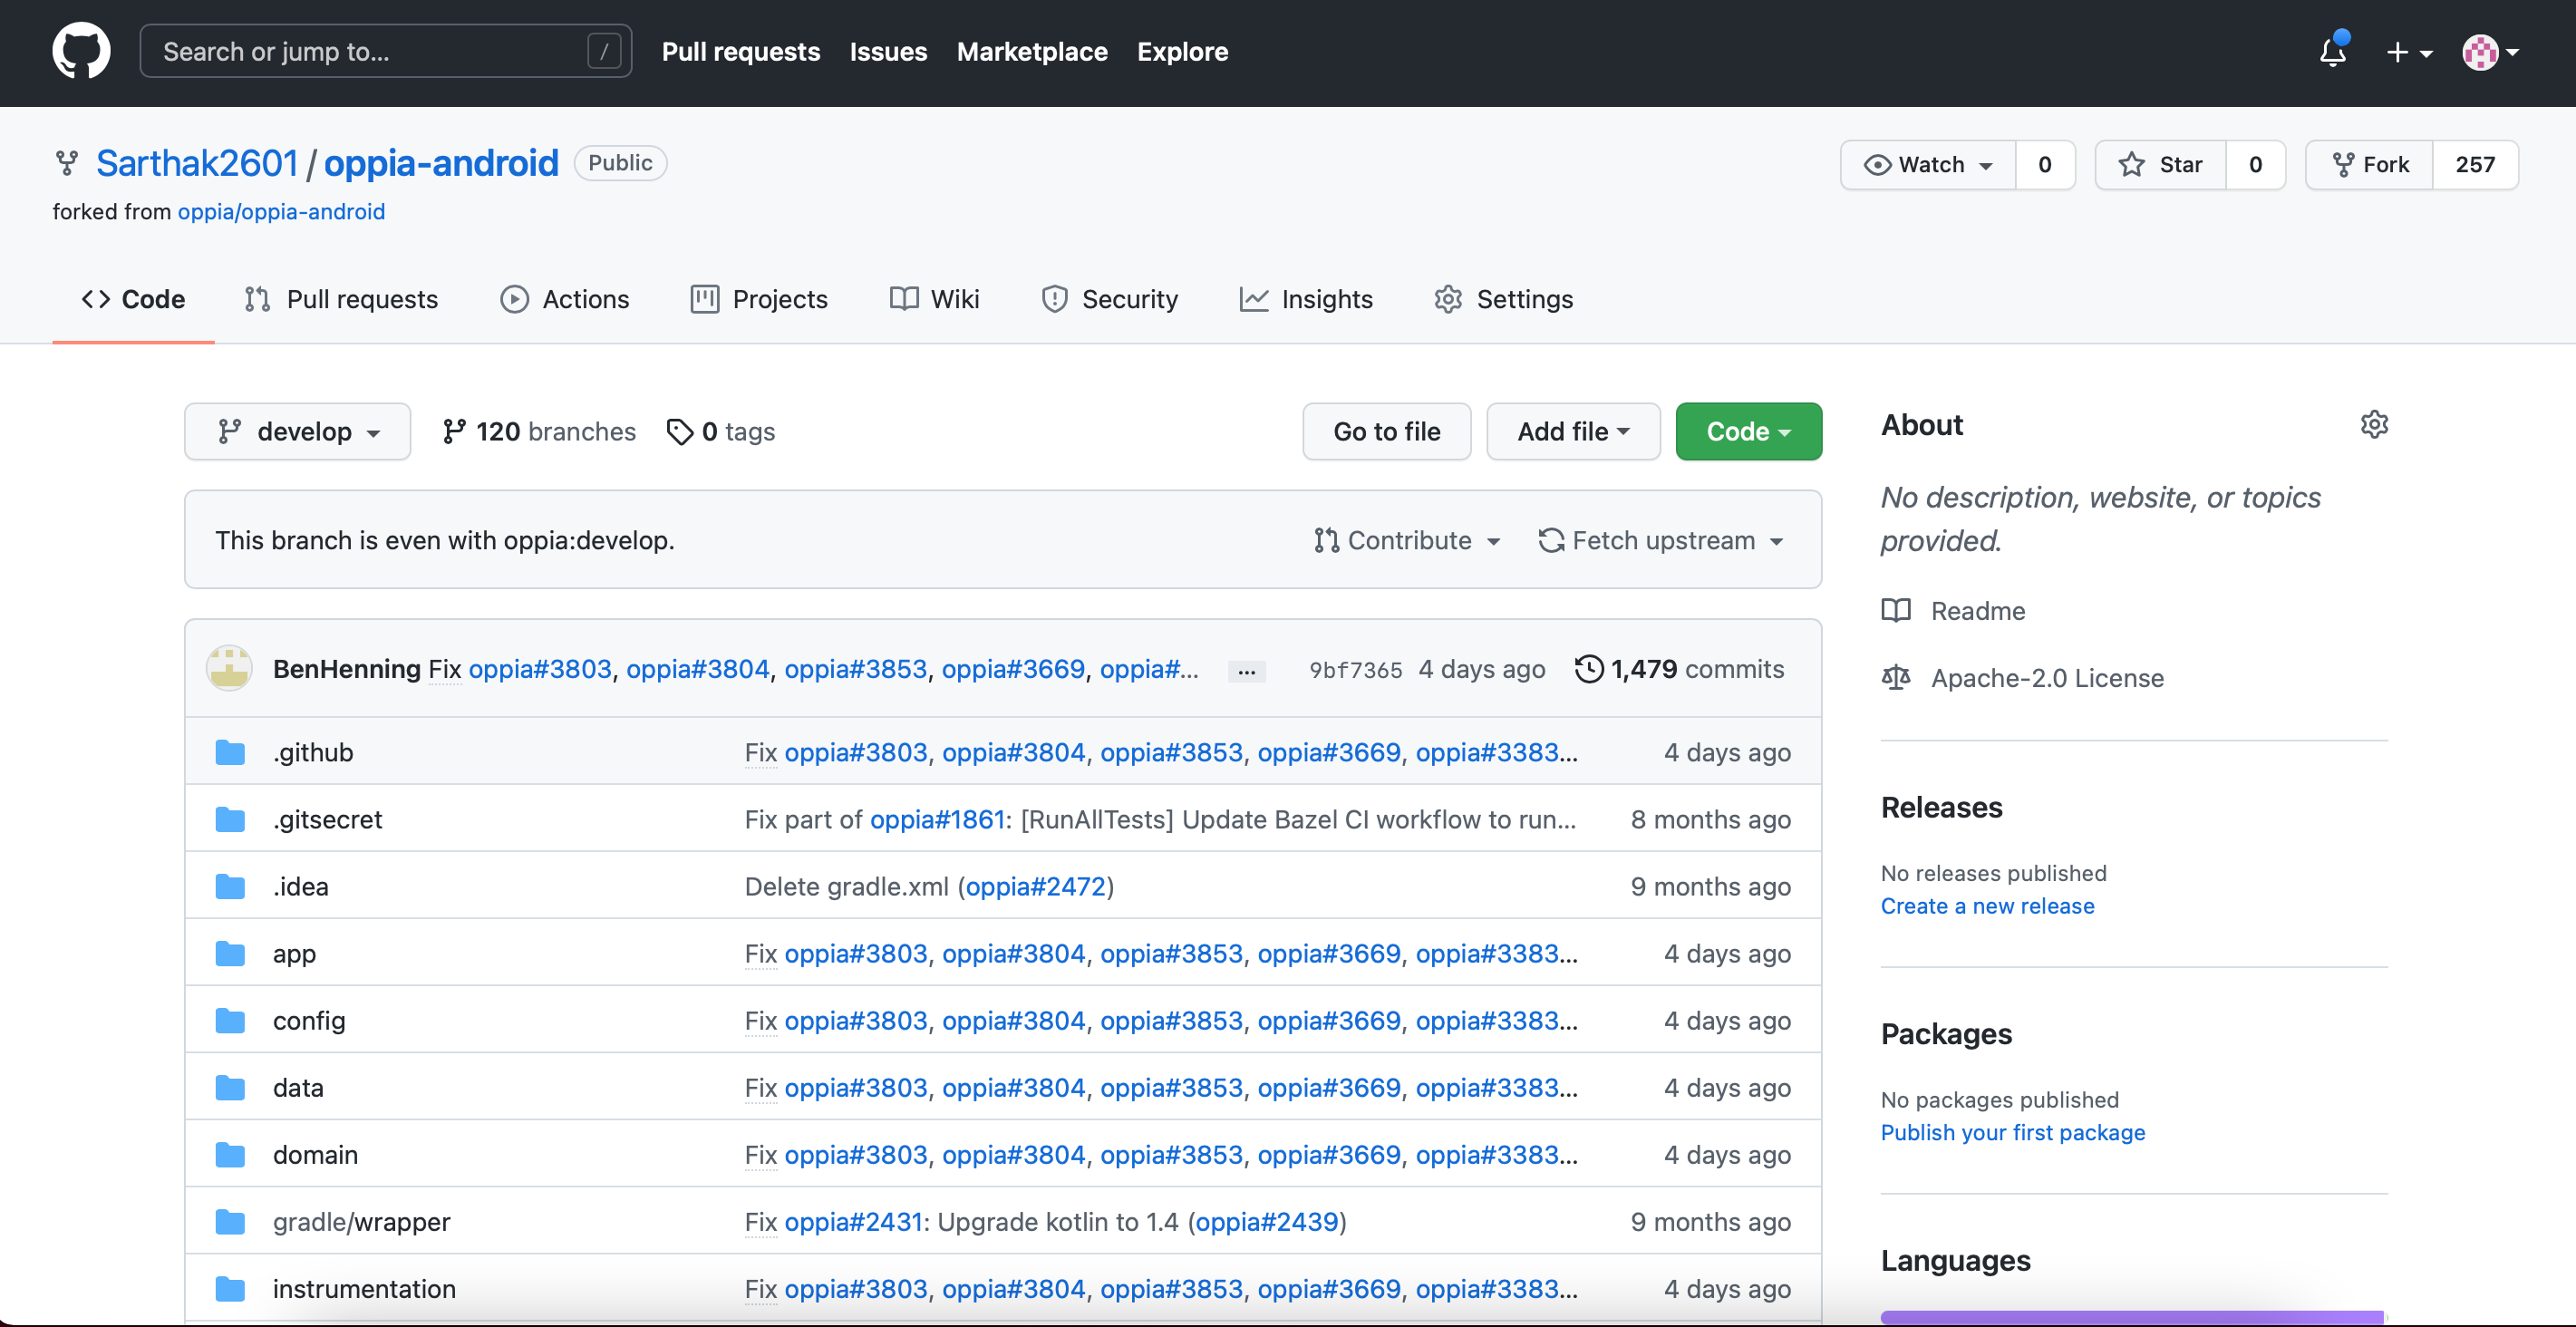
- Navigate to your fork, e.g.
https://github.com/<your_username>/oppia-android. Click on Clone or download and copy the link (the URL will look different since you should be using your fork, not https://github.com/oppia/oppia-android).
- Now, go to Android Studio>File>New>Project from Version Control>Git
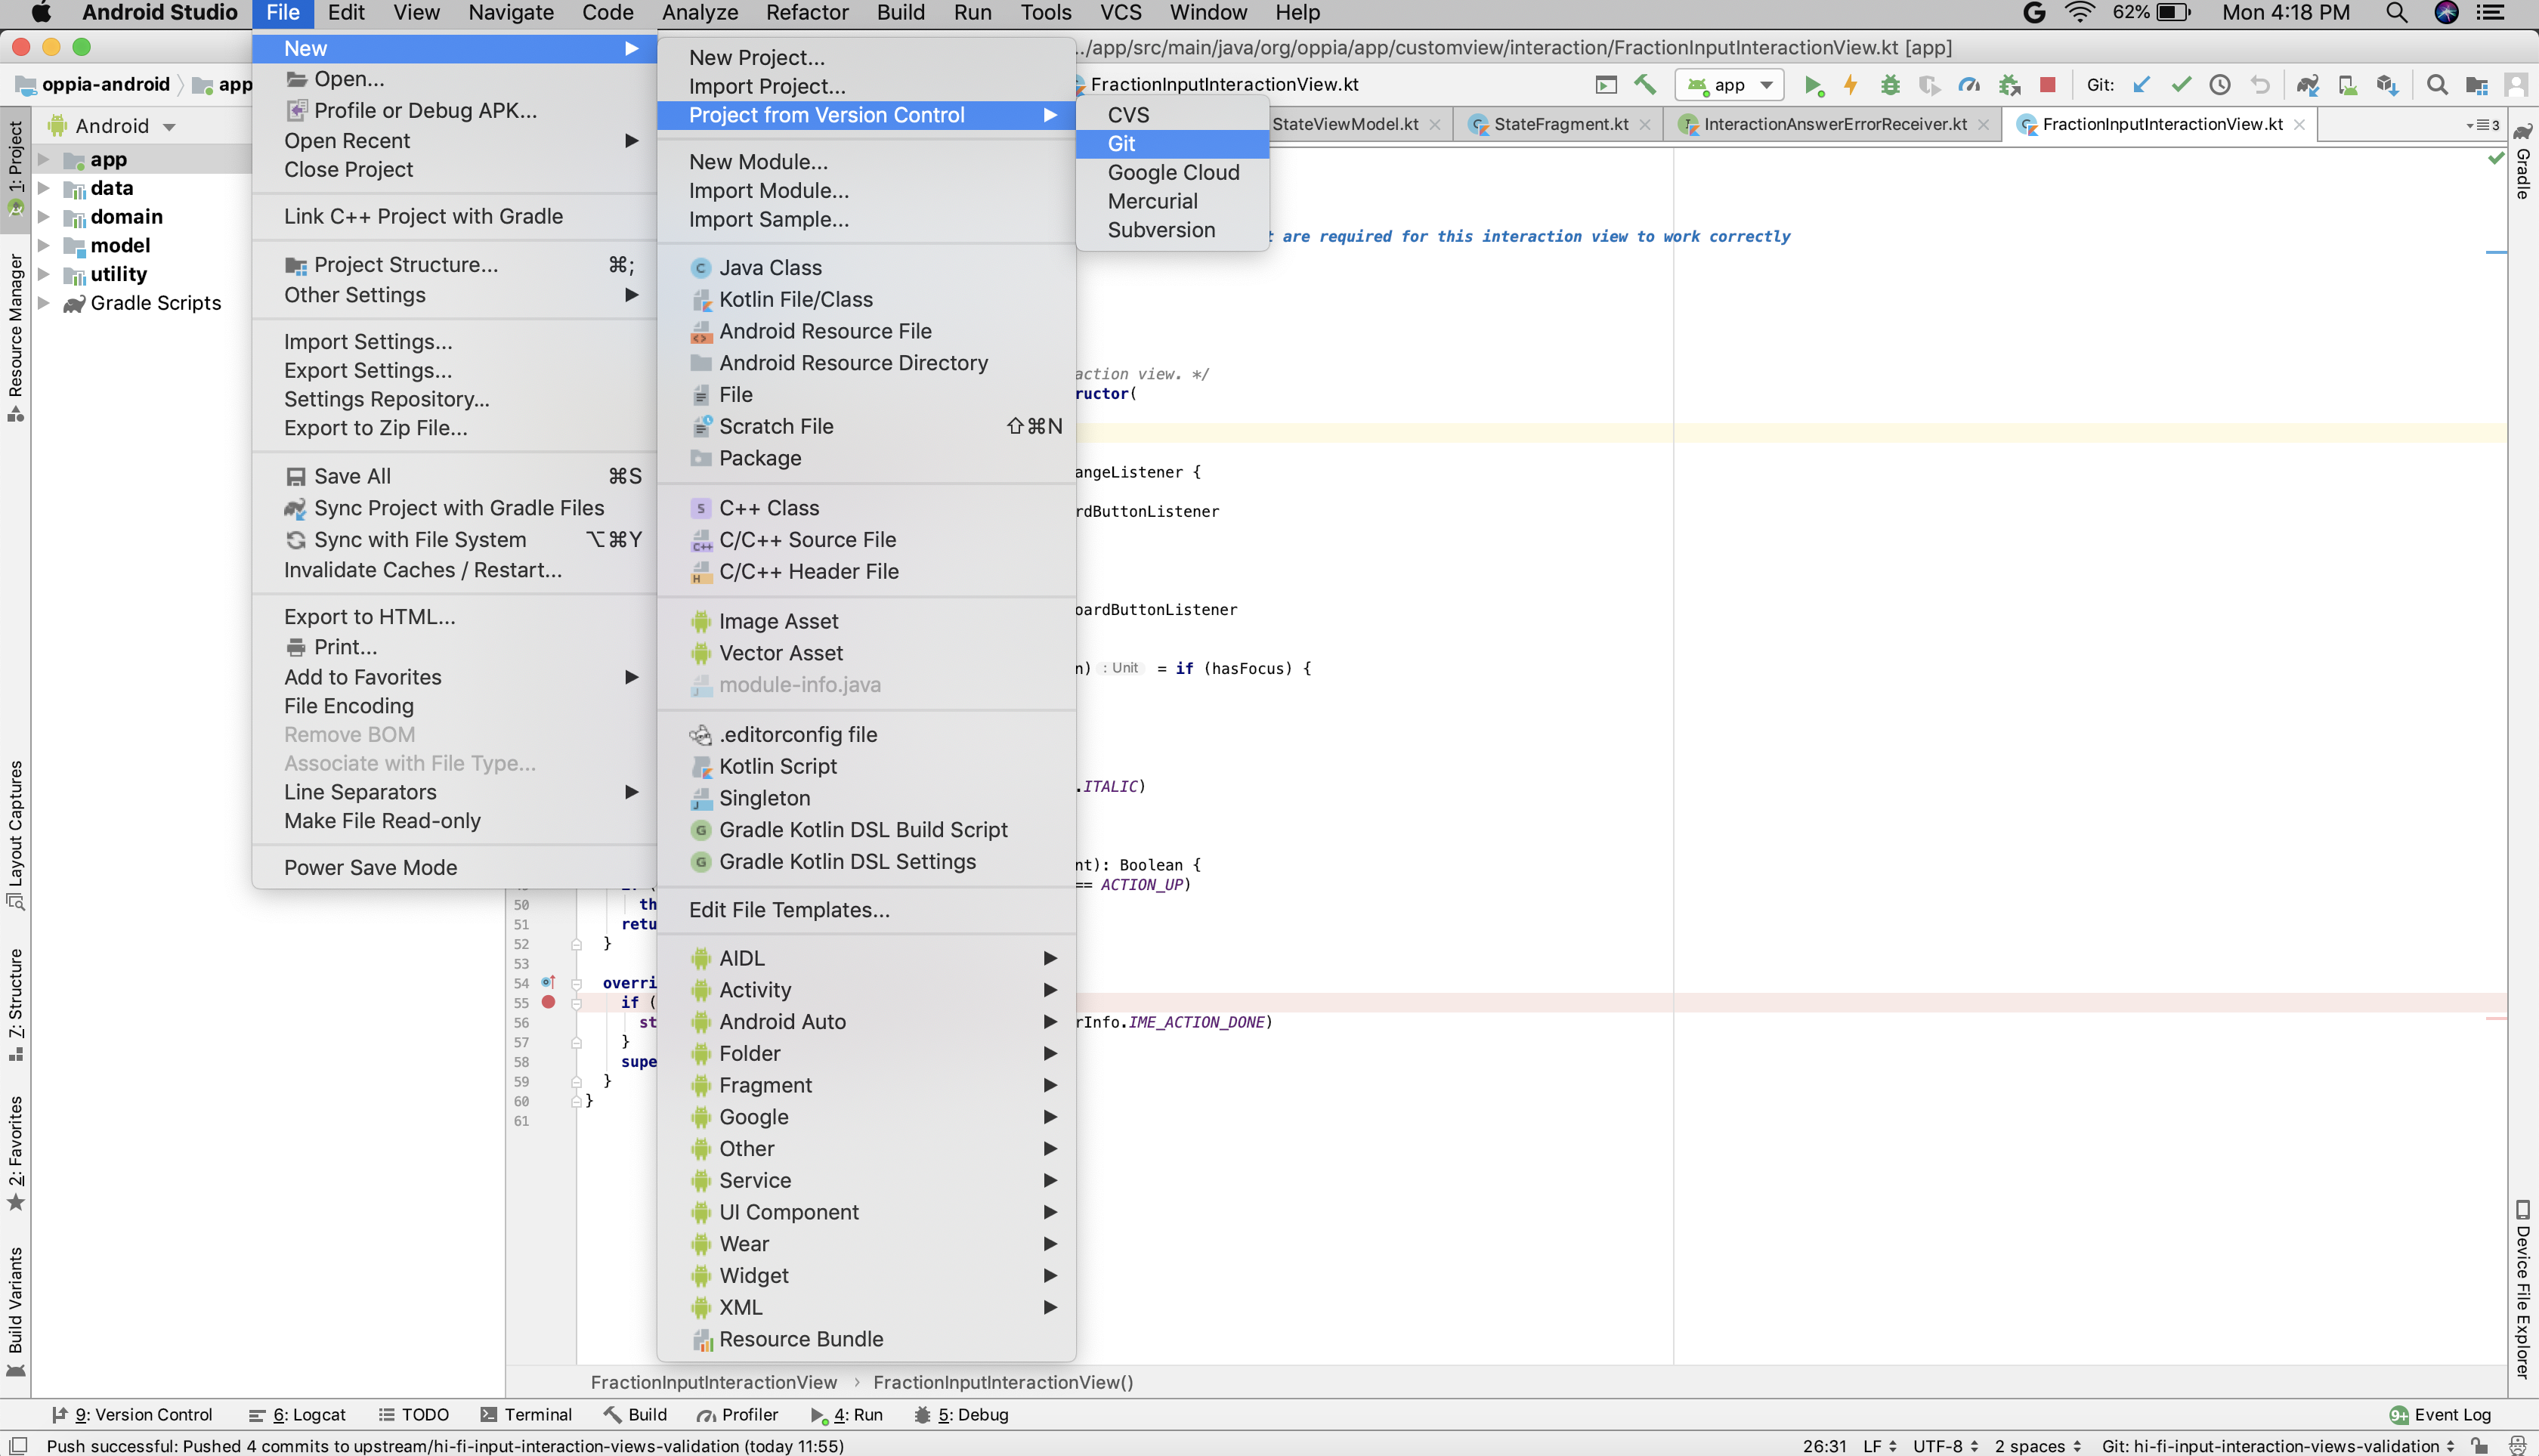
-
Log in GitHub with your credentials.
-
Paste the URL and click on Clone button. Wait for a few minutes until Gradle build completes.
