To get started, sign up for an aws account here.
Install the AWS CLI here.
To containerize your application, you must download Docker. After the download completes, launch Docker and leave it running.
Next, create a file called Dockerfile in the root of your project, with the following text. You may need to customize the EXPOSEand CMD directives.
FROM node:18

# Create app directory
WORKDIR /usr/src/app

# Install app dependencies
# A wildcard is used to ensure both package.json AND package-lock.json are copied
# where available (npm@5+)
COPY package*.json ./

RUN npm install
# If you are building your code for production
# RUN npm ci --only=production

# Bundle app source
COPY . .

EXPOSE 3000  # <--- Set this to the port your application listens on

CMD [ "node", "index.js" ]  # <--- Set this to the path to the main file in the project;
                            #      e.g., "app.js".
Ensure you are signed in to the aws console. Then go to the Amazon Elastic Container Registry Service here.
Ensure the "Private" tab is selected. Then, click on the orange "Create repository" button. For Visibility settings, choose "Private". Give your repository a unique, meaningful name. Leave the default values for all the other choices, scroll down, and click "Create repository".
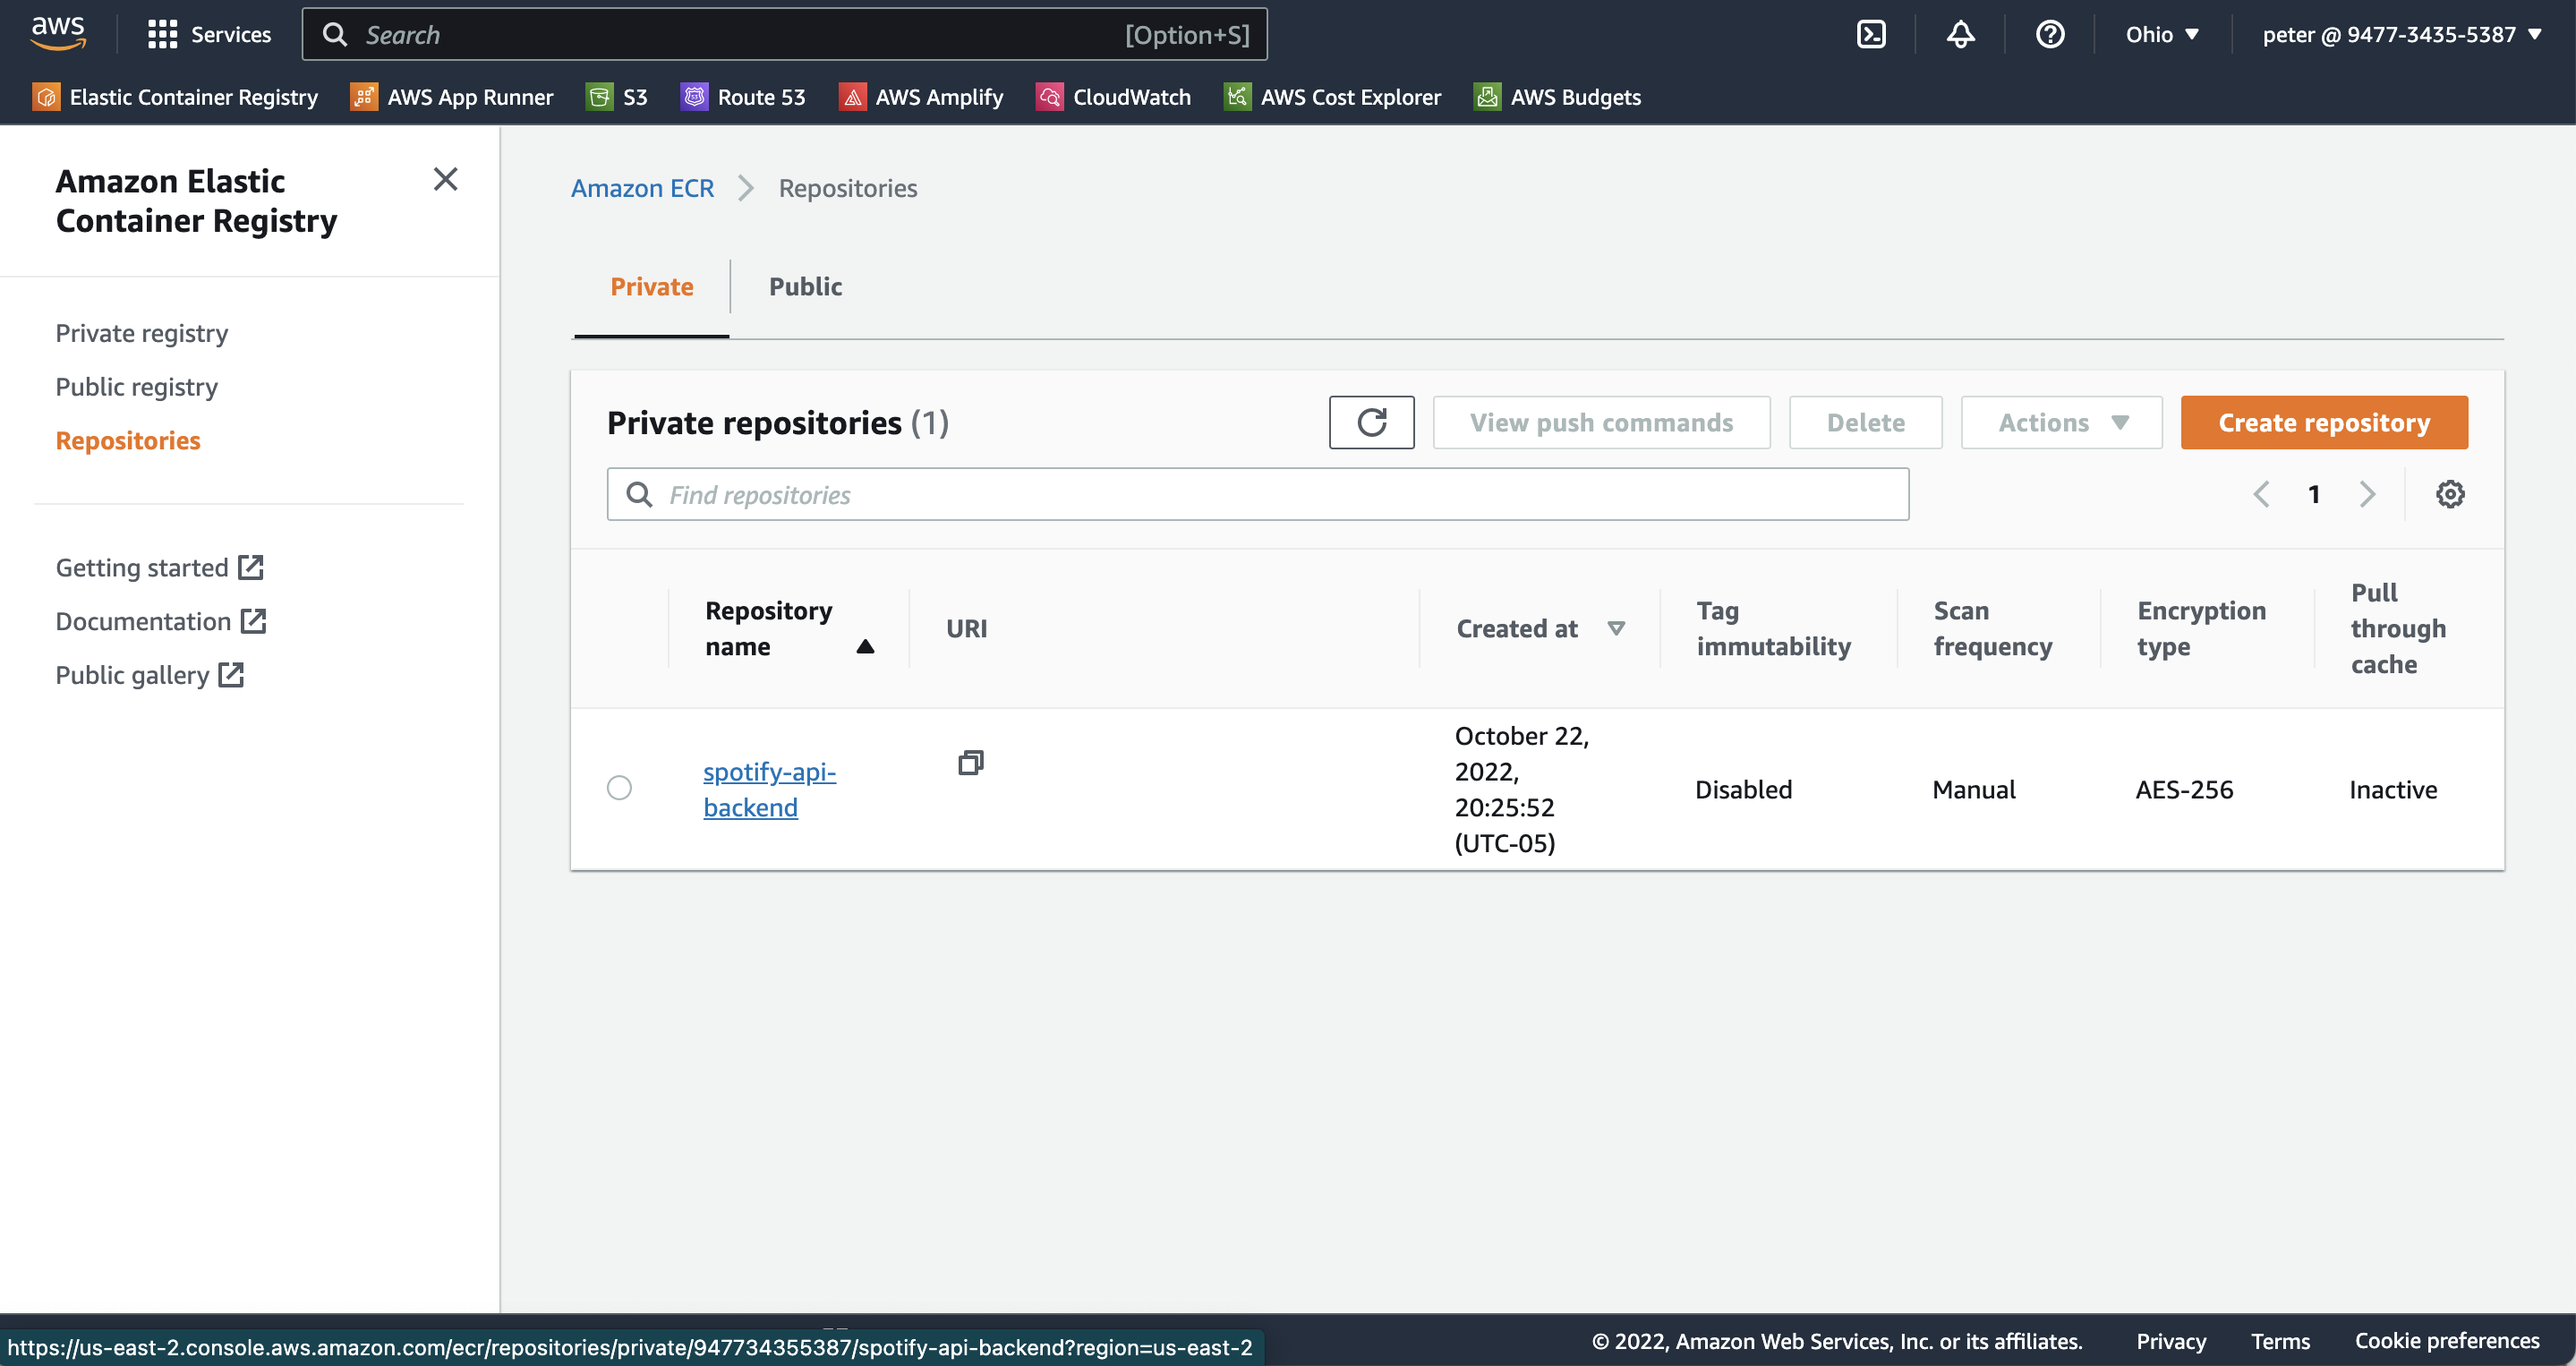
Next, click on your newly-created repository.
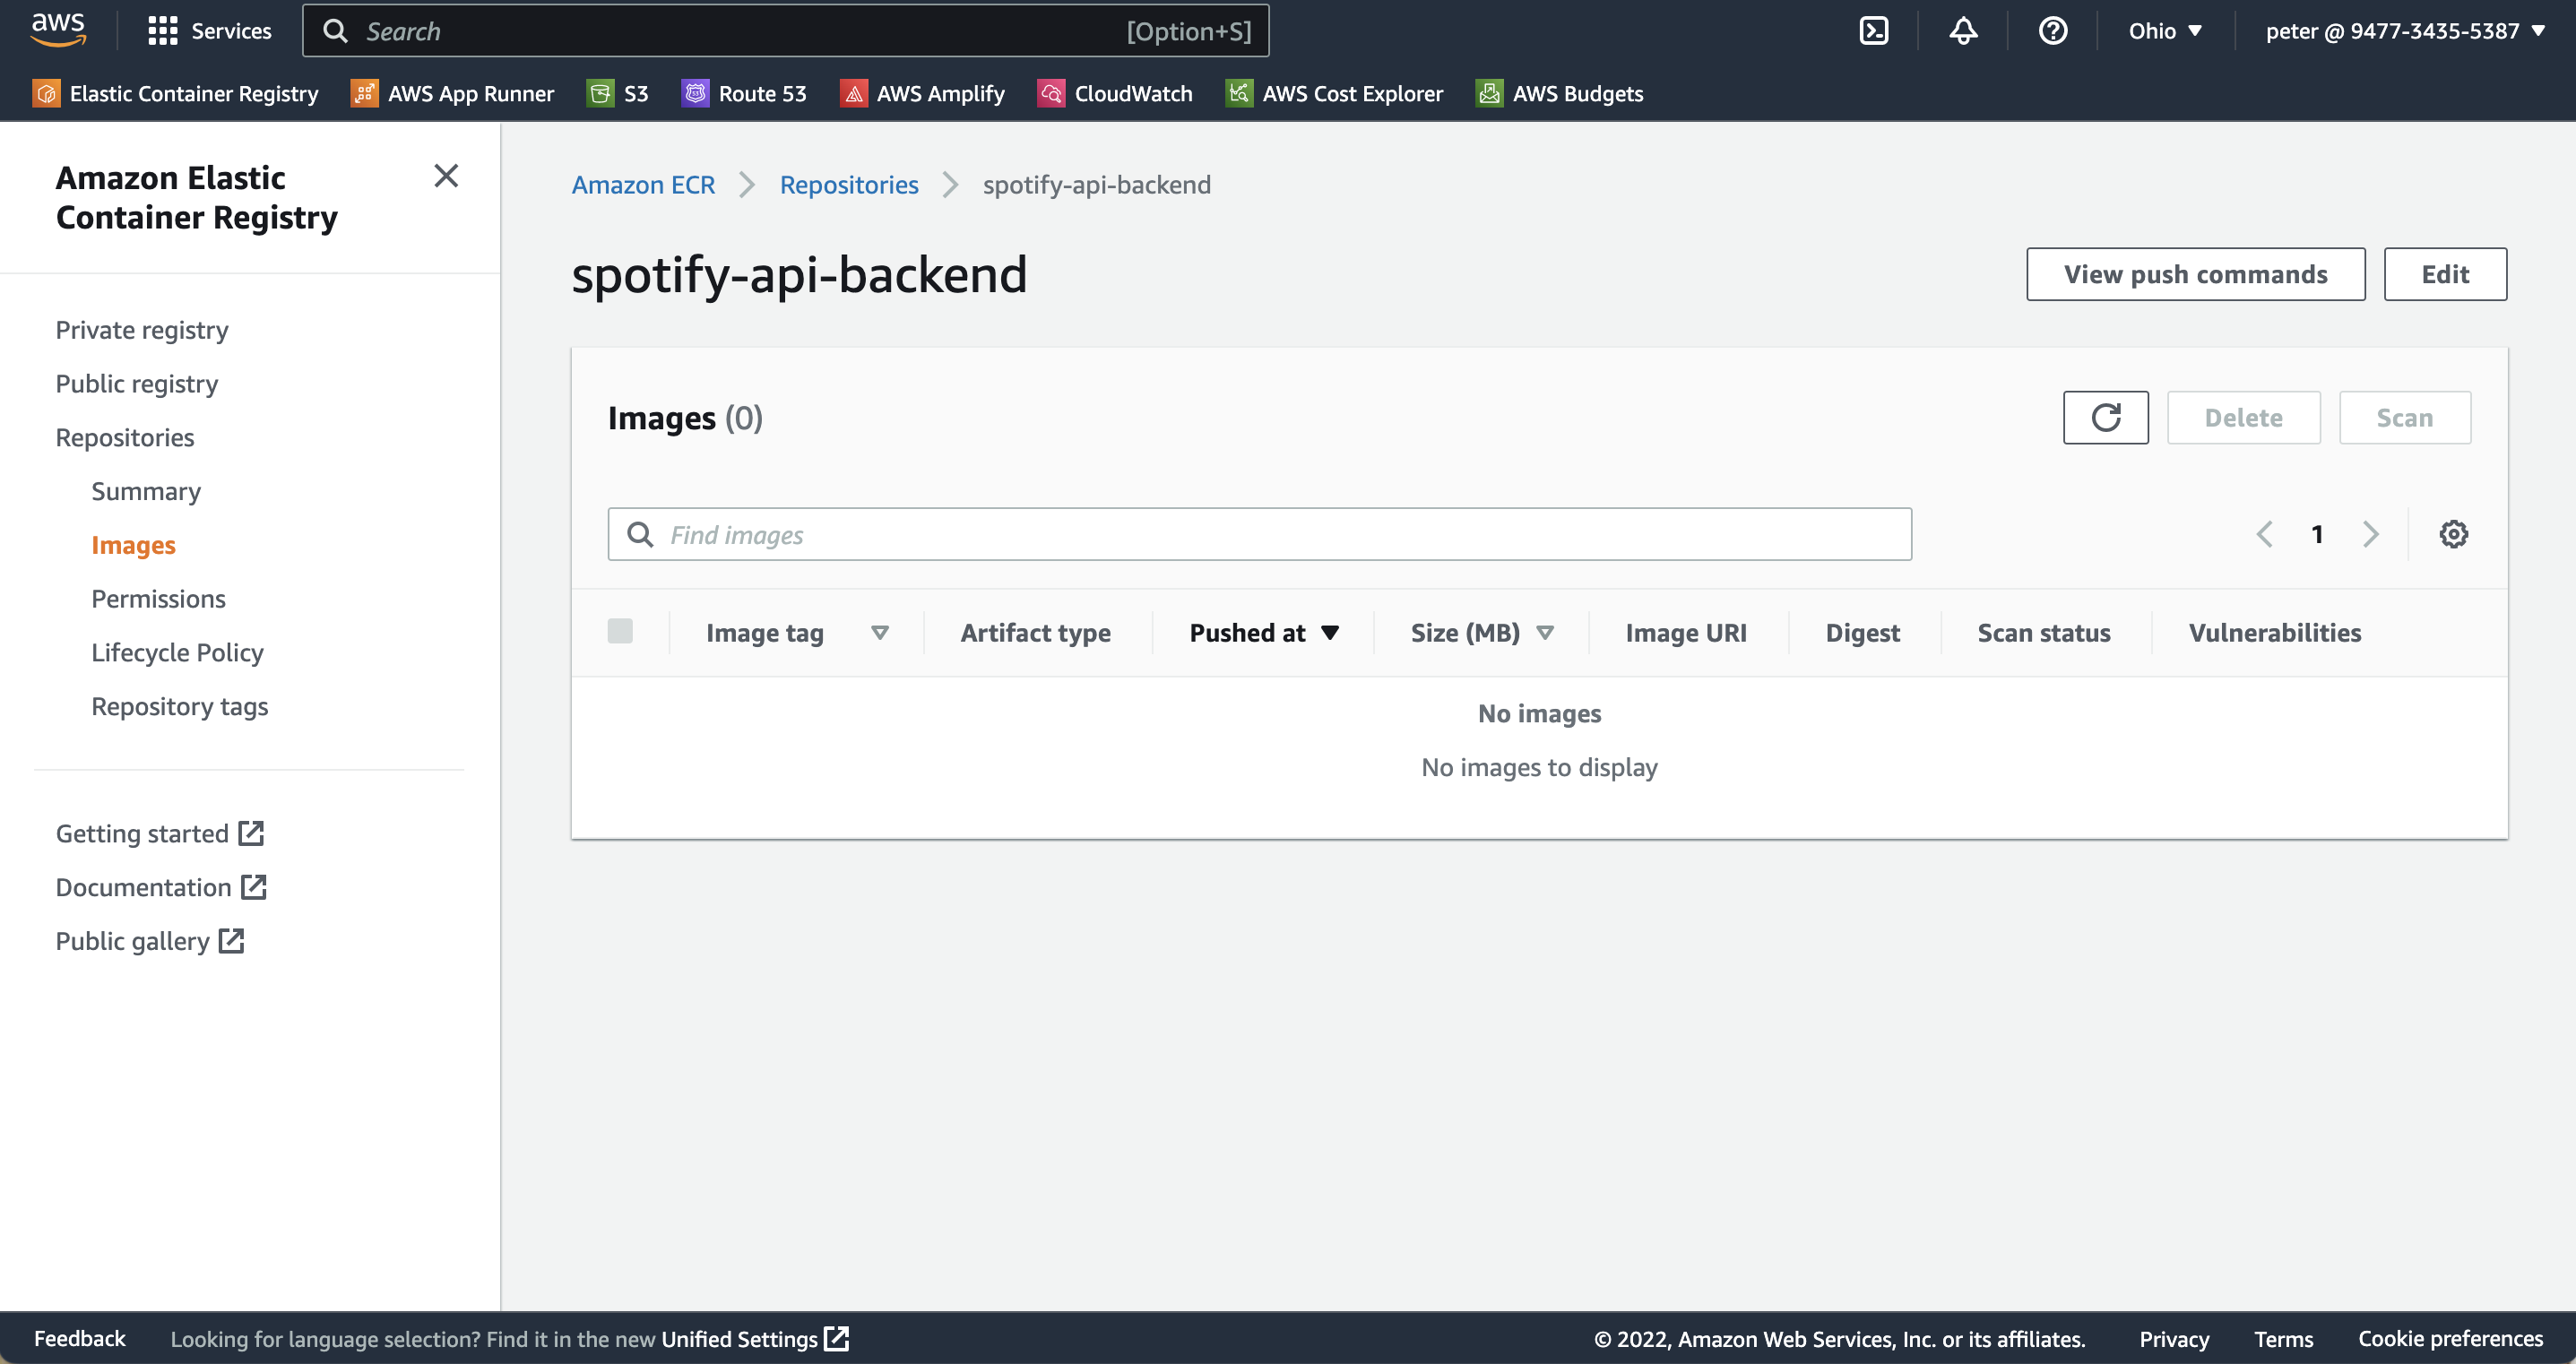
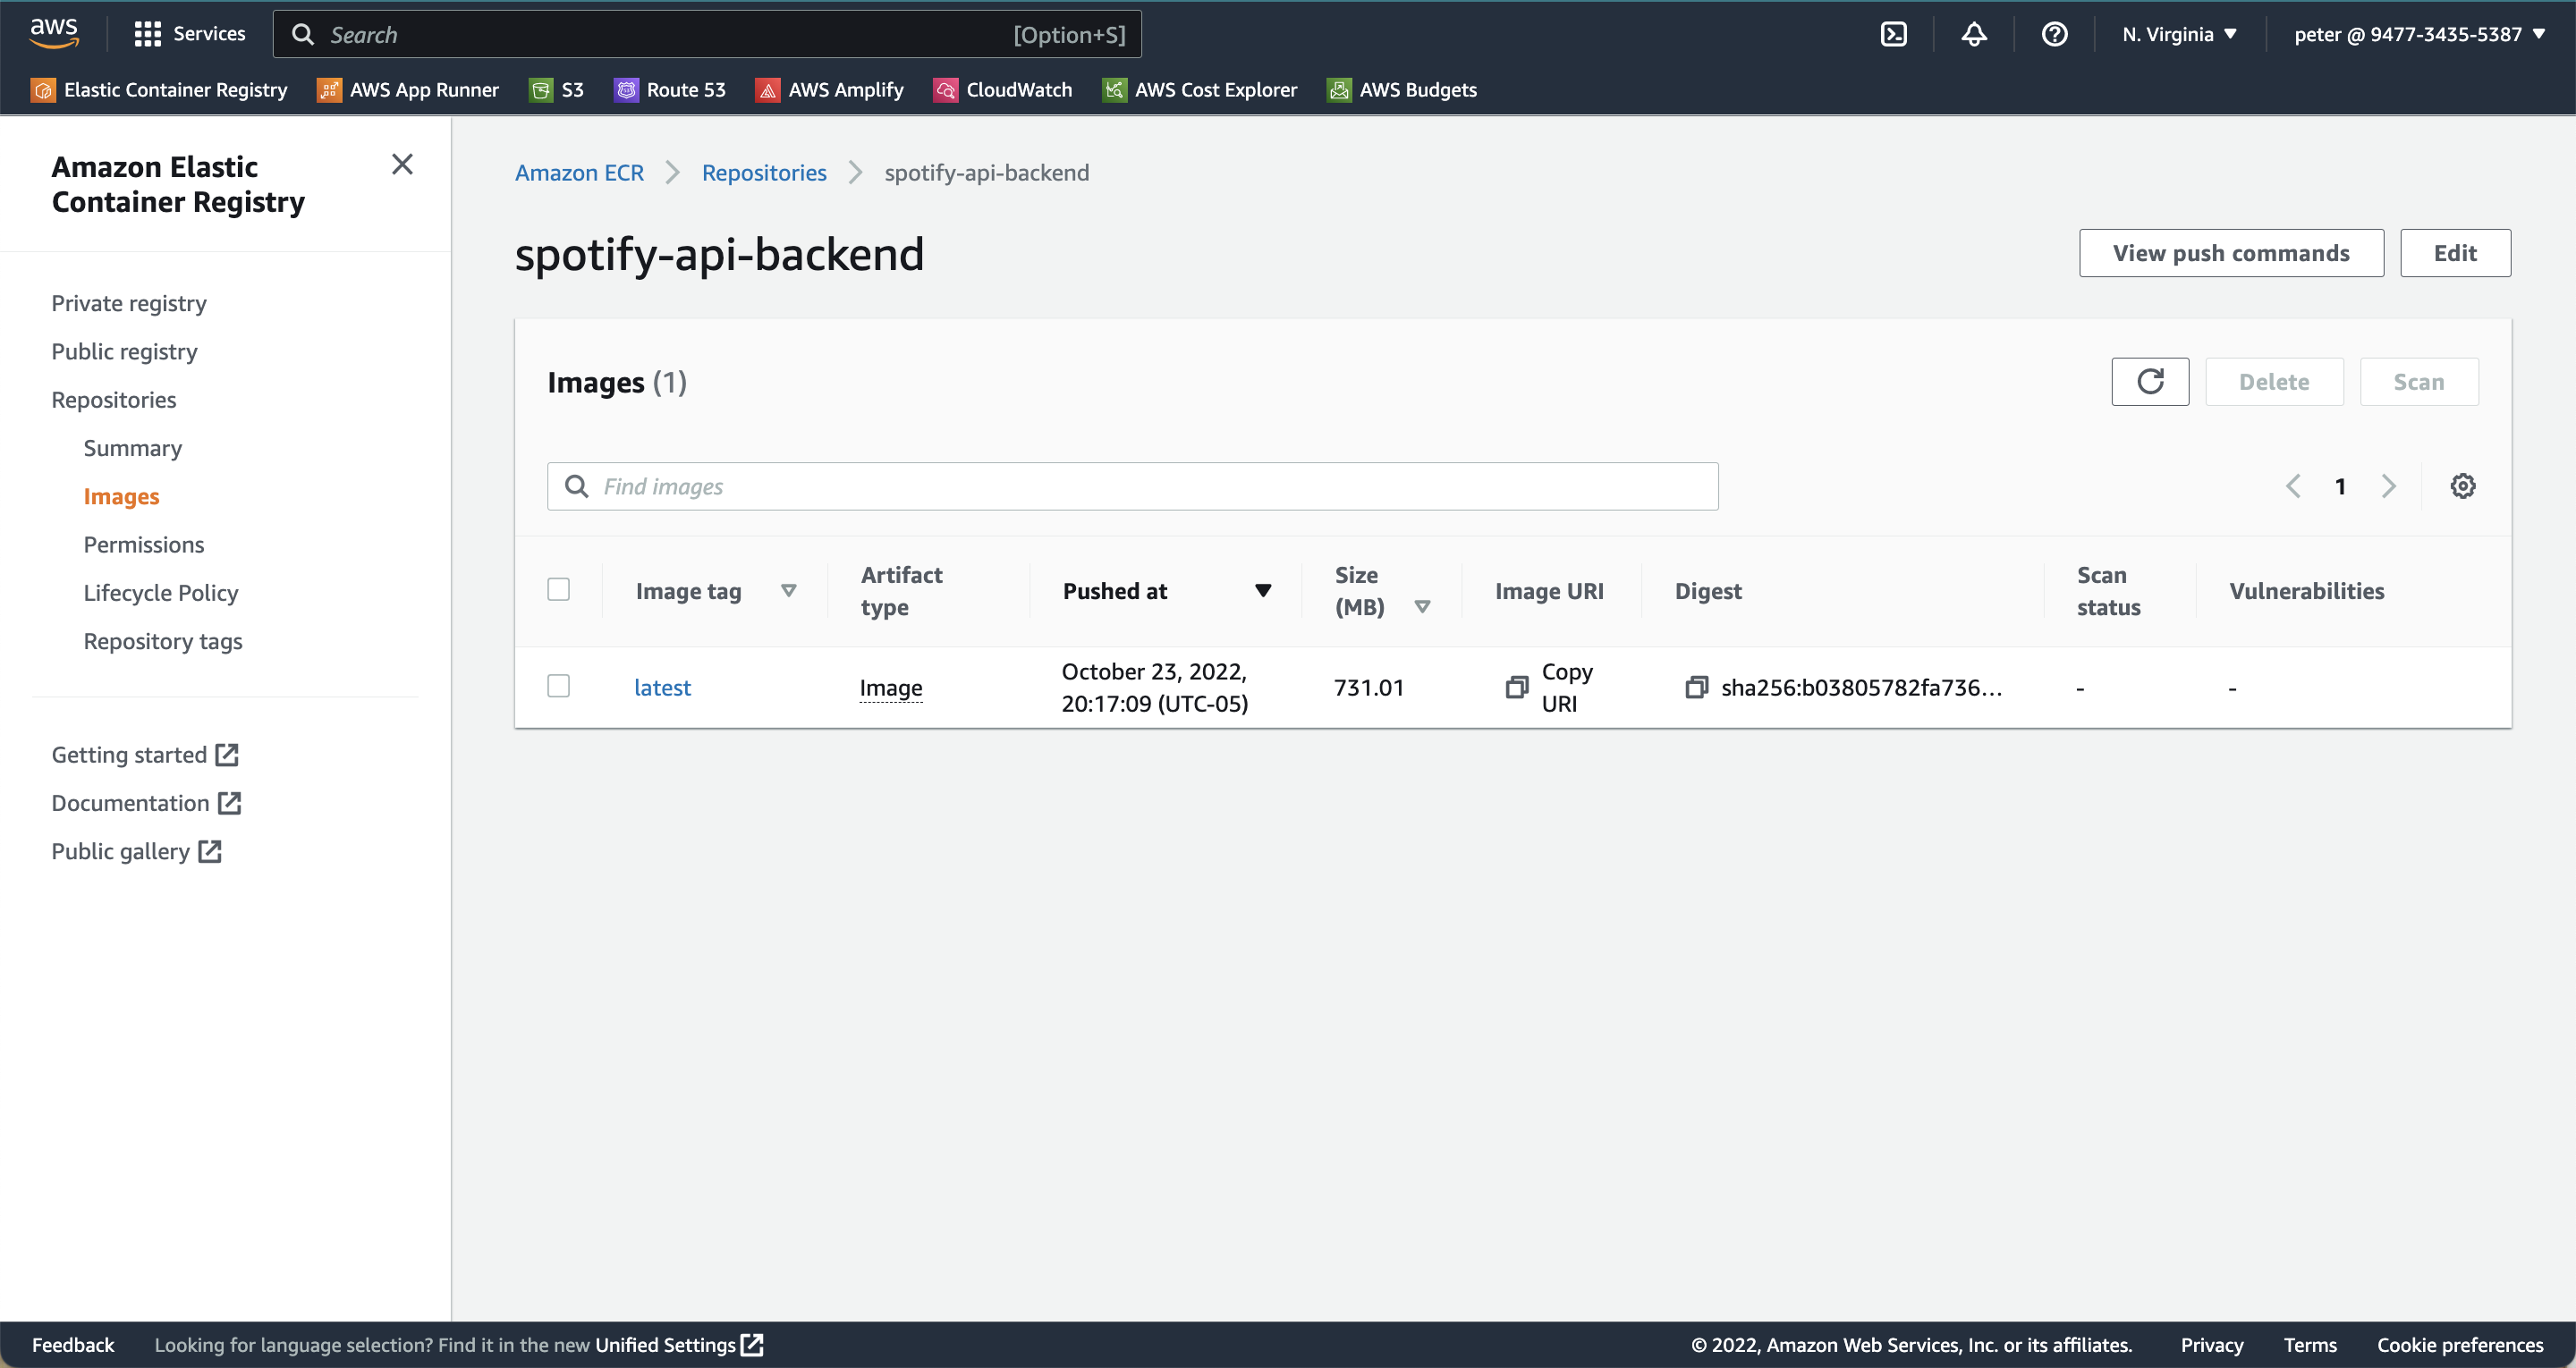
Now click on "View push commands". In your terminal, ensure the root of your node project is your working directory. Then, follow the steps in the "Push commands" window. This will create a docker image of your project and push it to your private container registry. After the push commands finish, refresh the current page, and a docker image should show up, as demonstrated below.
Read more about Amazon Elastic Container Registry here.
Create an App Runner service here.
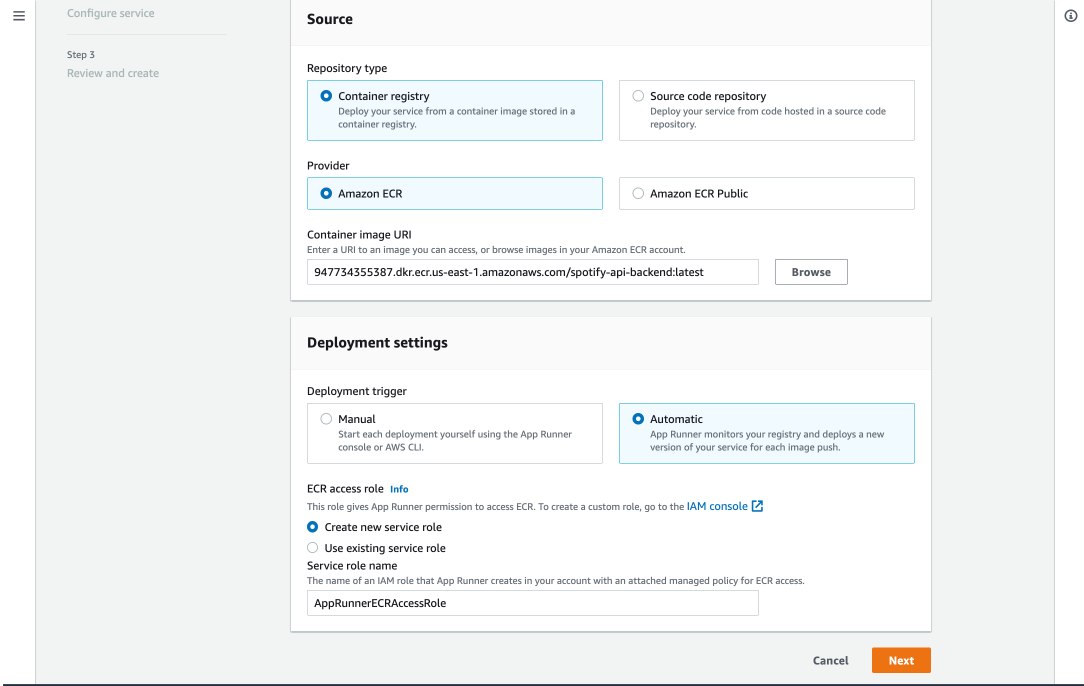
- For "Repository type", choose "Container registry"
- For "Provider", choose "Amazon ECR". Then click "Browse" below. Select the image repository you just created.
- For "Deployment trigger", choose "Automatic".
- For "ECR access role", choose "Create new service role"
- Click Next.
- For "Service name", choose a meaningful name for the application.
- For port, use the port that your application listens on.
- Click "Next"; then, click "Create & deploy".
- Wait for the application to finish deploying.
- Finally, click on the link under "Default main" to see your live site.
- To re-deploy, follow the steps in the push commands window of your repository.
Read more about AWS App Runner here.