Steps to install and run Mozilla Hubs locally on MacOS with M1 chip
I mainly followed the steps described here by albirrkarim, while referring to README of Mozilla Hubs's each component, including:
- Reticulum: https://github.com/mozilla/reticulum.git
- Dialog: https://github.com/mozilla/dialog.git
- Hubs: https://github.com/mozilla/hubs.git
- Spoke: https://github.com/mozilla/spoke.git
and dealed with some minor problems (e.g. puppeteer's chrome path mismatched) not mentioned in these references
This blog by REALITY Inc. GREE VR Studio Laboratory (in Japanese) also helped me a lot!
- I have tried my best to write these steps as detailedly as possible, and they actually works on my environment, but I cannot ensure that the same steps will also work on yours. Also there is possibility that these steps will fail in the future if their are any official updates by Mozilla, but I will try to catch up and update this gist if that happens.
- I may also try on Linux in the future
- Chip: Apple M1
- Memory: 16GB
- Node js: v16.16.0
- v18 for only Dialog
- npm: 9.1.3
- postgREST
Backend server using elixir and phoenix
git clone https://github.com/mozilla/reticulum.git
cd reticulum- Install Postgres with brew:
brew install postgresql
- Check installed version (should be at least 11):
psql --version
- Then login to database
postgres:
psql postgres
- Now create a new user 'postgres' with password 'postgres', and set it as a Superuser:
CREATE USER postgres WITH ENCRYPTED PASSWORD 'postgres';
ALTER USER postgres WITH SUPERUSER;

/* You can list all users to check if user 'postgres' is created as a SUPERUSER */
`\du`
- Finally type
\qto quit
.tool-versions in Reticulum's repository specifies Elixir and Erlang's version to install for this project.
Please follow this tutorial to install Elixir and Erlang in the same version specified in .tool-versions;
- Install dependencies
mix deps.get
- Create database in Postgres
mix ecto.create
Then you can run psql -l to check whether database ret_dev is sucessfully created.
If step 2 fails, you have to set the password for the postgres role to match the password configured dev.exs (which should be postgres). Run psql postgres to access psql sheel, and then run:
ALTER USER postgres WITH PASSWORD 'postgres';
If you receive an error that the ret_dev database does not exist, (using psql again) enter create database ret_dev;.
-
Run
mkdir -p storage/dev(at the root directory of Reticulum). -
Configuration for postgREST
Install postGREST first if you haven't.
Then, open reticulum iex and paste the following to create reticulum-jwk.json in Reticulum repository:
jwk = Application.get_env(:ret, Ret.PermsToken)[:perms_key] |> JOSE.JWK.from_pem(); JOSE.JWK.to_file("reticulum-jwk.json", jwk)
Next, create a file named reticulum.conf at the root folder of Reticulum, and then paste the following.
Keep the @ in jwt-secret path.
# reticulum.conf
db-uri = "postgres://postgres:postgres@localhost:5432/ret_production"
db-schema = "ret0_admin"
db-anon-role = "postgres_anonymous"
jwt-secret = "@/absolute_path_to_your_file/reticulum-jwk.json"
jwt-aud = "ret_perms"
role-claim-key = ".postgrest_role"
- Update the Janus host in
config/dev.exs:
# Around the top of this file
dev_janus_host = "localhost"- Update the Janus port in
config/dev.exs:
# line 216
config :ret, Ret.JanusLoadStatus, default_janus_host: dev_janus_host, janus_port: 4443- Add the Dialog meta endpoint to the CSP rules in
lib/ret_web/plugs/add_csp.ex:
# line 107
default_janus_csp_rule =
   if default_janus_host,
      do: "wss://#{default_janus_host}:#{janus_port} https://#{default_janus_host}:#{janus_port} https://#{default_janus_host}:#{janus_port}/meta",
else: ""Using mediasoup RTC to handle audio and video real-time communication, such as camera streaming or screen sharing.
git clone https://github.com/mozilla/dialog.git
cd dialog

/* Switch node version for this project if it is not v18 */
/* Example of using nvm */
nvm use v18

npm ci

/* Run this if `npm ci` failed */
npm installReticulum uses RSA encryption when running against a Dialog instance, and the keys are saved in the secret repository according to this discussion.
We have to generate new RSA key additionally to run the project locally!
- Generate RSA (Public and Private key) with generator online
- Inside Dialog's directory, create a file
certs/perms.pub.pemand fill in the public key - Inside Reticulum's directory, create a bash file
scripts/run-local.sh, and then fill in the followings:
PERMS_KEY="-----BEGIN RSA PRIVATE KEY----- ...copy and paste the secret key here, but remember to add \n in front of every line and then make the whole key into only one line... -----END RSA PRIVATE KEY-----"
PERMS_KEY="$PERMS_KEY" iex -S mix phx.server
You can also save the private key somewhere else and read its value in scripts/run-local.sh.
4. Then run chmod +x ./scripts/run-local.sh to make the bash file executable.
GUI to create and edit 3d scenes for Hubs
git clone https://github.com/mozilla/Spoke.git
cd Spoke
yarn install
If yarn install failed with the error The chromium binary is not available for arm64, that is because Chrome execution path configured in puppeteer does not match with Apple Silicon M1 (Check this issue).
Do the following to avoid the error:
- Install Chromium first if it is not installed on your Mac:
brew install chromium --no-quarantine
yarn installagain with correct Chrome execution path:
PUPPETEER_SKIP_CHROMIUM_DOWNLOAD=true PUPPETEER_EXECUTABLE_PATH=`which chromium` yarn install
This repo contains Hubs client and Hubs admin (hubs/admin)
git clone https://github.com/mozilla/hubs.git
cd hubs
npm ci
cd admin

/* Switch node version for this project if it is not v16.16.0 */
/* Example of using nvm */
nvm use v16.16.0

npm ci

/* Run this if `npm ci` failed */
npm install
Replace all hubs.local with localhost in all the directories (reticulum, dialog, spoke, hubs and hubs admin)
All the servers must serve with HTTPS. You must generate a certificate and key file
Open terminal in reticulum directory
run command
mix phx.gen.certIt will generate key selfsigned_key.pem and certificate selfsigned.pem in the priv/cert folder
Rename selfsigned_key.pem to key.pem
Rename selfsigned.pem to cert.pem
In Finder, double-click on the cert.pem to open Keychain Access window.
Find the certificate corresponding to cert.pem and double-click on it, and then expand the Trust section and set the value of When using this certificate to Always Trust.
In Finder, select the cert.pem and key.pem and copy it.
Next step we will distribute those two files into hubs, hubs admin, spoke, dialog, and reticulum.
Inside reticulum/config/dev.exs, change:
# line 19
config :ret, RetWeb.Endpoint,
  ...
  https: [
    ...
    keyfile: "#{File.cwd!()}/priv/dev-ssl.key",
    certfile: "#{File.cwd!()}/priv/dev-ssl.cert"
  ],
  ...
to:
# line 19
config :ret, RetWeb.Endpoint,
  ...
  https: [
    ...
    keyfile: "#{File.cwd!()}/priv/cert/key.pem",
    certfile: "#{File.cwd!()}/priv/cert/cert.pem"
  ],
...- Hubs: Paste
cert.pemandkey.pemfrom reticulum directory intohubs/certs - Hubs admin: Paste
cert.pemandkey.pemfrom reticulum directory intohubs/admin/certs - Spoke: Paste
cert.pemandkey.pemfrom reticulum directory intospoke/certs - Dialog: Paste
cert.pemandkey.pemfrom reticulum directory file intodialog/certs
- rename
cert.pemtofullchain.pem - rename
key.pemtoprivkey.pem
Open 5 terminals, each for reticulum, dialog, spoke, hubs, hubs admin.
cd reticulum
./scripts/run-local.shOpen package.json and edit as follows:
"scripts": {
    ...
    "start": "MEDIASOUP_LISTEN_IP=127.0.0.1 MEDIASOUP_ANNOUNCED_IP=127.0.0.1 DEBUG=${DEBUG:='*mediasoup* *INFO* *WARN* *ERROR*'} INTERACTIVE=${INTERACTIVE:='true'} node index.js"
    ...
  },
And then run npm start
You can also choose not to edit package.json and directly run:
MEDIASOUP_LISTEN_IP=127.0.0.1 MEDIASOUP_ANNOUNCED_IP=127.0.0.1 npm start
If the following error happens:
Error: listen EADDRINUSE: address already in use 7000
inside config.js, change the listen port of adminHttp from 7000 to 7001 or other port:
adminHttp  :
{
   listenIp   : '0.0.0.0',
   listenPort : process.env.ADMIN_LISTEN_PORT || 7001
},
cd Spoke
./scripts/run-local-reticulum.shcd hubs
npm run localcd hubs/admin
npm run localcd reticulum
postgrest ./reticulum.conf| Server | URL |
|---|---|
| Hubs | https://localhost:4000 |
| Hubs admin | https://localhost:4000/admin |
| Spoke | https://localhost:4000/spoke |
If Hubs admin page is not accessible, try to change the value of allowedHosts in webpack config file (you can change it to "all" but be careful for security issues).
5. Access Mozilla Hubs on your local environment and play around
Sign in
Firstly, access https://localhost:4000/ by Google Chrome
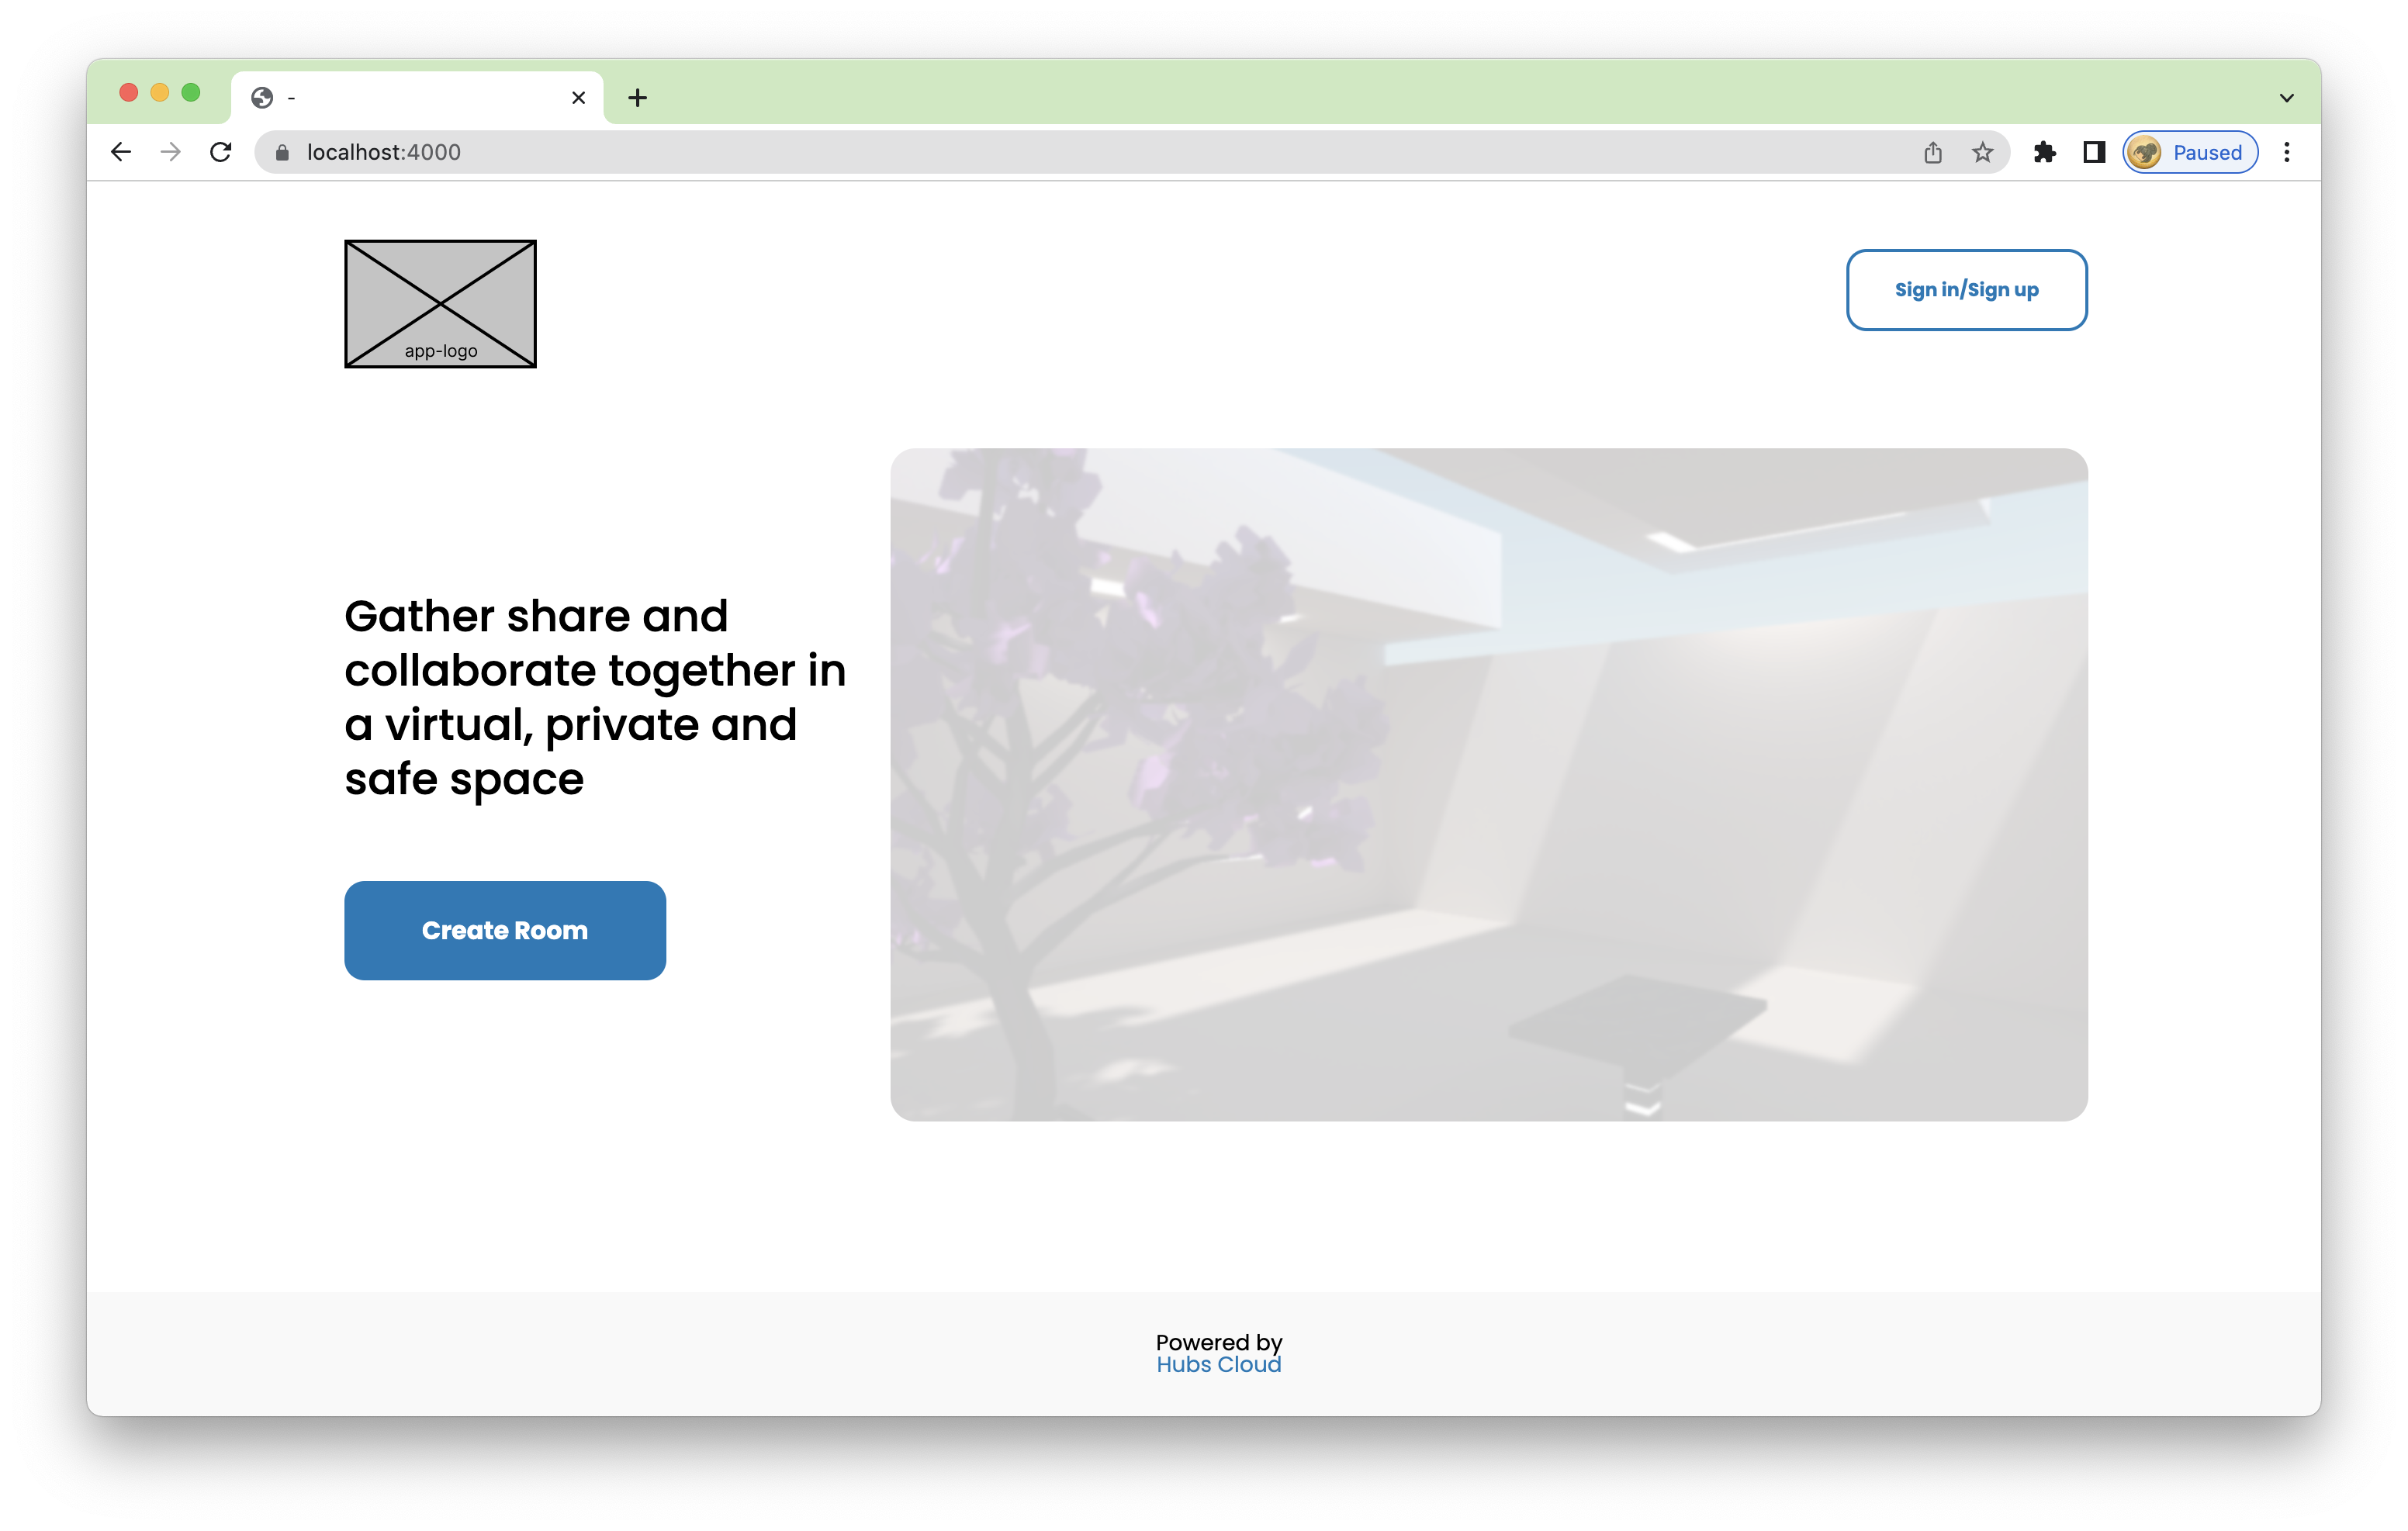
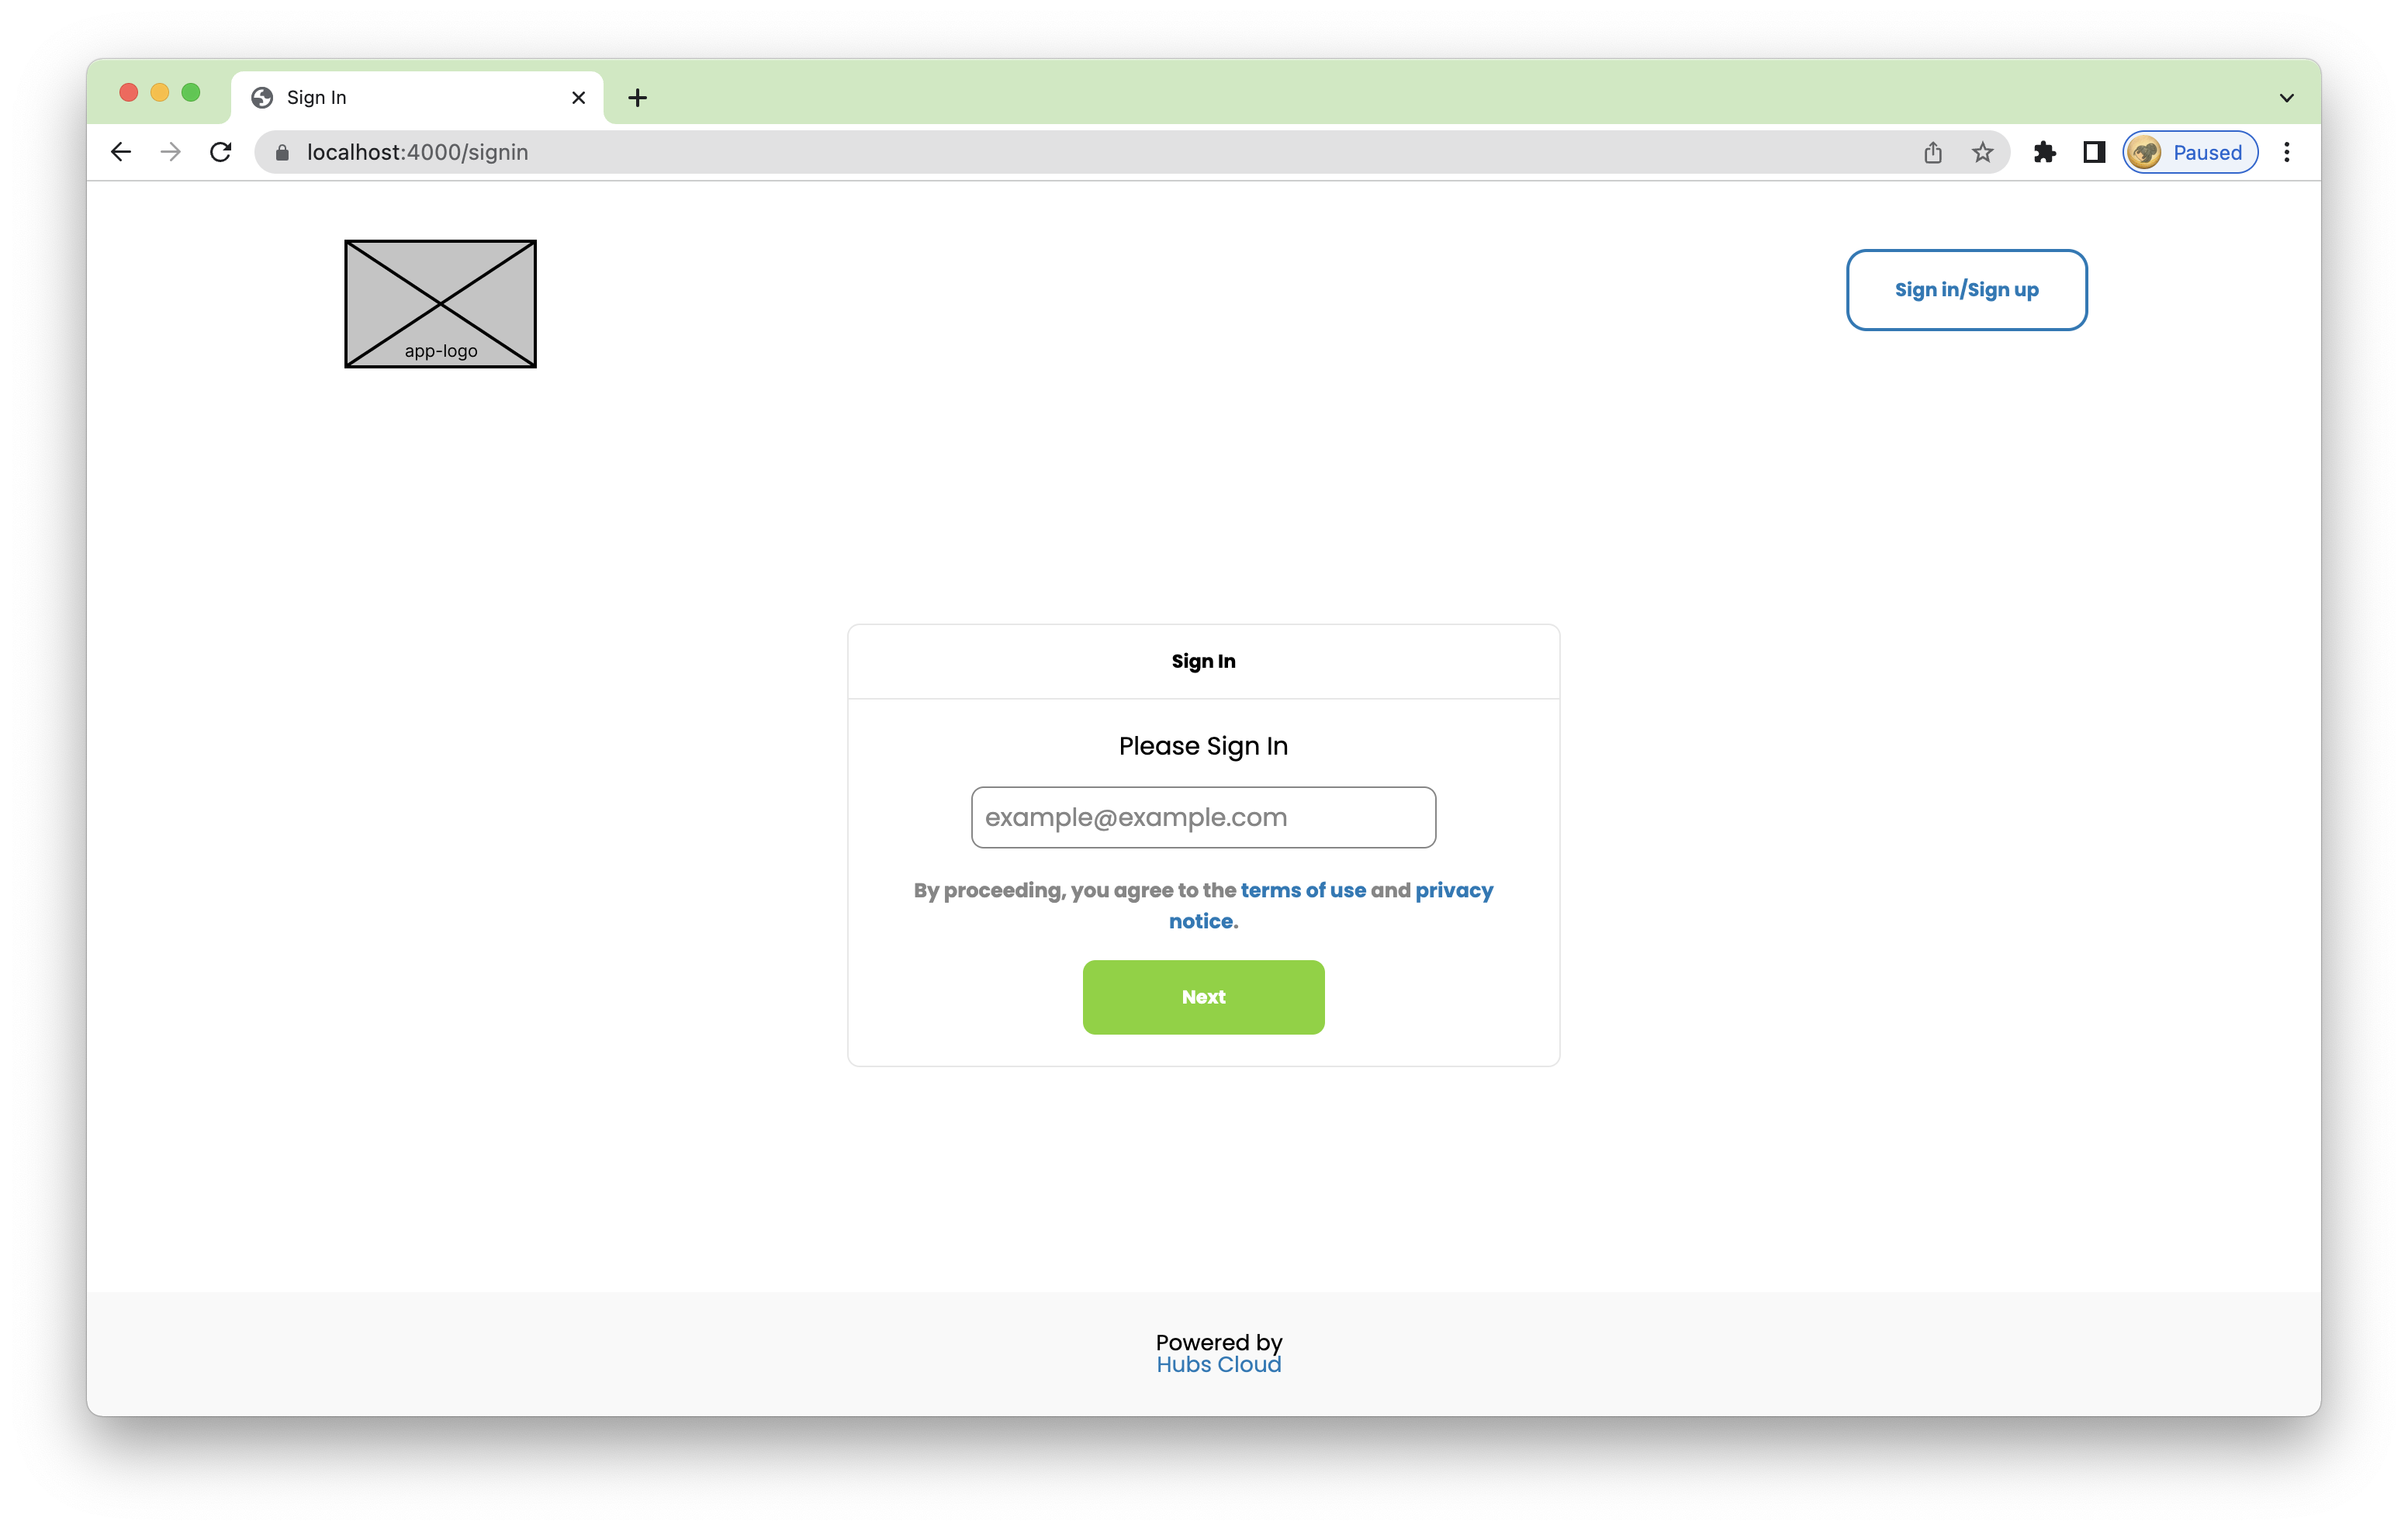
Click the button on the top-right corner, and then use your email address to sign in
A verification email should be sent to your email address, but it cannot actually because Reticulum is running locally
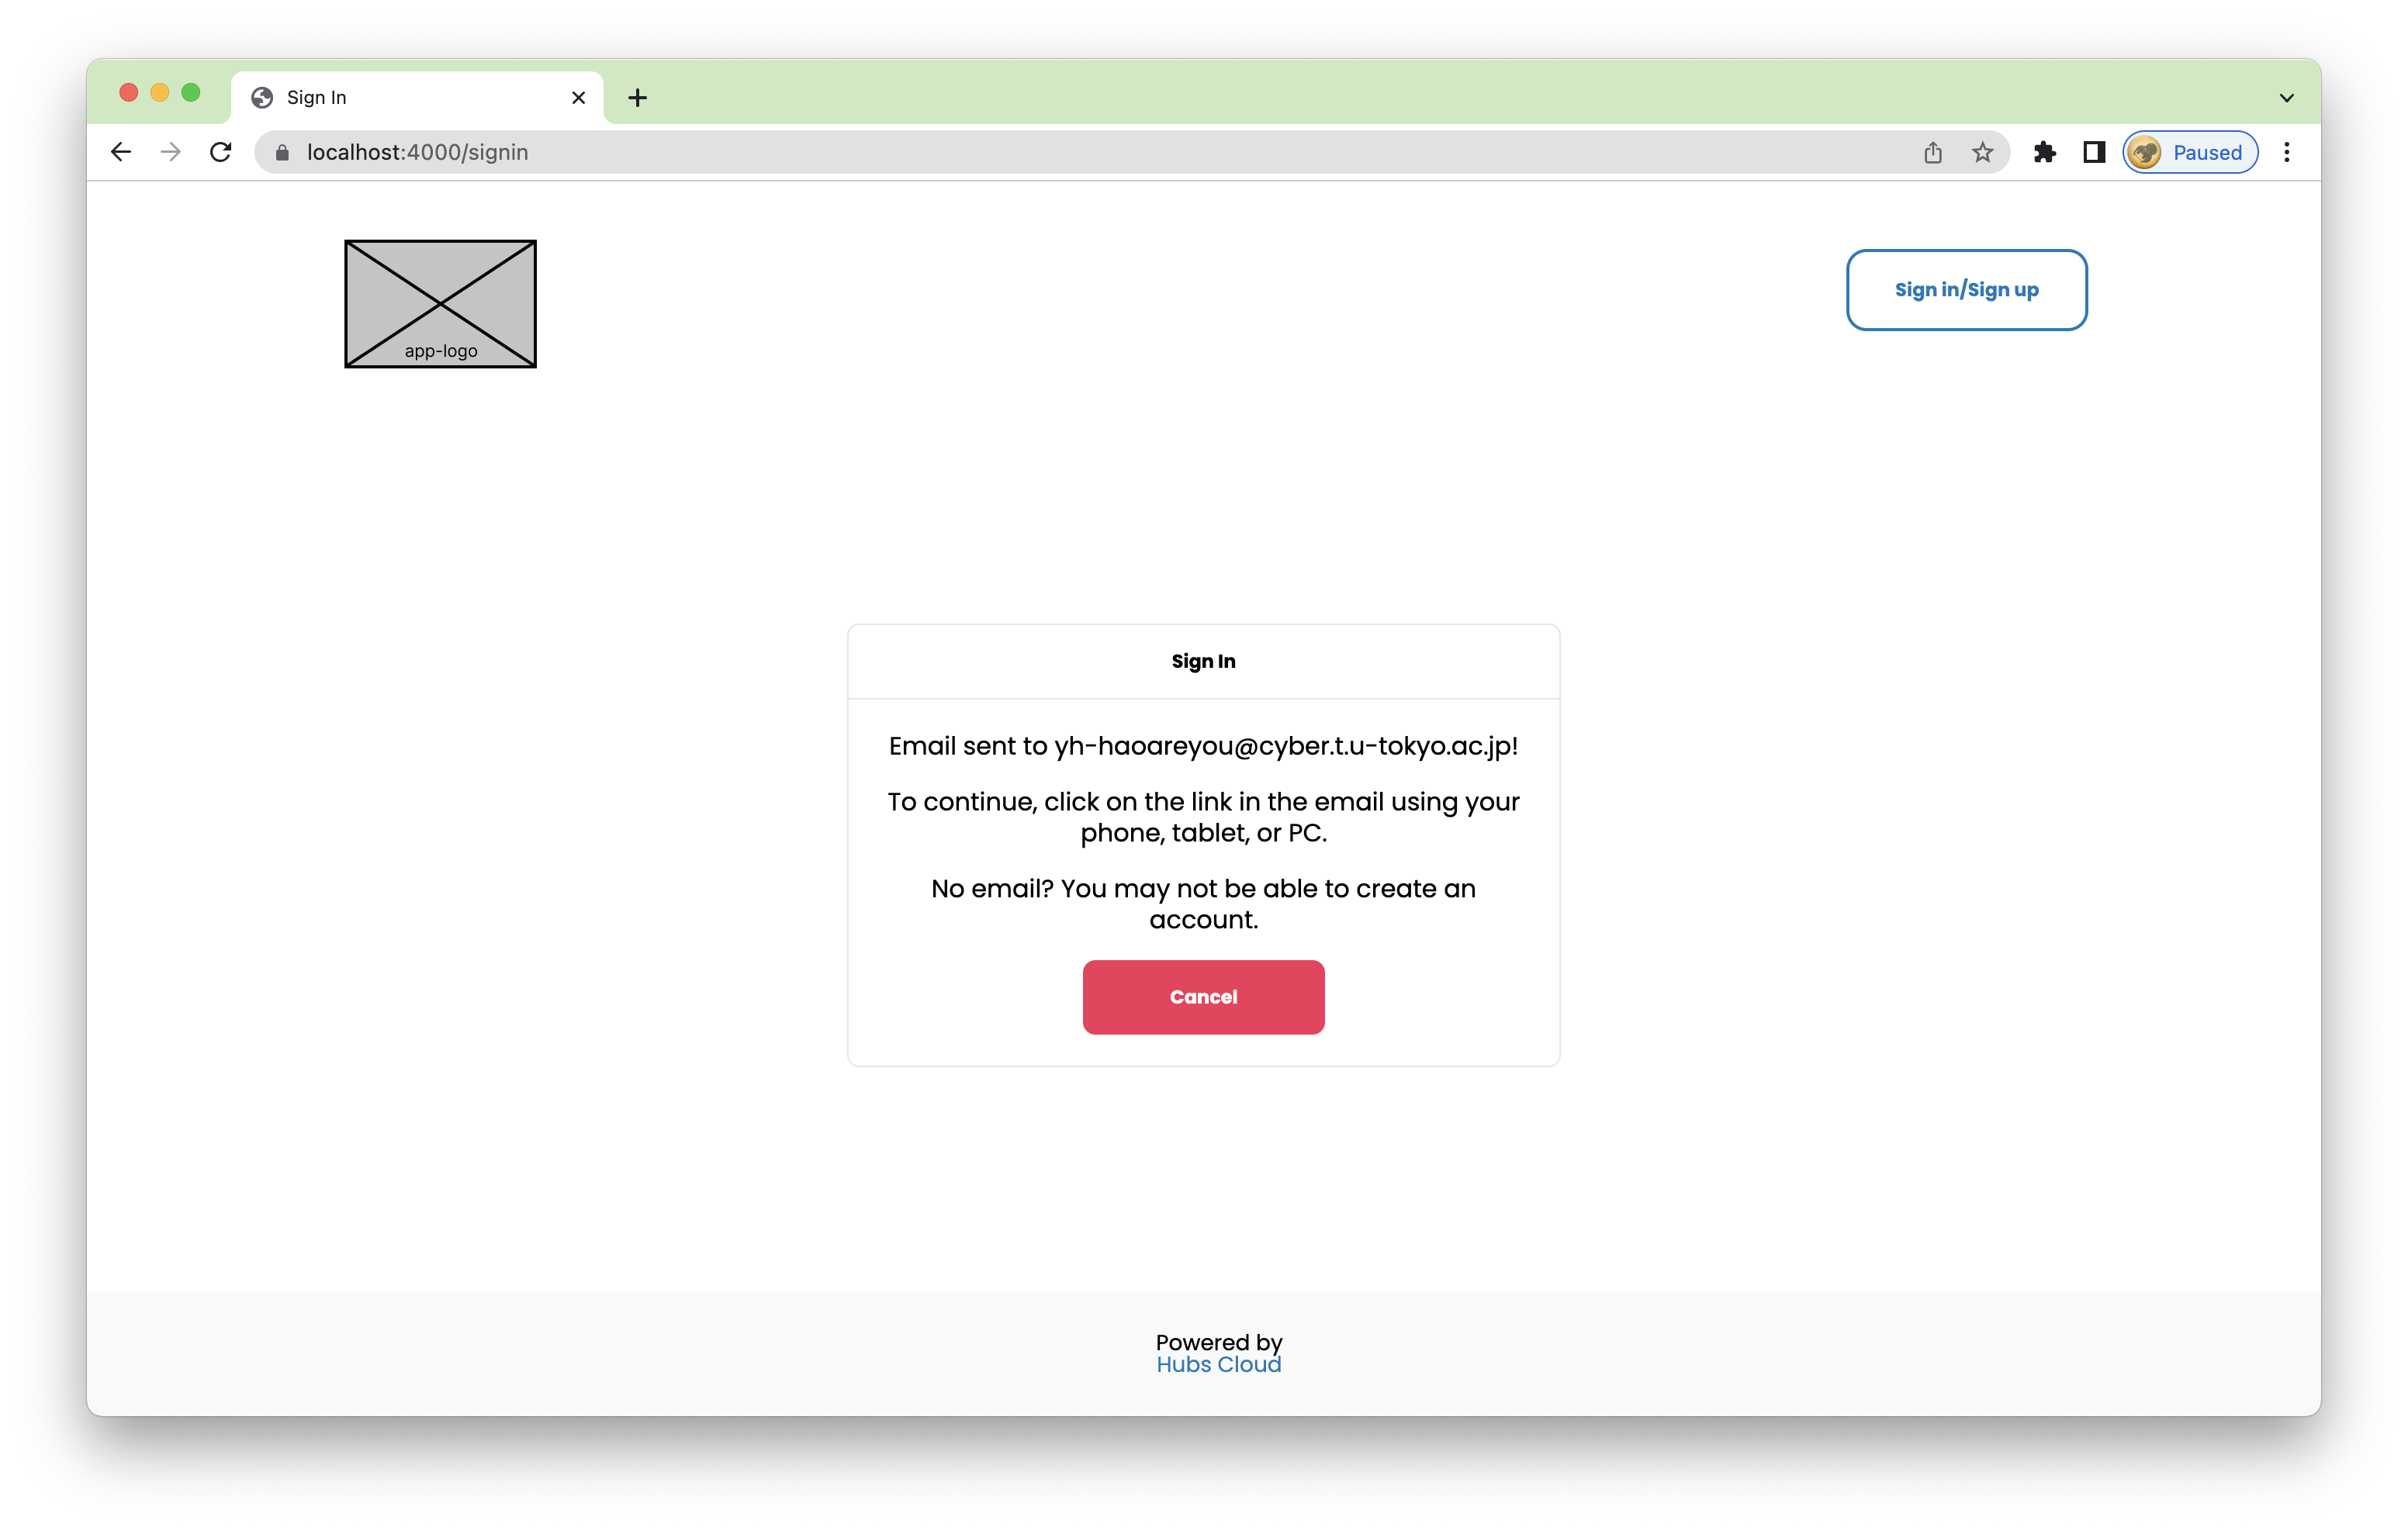
Open the terminal where Reticulum is running, and look for the verification link. Copy the link and paste it in a new browser tab

You can close that tab after verified

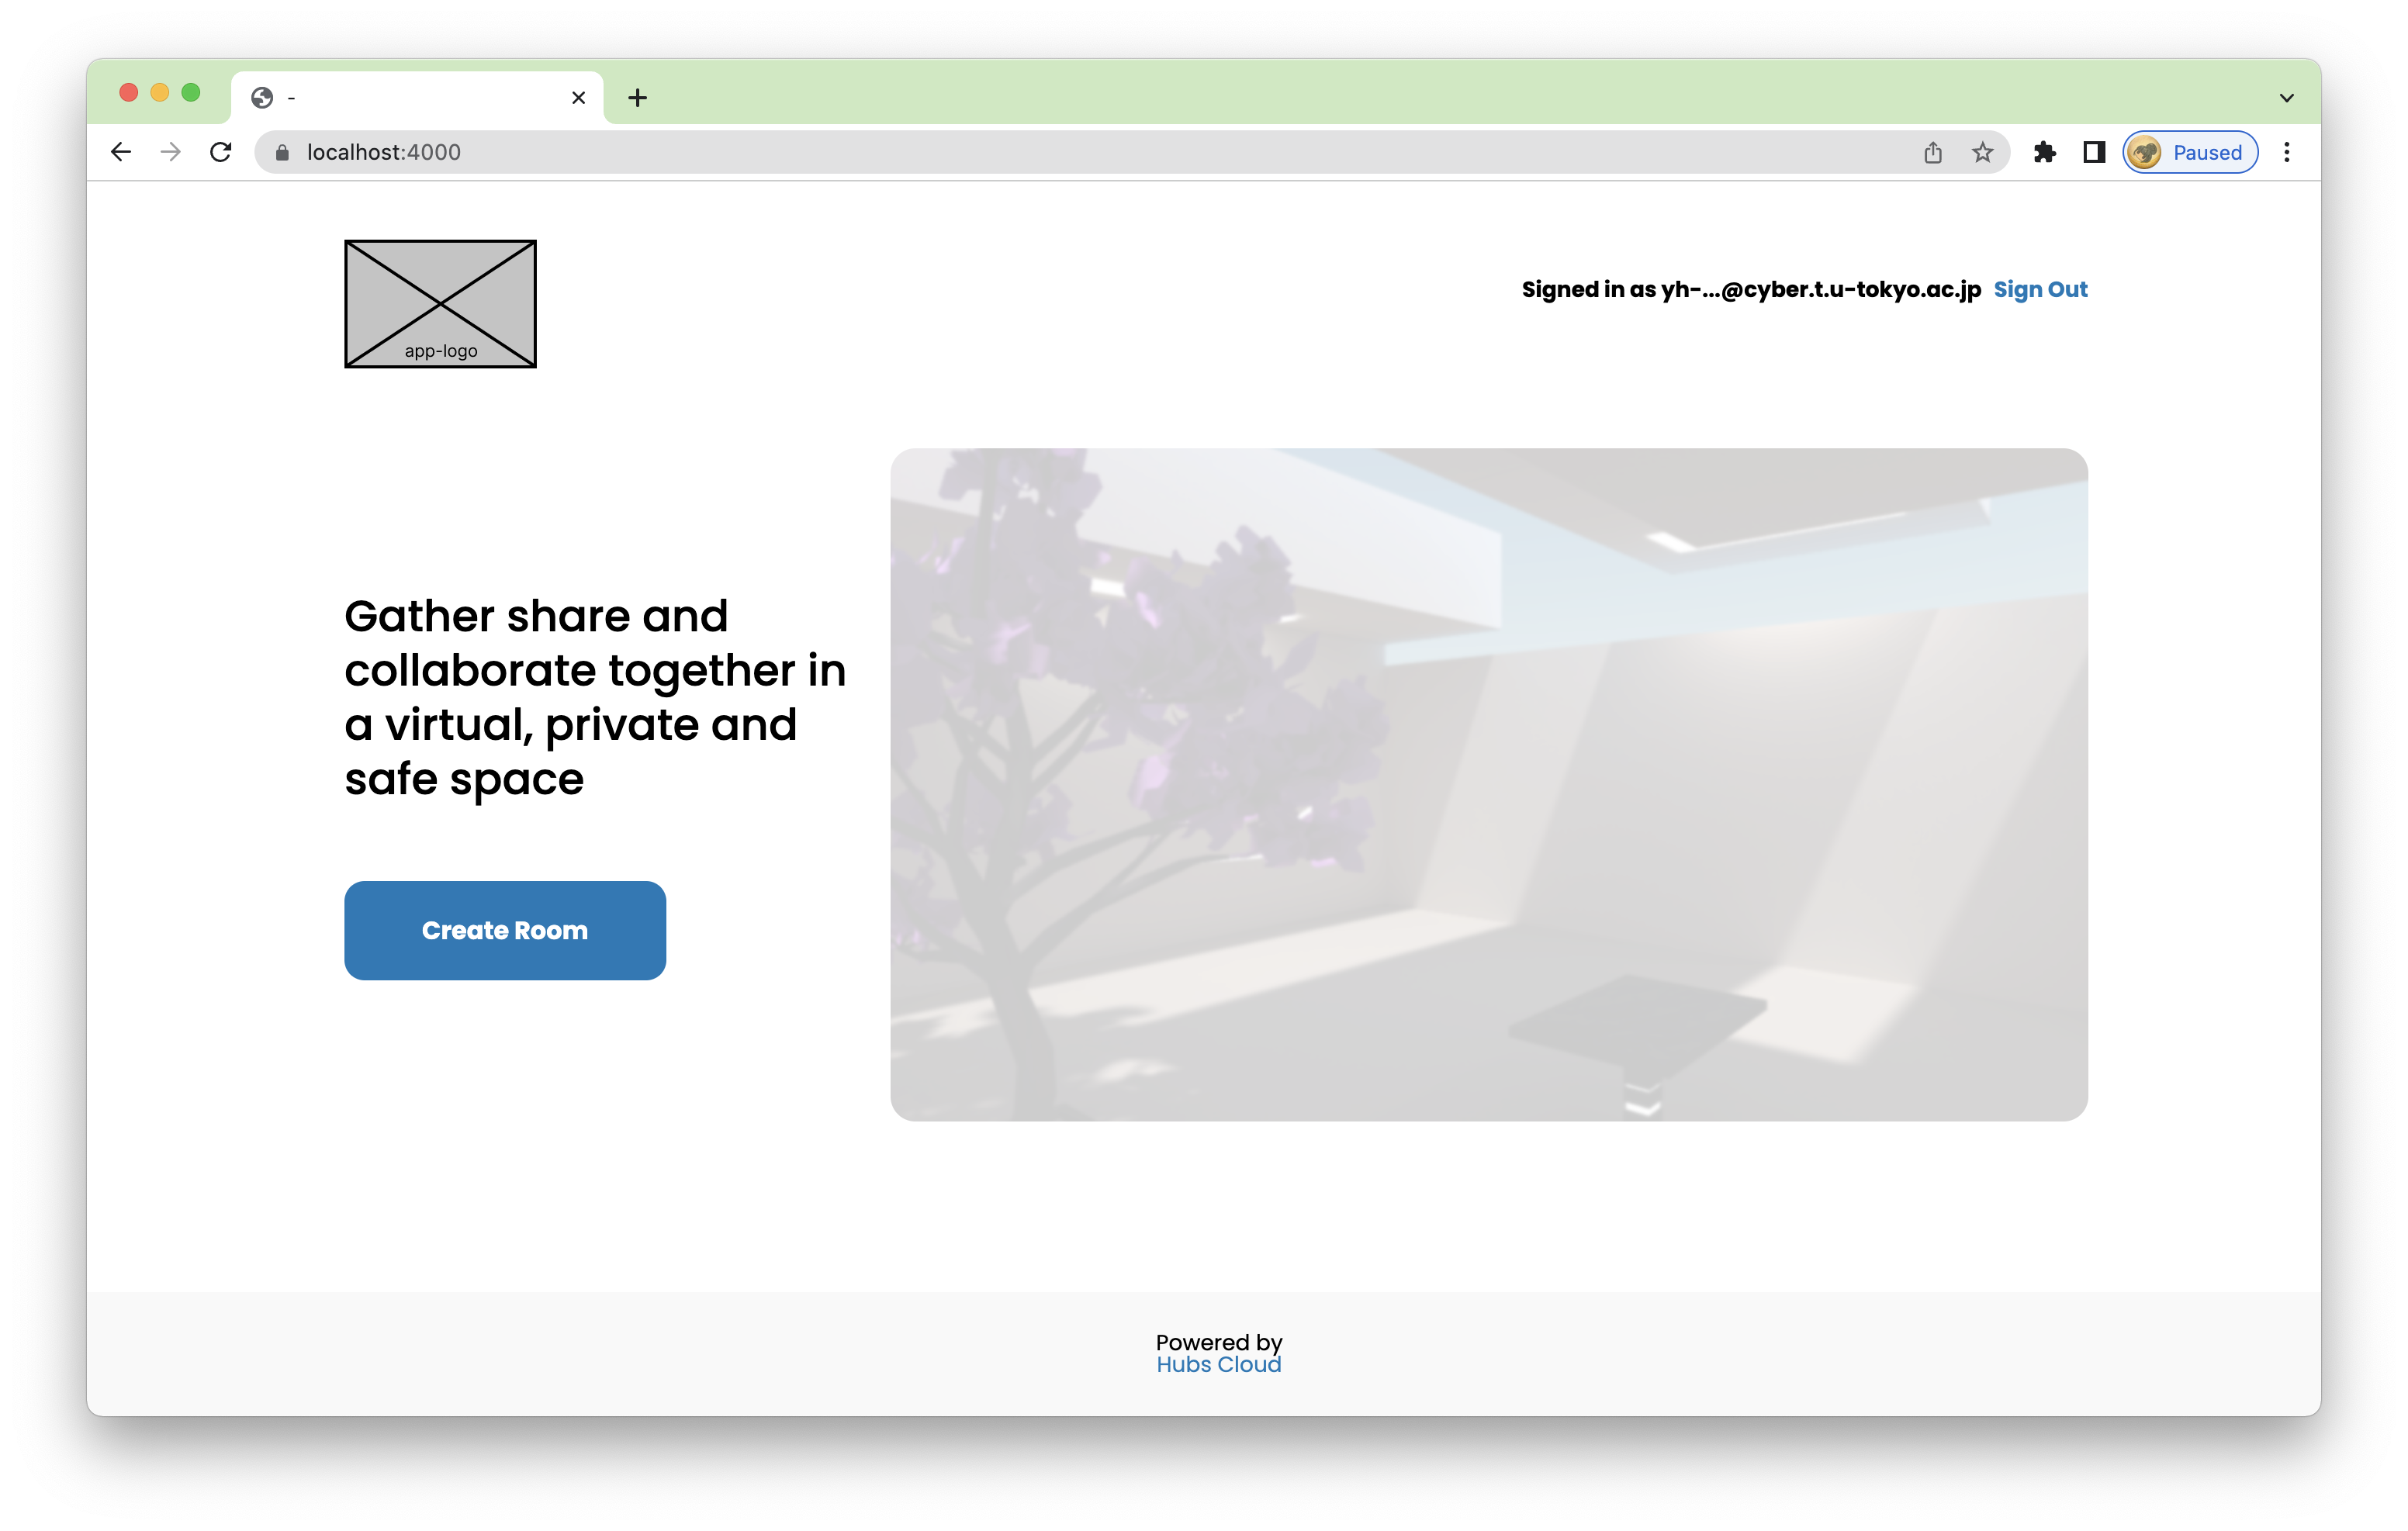
Move back to Hubs home page, and you will see your email address on the top-right corner.
Set your account as an admin
Open the terminal where Reticulum is running, and press enter to access Elixir's interactive shell (iex)
Run this command to set the first account, which is the account you just used to sign in, as an admin
Refresh hubs's window and you will see there are more available links (Scene editor, Admin) on top of the window
The
Adminlink brings you to the admin page, hosted byhubs/adminproject. You can also access this page byhttps://localhost:4000/adminThe
Scene editorlink brings you to Spoke, the application to create 3D scenes for Hubs. You can also access this page byhttps://localhost:4000/spokeCreate a scene by Spoke
In Spoke's page, click the
New projectbutton to navigate to scene making page.While loading the scene making page, some assets may not be successfully loaded probably due to CORS problems. You can highlight the link and drag it to the url bar to download the asset. Then you can import it into Spoke from your computer.
download-asset.mov
Then drag any assets, including the asset you just imported, to the scene. You can edit their position, rotation, or any other attributes on the GUI.
When you are done, click the publish button on the top-right corner to publish your scene. Now you can choose to directly create a room with this new scene by clicking on the 'View Your Scene' button, or choose to go back to Hubs home page https://localhost:4000
Create a room and interact with other accounts
Click the 'Create Room' button
Then you will be navigated to the room's page
Open 'Options' to change the scene (to the one you just created)
Don't forget to scroll to the bottom to click 'Apply' !
Now you can enter the room by 'Join Room' button!
You can open another browser window, accessing https://localhost:4000 , login with another account with the same steps explained above, and access the same url as your newly created room.
After both accounts entering the room, move your avatar by WASD or arrow keys, drag with your mouse to rotate your view, and then say hi to another avatar!