16 steps • 1 minute read

This guide will walk you through the steps to activate Wix Headless.
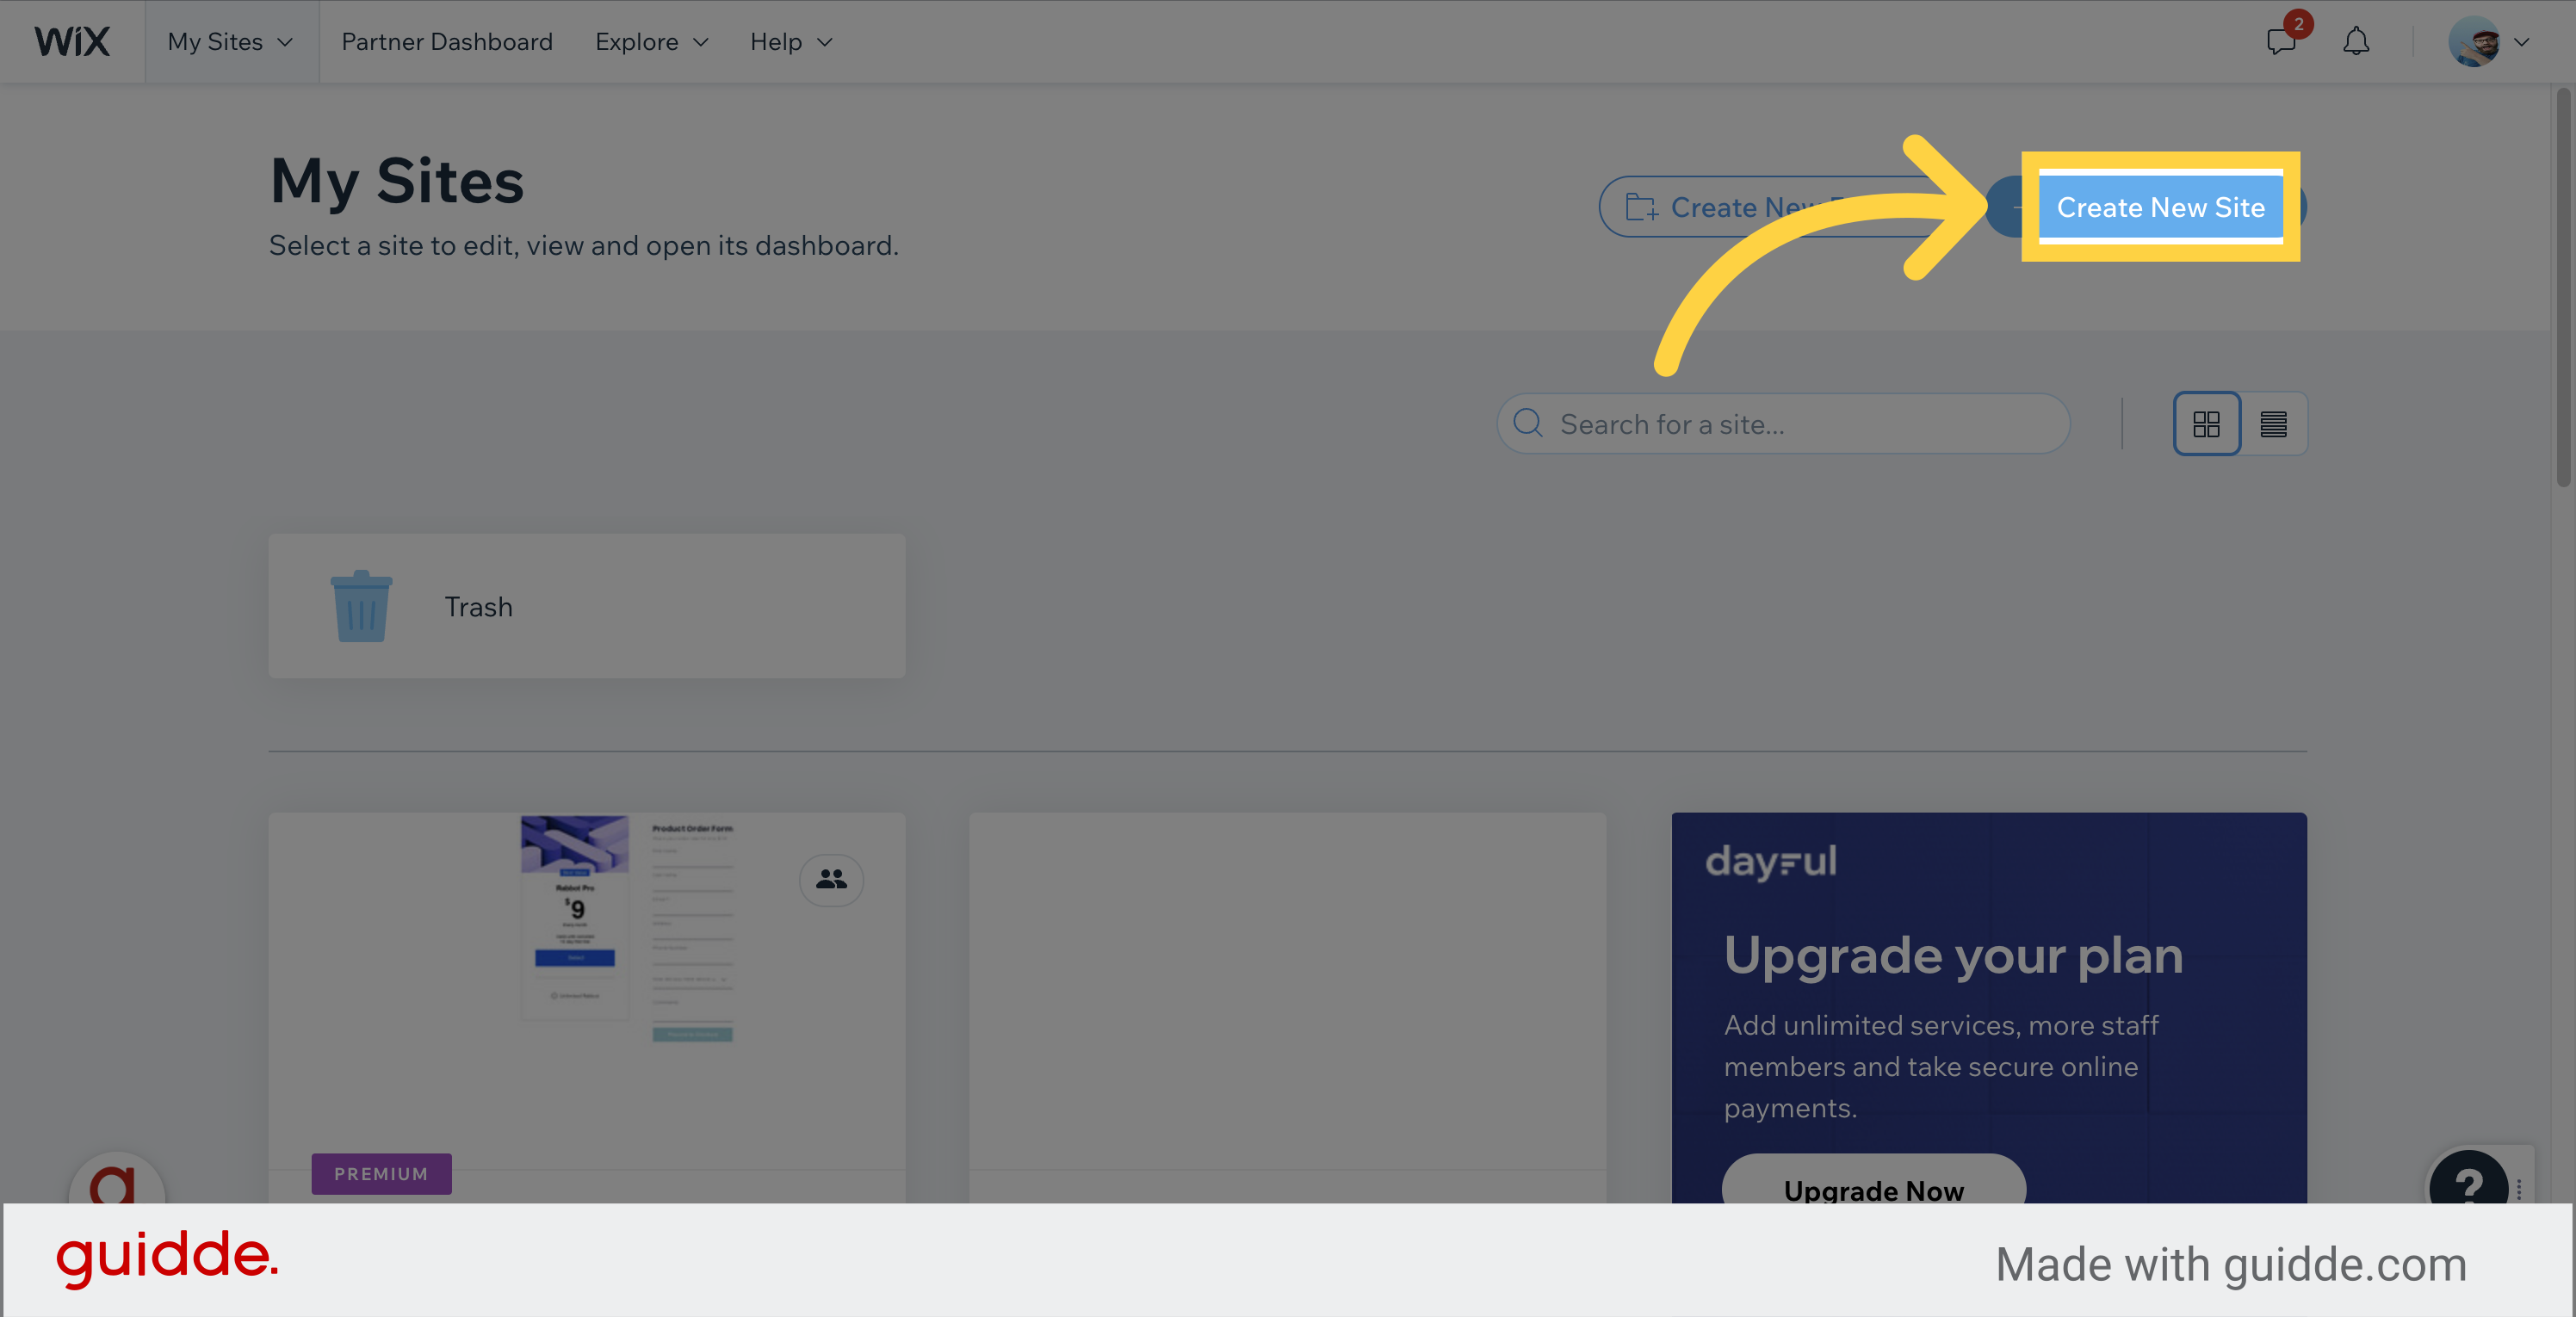
Go to wix.com
Click on the "Create New Site" button.
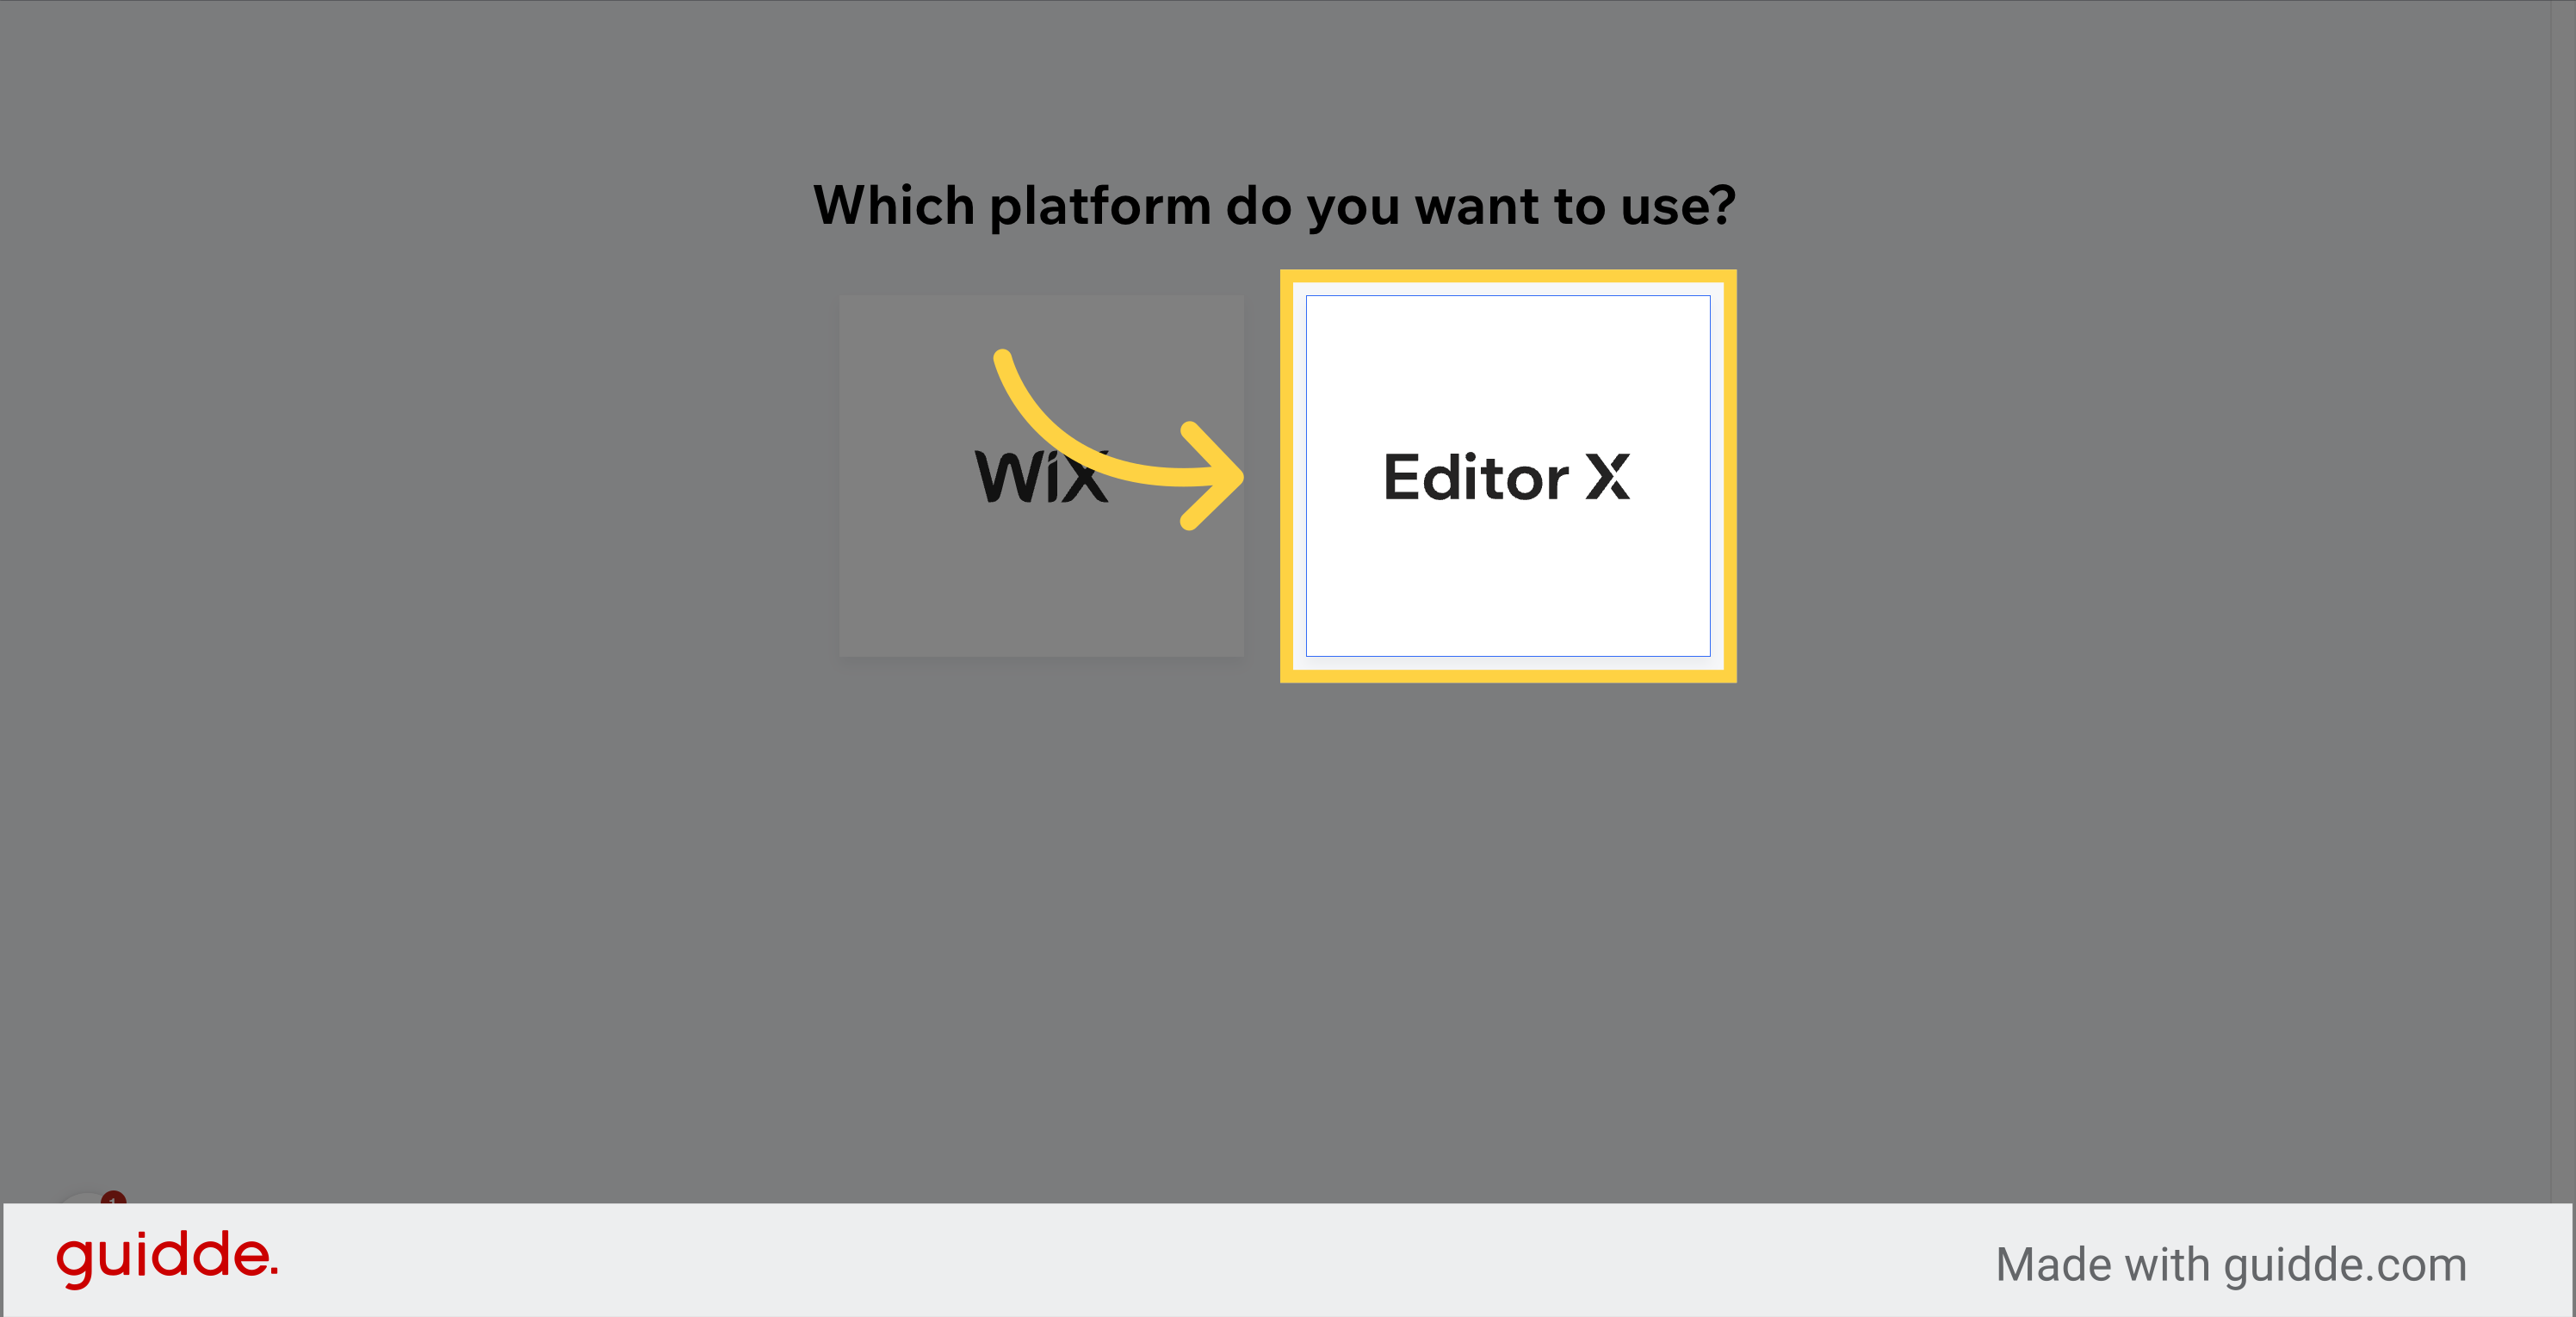
Click on the link provided.
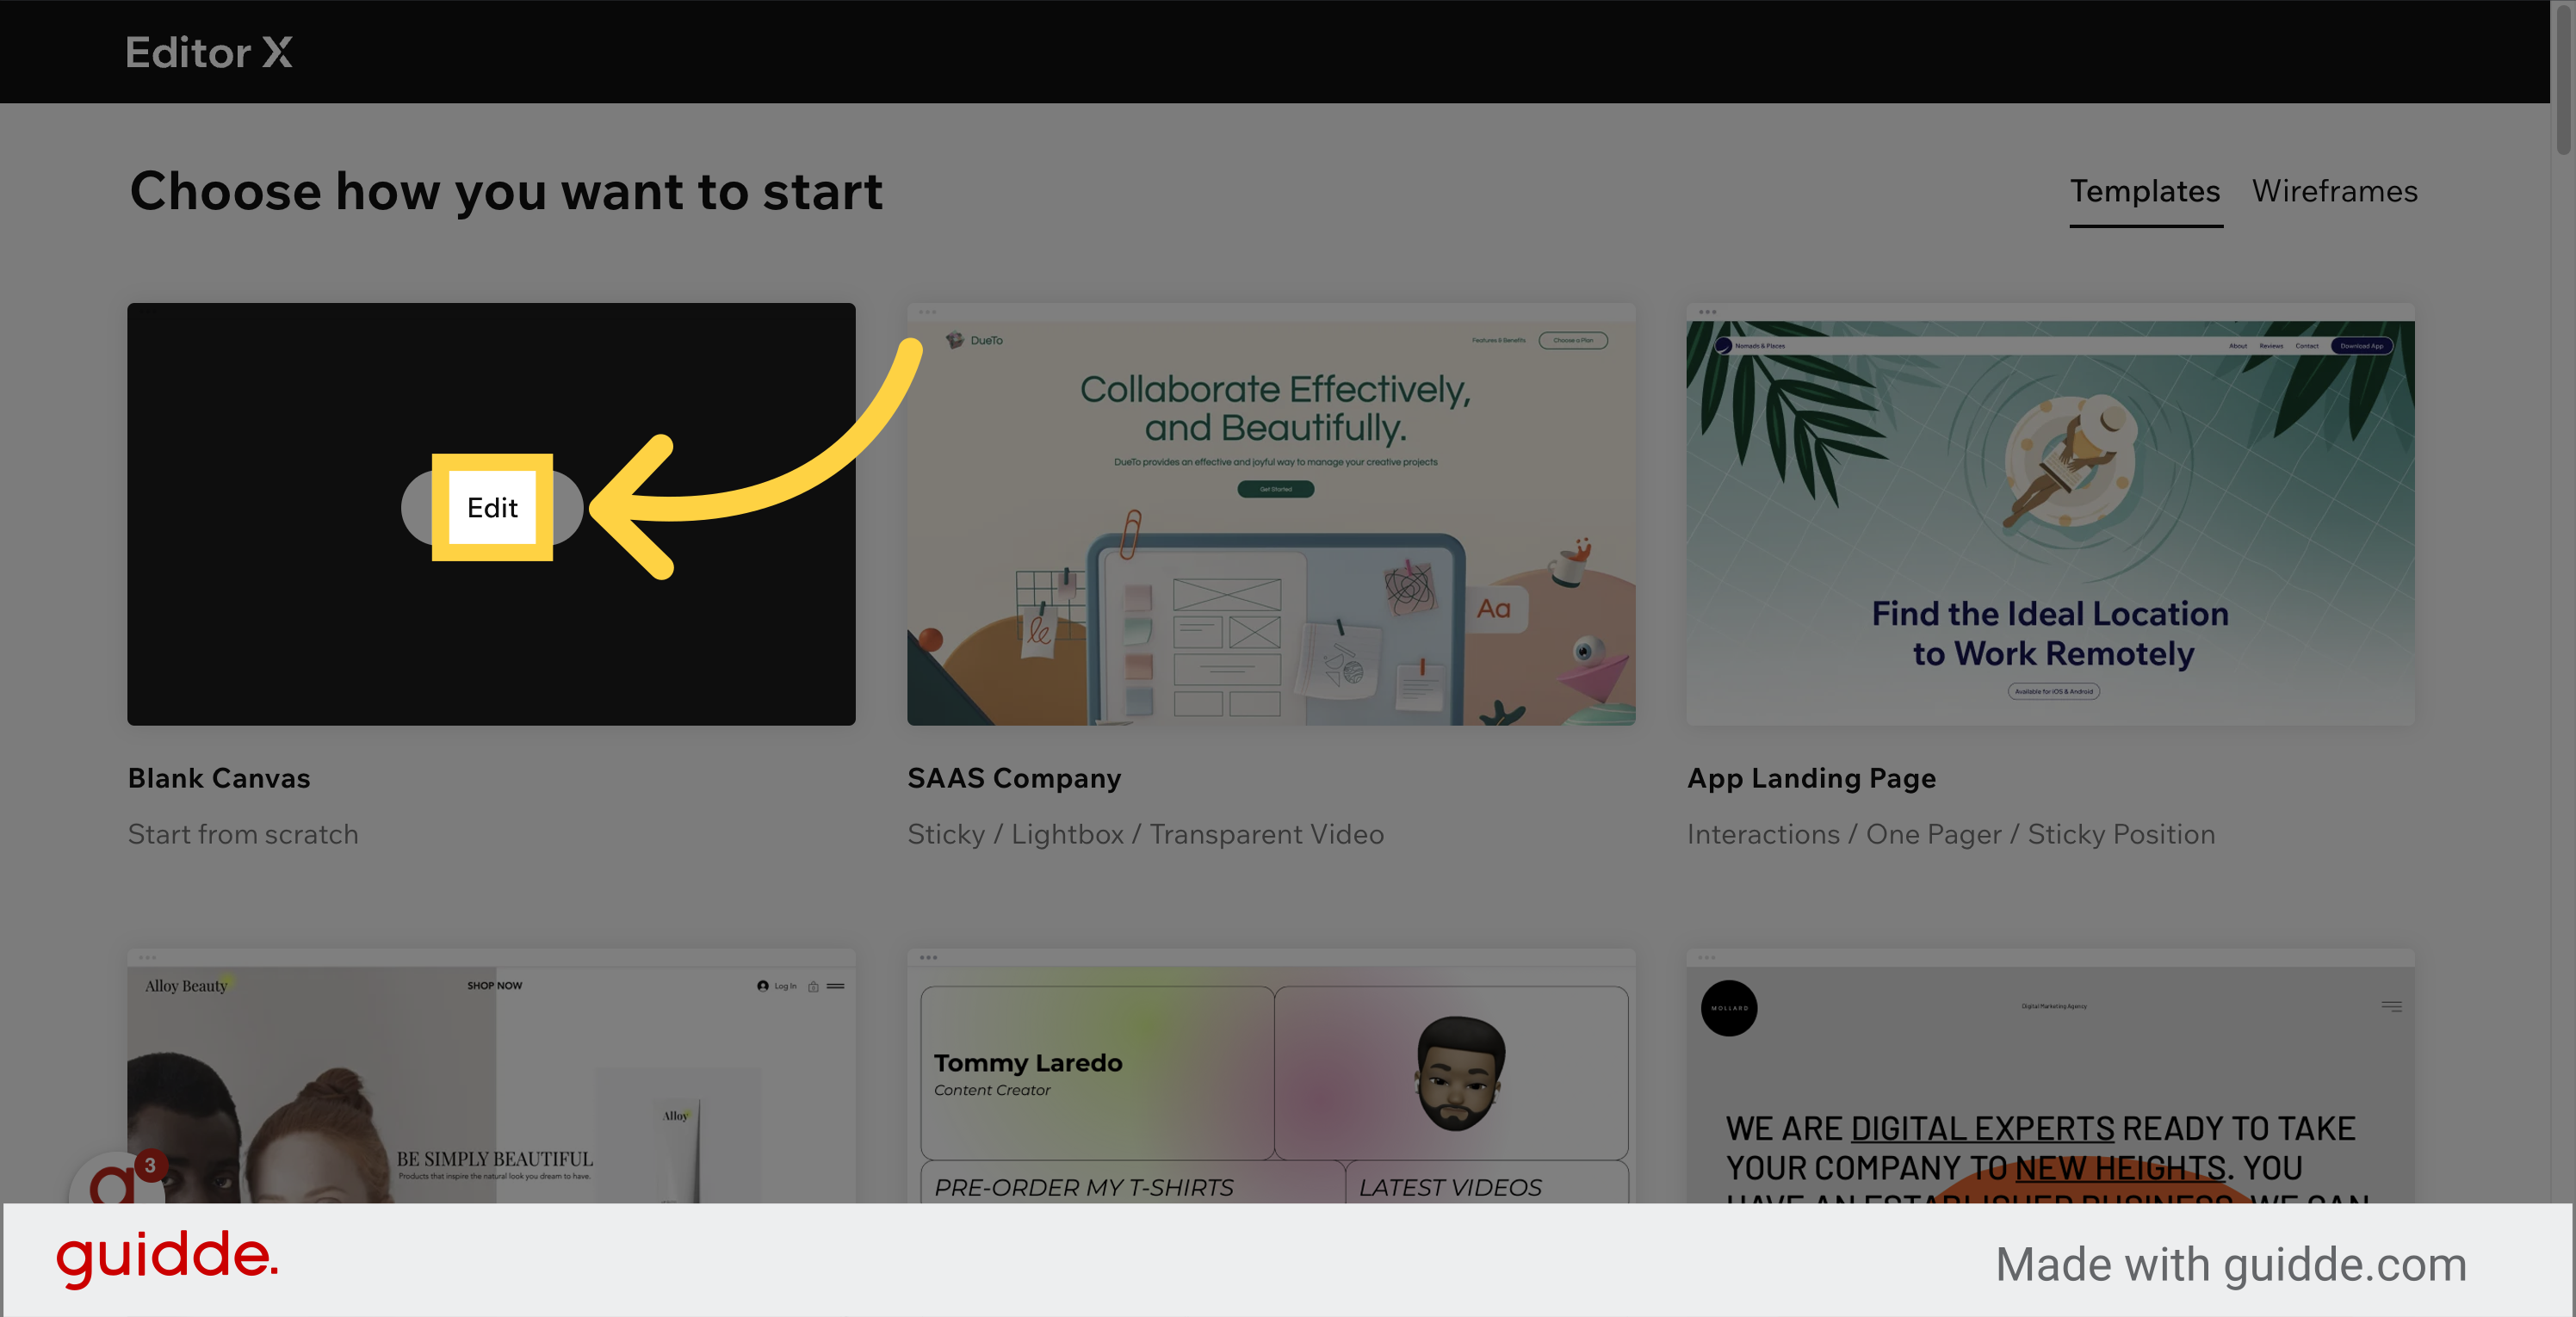
Click on the "Edit" button.
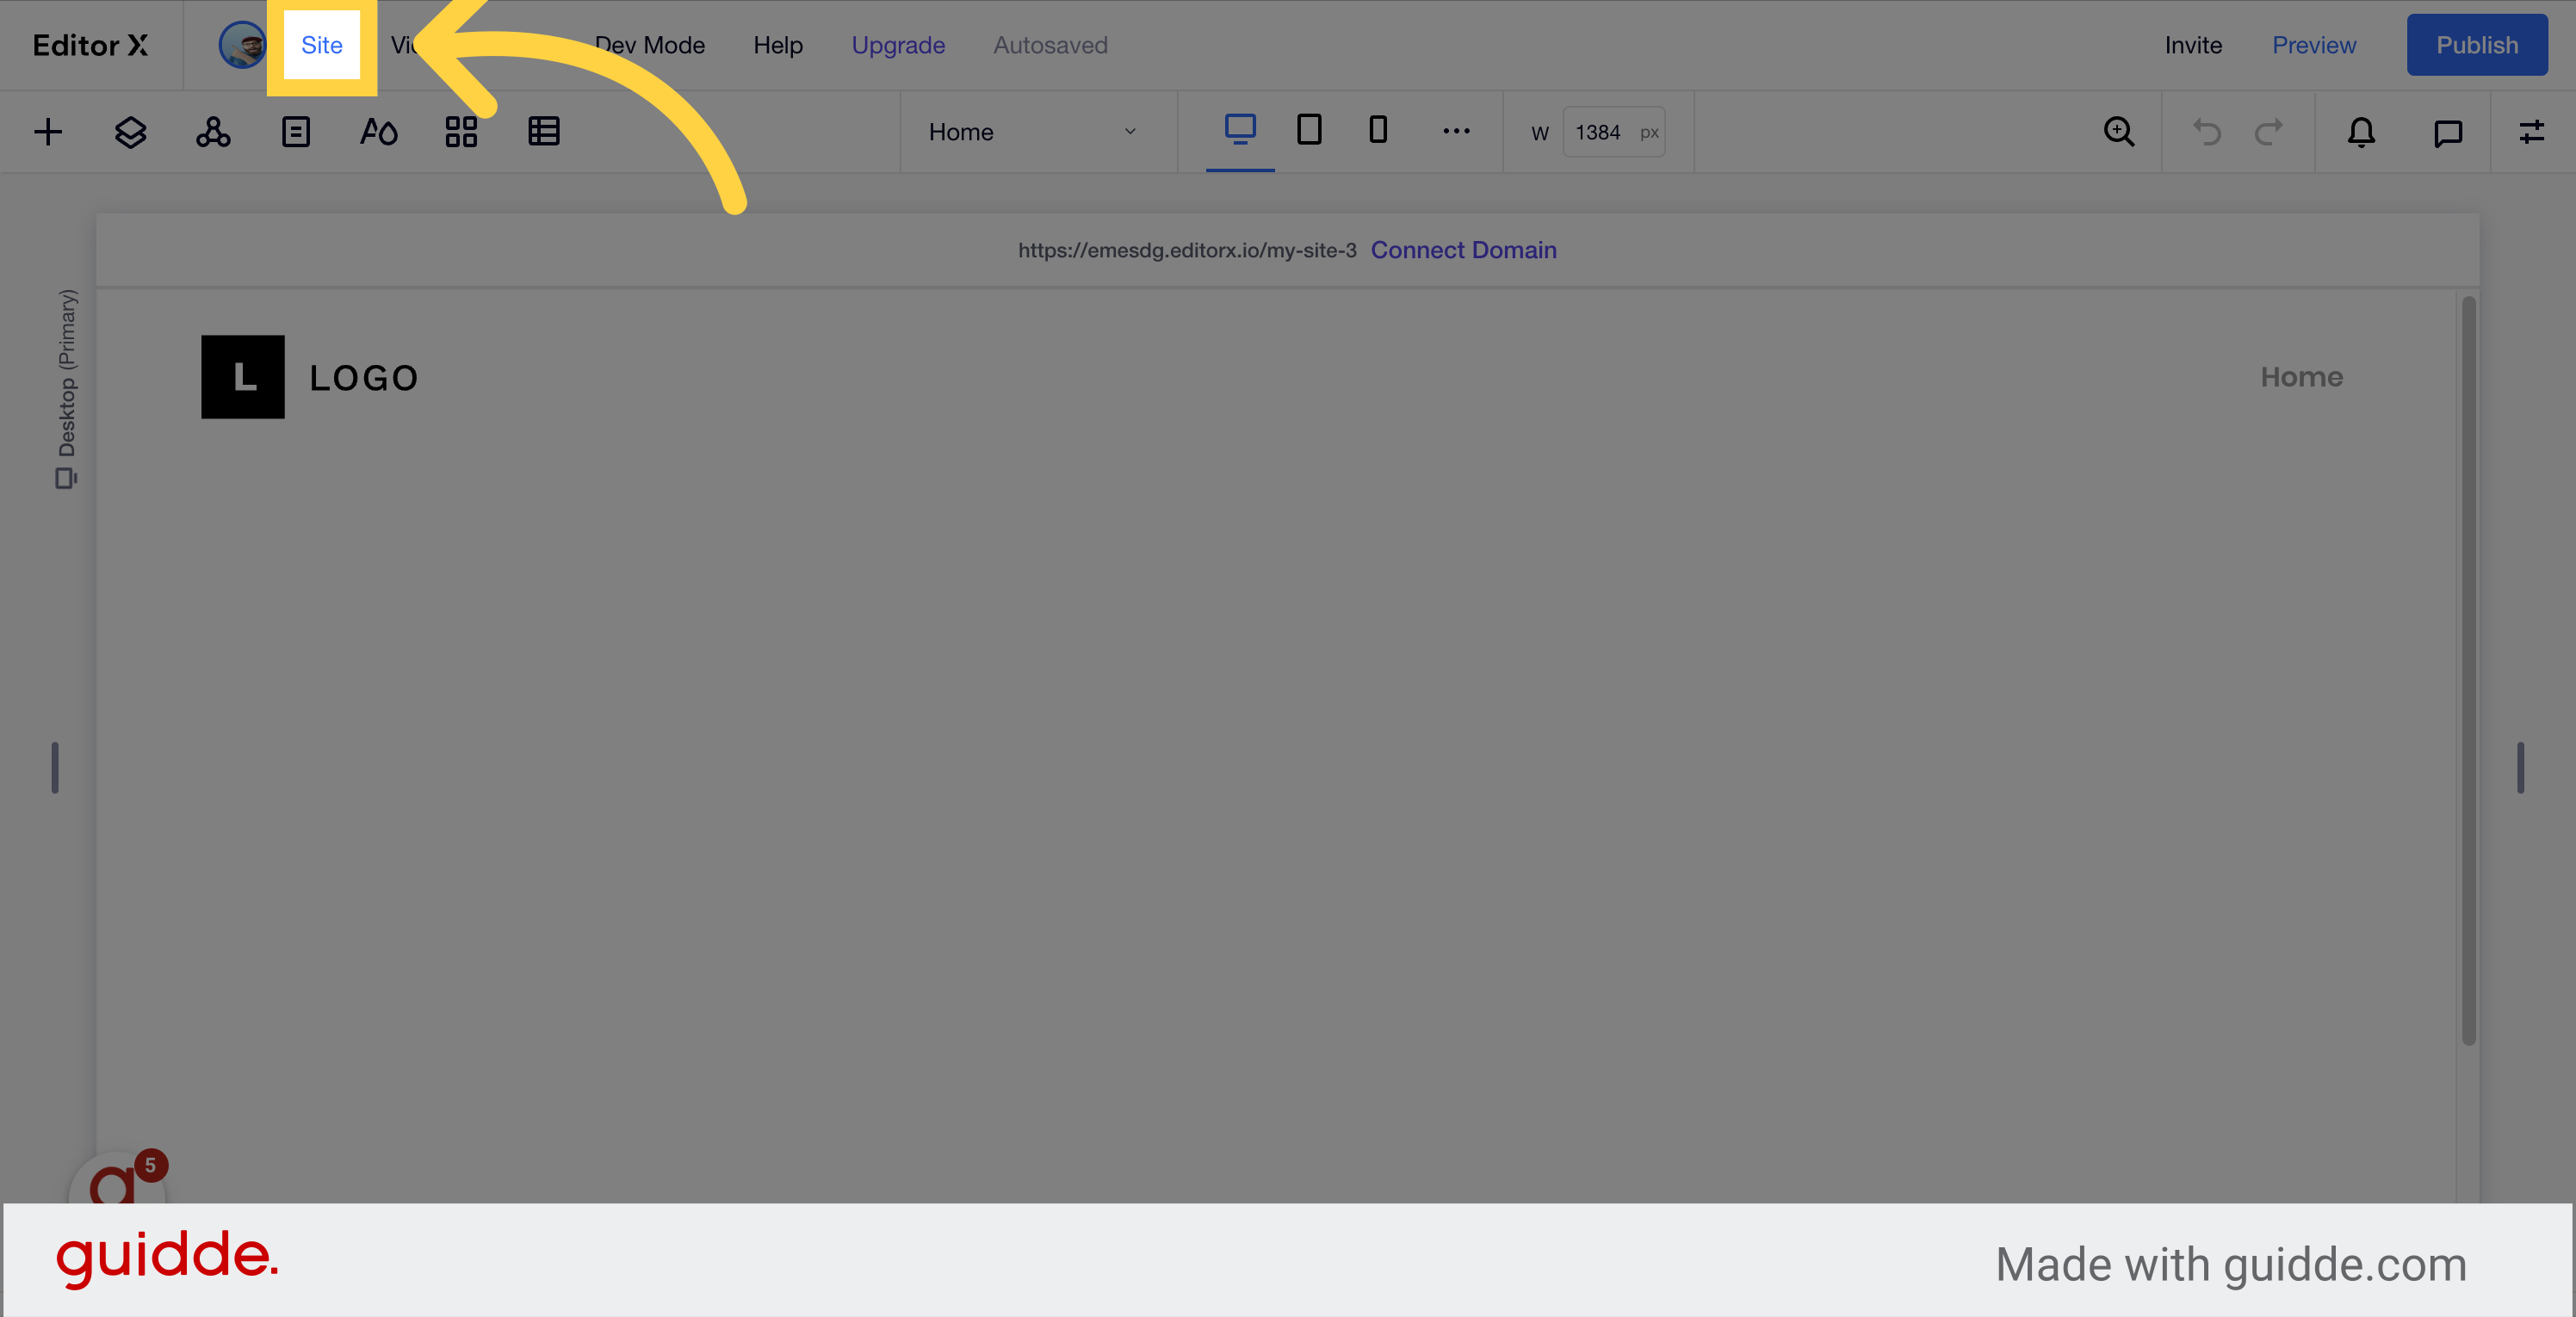
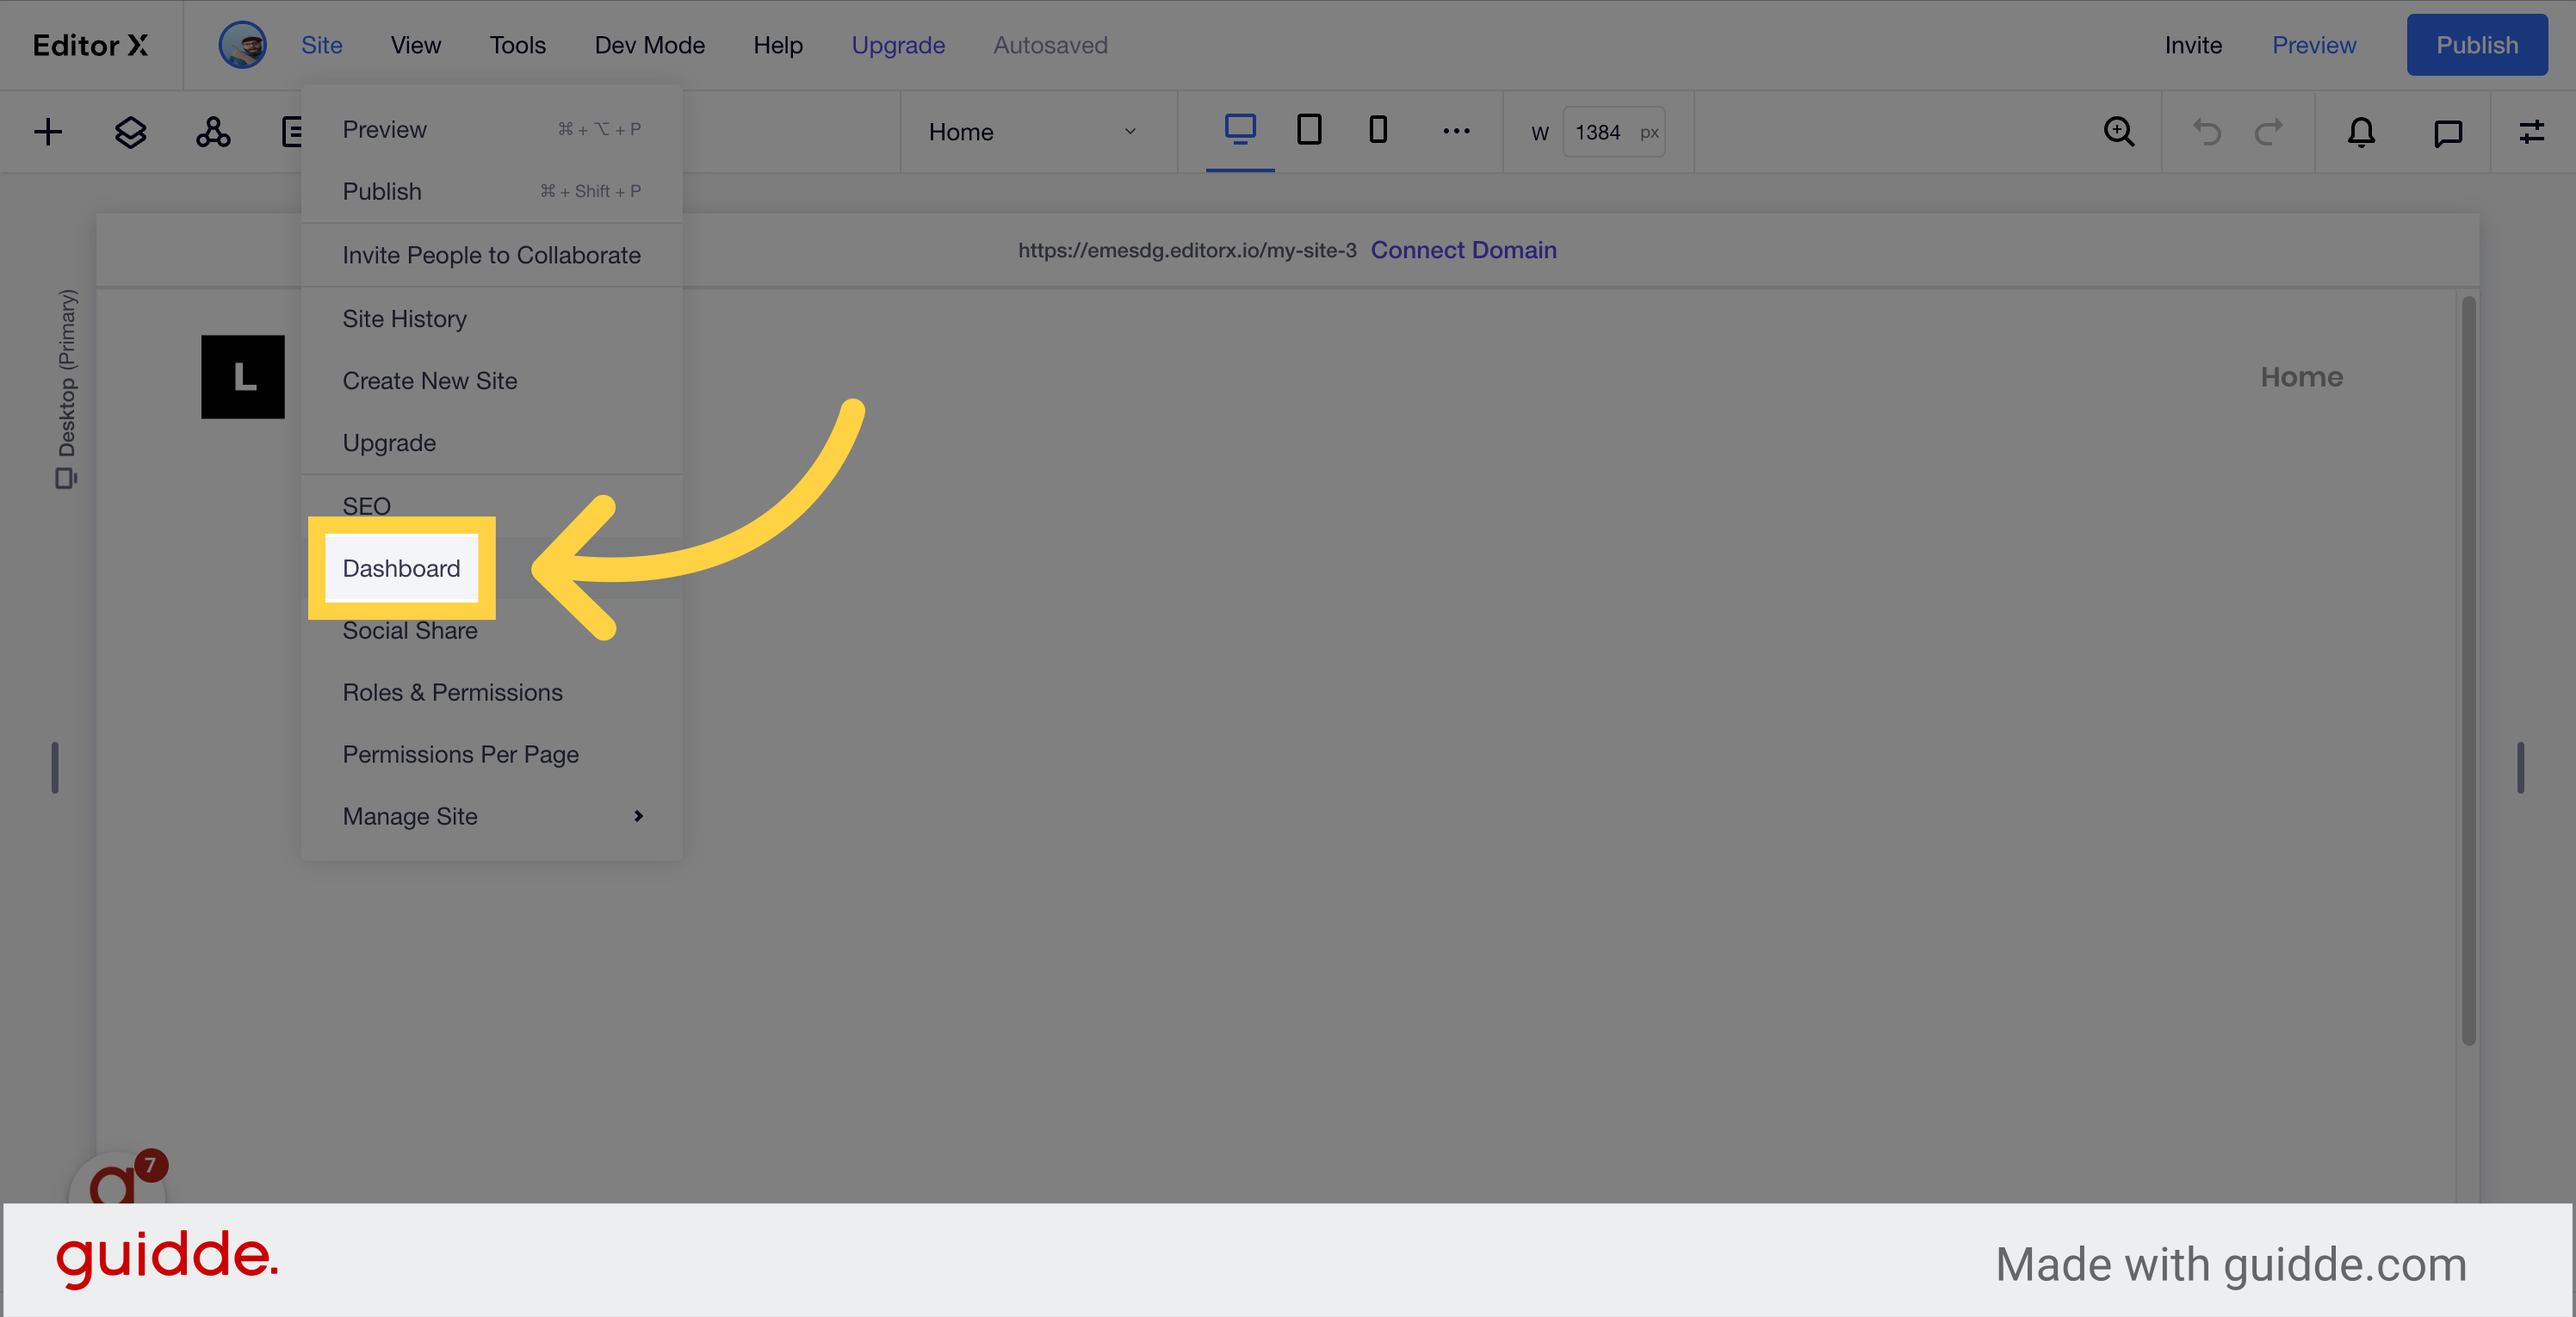
Click on the "Site" tab.
Click on the "Dashboard" option.
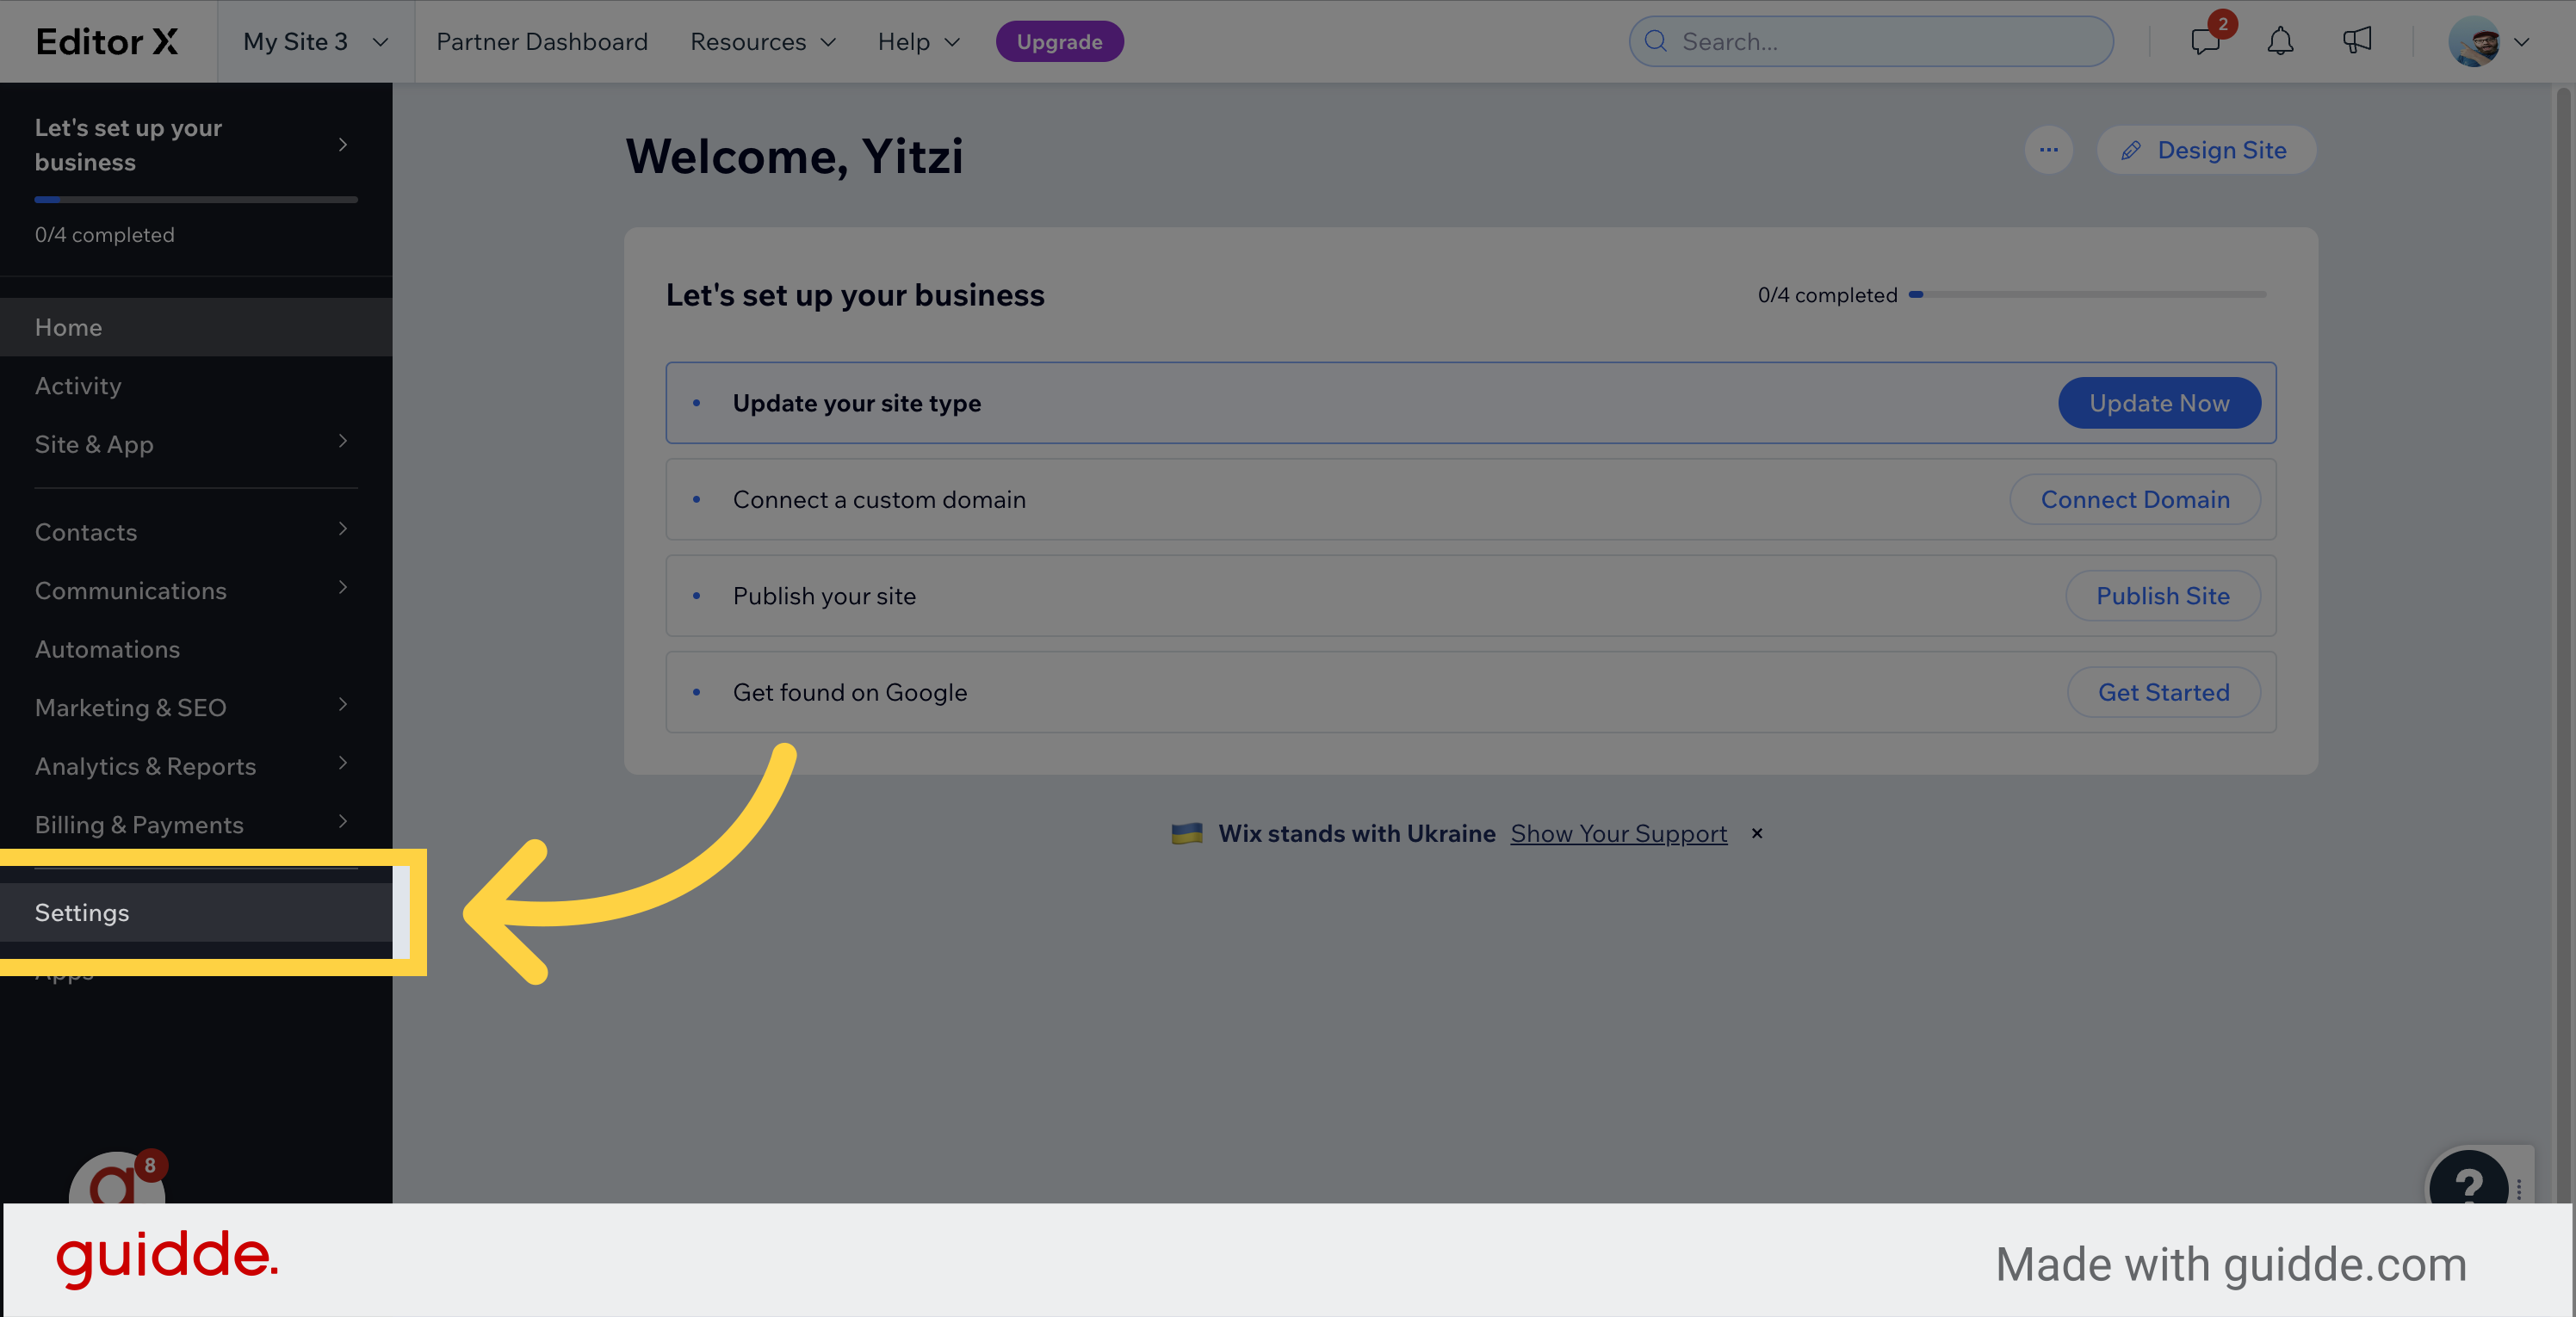
Click on the "Settings" option.
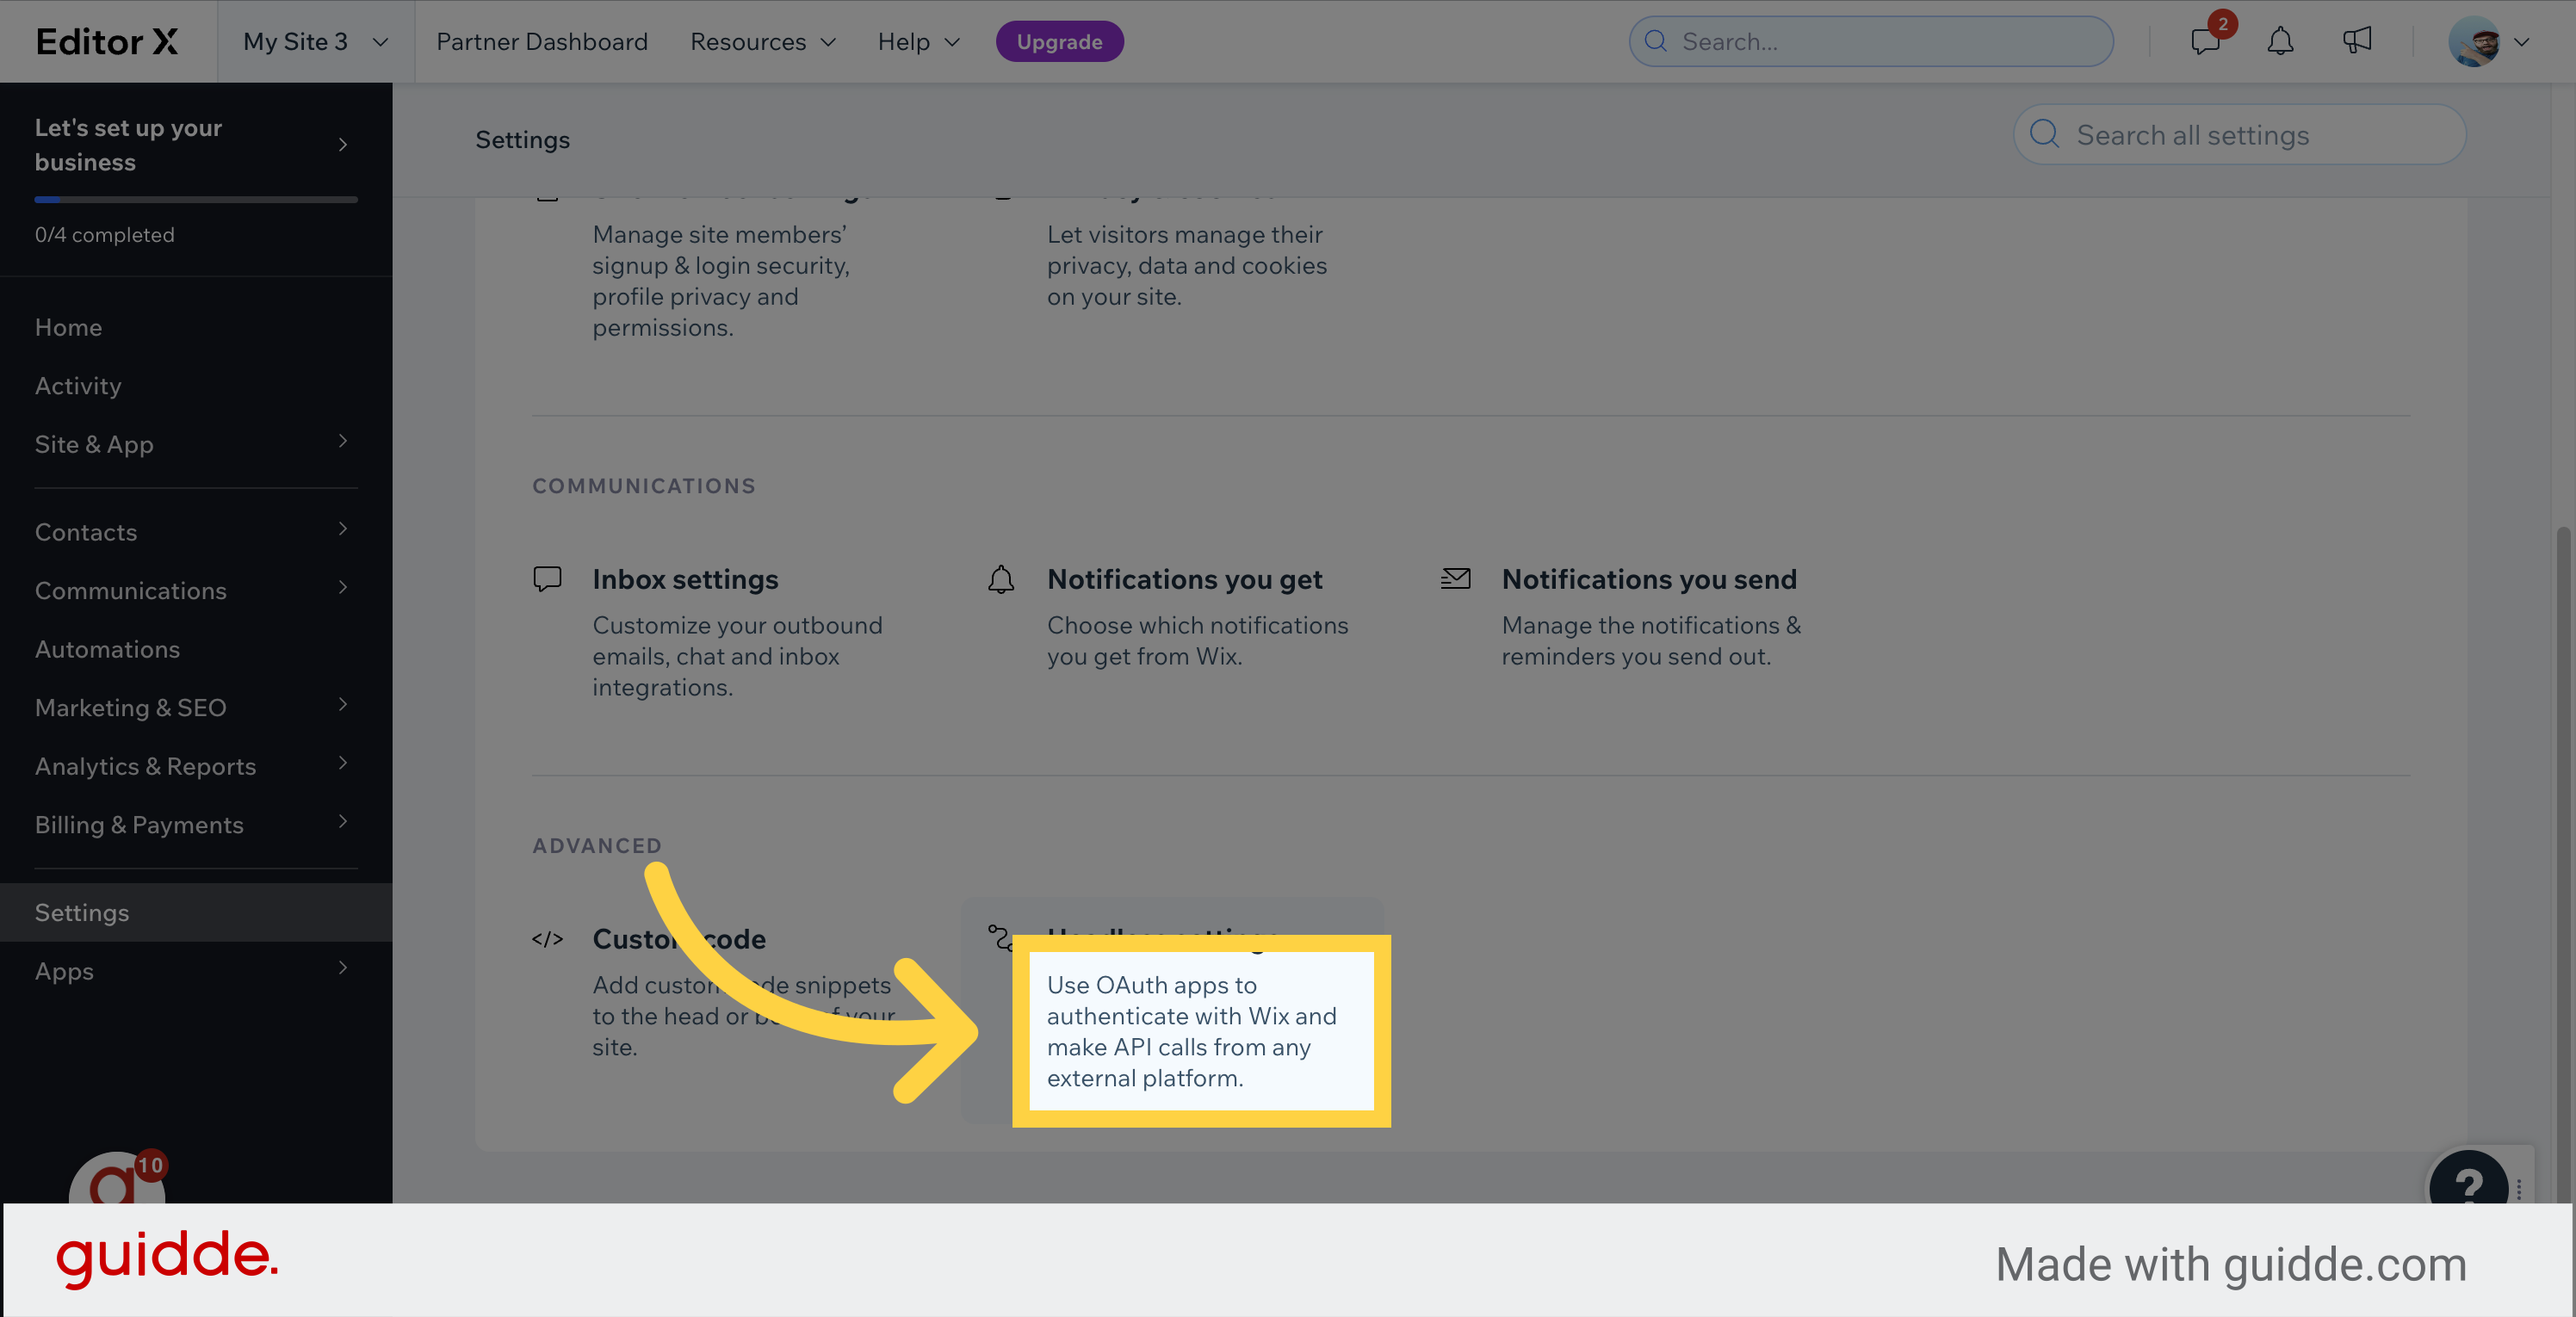
Click on the "Use OAuth apps to authenticate with Wix and make API calls from any external platform." option.
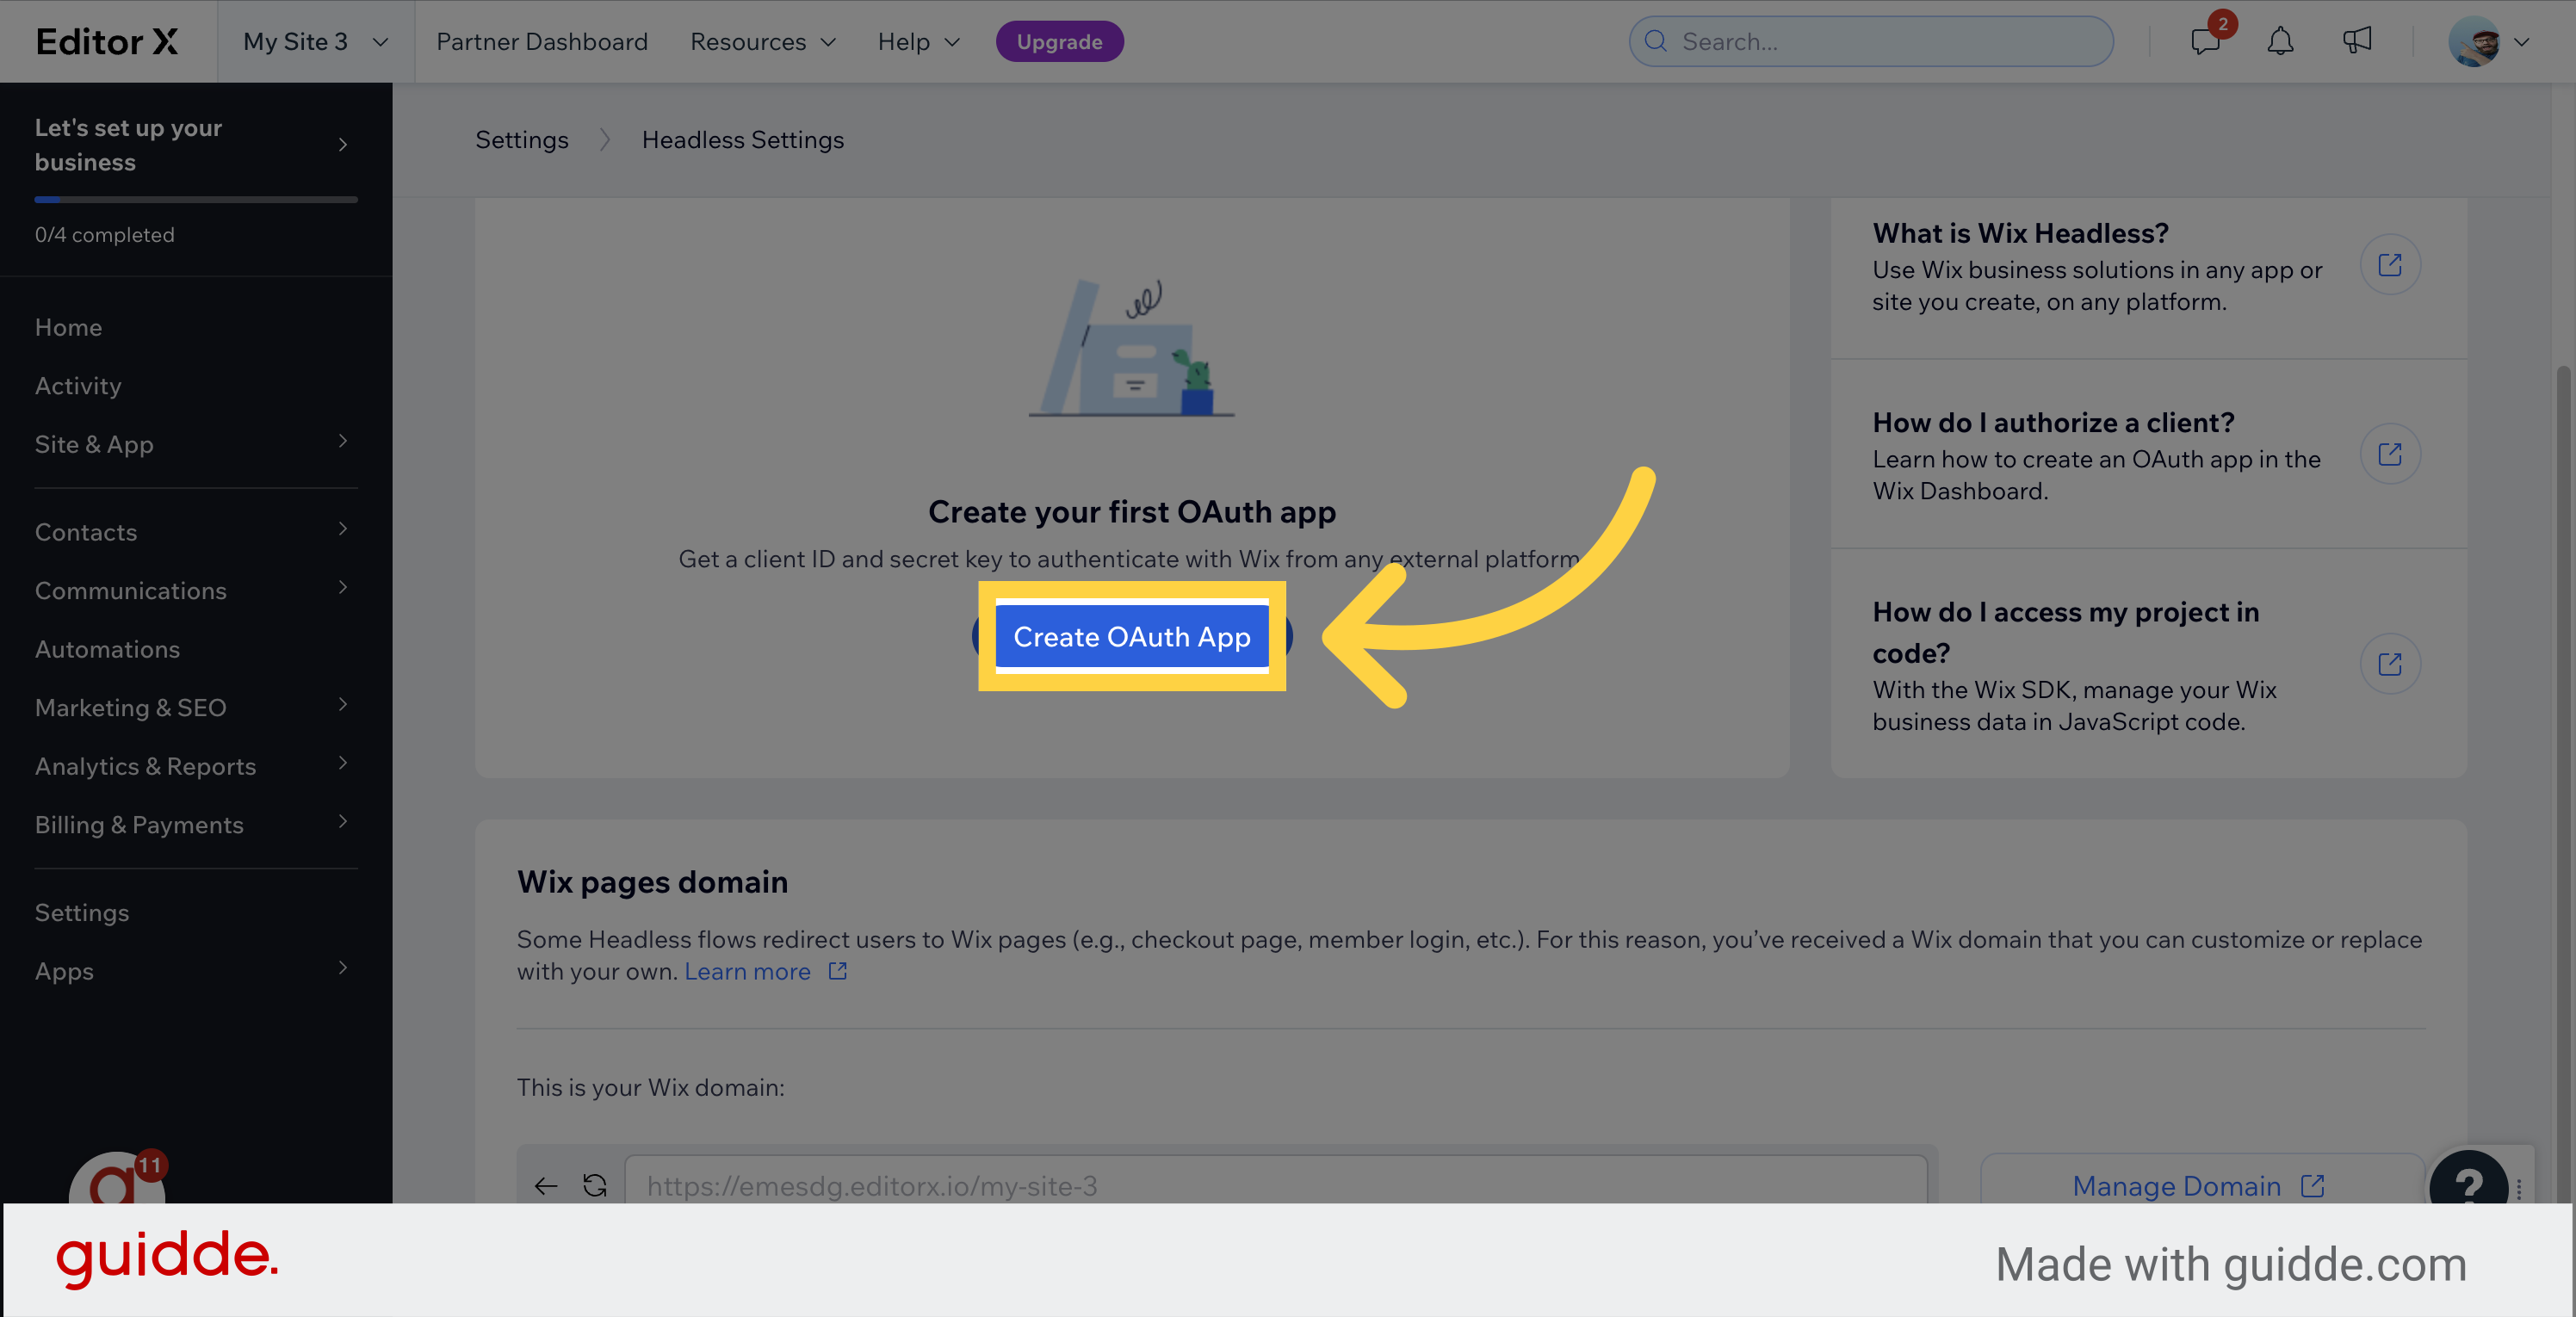
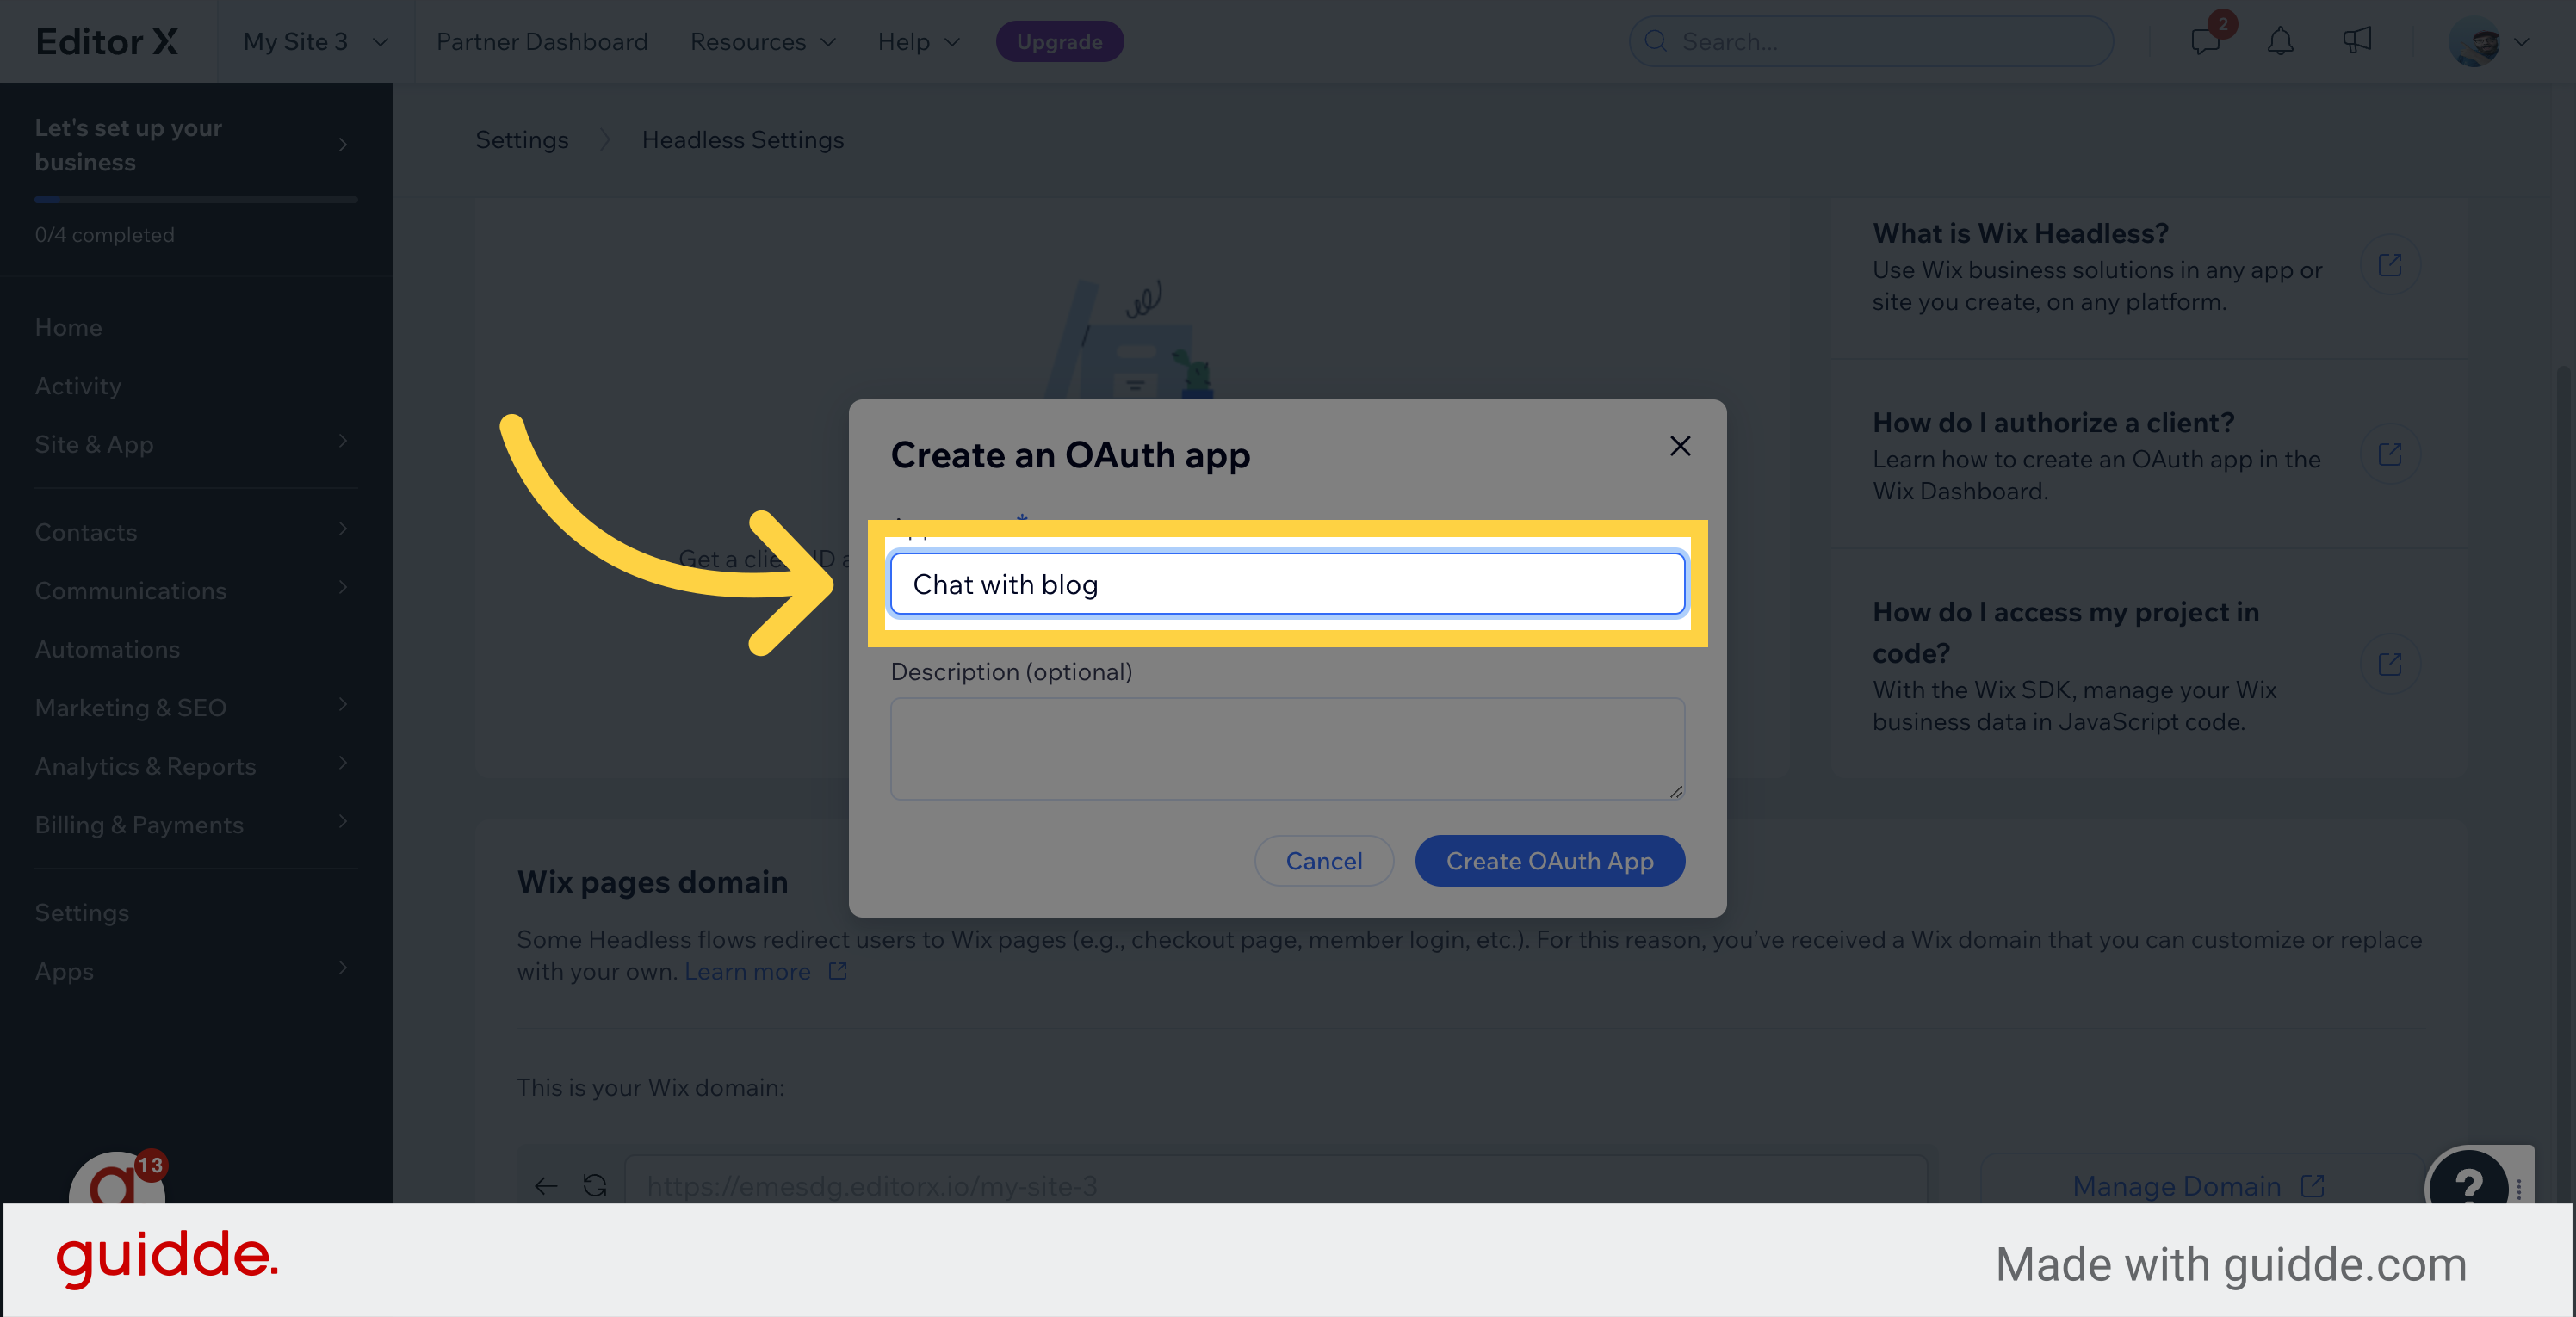
Click on the "Create OAuth App" button.
Enter a name for your app in the specified field.
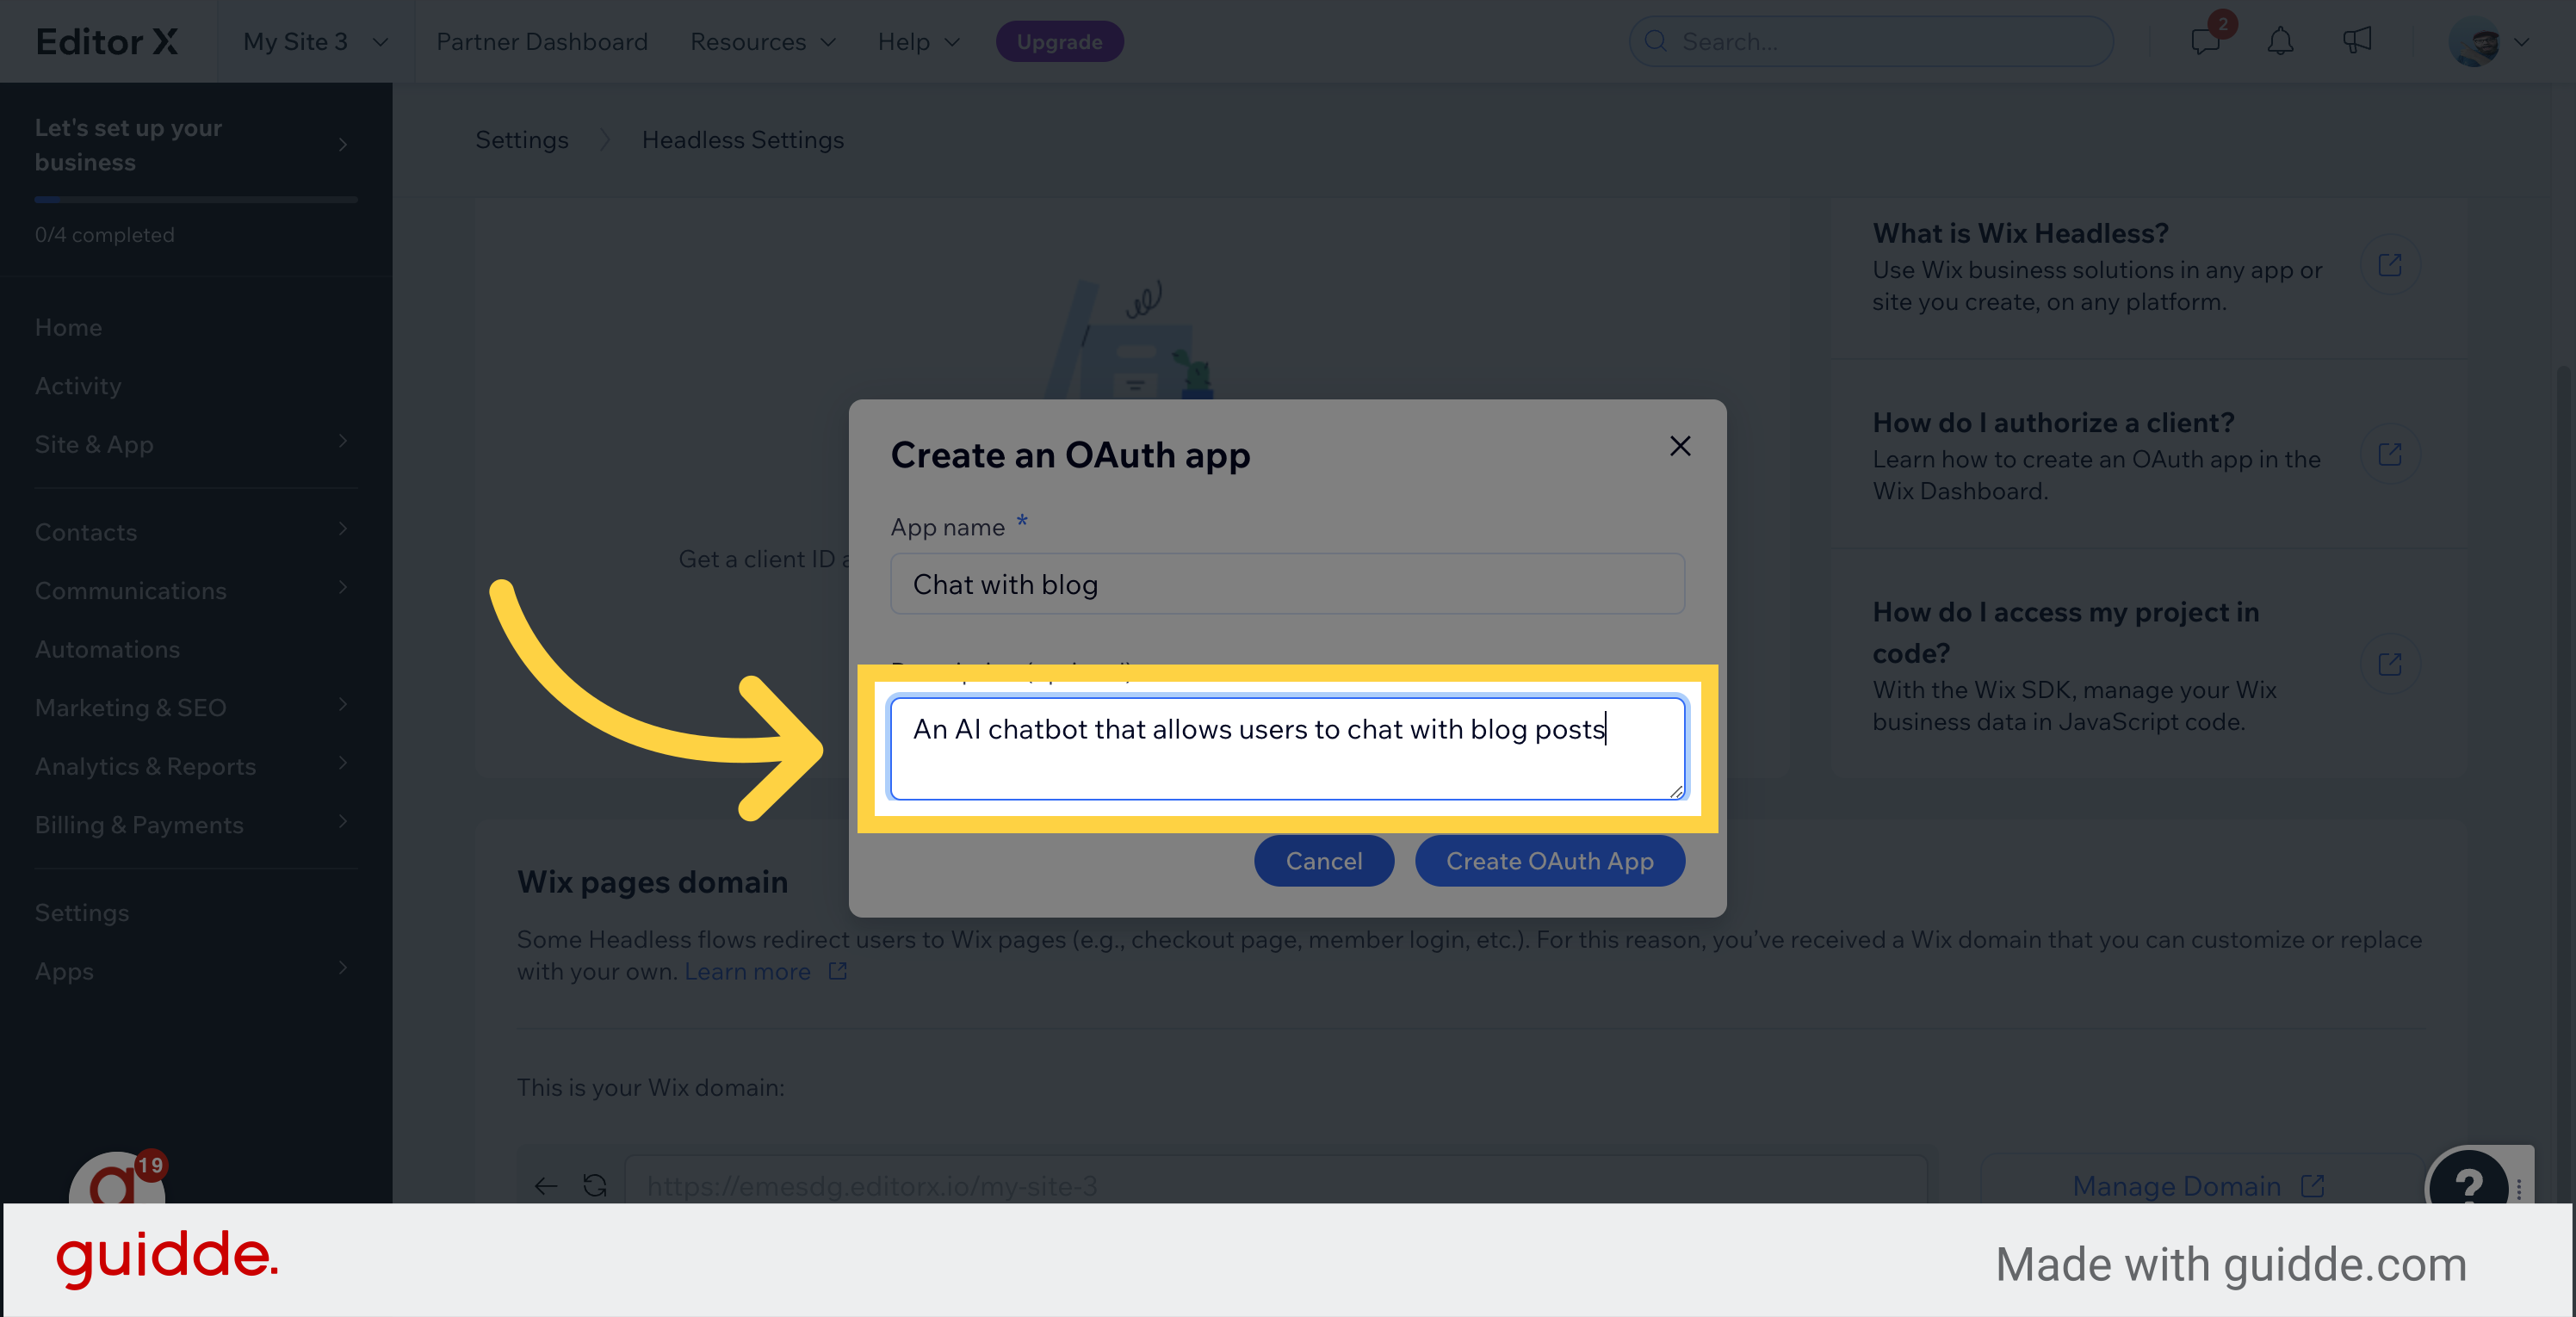
You can enter an app description in the specified field.
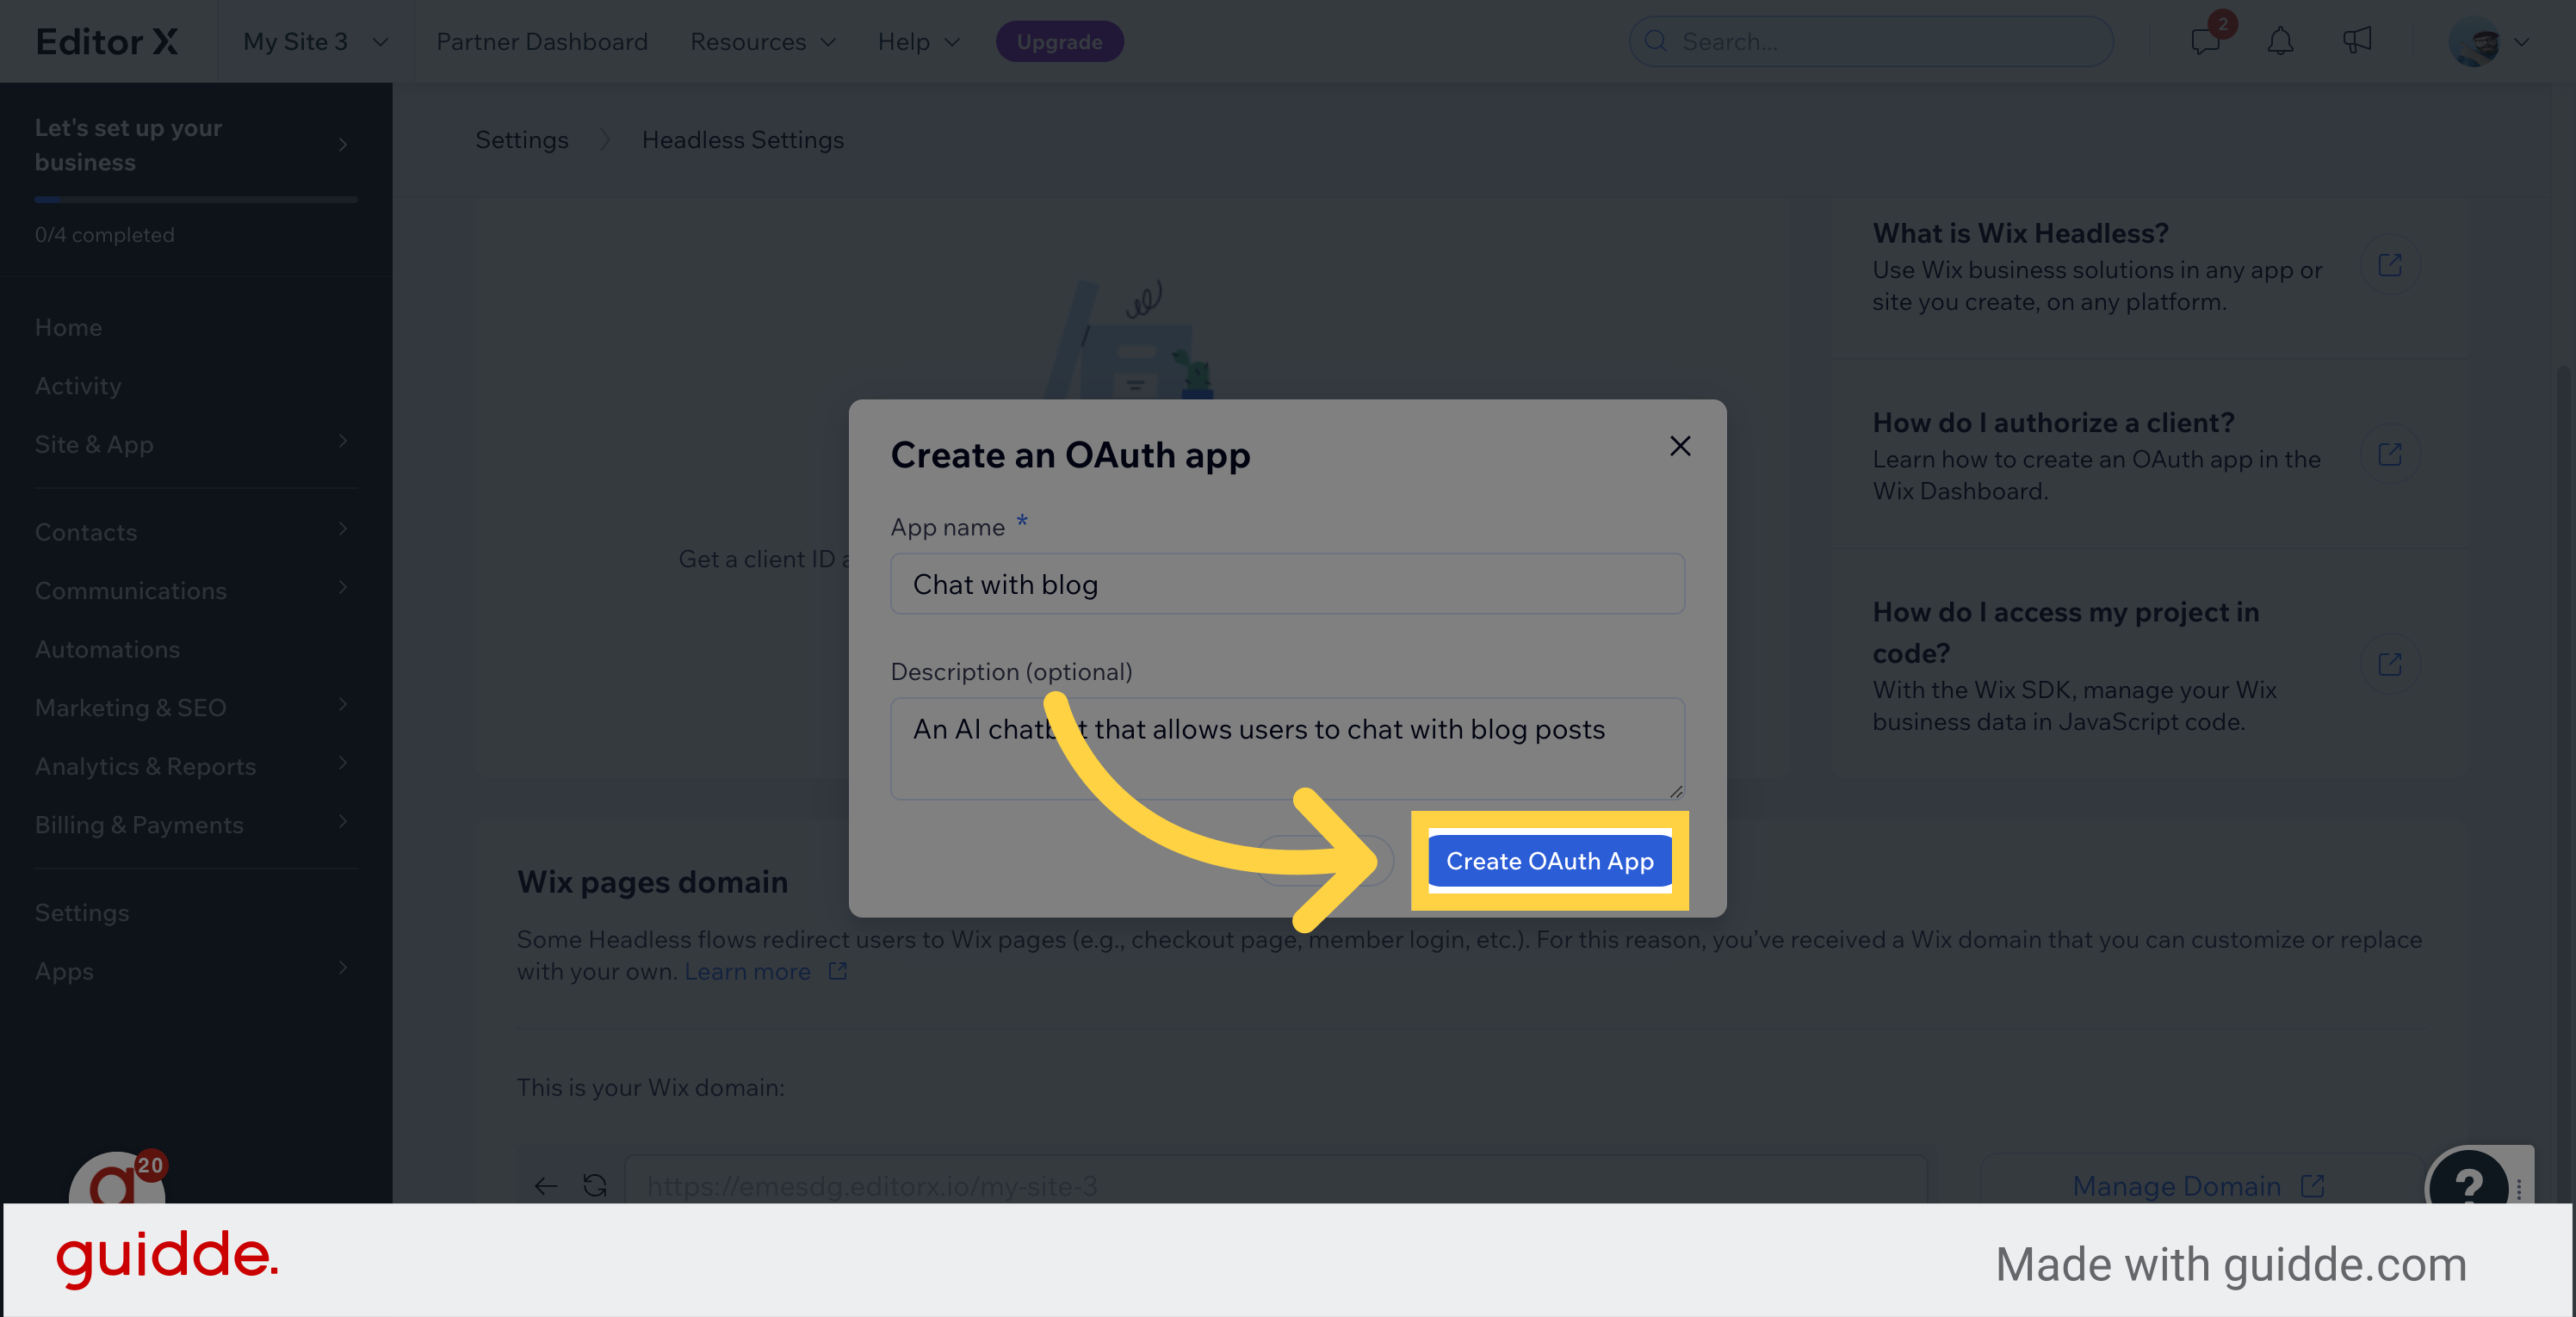
Click on the "Create OAuth App" button.
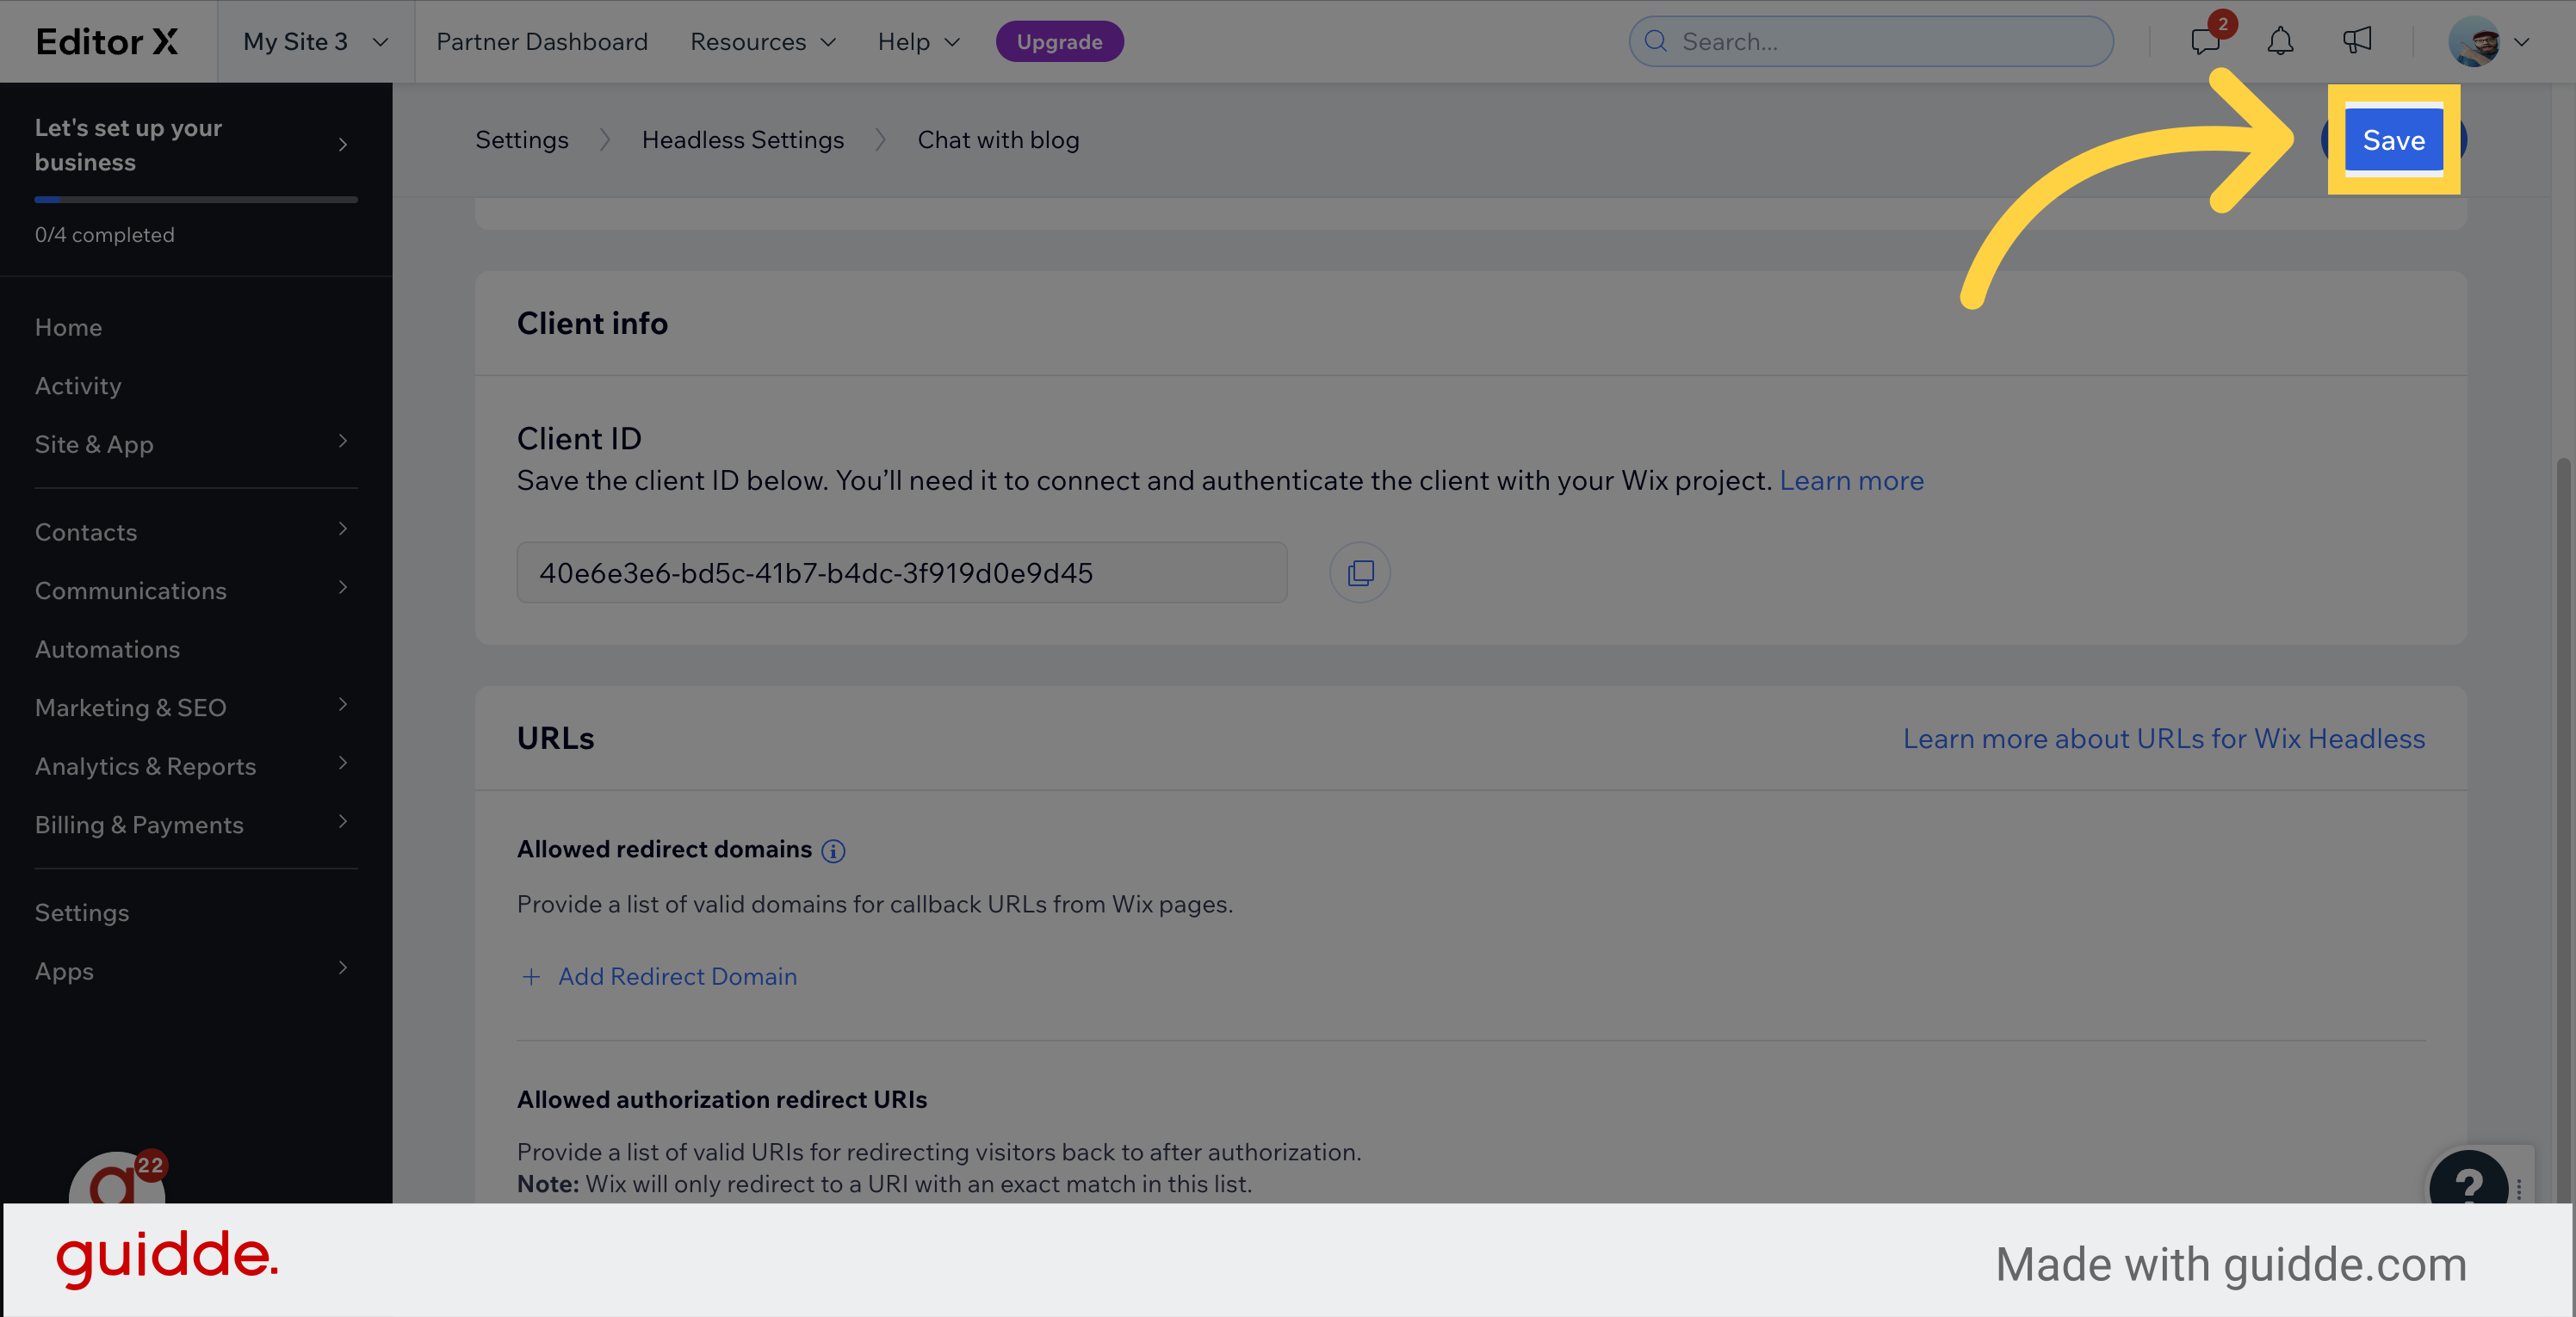
Click on the copy icon. You're gonna need this.
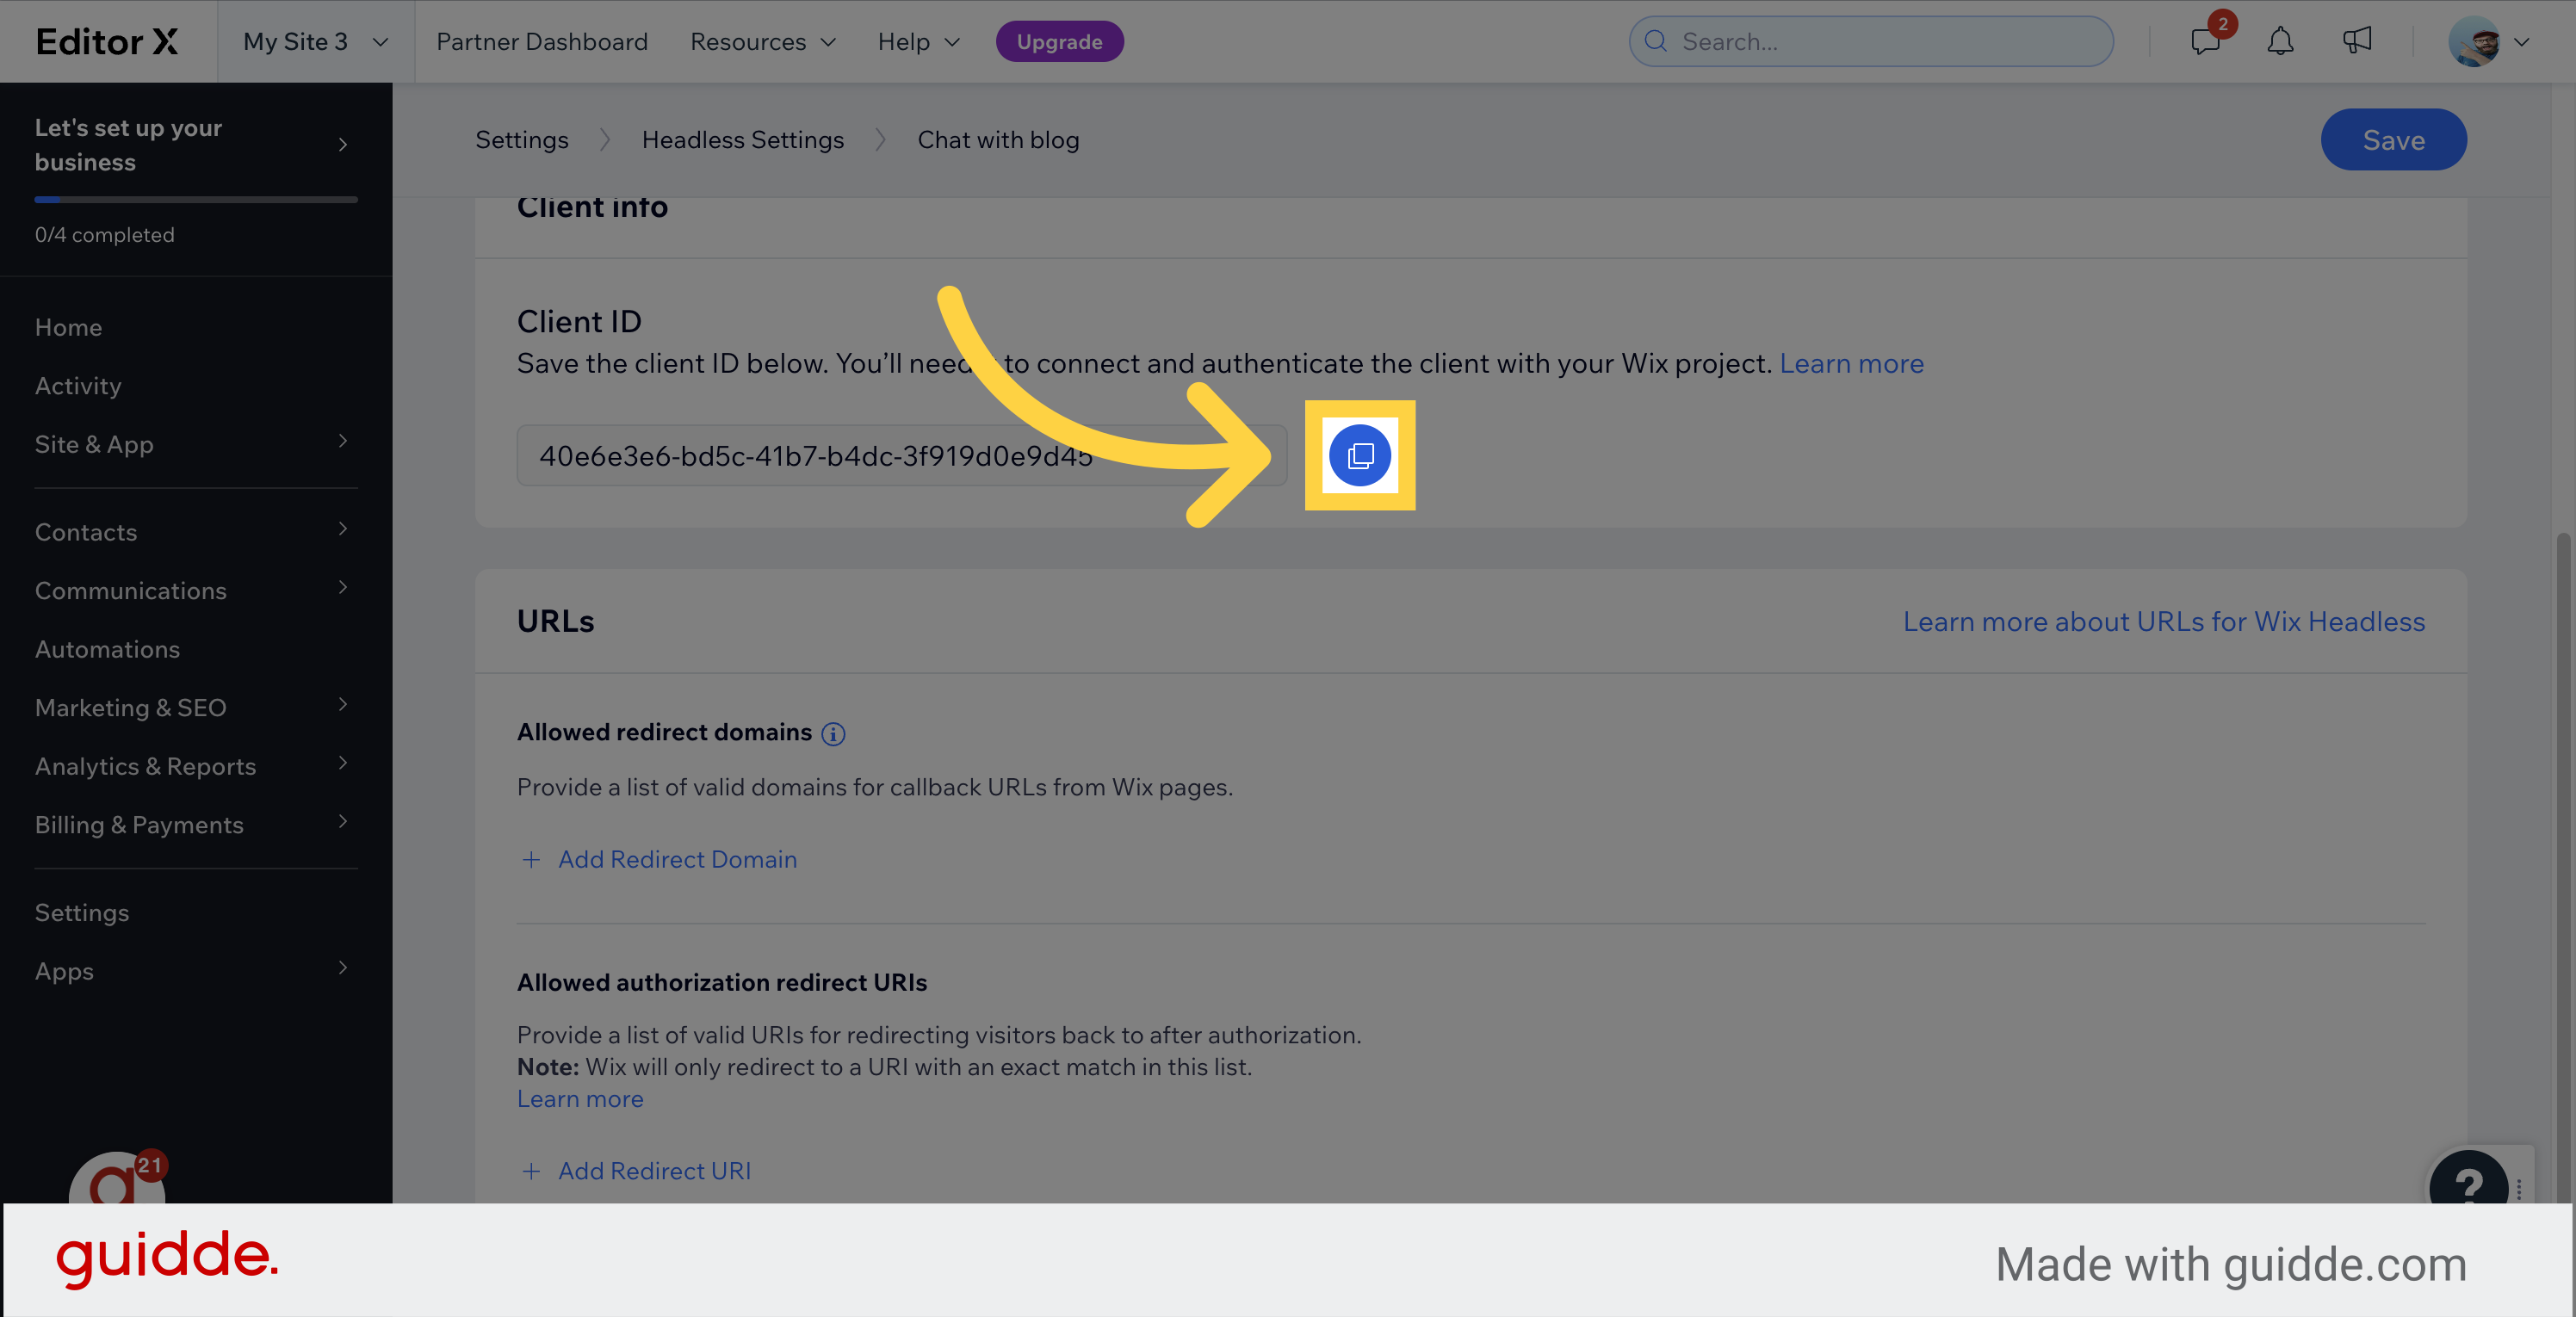
Click on the "Save" button.
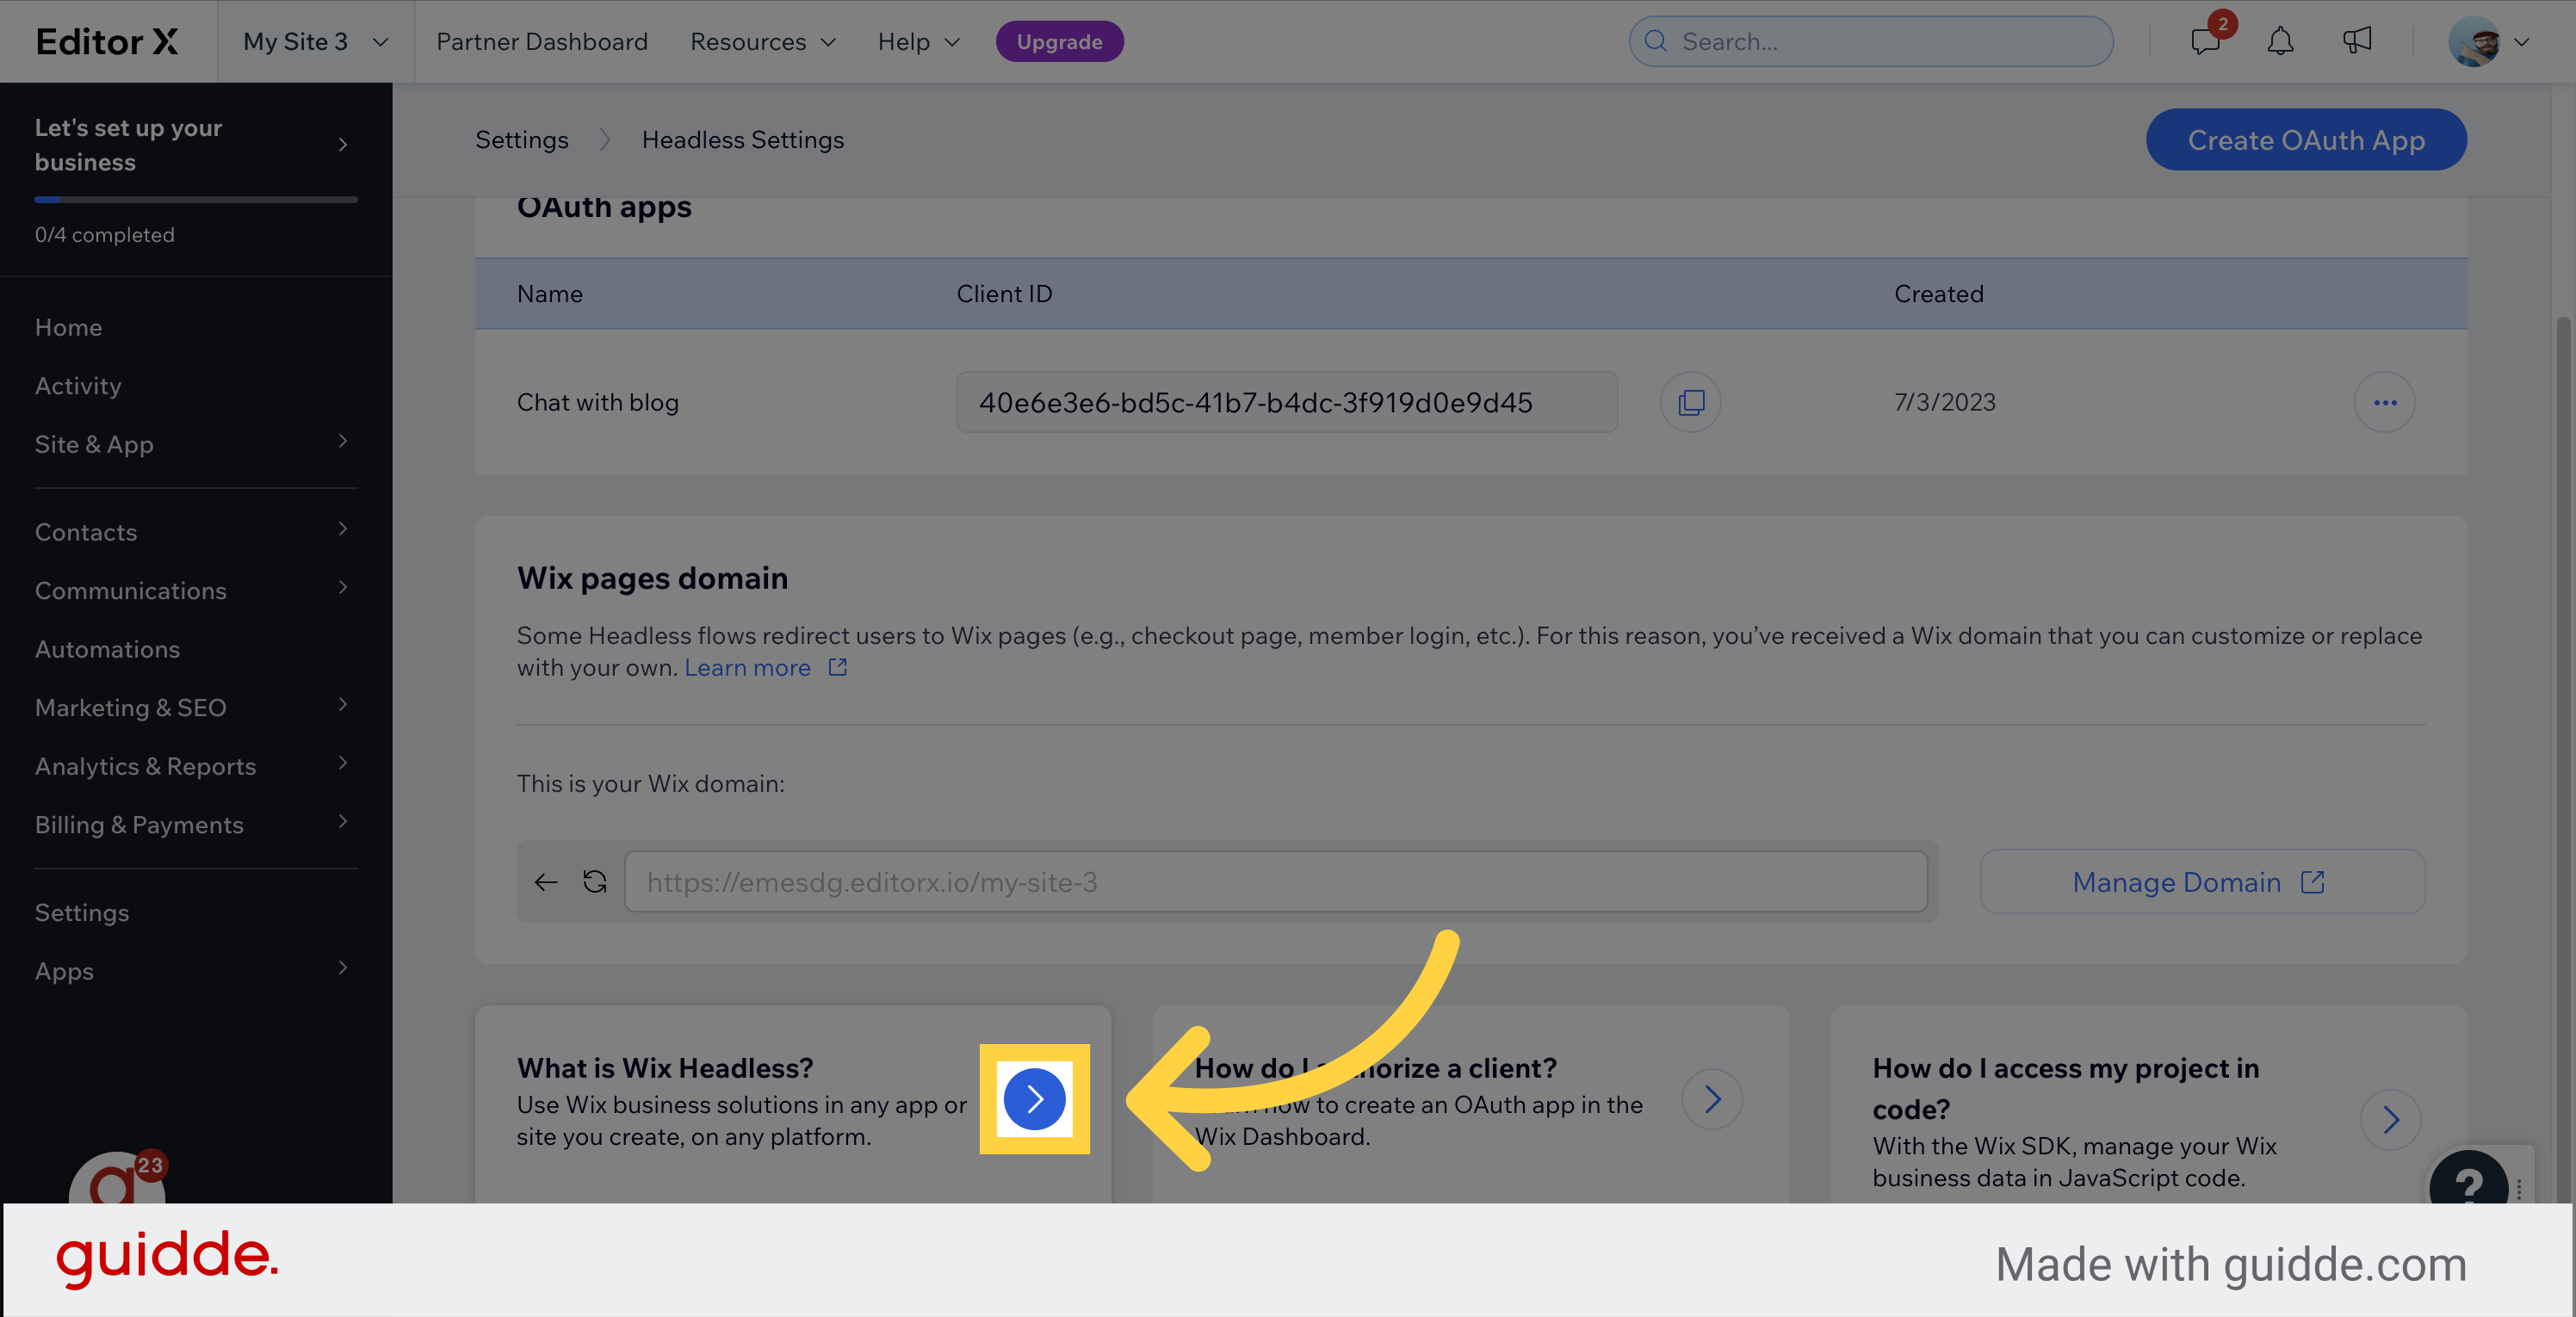
To learn more about headless, click on the link provided.
This guide covers the steps required to activate Wix Headless