Yes. But learning to sprite is easy and produces far better results. If you really want to try, use pixel-stitch.
If you can trace, you can make a template.
You could use MS Paint if you really wanted to, but at a bare minimum the program you're using should have layers and be able to resize images with minimal quality loss. Paint.net, GIMP, Photoshop, or Aseprite are good choices. In particular I recommend using either Photoshop or Aseprite.
Without the surrounding framework, portraits are 100x100 and murals are 256x128. Banners are 108x42 and borders are 9x100.
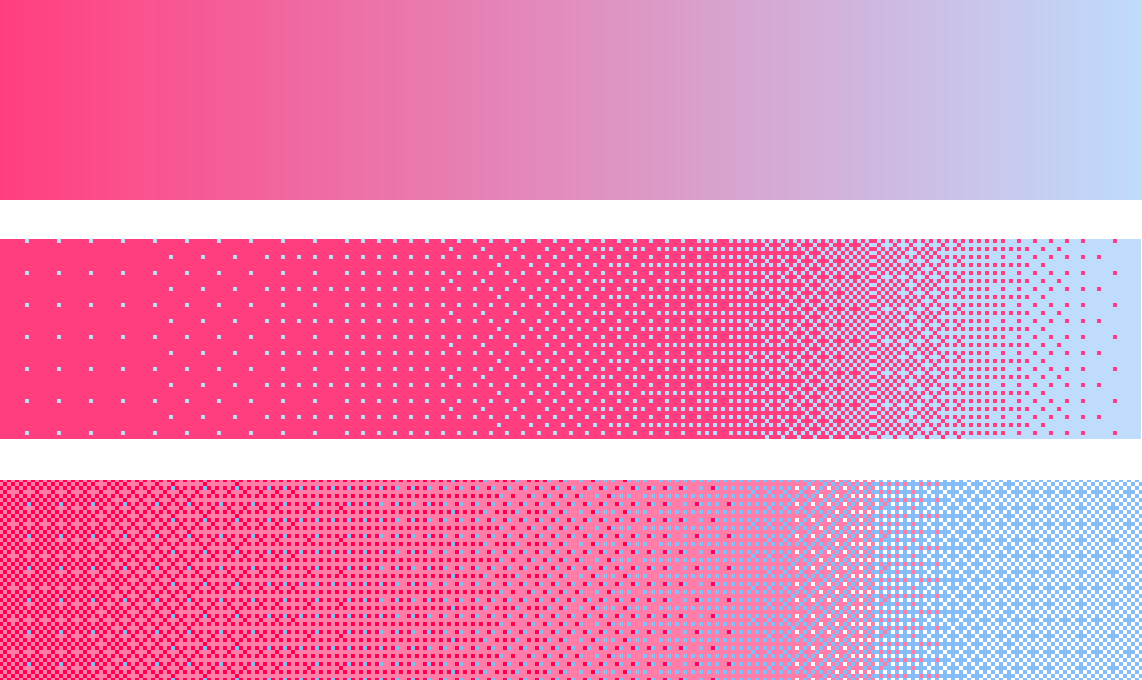
You can definitely try! Mixing two or more colors together (called dithering) can create many other color combinations. Have a look at this example of what dithering can do.
Using Paint, zoom in and press ctrl+g. Take a screenshot. You can do this method with the others too (using shift+g in some programs), but for Photoshop, Aseprite, and GIMP a better way is to make a custom brush in the shape of a backwards L, eight pixels tall and eight pixels long. Resize your image to 800% then paintbucket the whole thing.
Yes! Absolutely. It should be posted in the threads alongside the gridded version in case another spriter wants to try to touch it up. Plus our template website uses the gridless version of images. It's a lot harder to remove a grid after the fact. That's another reason why you shouldn't use pixel-stitch — it only makes gridded templates.
Find an image you want to sprite and resize it. When choosing a size for it you should consider two things:
- How big can you make it? Is there a spot on the canvas for it? How many people are likely to contribute to making it and how long will it take them to build?
- How small are you able to make it? How big will the important details (eyes or cutie marks for instance) on the sprite be when resized and how big do they need to be to clearly identifiable? Tutorial.
Put the image you resized in layer 1 and name it "original". Make a second layer and begin to trace over it with the pencil tool. Once you've got the outline, color it in in matching colors. Don't worry about adding shading or detail like eyes just yet. Name this layer "flats". You might notice that this image has some very awkward looking pixels right now that feel like they don't belong. That's completely normal and doesn't mean you did a bad job with this step. Take a look at this tutorial to understand how you can better clean these up and frequently refer back to the full size image when doing so.
Now, in another layer begin to add in your details like your eyes, mouth, nostrils, cutie mark, or so on. If you have a lot of details to add you might want to do this in multiple layers. Toggle the visibility on the flats layer while you work so that you can trace from the original. Once you finish you'll need to clean it up like you did with the outline. Sometimes these detail areas are so tiny that you'll need to refer much more heavily on the image than on tracing. You might also have to relocate them a bit just to get it to look right. Remember the way the pictures are resized isn't perfect. If you feel like moving something one or two pixels over to the right looks better or making it one or two pixels larger will improve visibility, don't be afraid to do it.
So now our picture's almost done. But you might notice it looks a little lifeless and flat. If your image has shading already, use the other colors to add in shading. You can shade either in solid lines pieces, or dither it where the colors get halfway between shades. You can use the same techniques to create texture. But remember, less is usually more at small sizes. These tutorials on shading, color choice, and dithering will help you.
If there's no shading or texture in the original image, you're going to need to find reference images of similar shapes and materials and try to shade it accordingly. Pick a direction you think the light should be coming from, think about how reflective it is, and how it would look in real life. You can make good use of the above tutorials too. Avoid pillow shading, this is when you shade around all the edges of a piece instead of only where highlights/ lowlights are. See how this image of Twilight looks off? That's because it was pillow shaded.
Your image should be just about done now. If you can see anything that looks definitively off fix it up to the best of your ability then post it in the thread. We have a lot of talented members and someone will come around to offer you feedback. Once you've made a version you're happy with, put a grid on it and share it with us. There are other ways to get to a completed project, but this one is the most beginner friendly and most helpful for building new skills.