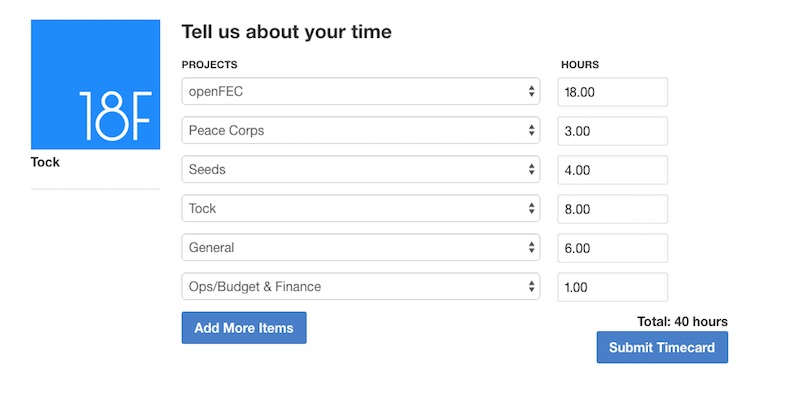
We use Tock to track our time. You can read more about Tock in this blog post about its features.

Make sure you have vagrant installed. For instance, on OS X with Homebrew:
$ brew install caskroom/cask/brew-cask
$ brew cask install vagrant
Then, ensure you have the appropriate Vagrant Box installed:
$ vagrant box add ubuntu/trusty32
You can get started with development by running the Vagrantfile:
$ vagrant up
This will provision an entire setup for you pretty quickly (see provision/dev/bootstrap.sh). You can access Django and start runserver by doing the following:
$ vagrant ssh
$ python manage.py migrate
$ python manage.py loaddata test_data/data-update.json
$ python manage.py runserver
From your host computer, going to http://192.168.33.10 will enable you to view Tock. You're automatically logged in as testuser@gsa.gov, the nginx proxy in production will pull the logged in user from Google Auth proxy. You can access the admin panel at http://192.168.33.10/admin
In order to make official changes to the styling of the website, you'll need to compile locally and submit the files accordingly. All of the files you should be editing are located in tock/tock/static/sass/ and are labeled according to their purpose, e.g. base/_typography.scss focuses on website type stylings.
Here are some steps to do to help make that happen:
- Make sure that you have Sass installed on your machine, instructions for installing Sass on various platforms.
- Open a new terminal window, separate from the one running the vagrant instance described above.
- Type the following command from the top level
tockdirectory:
$ sass --watch tock/tock/static/sass/core.scss:tock/tock/static/css/style.css
Congrats! Now you'll be able to make the changes and they will compile automatically every time your changes are saved.
NOTE: Be sure to ONLY change files ending in .scss extension and NOT .css
Tock has an API, you can get the full dataset with: https://tock.18f.gov/api/timecards_bulk.csv or page thru results with: https://tock.18f.gov/api/timecards.json you can choose a different page or page size: https://tock.18f.gov/api/timecards.json?page=2&page_size=100
You can also get a list of projects with: https://tock.18f.gov/api/projects.json
or as a csv with: https://tock.18f.gov/api/projects.csv
If you are interested in accessing the API endpoints via command line / terminal, clone this repository locally and do the following:
The following requires Requests: HTTP for Humans.
First, using the Chrome browser, navigate over to https://tock.18f.gov and sign into the application via OAuth (likely via your Google account).
Then open the Developer Tools console in Chrome via View...Developer...Developer Tools. Refresh https://tock.18f.gov, click tock.18f.gov in the right-hand pane, and click Headers. Scroll down the output to Request Headers, find cookie:, and locate the super long alphanumeric string after _oauthproxy. Highlight this string (be sure to get the whole thing!) and copy it to your clipboard.
Open up a new terminal or command line session and enter:
$ export OAUTHPROXY="..."
...substituting the OAuth cookie you copied from the Developer Tools console in Chrome for the ..., but retaining the quotation marks.
In the terminal or command line session you opened (and saved your OAUTHPROXY environmental variable) run:
$ python tock_api_script.py
...and follow the prompts!