- Table of Contents
- Package Managers
- Tools & Platforms
A package manager is a system or set of tools used to automate installing, upgrading, configuring and using software. Most package managers are designed for discovering and installing developer tools.
Ideally, developers use a package manager to specify the prerequisites for the tools they need to develop solutions for a given project. The package manager then follows the declarative instructions to install and configure the tools. The package manager reduces the time spent getting an environment ready, and it helps ensure the same versions of packages are installed on their machine.
Third party package managers can leverage the Microsoft Community Package Manifest Repository to increase the size of their software catalog.
The winget command line tool enables developers to discover, install, upgrade, remove and configure applications on Windows 10 computers. This tool is the client interface to the Windows Package Manager service.
The winget tool is currently a preview, so not all planned functionality is available at this time.
There are several ways to install the winget tool:
- The
wingettool is included in the flight or preview version of Windows App Installer. You must install the preview version of App Installer to use winget. To gain early access, submit your request to the Windows Package Manager Insiders Program. Participating in the flight ring will guarantee you see the latest preview updates. - Participate in the Windows Insider flight ring.
- Install the Windows Desktop App Installer package located on the Releases page for the winget repository.
ℹ NOTE:
Thewingettool requires Windows 10, version 1809 ( 10.0.17763 ), or a later version of Windows 10.
Installer behavior can be different depending on whether you are running winget with administrator privileges.
When running winget without administrator privileges, some applications may require elevation to install. When the installer runs, Windows will prompt you to elevate. If you choose not to elevate, the application will fail to install.
When running winget in an Administrator Command Prompt, you will not see elevation prompts if the application requires it. Always use caution when running your command prompt as an administrator, and only install applications you trust.
tl;dr Chocolatey is a software management solution that allows you to manage 100% of your software, anywhere you have Windows, with any endpoint management tool. No other solution ( including newly announced solutions ) reach this level of management - most only can manage to software in Programs and Features.
Chocolatey is a software management solution unlike anything else you've ever experienced on Windows. It focuses on simplicity, security, and infinite scalability. You write a software deployment in PowerShell once for any software ( not just installers ), then you can deploy it everywhere you have Windows with any solution that can manage systems ( configuration management, endpoint management, etc. ) and track and manage updates of that software over time. Manage software on-premise, in the "Cloud", or in Docker containers with Chocolatey.
Whew, that was a mouthful! For a bit more detail into what all of that means and more, see What is Chocolatey?
-
First, ensure that you are using an administrative shell - you can also install as a non-admin, check out Non-Administrative Installation.
-
Install with
powershell.exe
ℹ NOTE:
Please inspect the Chocolately'sinstall.ps1script prior to running any of these scripts to ensure safety. We already know it's safe, but you should verify the security and contents of any script from the internet you are not familiar with. All of these scripts download a remote PowerShell script and execute it on your machine. We take security very seriously. Learn more about our security protocols.
With PowerShell, you must ensure
Get-ExecutionPolicyis notRestricted. We suggest using Bypass to bypass the policy to get things installed orAllSignedfor quite a bit more security.- Run
Get-ExecutionPolicy. If it returns Restricted, then runSet-ExecutionPolicy AllSignedorSet-ExecutionPolicy Bypass -Scope Process.
Now run the following command:
Set-ExecutionPolicy Bypass -Scope Process -Force; [System.Net.ServicePointManager]::SecurityProtocol = [System.Net.ServicePointManager]::SecurityProtocol -bor 3072; iex ((New-Object System.Net.WebClient).DownloadString('https://community.chocolatey.org/install.ps1'))
- Run
-
Paste the copied text into your shell and press Enter.
-
Wait a few seconds for the command to complete.
-
If you don't see any errors, you are ready to use Chocolatey! Type
chocoorchoco -?now, or see Getting Started for usage instructions.
Scoop installs programs from the command line with a minimal amount of friction. It tries to eliminate things like:
- Permission popup windows
- GUI wizard-style installers
- Path pollution from installing lots of programs
- Unexpected side-effects from installing and uninstalling programs
- The need to find and install dependencies
- The need to perform extra setup steps to get a working program
Scoop is very scriptable, so you can run repeatable setups to get your environment just the way you like, e.g.:
scoop install sudo
sudo scoop install 7zip git openssh --global
scoop install aria2 curl grep sed less touch
scoop install python ruby go perl
If you've built software that you'd like others to use, Scoop is an alternative to building an installer ( e.g. MSI or InnoSetup ) — you just need to zip your program and provide a JSON manifest that describes how to install it.
Run the following command from your PowerShell to install scoop to its default location ( C:\Users\<user>\scoop )
Invoke-Expression (New-Object System.Net.WebClient).DownloadString('https://get.scoop.sh')

# or shorter
iwr -useb get.scoop.sh | iex
Once installed, run scoop help for instructions.
The default setup is configured so all user installed programs and Scoop itself live in C:\Users\<user>\scoop. Globally installed programs ( --global ) live in C:\ProgramData\scoop. These settings can be changed through environment variables.
$env:SCOOP='D:\Applications\Scoop'
[Environment]::SetEnvironmentVariable('SCOOP', $env:SCOOP, 'User')
# run the installer$env:SCOOP_GLOBAL='F:\GlobalScoopApps'
[Environment]::SetEnvironmentVariable('SCOOP_GLOBAL', $env:SCOOP_GLOBAL, 'Machine')
# run the in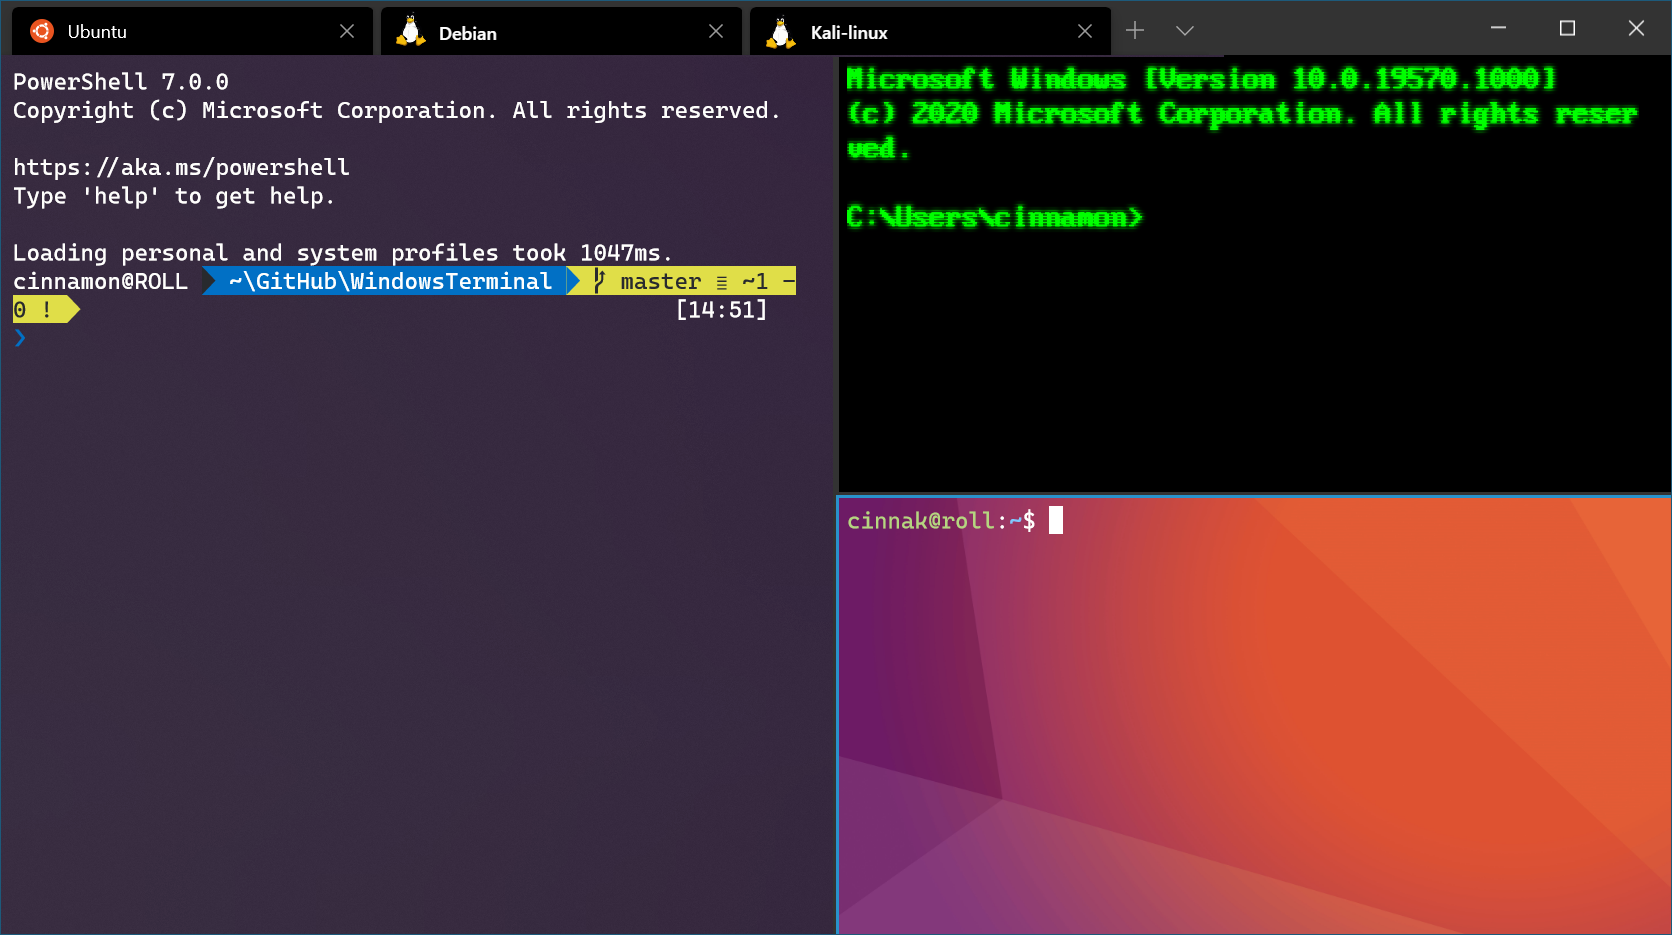
You must be running Windows 10 version 2004 and higher (Build 19041 and higher) or Windows 11.
ℹ Note:
To check your Windows version and build number, select Windows logo key + R, type winver, select OK. You can update to the latest Windows version in the Settings menu or using the Windows Update Assistant.
If you're running an older build, or just prefer not to use the install command and would like step-by-step directions, see WSL manual installation steps for older versions.
You can now install everything you need to run Windows Subsystem for Linux ( WSL ) by entering this command in PowerShell or Windows Command Prompt and then restarting your machine.
You can now install everything you need to run Windows Subsystem for Linux ( WSL ) by entering this command in PowerShell or Windows Command Prompt and then restarting your machine.
wsl --installThis command will enable the required optional components, download the latest Linux kernel, set WSL 2 as your default, and install a Linux distribution for you ( Ubuntu by default, see below to change this ).
The first time you launch a newly installed Linux distribution, a console window will open and you'll be asked to wait for files to de-compress and be stored on your machine. All future launches should take less than a second.
By default, the installed Linux distribution will be Ubuntu. This can be changed using the -d flag.
To change the distribution installed, enter: wsl --install -d <Distribution Name>. Replace <Distribution Name> with the name of the distribution you would like to install.
To see a list of available Linux distributions available for download through the online store, enter: wsl --list --online or wsl -l -o.
To install additional Linux distributions after the initial install, you may also use the command: wsl --install -d <Distribution Name>.
💡 TIP:
If you want to install additional distributions from inside a Linux/Bash command line ( rather than from PowerShell or Command Prompt), you must use .exe in the command:wsl.exe --install -d <Distribution Name>or to list available distributions:wsl.exe -l -o.
If you run into an issue during the install process, check the installation section of the troubleshooting guide.
Once you have installed WSL, you will need to create a user account and password for your newly installed Linux distribution. See the Best practices for setting up a WSL development environment guide to learn more.
We recommend following our Best practices for setting up a WSL development environment guide for a step-by-step walk-through of how to set up a user name and password for your installed Linux distribution(s), using basic WSL commands, installing and customizing Windows Terminal, set up for Git version control, code editing and debugging using the VS Code remote server, good practices for file storage, setting up a database, mounting an external drive, setting up GPU acceleration, and more.
Windows Terminal is a modern terminal application for users of command-line tools and shells like Command Prompt, PowerShell, and Windows Subsystem for Linux ( WSL ). Its main features include multiple tabs, panes, Unicode and UTF-8 character support, a GPU accelerated text rendering engine, and the ability to create your own themes and customize text, colors, backgrounds, and shortcuts.
To try the latest preview features, you may also want to install Windows Terminal Preview.
ℹ NOTE:
If you don't have access to the Microsoft Store, the builds are published on the GitHub releases page. If you install from GitHub, Windows Terminal will not automatically update with new versions. For additional installation options using a package manager (winget,chocolatey,scoop), see the Windows Terminal product repo.
To open any command line application with Windows Terminal, set it as your default terminal application.
- Open Windows Terminal And Go To The Settings Ui Window.
- Select Startup and choose "Windows Terminal" as the Default terminal application setting.

Microsoft PowerToys is a set of utilities for power users to tune and streamline their Windows experience for greater productivity. For more info on PowerToys overviews and how to use the utilities, or any other tools and resources for Windows development environments, head over to docs.microsoft.com!
| Current Utilities | |
|---|---|
| Awake | Color Picker |
| Keyboard Manager | PowerRename |
⚠️ PowerToys (v0.37.0 and newer) requires Windows 10 v1903 (18362) or newer.- Have .NET Core 3.1.15 Desktop Runtime. The installer should handle this but we want to directly make people aware.
Install from the Microsoft Store's PowerToys page or use Microsoft PowerToys GitHub releases page.
- For GitHub, click on
Assetsto show the files available in the release and then click onPowerToysSetup-0.47.1-x64.exeto download the PowerToys installer. - For Microsoft Store, you must be using the new Microsoft Store which will be available for both Windows 11 and Windows 10.
This is the preferred method.
To install the Video Conference mute, please use the v0.46 experimental version of PowerToys to try out this version. It includes all improvements from v0.45 in addition to the Video conference utility. Click on Assets to show the files available in the release and then download the .exe installer.
Download PowerToys from WinGet. To install PowerToys, run the following command from the command line / PowerShell:
WinGet install powertoysThere are community driven install methods such as Chocolatey and Scoop. If these are your preferred install solutions, this will have the install instructions.
Before you begin installing Visual Studio:
- Check the system requirements. These requirements help you know whether your computer supports Visual Studio 2019.
- Apply the latest Windows updates. These updates ensure that your computer has both the latest security updates and the required system components for Visual Studio.
- Reboot. The reboot ensures that any pending installs or updates don't hinder your Visual Studio install.
- Free up space. Remove unneeded files and applications from your system drive by, for example, running the Disk Cleanup app.
For questions about running previous versions of Visual Studio side by side with Visual Studio 2019, see Visual Studio 2019 Platform Targeting and Compatibility.
Next, download the Visual Studio bootstrapper file.
To do so, choose the following button, choose the edition of Visual Studio that you want, choose Save, and then choose Open folder.
Run the bootstrapper file to install the Visual Studio Installer. This new lightweight installer includes everything you need to both install and customize Visual Studio.
-
From your Downloads folder, double-click the bootstrapper that matches or is similar to one of the following files:
- vs_community.exe for Visual Studio Community
- vs_professional.exe for Visual Studio Professional
- vs_enterprise.exe for Visual Studio Enterprise
If you receive a User Account Control notice, choose Yes.
-
We'll ask you to acknowledge the Microsoft License Terms] and the Microsoft Privacy Statement. Choose Continue.

Installing AWS Tools for PowerShell on Windows →