Skip to content

Instantly share code, notes, and snippets.

@c22dev
Last active April 29, 2024 06:57
Show Gist options
  • Star 5 You must be signed in to star a gist
  • Fork 1 You must be signed in to fork a gist
  • Save c22dev/e3a1223fa63b20f1b4e95a7119277cb9 to your computer and use it in GitHub Desktop.
Save c22dev/e3a1223fa63b20f1b4e95a7119277cb9 to your computer and use it in GitHub Desktop.
Remove MDM & DEP from an Apple Sillicon Mac (Sonoma)

How to make an MDM Mac shine like it's brand new ?

Works, as of 14/04/2024, on macOS 14.4.1 and lower (prob higher but idk)

This was made for Apple Sillicon Macs.

Restore Process

You need another Mac for this.

If you don't have one and have recovery locked, it's not possible.

If you don't have recovery locked, I'd recommend you reset your mac (there is plenty of tutorials online) from Recovery mode, then go to the next section (Bypassing setup)

Steps

Follow Apple steps. That's all I can say. But instead of reviving your Mac, restore/reset it.

I'd recommend using Apple Configurator 2.

https://support.apple.com/en-us/108900

During the restore process (should take some time), I'd recommend you download the multiple scripts down there and put them in a macOS readable USB key, at root (so in first folder, you know the main folder).

Bypassing setup

In this part, we'll bypass Setup.app (it checks for MDM, and we don't want that do we ?)

You'll need to boot up in recovery mode. To do so, make sure you are on the hello screen, and press your Touch-ID button for 10s.

Your Mac should go black (it's turned off!)

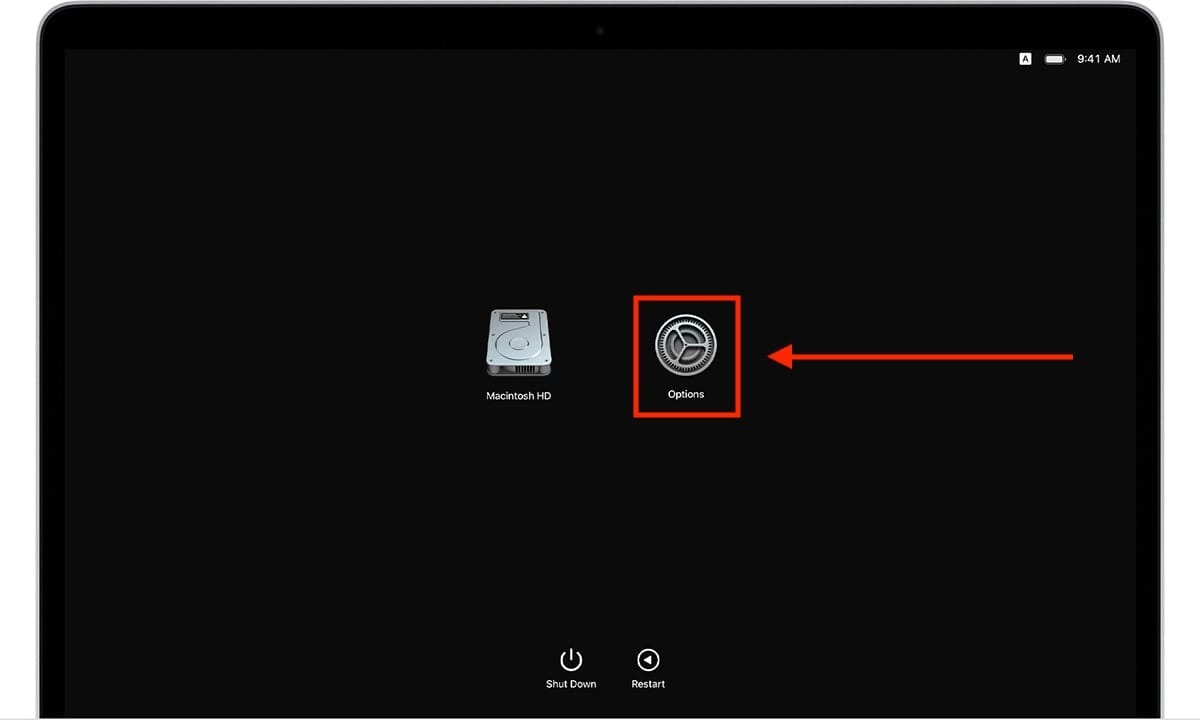
Now, you need to turn it back on, but instead of pressing once, you press and hold the button until you see "Loading recovery options..." or something similar.

Once you see this beautiful screen, go here: recoveryOptions

Once you boot into this, follow steps if necessary, then plug your USB key prepared before. Also, make sure your keyboard is the correct one (top right, you can select it).

Now, you need to access the Terminal.

You can do so by looking at the bar at the top and going to Utilities>Terminal.

Once there, you'll need to naviguate to your USB key.

cd /Volumes/ should bring you right to the mounted volumes (where your usb key sits, holy moly). Right here, you can do a ls to see if your usb key is there. If so, cd <yourUsbKeyName>. Make sure you don't write the <>.

Right there, if you didn't renamed the scripts I told you, you should be able to run those commands :

chmod +x inRecoveryScriptFirst.sh && ./inRecoveryScriptFirst.sh

This will ask you for a "New Password". Put any password you want, but make sure you remember it !!!!

Once it tells you it's done, Reboot your Mac by going to  > Reboot (or Restart, whatever it's called).

You should now see the magnificient macOS Sonoma Hello screen. Click on Next, and configure your Mac until you arrive to the WiFi selection screen.

Here, hold on tight, you aren't going to connect to the internet (yet!)

You need to press the following keys;

⌘ command + ⌥ option + ⌃ control + T

This should bring you our friend the terminal (again!)

For now, you won't type any commands in it, but we'll use it as a way to access system settings.

Click on the , then System Settings.

Here, go down to Users & Groups section, click on Add User

Here, macOS will ask you to login with an admin account.

Replace the first field by root, then fill second field by the password you sent back in Recovery mode (in the script).

You should now be able to fill info (like if you were creating a normal user on Mac). MAKE SURE IT'S AN ADMIN ACCOUNT!!!

After creating the account, turn off the MacBook by pressing 10seconds (again) on the TouchID button.

Then, when it's off, access recovery options like we did before (by pressing the button until it shows you loading...)

Little reminder on how to access the terminal then your usb key from here:

recoveryOptions

Once you boot into this, follow steps if necessary, then plug your USB key prepared before. Also, make sure your keyboard is the correct one (top right, you can select it).

Now, you need to access the Terminal.

You can do so by looking at the bar at the top and going to Utilities>Terminal.

Once there, you'll need to naviguate to your USB key.

cd /Volumes/ should bring you right to the mounted volumes (where your usb key sits, holy moly). Right here, you can do a ls to see if your usb key is there. If so, cd <yourUsbKeyName>. Make sure you don't write the <>.

Once in your USB key, do the following;

chmod +x inRecoveryScriptSecond.sh && ./inRecoveryScriptSecond.sh

You can now reboot your Mac again once it told you to do so.

 > Reboot (or Restart, whatever it's called)

Now, once the Mac is rebooted, connect (type the password) to the user you created before.

Follow the instructions like if you would be configuring a normal Mac (you can connect your iCloud, etc...)

When you are done and are on your desktop, we need to run one more thing and you should be good to go !

  1. Open a Terminal (⌘command+Space then type Terminal then enter)
  2. cd /Volumes/ should bring you right to the mounted volumes (where your usb key sits, holy moly).

Right here, you can do a ls to see if your usb key is there. If so, cd <yourUsbKeyName>. Make sure you don't write the <>.

  1. Run the following :
chmod +x PostSetup.sh && ./PostSetup.sh

This should ask two times for your user password (not root but your user password) and you should be good to go !

Bonus:

You might want to download LuLu by https://objective-see.org/products/lulu.html and block add Block rules for the following: /usr/libexec/teslad and /usr/libexec/mdmclient IF YOU ARE COMING FROM MY OTHER TUTORIAL IN FRENCH, DONT DO THAT.

# inRecoveryScriptFirst.sh
# v0.1a - Constantin Clerc
# This script only works if the recovery mode has been unlocked using a DFU restore.
# Define root password; wait for user input.
dscl -f /Volumes/Data/private/var/db/dslocal/nodes/Default localhost -passwd /Local/Default/Users/root
# We block MDM servers
echo "0.0.0.0 iprofiles.apple.com" >> "/Volumes/Macintosh HD/etc/hosts"
echo "0.0.0.0 mdmenrollment.apple.com" >> "/Volumes/Macintosh HD/etc/hosts"
echo "0.0.0.0 deviceenrollment.apple.com" >> "/Volumes/Macintosh HD/etc/hosts"
echo "0.0.0.0 gdmf.apple.com" >> "/Volumes/Macintosh HD/etc/hosts"
echo "0.0.0.0 acmdm.apple.com" >> "/Volumes/Macintosh HD/etc/hosts"
echo "0.0.0.0 albert.apple.com" >> "/Volumes/Macintosh HD/etc/hosts"
echo Done. Reboot Mac now.
# inRecoveryScriptSecond.sh
# v0.1a - Constantin Clerc
# This script only works if the recovery mode has been unlocked using a DFU restore.
# This requires that an Administrator account have been created.
touch /Volumes/Data/private/var/db/.AppleSetupDone
rm /Volumes/Data/private/var/db/ConfigurationProfiles/Settings/.cloudConfigHasActivationRecord
rm /Volumes/Data/private/var/db/ConfigurationProfiles/Settings/.cloudConfigRecordFound
touch /Volumes/Data/private/var/db/ConfigurationProfiles/Settings/.cloudConfigProfileInstalled
touch /Volumes/Data/private/var/db/ConfigurationProfiles/Settings/.cloudConfigRecordNotFound
echo Done. Reboot your Mac now.
# PostSetup.sh
# v0.1a - Constantin Clerc
echo Disabling root... this will ask for your user password
dsenableroot -d
echo Listing hosts, this should ask for your user password \(again\)
sudo cat /etc/hosts
sudo launchctl disable system/com.apple.devicemanagementclient.teslad
sudo launchctl disable gui/501/com.apple.mdmclient.agent
sudo launchctl disable system/com.apple.ManagedClient.enroll
echo Done, close the Terminal using Cmd + Q and enjoy!
echo This was made by c22dev
@wanrain56
Copy link

Hello, great job, but what is the difference between this and the previous integrated code bypass? (skipmdm); Can you make a video to demonstrate it?

@c22dev
Copy link
Author

c22dev commented Apr 14, 2024

Hello, great job, but what is the difference between this and the previous integrated code bypass? (skipmdm); Can you make a video to demonstrate it?

Hi there,
skipmdm never worked for me, so this is an alternative.
skipmdm doesn't work properly on a clean install, for instance.

This does!

Regarding the video, I'll try doing one soon.

@wanrain56
Copy link

Thanks for your reply, it seems that you did not use these popular lines of code. Is your test also completely normal?You may have invented a new method of shielding in Sonoma.
sudo rm /var/db/ConfigurationProfiles/Settings/.cloudConfigHasActivationRecord
sudo rm /var/db/ConfigurationProfiles/Settings/.cloudConfigRecordFound
sudo touch /var/db/ConfigurationProfiles/Settings/.cloudConfigProfileInstalled
sudo touch /var/db/ConfigurationProfiles/Settings/.cloudConfigRecordNotFound.

Also, I'm not sure what you mean by USB key, is this something that must be used?

@ehsan58
Copy link

ehsan58 commented Apr 15, 2024

nice work

@c22dev
Copy link
Author

c22dev commented Apr 15, 2024

Is your test also completely normal?

Not sure I understood that correctly.
I tried again on my machine just to test by following only my Gist, and it worked without any issue if that's what you meant (MBAir M2 2022)

sudo rm /var/db/ConfigurationProfiles/Settings/.cloudConfigHasActivationRecord sudo rm /var/db/ConfigurationProfiles/Settings/.cloudConfigRecordFound sudo touch /var/db/ConfigurationProfiles/Settings/.cloudConfigProfileInstalled sudo touch /var/db/ConfigurationProfiles/Settings/.cloudConfigRecordNotFound.

Yep, saw this on the thread ! Only useful if you unblock Apple's MDM servers. If you don't, those will never get on your machine (as we do a clean wipe beforehand). And for the file you create using touch, I don't have them and my Mac works well even without them, but it could be a good idea to add those.

Also, I'm not sure what you mean by USB key, is this something that must be used?

I use the USB key (aka USB pen drive) to quickly use the scripts I provided, but you can totally write commands contained in the scripts by hand.
An USB key is more easier to access from recovery mode.

Thanks !

@wanrain56
Copy link

Okay, looking forward to your video tutorial, and also hoping that your method will continue to work on the macOS 15 system released at WWDC in June.

@c22dev
Copy link
Author

c22dev commented Apr 15, 2024

also hoping that your method will continue to work on the macOS 15 system released at WWDC in June.

Well, I’ll be the first to test, not in beta 1 but once it gets more stable !

btw, why do you need a video tutorial ? Those easily get deprecated and can be misleading in my opinion

@rshutt
Copy link

rshutt commented Apr 24, 2024

I will confirm, this totally worked on a greenfielded fresh install. Does that bit that adds the ProfileInstalled and RecordNotFound dotfiles actually allow me to revert /etc/hosts back to original? And wasn't there once upon a time, changes that needed to be done after disabling System Integrity Protection and then re-enabling it which would break some of the most "Applesque" apps like Apple Pay?

@c22dev
Copy link
Author

c22dev commented Apr 25, 2024

You can totally revert your hosts file to original to whatever you want.
I've been using my Mac for 2-3 weeks now with this method and I didn't see any problem, Apple Pay works fine.

@c22dev
Copy link
Author

c22dev commented Apr 26, 2024

Update to a few scripts: added some things to prevent from the Enroll pop-up (based on friend experience).

@wanrain56
Copy link

Update to a few scripts: added some things to prevent from the Enroll pop-up (based on friend experience).

gdmf.Apple.com may cause failure to update as well as multi-device interaction

@c22dev
Copy link
Author

c22dev commented Apr 29, 2024

Update to a few scripts: added some things to prevent from the Enroll pop-up (based on friend experience).

gdmf.Apple.com may cause failure to update as well as multi-device interaction

Thanks for the info, appreciate it.
The thing is that my friend got the enrollment pop-up with this unblocked. I might change it, idk.
I'll try with it for a few weeks and tell if it changes something.
If someone can test upgrading it would also be great.

Sign up for free to join this conversation on GitHub. Already have an account? Sign in to comment