本文先完全按照官方教程跑通一个合成流程,然后尝试在中文上进行合成。
虽然官方提供了一键安装方法:./scripts/setup_tools.sh $HTK_USERNAME $HTK_PASSWORD,但在我们的尝试中,未能成功。
以下是Debug过程
直接运行出现的错误为:
make[2]: Entering directory '/root/workspace/Projects/Ossian/tools/downloads/SPTK-3.6/bin/delta'
clang -DPACKAGE_NAME=\"SPTK\" -DPACKAGE_TARNAME=\"sptk\" -DPACKAGE_VERSION=\"3.6\" -DPACKAGE_STRING=\"SPTK\ 3.6\" -DPACKAGE_BUGREPORT=\"http://sourceforge.net/projects/sp-tk/\" -DHAVE_LIBM=1 -DX_DISPLAY_MISSING=1 -DSTDC_HEADERS=1 -DHAVE_SYS_TYPES_H=1 -DHAVE_SYS_STAT_H=1 -DHAVE_STDLIB_H=1 -DHAVE_STRING_H=1 -DHAVE_MEMORY_H=1 -DHAVE_STRINGS_H=1 -DHAVE_INTTYPES_H=1 -DHAVE_STDINT_H=1 -DHAVE_UNISTD_H=1 -DHAVE_FCNTL_H=1 -DHAVE_LIMITS_H=1 -DHAVE_STDLIB_H=1 -DHAVE_STRING_H=1 -DHAVE_STRINGS_H=1 -DHAVE_SYS_IOCTL_H=1 -DHAVE_STDLIB_H=1 -DHAVE_MALLOC=1 -DHAVE_BZERO=1 -DHAVE_MEMSET=1 -DHAVE_STRRCHR=1 -DHAVE_RINDEX=1 -DFORMAT=\"float\" -DLINUX=1 -I. -I../../include    -g -O2 -MT delta.o -MD -MP -MF .deps/delta.Tpo -c -o delta.o delta.c
/bin/bash: clang: command not found
Makefile:239: recipe for target 'delta.o' failed
make[2]: *** [delta.o] Error 127
make[2]: Leaving directory '/root/workspace/Projects/Ossian/tools/downloads/SPTK-3.6/bin/delta'
Makefile:317: recipe for target 'install-recursive' failed
make[1]: *** [install-recursive] Error 1
make[1]: Leaving directory '/root/workspace/Projects/Ossian/tools/downloads/SPTK-3.6/bin'
Makefile:268: recipe for target 'install-recursive' failed
make: *** [install-recursive] Error 1
猜测可能是clang没有安装,安装apt-get install clang。问题解决。
如果没有root权限安装clang,可以执行下面操作:
先安装Cmake
wget https://cmake.org/files/v3.9/cmake-3.9.1.tar.gz
tar -xf cmake*.tar.gz
cd cmake*
./configure --prefix=$HOME
make
make install
再安装Clang,参考:https://clang.llvm.org/get_started.html
# Check out Clang:
cd llvm/tools
# svn co http://llvm.org/svn/llvm-project/cfe/trunk clang
cd ../..
# Check out extra Clang tools: (optional)
cd llvm/tools/clang/tools
svn co http://llvm.org/svn/llvm-project/clang-tools-extra/trunk extra
cd ../../../..
# Check out Compiler-RT (optional):
cd llvm/projects
svn co http://llvm.org/svn/llvm-project/compiler-rt/trunk compiler-rt
cd ../..
# Check out libcxx: (only required to build and run Compiler-RT tests on OS X, optional otherwise)
cd llvm/projects
svn co http://llvm.org/svn/llvm-project/libcxx/trunk libcxx
cd ../..
# Build LLVM and Clang:
mkdir build (in-tree build is not supported)
cd build
cmake -G "Unix Makefiles" ../llvm
make
# This builds both LLVM and Clang for debug mode.
# Note: For subsequent Clang development, you can just run make clang.
# CMake allows you to generate project files for several IDEs: Xcode, Eclipse CDT4, CodeBlocks, Qt-Creator (use the CodeBlocks
# generator), KDevelop3. For more details see Building LLVM with CMake page.
最后设置使用clang编译SPTK:
将setup_tools.sh中的第104行:
sed 's/CC = gcc/CC = clang/' ./bin/delta/Makefile.BAK > ./bin/delta/Makefile ## (see http://sourceforge.net/p/sp-tk/bugs/68/)
更改为:
sed 's#CC = gcc#CC = /home/dl80/heyunchao/Install_Programs/build/bin/clang#' ./bin/delta/Makefile.BAK > ./bin/delta/Makefile ## (see http://sourceforge.net/p/sp-tk/bugs/68/)
如果遇到下面问题:
Intel MKL FATAL ERROR: Cannot load libmkl_avx2.so or libmkl_def.so.
解决方法:
conda install nomkl numpy scipy scikit-learn numexpr
conda remove mkl mkl-service
- 环境变量设置:
export OSSIAN=/root/workspace/Projects/Ossian
- 数据准备
cd $OSSIAN/data
# 下载数据
wget https://www.dropbox.com/s/uaz1ue2dked8fan/romanian_toy_demo_corpus_for_ossian.tar?dl=0
# 备用地址:https://cnbj1.fds.api.xiaomi.com/tts/Important_files/romanian_toy_demo_corpus_for_ossian.tar

# 解压
cd $OSSIAN/  ## voice will unpack relative to this location
tar xvf ./data/romanian_toy_demo_corpus_for_ossian.tar
产生的corpus文件夹目录结构如下:
corpus/
`-- rm
    |-- speakers
    |   `-- rss_toy_demo
    `-- text_corpora
        `-- wikipedia_10K_words
我们需要将刚下载的数据放到合适的文件夹内
- 确保将要使用的目录不存在
rm -r $OSSIAN/train/rm/speakers/rss_toy_demo/naive_01_nn/ $OSSIAN/voices/rm/rss_toy_demo/naive_01_nn/
- 开始训练
source ~/anaconda3/bin/activate python2
cd $OSSIAN
python ./scripts/train.py -s rss_toy_demo -l rm naive_01_nn
此步骤报错,报错信息为:
Cannot load NN model from model_dir: /root/workspace/Projects/Ossian/train//rm/speakers/rss_toy_demo/naive_01_nn/processors/duration_predictor -- not trained yet
Cannot load NN model from model_dir: /root/workspace/Projects/Ossian/train//rm/speakers/rss_toy_demo/naive_01_nn/processors/acoustic_predictor -- not trained yet
...
Step 1 in script /root/workspace/Projects/Ossian//scripts/acoustic_model_training/subrecipes/script/standard_alignment.sh failed, aborted!
...
set_up_data.py: No matching data files found in /root/workspace/Projects/Ossian/train//rm/speakers/rss_toy_demo/naive_01_nn/align_lab and /root/workspace/Projects/Ossian/train//rm/speakers/rss_toy_demo/naive_01_nn/cmp
Aligner training failed
下面是Debug过程
定位到程序出错行,发现是因为下面语句执行时出错:
/root/workspace/Projects/Ossian//scripts/acoustic_model_training/subrecipes/script/standard_alignment.sh /root/workspace/Projects/Ossian/train//rm/speakers/rss_toy_demo/naive_01_nn/cmp /root/workspace/Projects/Ossian/train//rm/speakers/rss_toy_demo/naive_01_nn/align_lab /root/workspace/Projects/Ossian//tools/bin/ /root/workspace/Projects/Ossian/train//rm/speakers/rss_toy_demo/naive_01_nn/processors/aligner/training /root/workspace/Projects/Ossian/train//rm/speakers/rss_toy_demo/naive_01_nn/processors/aligner/training/train.cfg | tee /root/workspace/Projects/Ossian/train//rm/speakers/rss_toy_demo/naive_01_nn/processors/aligner/training/log.txt | grep 'Aligner training'
单独执行,可再现错误。
进入standard_alignment.sh,可以发现引起失败的原因是执行下面语句时失败:
python $STEPS/set_up_data.py -labdir $LABDIR -cmpdir $CMPDIR -outdir $OUT/${STEPNUM} -bindir $BIN
即:
python /root/workspace/Projects/Ossian/scripts/acoustic_model_training/steps//set_up_data.py \
-labdir /root/workspace/Projects/Ossian/train//rm/speakers/rss_toy_demo/naive_01_nn/align_lab \
-cmpdir /root/workspace/Projects/Ossian/train//rm/speakers/rss_toy_demo/naive_01_nn/cmp \
-outdir /root/workspace/Projects/Ossian/train//rm/speakers/rss_toy_demo/naive_01_nn/processors/aligner/training/1 \
-bindir /root/workspace/Projects/Ossian//tools/bin/进入此文件调试,可以发现报错的原因是intersect == [],而因此错误原因是opts.cmpdir文件夹下不存在*.cmp结尾的文件。
>: ll /root/workspace/Projects/Ossian/train//rm/speakers/rss_toy_demo/naive_01_nn/cmp/*.cmp
>: ls: cannot access '/root/workspace/Projects/Ossian/train//rm/speakers/rss_toy_demo/naive_01_nn/cmp/*.cmp': No such file or directory
因此我们需要弄清楚这些*.cmp文件为什么没有产生。
此问题已反馈到官方Github Issues页面,见:cmp files not genereted #1。
最终在@oliverwatts 帮助下,解决了。问题是安装环境时HTK没有安装好,其用户名并不是邮箱,而是自己设置的一个。
注意,在此之前需要按照PR稍作修改代码: 去掉&。
- 训练时长模型
仅仅使用CPU
cd $OSSIAN
export THEANO_FLAGS=""; python ./tools/merlin/src/run_merlin.py $OSSIAN/train/rm/speakers/rss_toy_demo/naive_01_nn/processors/duration_predictor/config.cfg
或者,也可以使用GPU
./scripts/util/submit.sh ./tools/merlin/src/run_merlin.py $OSSIAN/train/rm/speakers/rss_toy_demo/naive_01_nn/processors/duration_predictor/config.cfg
- 导出模型 将步骤5中训练好的模型导出成Ossian便于读取的格式:
python ./scripts/util/store_merlin_model.py $OSSIAN/train/rm/speakers/rss_toy_demo/naive_01_nn/processors/duration_predictor/config.cfg $OSSIAN/voices/rm/rss_toy_demo/naive_01_nn/processors/duration_predictor
- 训练声学模型
与时长模型训练类似:
cd $OSSIAN
export THEANO_FLAGS=""; python ./tools/merlin/src/run_merlin.py $OSSIAN/train/rm/speakers/rss_toy_demo/naive_01_nn/processors/acoustic_predictor/config.cfg
对应GPU运行方式:
./scripts/util/submit.sh ./tools/merlin/src/run_merlin.py $OSSIAN/train/rm/speakers/rss_toy_demo/naive_01_nn/processors/acoustic_predictor/config.cfg
- 导出模型 和步骤6类似:
python ./scripts/util/store_merlin_model.py $OSSIAN/train/rm/speakers/rss_toy_demo/naive_01_nn/processors/acoustic_predictor/config.cfg $OSSIAN/voices/rm/rss_toy_demo/naive_01_nn/processors/acoustic_predictor
- 测试:合成声音
使用训好的模型合成声音:
mkdir $OSSIAN/test/wav/
python ./scripts/speak.py -l rm -s rss_toy_demo -o ./test/wav/romanian_toy_HTS.wav naive_01_nn ./test/txt/romanian.txt
按照数据格式,生成相应数据。类似上面的步骤,依次执行即可。
步骤如下:
source ~/anaconda3/bin/activate python2

export OSSIAN=/home/dl80/heyunchao/Programs/Ossian
export OSSIAN_LANG=cn
export DATA_NAME=cn_king
export RECIPE=naive_01_nn

# 清除历史目录,重新开始
rm -r $OSSIAN/train/$OSSIAN_LANG/speakers/$DATA_NAME/$RECIPE/  $OSSIAN/voices/$OSSIAN_LANG/$DATA_NAME/$RECIPE/

cd $OSSIAN
# Prepare config
python ./scripts/train.py -s $DATA_NAME -l $OSSIAN_LANG $RECIPE
# Train duration model
export THEANO_FLAGS=""; python ./tools/merlin/src/run_merlin.py $OSSIAN/train/$OSSIAN_LANG/speakers/$DATA_NAME/$RECIPE/processors/duration_predictor/config.cfg
# Export Merlin duration model
python ./scripts/util/store_merlin_model.py $OSSIAN/train/$OSSIAN_LANG/speakers/$DATA_NAME/$RECIPE/processors/duration_predictor/config.cfg $OSSIAN/voices/$OSSIAN_LANG/$DATA_NAME/$RECIPE/processors/duration_predictor
# Train acoustic model
export THEANO_FLAGS=""; python ./tools/merlin/src/run_merlin.py $OSSIAN/train/$OSSIAN_LANG/speakers/$DATA_NAME/$RECIPE/processors/acoustic_predictor/config.cfg
# Export Merlin acoustic model
python ./scripts/util/store_merlin_model.py $OSSIAN/train/$OSSIAN_LANG/speakers/$DATA_NAME/$RECIPE/processors/acoustic_predictor/config.cfg $OSSIAN/voices/$OSSIAN_LANG/$DATA_NAME/$RECIPE/processors/acoustic_predictor
# Test
mkdir -p $OSSIAN/test/wav/
python ./scripts/speak.py -l $OSSIAN_LANG -s $DATA_NAME -o ./test/wav/${OSSIAN_LANG}_${DATA_NAME}_test.wav $RECIPE ./test/txt/test.txt注意: 准备好训练数据后,可查看文本前端处理后,格式是否正确,路径如下:
cd $OSSIAN/train/$OSSIAN_LANG/speakers/$DATA_NAME/$RECIPE/utt/
# 这里面的utt文件,即为前端处理结构
vim <filename.utt>在真正训练时,默认配置文件模型较为简单,如果想更改模型结构、超参数等,可进行如下操作:
# 修改
vim train/$OSSIAN_LANG/speakers/$DATA_NAME/$RECIPE/processors/duration_predictor/config.cfg
vim train/$OSSIAN_LANG/speakers/$DATA_NAME/$RECIPE/processors/acoustic_predictor/config.cfg
# 覆盖
cp train/$OSSIAN_LANG/speakers/$DATA_NAME/$RECIPE/processors/duration_predictor/config.cfg voices/$OSSIAN_LANG/$DATA_NAME/$RECIPE/processors/duration_predictor/config.cfg
cp train/$OSSIAN_LANG/speakers/$DATA_NAME/$RECIPE/processors/acoustic_predictor/config.cfg voices/$OSSIAN_LANG/$DATA_NAME/$RECIPE/processors/acoustic_predictor/config.cfg- 如果出现文件不匹配,或不能打开某个文件之类问题,首先尝试删除
train和voices文件夹中的相应语言文件夹试试。 - 训练duration model过程中,出现的
WARNING: no silence found!,可以直接忽略,不影响。 - 使用GPU训练时可以先在python terminal中试试
import theano,看看能否出现类似Using gpu device 0: Tesla K80信息,如果没有出现,说明theano没有配置好。或者,在训练时出现了如下信息,也说明theano使用GPU没有配置好:
ERROR (theano.sandbox.cuda): nvcc compiler not found on $PATH. Check your nvcc installation and try again.
配置theano方法如下:
第一步,设置PATH:
export PATH="/usr/local/cuda/bin/:$PATH"
source ~/.bashrc
第二步,修改配置文件:
# 创建配置配置文件
vim ~/.theanorc
# 此文件内容如下
[global]
floatX = float32
device = gpu0

[cuda]
root = /usr/local/cuda      # 依据实际位置而定
第三步,检查是否成功:
nvcc --version      # 正常显示
import theano       # 正常显示GPU
- 如果在测试的时候出现了如下问题:
Traceback (most recent call last):
File "./scripts/speak.py", line 181, in <module>
main_work()
File "./scripts/speak.py", line 85, in main_work
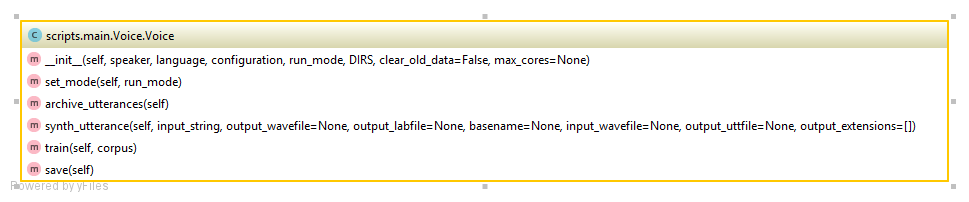
voice = Voice(opts.speaker, opts.lang, opts.config, opts.stage, dirs)
File "/home/dl80/heyunchao/Programs/Ossian/scripts/main/Voice.py", line 93, in __init__
execfile(load_from_file, self.config)
File "/home/dl80/heyunchao/Programs/Ossian/voices//rm/rss_toy_demo/naive_01_nn/voice.cfg", line 17, in <module>
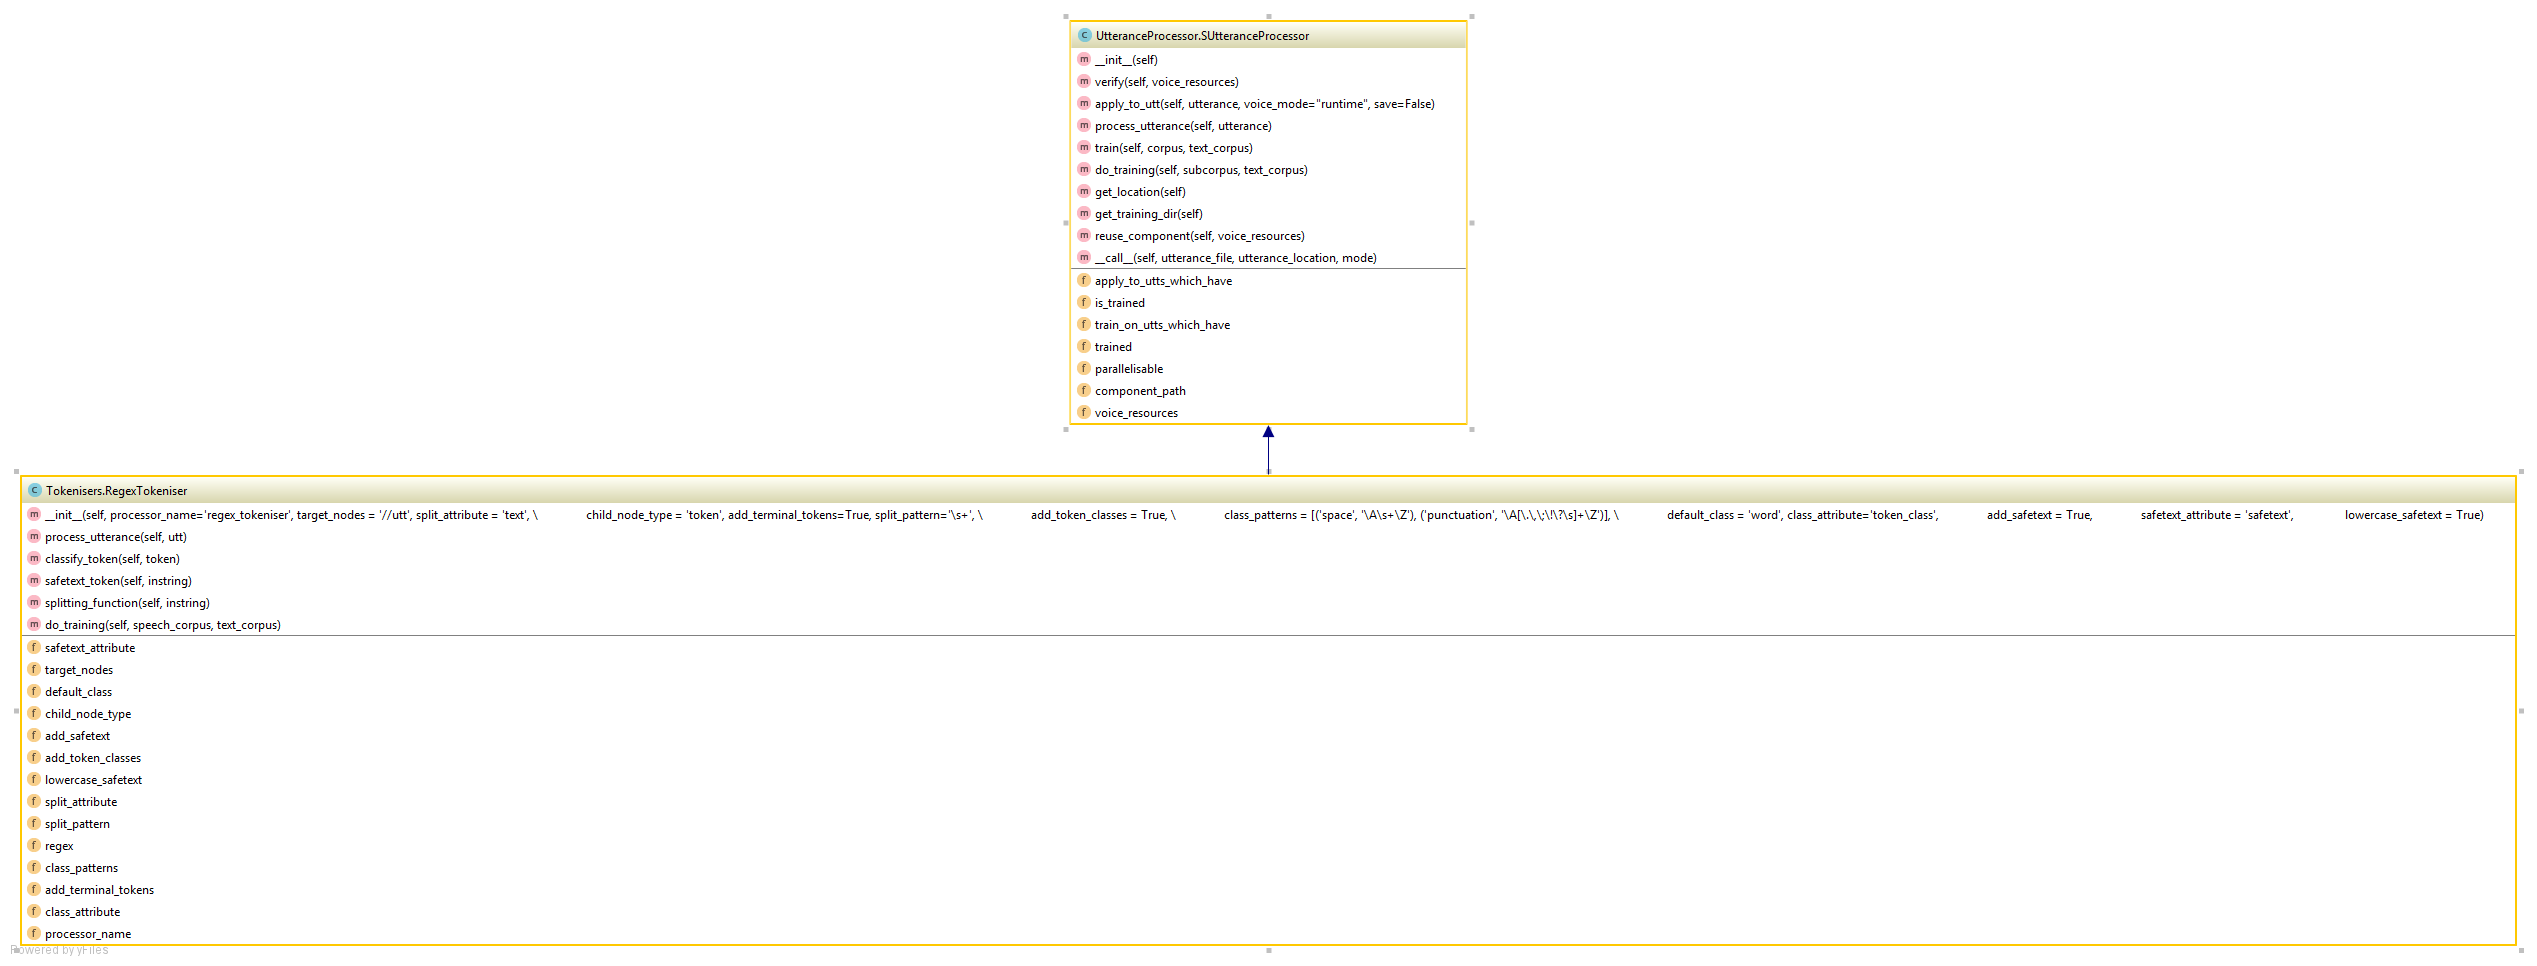
from Tokenisers import RegexTokeniser
ImportError: No module named Tokenisers
这是由于软连接所造成的,程序中通过:
os.path.realpath(os.path.abspath(os.path.dirname(inspect.getfile(inspect.currentframe()))))
来获得文件真实路径,会跳过软连接,而得到原始地址;需要的是软连接地址。
或许最简单的方式是,在真实voices所在路径,即voices软连接指向路径,上建立指向Ossian的软连接,具体如下所示:
现状:
-
为节省空间我们的存在
voices -> /home/dl54/heyunchao/workspace/Ossian_voice/软连接; -
Ossian程序文件真实路径为
/home/dl80/heyunchao/Programs/Ossian。
那么:
cd /home/dl54/heyunchao/workspace/Ossian_voice/$OSSIAN_LANG/$DATA_NAME
ln -s /home/dl80/heyunchao/Programs/Ossian/scripts/ .
解决方法二:【改代码】
将/home/dl80/heyunchao/Programs/Ossian/voices//$OSSIAN_LANG/$DATA_NAME/$RECIPE/voice.cfg中的:
current_dir = os.path.realpath(os.path.abspath(os.path.dirname(inspect.getfile(inspect.currentframe()))))
更改为:
current_dir = os.path.realpath(os.path.abspath(os.path.dirname(sys.argv[0])))
同时合成多句并上传致FDS:
i=0
ls ./test/txt/cn_* | while read line; do python ./scripts/speak.py -l $OSSIAN_LANG -s $DATA_NAME -o ./test/wav/${OSSIAN_LANG}_${DATA_NAME}_${i}.wav $RECIPE ${line}; i=$[i+1]; done
ls cn_cn_king_* | while read line; do fds -m put -b tts -o $line -d $line -e cnbj1.fds.api.xiaomi.com & done
你好,能介绍下用到的中文合成使用的语料cn_king吗