After a bunch of YouTube uploads I now think these two are the closest:
<iframe width="560" height="315" src="https://www.youtube.com/watch?v=okDg09us28U?rel=0" frameborder="0" allow="accelerometer; autoplay; encrypted-media; gyroscope; picture-in-picture; modestbranding; showinfo=0" allowfullscreen></iframe>- Timeline Gamma is Rec.709 (Scene)
- Codec is h264 (much faster to upload and process)
- Render Color Space is "Same"
- Render Gamma is "Same"
- Data Levels at Auto or Full, output is identical
- Timeline Gamma is "Rec709 Gamma 2.2"
- Codec is ProRes
- Render Color Space is "Same"
- Render Gamma is "Same"
- Data Levels at Auto
Both of them had the Saturation bumped from 50 to 65 after the initial grade was complete (Rob Custom/Redwood Tutorial LUT)
Although they both look nearly identical (h264 looks softer) the h264 version is much smaller and much faster to process the HD resolution (almost instantly after upload completed, in my tests). However I may still stick with ProRes on the upload because it's noticeably sharper.
Current thinking is to create two versions:
- ProRes master, everything on Same-Same, normal saturation levels
- Saturation bumped to 65 and h264 for YouTube upload
I was seeing loss of contrast and apparent desaturation when uploading a video to YouTube using the default render settings: https://youtu.be/511Cmn6Eq38
I was able to get the proper output on YouTube after much testing in the Deliver tab: https://youtu.be/9AL9jjyFqAk
According to this form post none of this may matter anyway, there are just too many video standards that no one seems to support properly: https://forum.blackmagicdesign.com/viewtopic.php?f=21&t=101253 I seem to be doing the right thing based on the initial post, but the followup comments are leaving me more and more hopeless. :(
If you don't care about the background of how I came to the settings, here's the TL;DR:
- Leave Timeline Color Space as the default setting: Rec709 Gamma 2.4
- In the Deliver workspace, go to the Custom tab
- Set Format to "QuickTime"
- Set Codec to "ProRes"
- Set Type to whatever compression level you like
- Open up Advanced Settings:
- Set Data Levels to "Full"
- Set Color Space Tag and Gamma Tag to "Rec.709"
I rendered my first project from Resolve 16.2 and was loving the look of my video in the Timeline view. I rendered a version to h264 for upload to YouTube. As soon as the video was available I noticed that the color looked washed out. Desaturated and loss of contrast.
I did a bunch of searching around the internet but couldn't really find a definitive answer. A lot of blame was put on the monitor, but I didn't think that was the issue. I also saw mentions of setting your Timeline Color Space to Rec.709 (Scene) instead of the default of Rec.709 Gamma 2.4. Another suggesting was setting Data Levels to "Full".
After outputing a couple of dozen variations on Timeline settings and Render options, I think I found a combination that produced the output I expected, and also looked correct after YouTube got done with its processing. My theory is that without a particular combination of settings the video was being squished to "legal" or "video" levels. Normally 8-bit values go from 0-255, which is what you're seeing when working in the Resolve viewports. However the standard in the video world says that values should only go from 16-235, which essentially "compresses" the available color values into a range that can more easily be handled by regular video displays.
Removing the darkest blacks and the lightest lights would lead to what I was seeing: a loss of contrast (and maybe the desaturation effect as well, as colors cannot be as pure as usual).
No matter what I tried, h264 always exhibited this low contrast look.
Here are the results of my test. These were screenshotted from a Mac preview window in Finder. Several message board posts (most of them were several years old) said that QuickTime does a horrible job of preserving gamma and that you can't trust any of the previews. However the preview I was seeing in Finder and what I was seeing from YouTube looked identical, so I'm going to trust them for now.
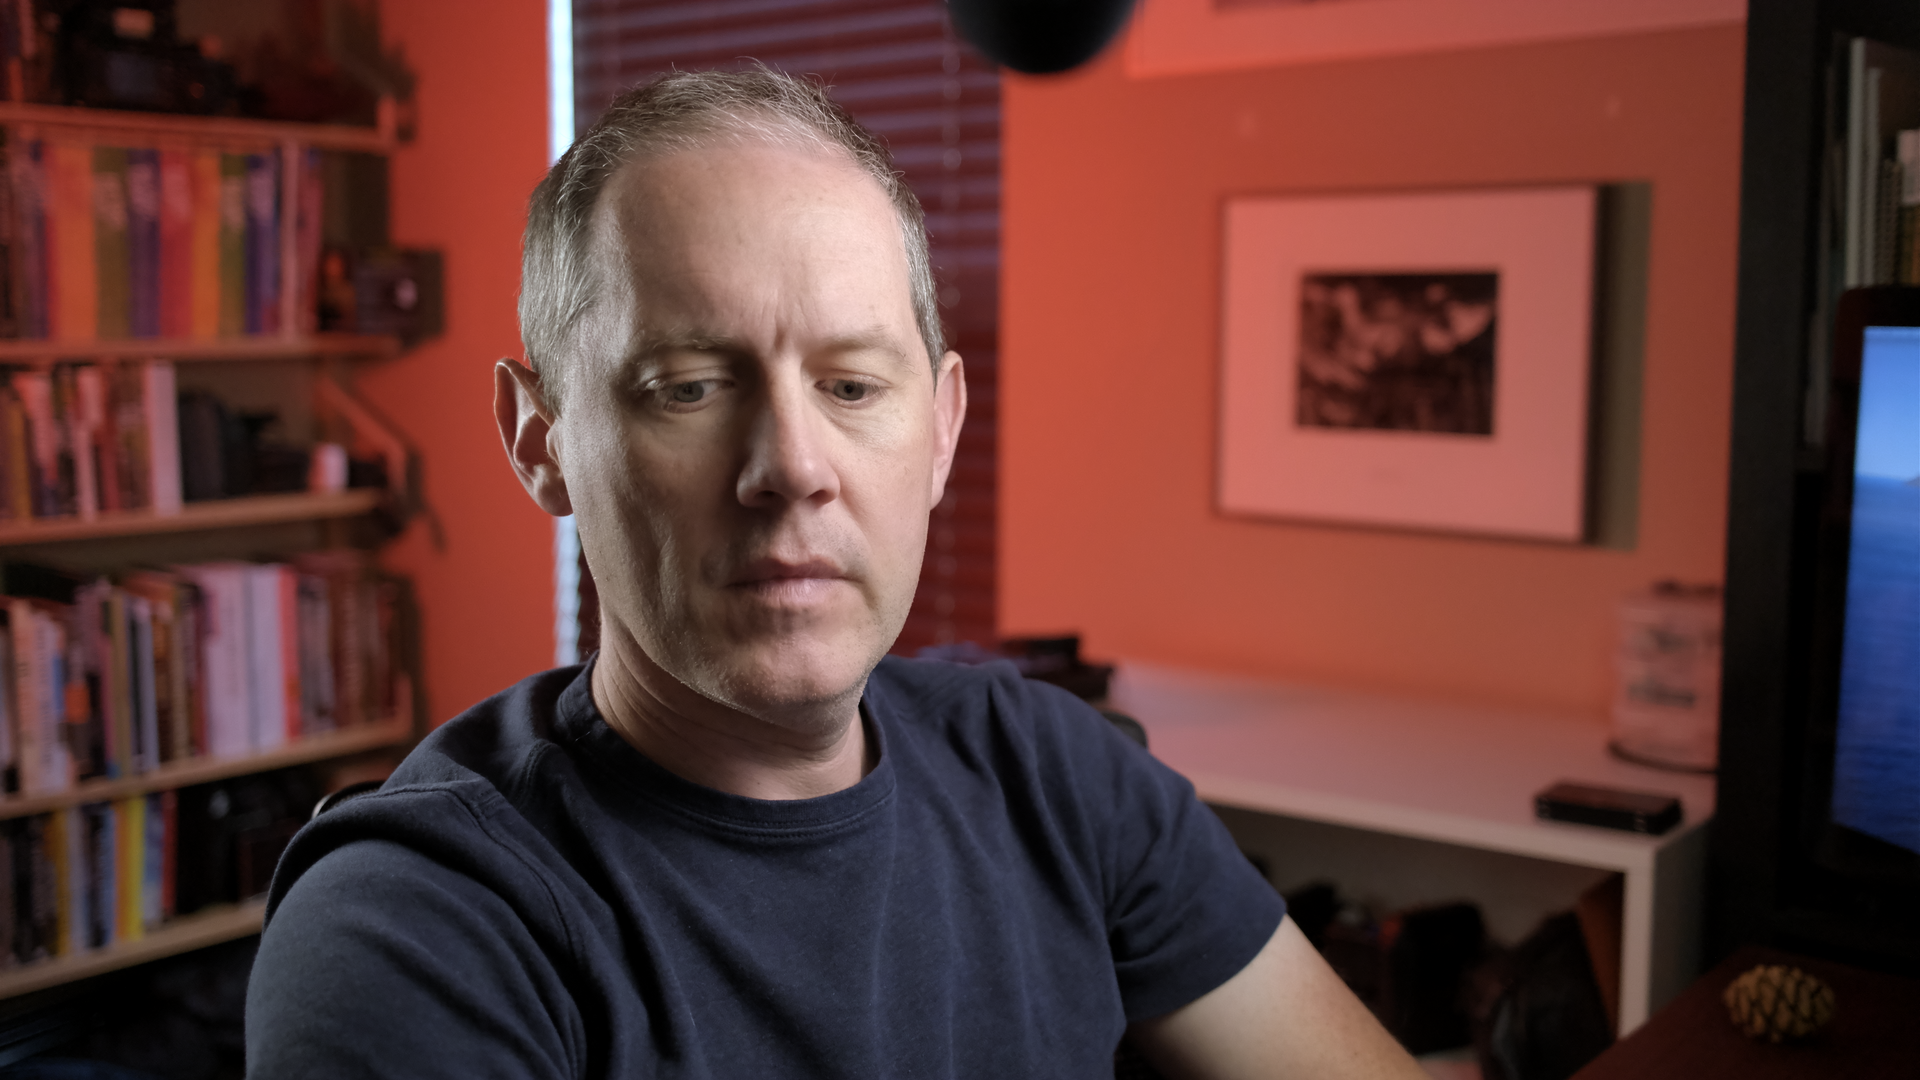
Davinci Resolve 16.2 timeline window reference (created a still in Color workspace and then exported to PNG):
| Timeline Color Space | Render Color Space | Data Levels | Codec | Result | Image |
|---|---|---|---|---|---|
| Rec709 Gamma 2.4 | Same | Auto | ProRes | Dark and desaturated |  |
| Rec709 Gamma 2.4 | Rec709 | Auto | ProRes | Desaturated |  |
| Rec709 Gamma 2.4 | Same | Full | ProRes | Very Dark |  |
| Rec709 Gamma 2.4 | Rec709 | Full | ProRes | Correct |  |
| Rec709 Gamma Rec709 (Scene) | Same | Auto | ProRes | Desaturated |  |
| Rec709 Gamma Rec709 (Scene) | Rec709 | Auto | ProRes | Desaturated |  |
| Rec709 Gamma Rec709 (Scene) | Same | Full | ProRes | Correct |  |
| Rec709 Gamma Rec709 (Scene) | Rec709 | Full | ProRes | Correct | 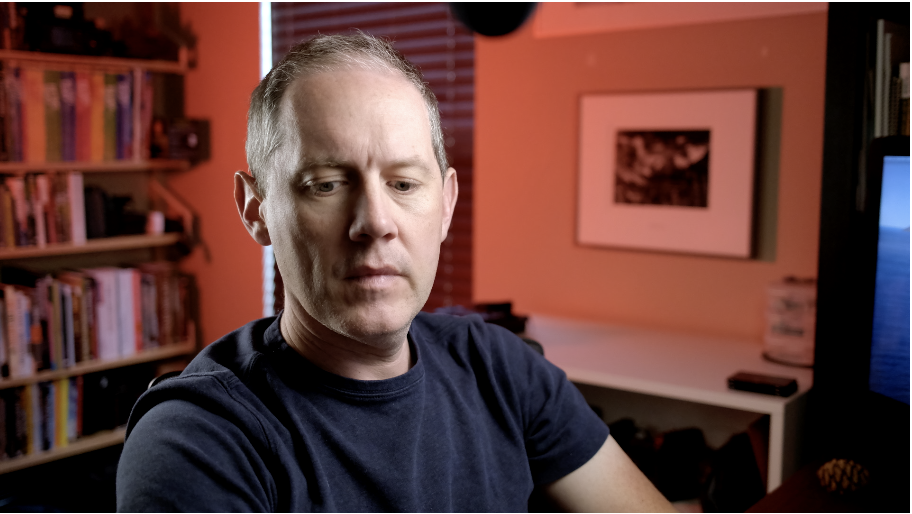 |
| Rec709 Gamma Rec709 (Scene) | Same | Full | h264 | Desaturated | 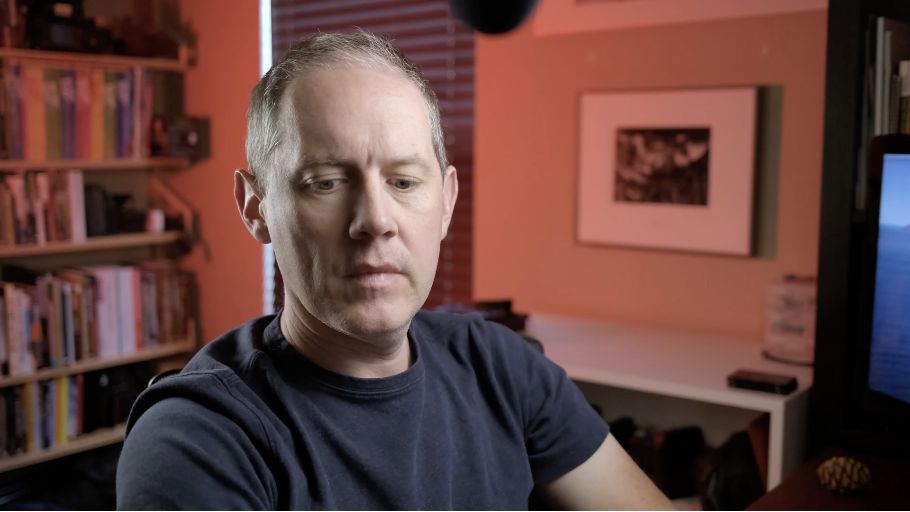 |