

-
Sign Up for Mongo Atlas - enter the email, password, first name, last name
-
Select >>> Starter Clusters (or Shared Clusters)
-
In the drop-down Cloud Provider & Region select:
- Europe Region
-
in the Cluster Tier select:
-
In the drop-down "Cluster Tier" make sure to select:
- M0 Sandbox - with the flag Free forever.
-
Click the button Create Cluster


In case you are in the US, Asia or Australia, chose the closest region.


-
In the sidebar in the SECURITY part:
- select -> Database Access
-
Click on + ADD NEW USER to create a new user
- Select Read and write to any database - User Privileges
- Set the Username and Password
- Set Database User Privileges to : Atlas admin
- Create New User
-
In the sidebar select SECURITY -> Network Access


- Click on + ADD IP ADDRESS
- Click on ALLOW ACCESS FROM ANYWHERE
- Confirm

- Connect To Your Cluster: Click on the gray button CONNECT
- Select Connect Your Application option
- Choose Your driver version: DRIVER: Node.js
- Copy the Connection String Only


- Update the connection string and add the username and password.
To create a new Heroku account, follow the link: https://signup.heroku.com/.
Open your Heroku Dashboard
-
Go to
dashboard.heroku.com/apps, and then select:New >>> Create new app >>> Choose region - Europe >>> Create app.
-
After you create the app, you should be redirected to the app's dashboard.
-
Select the Deploy section.

While in the server root directory, to login to heroku and create a new Dyno, run the following commands (also mentioned in the Deploy section) :
# Login to heroku from the terminal
heroku login
# Add heroku remote
heroku git:remote -a <name-of-the-newly-created-app>
# Check the remotes available
# Newly added `heroku` remote repository connection should be shown
git remote -v# Commit the most recent work on the development branch
git add .
git commit -m 'Write a clear meaningful commit message here'
git push origin <development-branch-name>
# Checkout to the master branch
git checkout master
# Merge (bring) updates from the development branch
git merge <development-branch-name>
git push heroku masterFor the sessions secret:
SESSION_SECRET=cookies-and-milkFor the newly created MongoDB database in the Atlas Cloud.
MONGODB_URI=<Mongo Atlas Conection String with username and password>
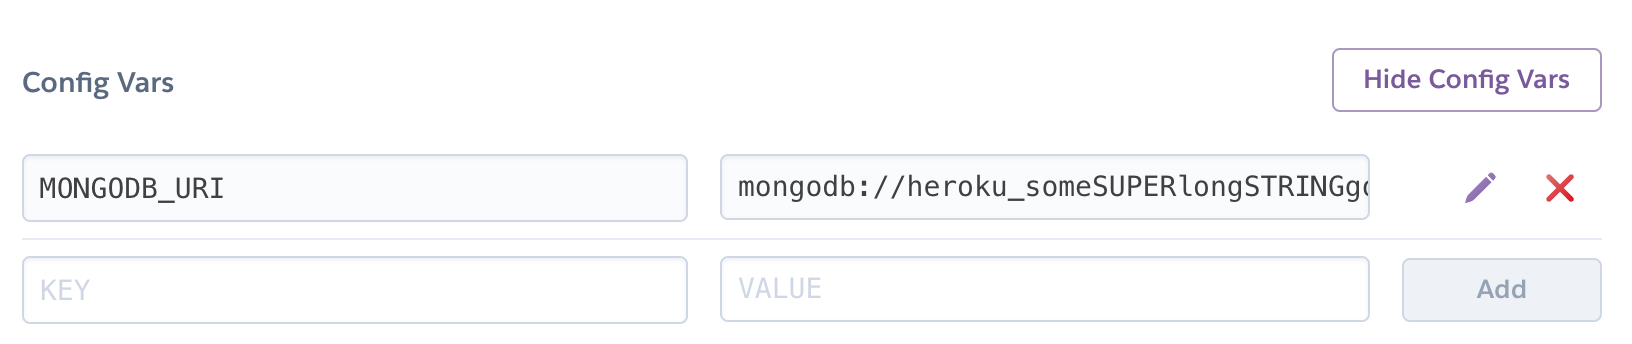
Double-check that the config variable MONGODB_URI was added properly in your Heroku app **Settings **:
Heroku app Dashboard >> Settings >> Config Vars >> Reveal Config Vars
-
In the Heroku app Dashboard go to >> Settings:
-
Click on the Reveal Config Vars
-
Create the new keys for the environment variables:
-
SESSION_SECRET -
MONGODB_URI- Set the value to be the previously copied Connection String from Mongo Atlas. Remember to add theusernameandpasswordto the Connection String you created in Mongo Atlas.
-
-
Make sure that
mongoose.connectURLs are update both in theapp.jsandbin/seed.js(if you are using a seed).
// 			app.js   	AND    bin/seed.js

//	...

require('dotenv').config();               //  <--- ADD


//	...

//		...


mongoose
  .connect(
    process.env.MONGODB_URI,            //  <--- UPDATE
    {useNewUrlParser: true}
	)
  .then((x) => console.log('Connected to the DB')
  .catch(err => console.error('Error while connecting to DB', err));


//	...
//		...
// ...-
Update the
package.jsonand specify the version of node:-
Run command
node --versionto get the version of Node.js installed:node --version
-
Add the
enginesconfig with thenodeversion to thepackage.json:"engines": { "node": "12.x" }
-
- After updating the
mongoose.connectconnection strings and adding thenodeversion make sure tocommitthe changes and push to remote on GitHub (origin) and Heroku (heroku)
git add .

git commit -m 'Update mongoose connection and add node version'

# Push the commit and update the version on GitHub
git push origin master

# Push the commit and update the deployed version on Heroku
git push heroku master


# Open the app in the browser (from terminal)
heroku openTo fetch your app’s most recent logs, use the heroku logs command:
heroku logsThe logs command retrieves 100 log lines by default.
You can specify the number of log lines to retrieve (up to a maximum of 1,500 lines) by using the --num (or -n) option.
heroku logs -n 200If there was an error during the deployment, you will be shown the following screen prompting you to run heroku logs --tail command:

Real-time tail displays recent logs and leaves the session open for real-time logs to stream in.
This command is used to troubleshoot any deployment errors when the deployed app is not working as expected.
heroku logs --tailWe can open the terminal instance on the Heroku container (dyno) in order to run custom scripts or see the files included in the instance.
# Open the terminal in the app dyno in Heroku
heroku run bash

# We may then run the seed file
node bin/seed.js