
In this document, you will find all the steps you should follow when working on the labs (in the prework and during the bootcamp).
The majority of time, you will have to start the process with forking. Just a quick reminder on what is the process of forking.
:::info Creating a “fork” is producing a personal copy of someone else’s project. Forks act as a sort of bridge between the original repository and your personal copy. ::: If you forked someone's project, you will be able to push your code (this is called making pull request, and we will be talking about it soon) so the owner of the original project can check it and if they find it useful, use it.
During your Ironhack journey, you have to fork each lab to be able to submit it. This way, your TAs, and instructors will be able to check your work and give you feedback.
All the examples will be related to your Ironhack journey, and they will point to the ironhack-labs GitHub organization.
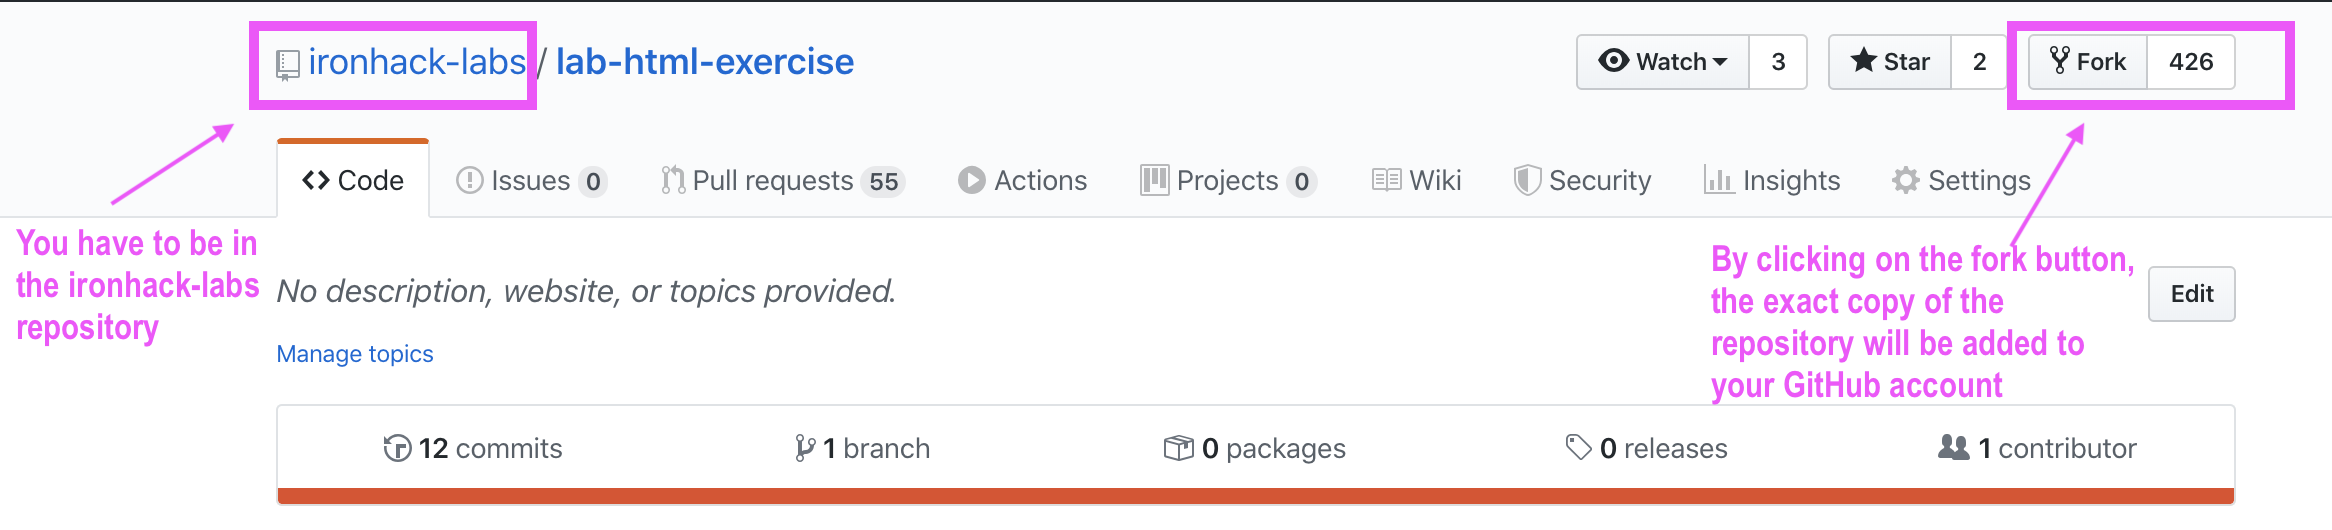
Navigate to the repository you want to fork. Let's take an example of the prework HTML exercise.
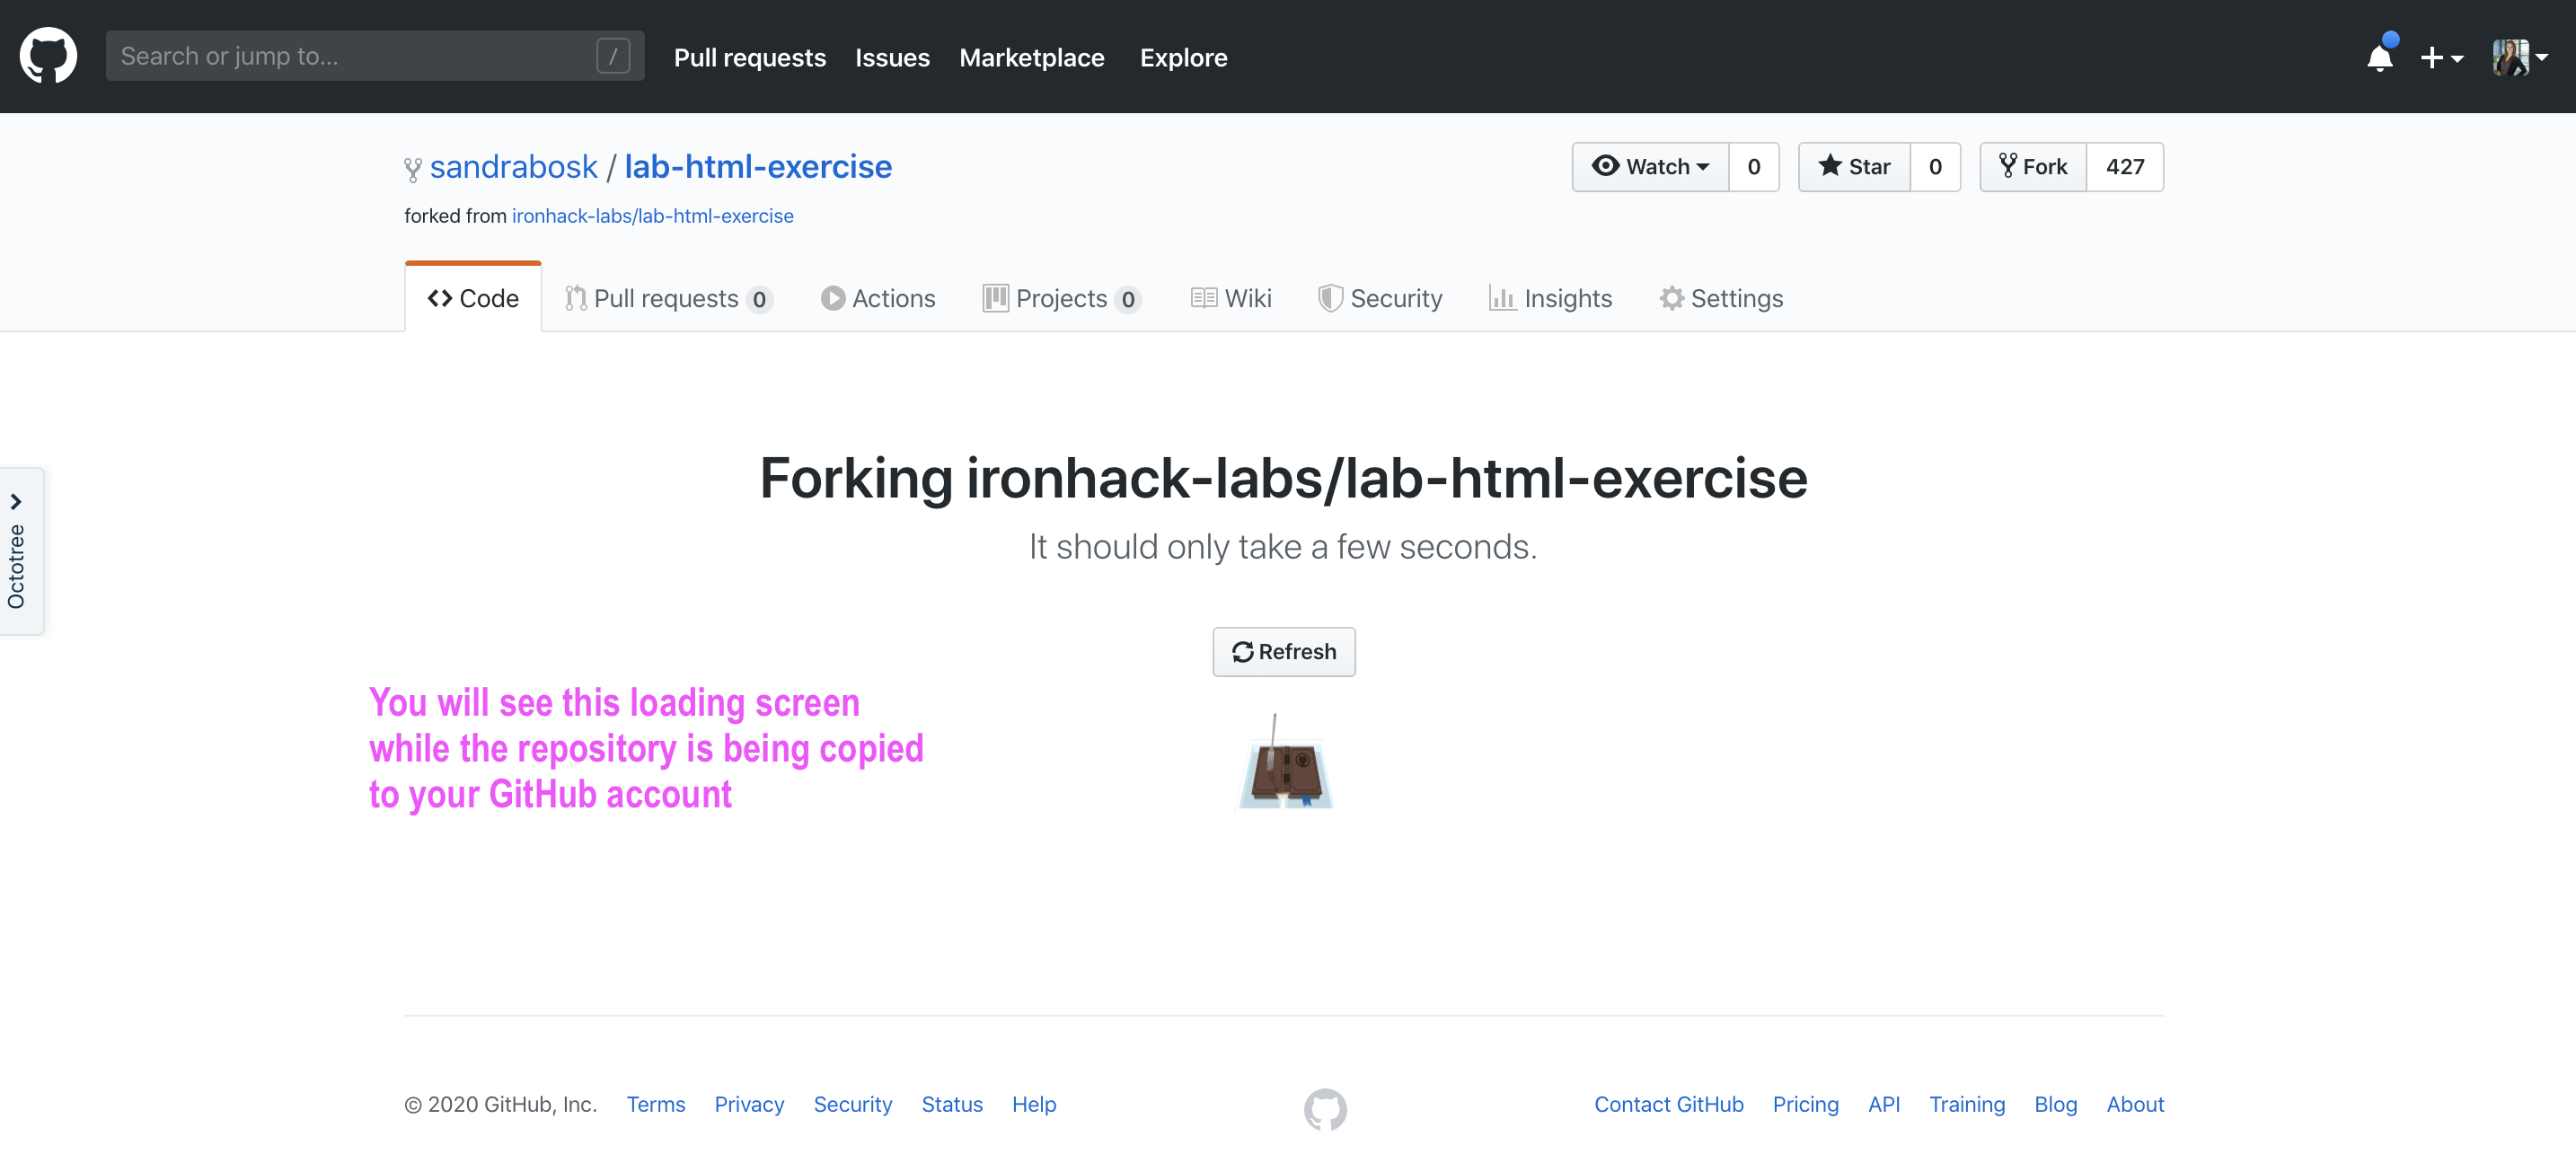
After clicking on the fork button, you will be presented with the loading screen that will most likely look like this:
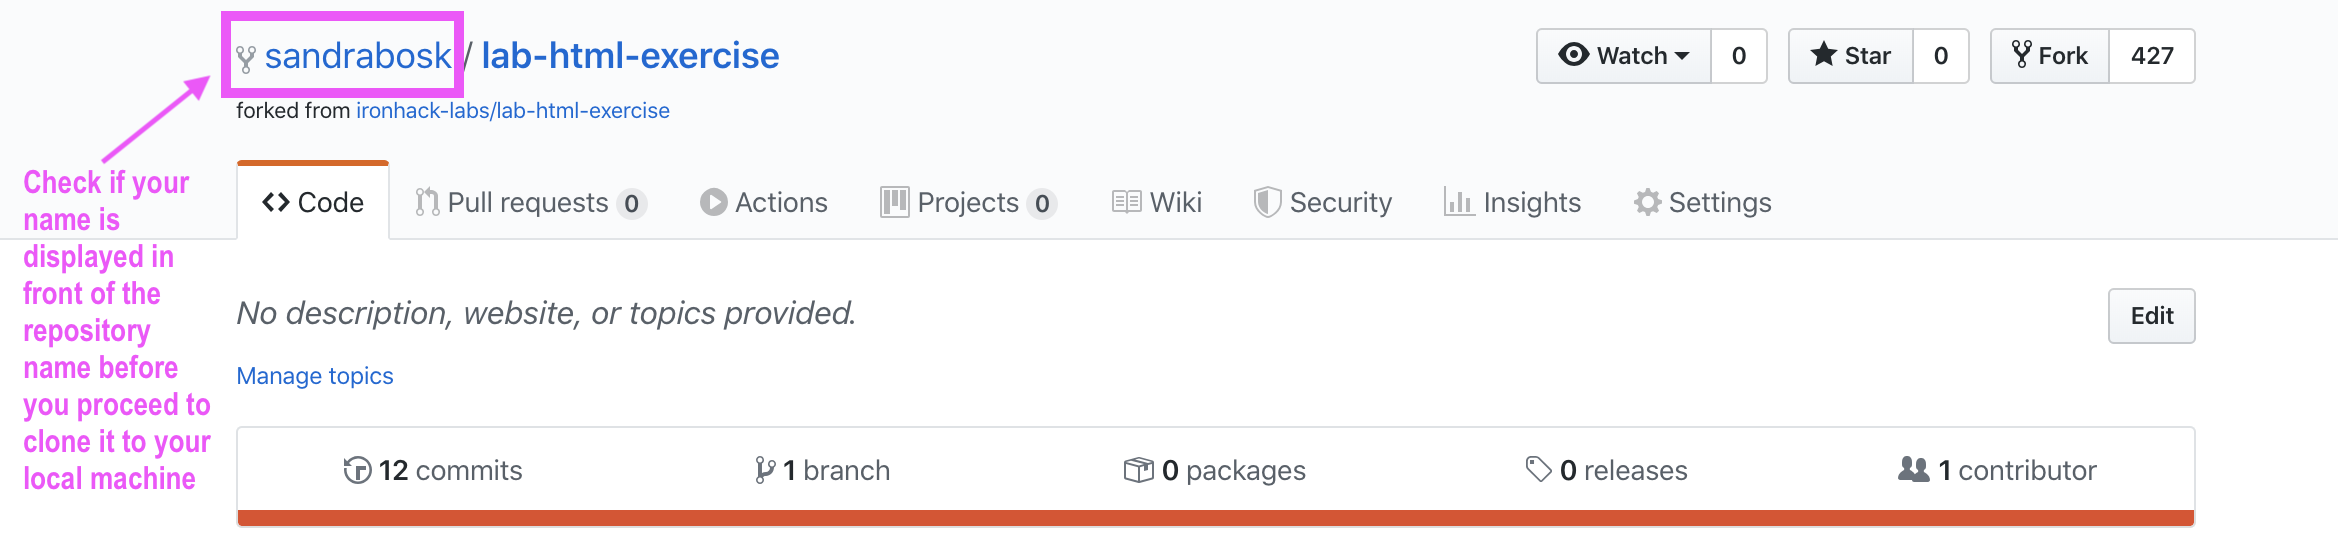
After the forking is done successfully, you will be redirected to the copied repository on your GitHub account.
We are done here with the forking process.
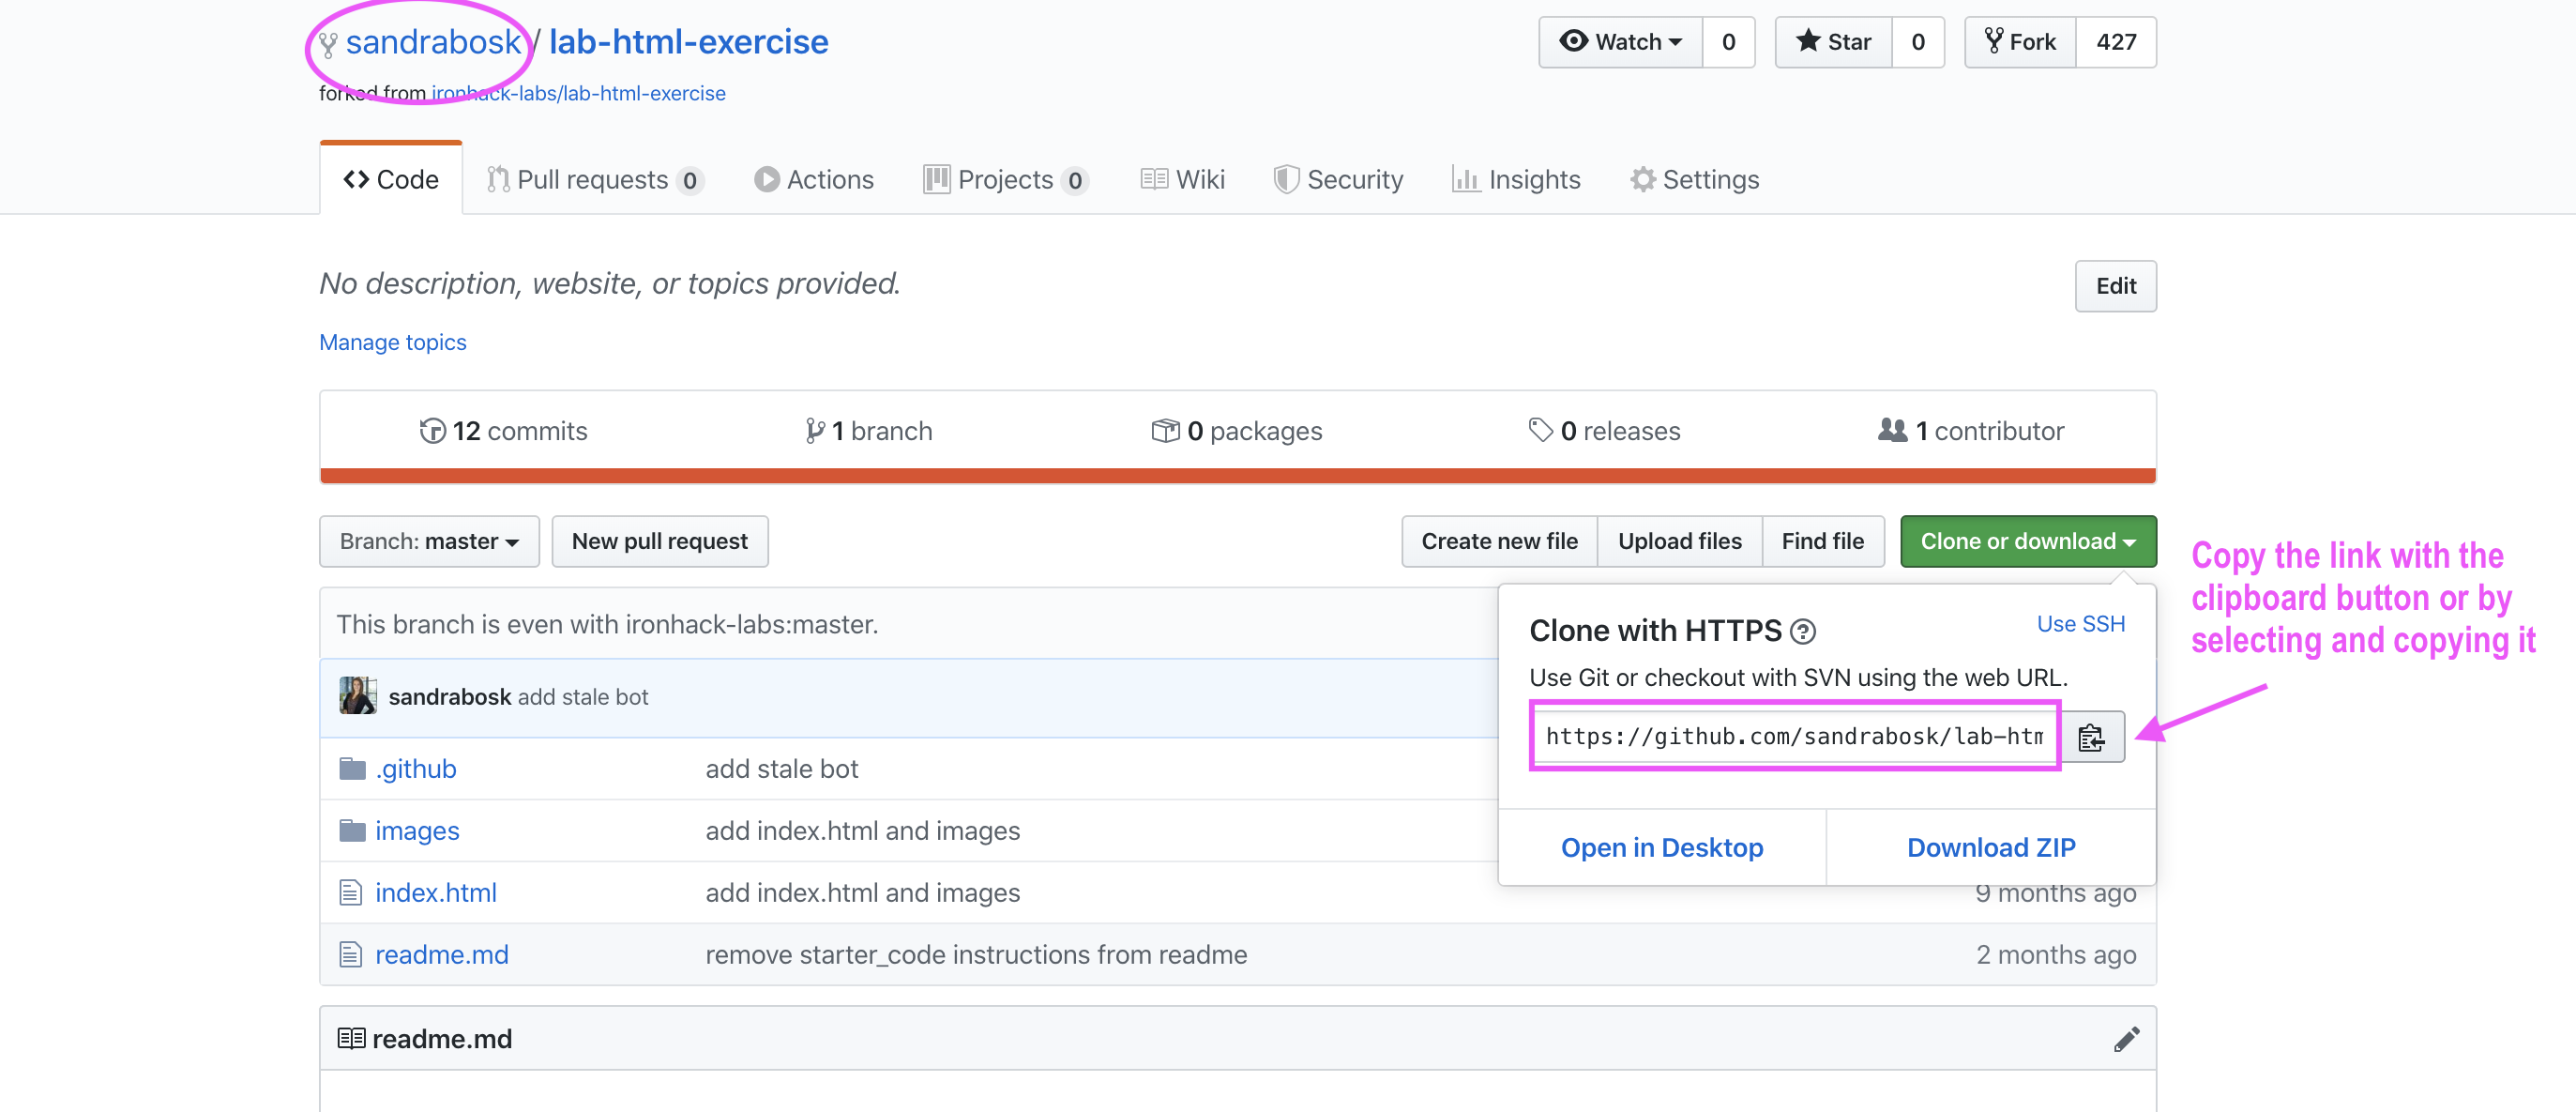
Now, on your GitHub account, you have access to the copied repository. This will be repository you will copy (clone) to your local machine, and that will be your working area.
- Click on the green ‘Clone or download’ button and copy the link by selecting and copying or by using the clipboard button.
- Open your terminal and navigate to the location where you want to store the local version of your repository.
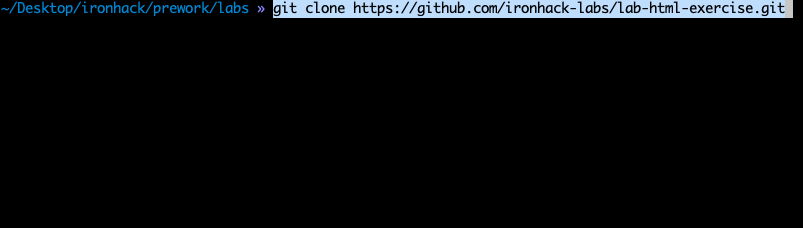
- When you navigated to the correct folder in your terminal run the following command:
$ git clone <paste url from the clipboard>Check the image below if you have any doubts:
- Once the cloning process is done, you see the following information in your terminal. And you can check that repository was successfully cloned from GitHub to your local machine by running
lscommand in your terminal:
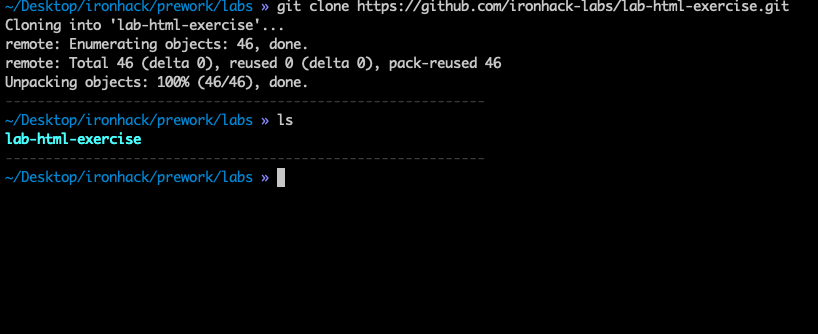
The cloning process is finished with this step. Now you can use the code to make changes before we proceed to the next step, which is pushing the changes to the forked repository on your GitHub.
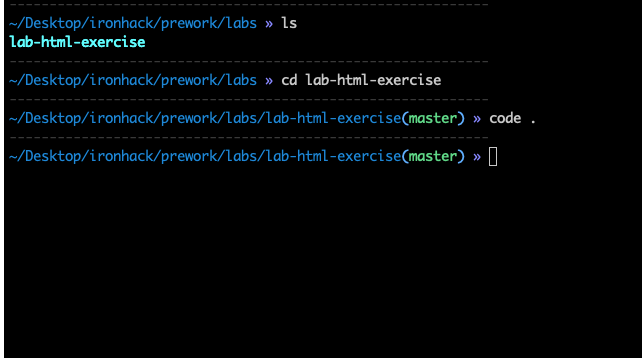
Before you open the project, you have to navigate into the cloned folder because that’s where git is initialized:
$ cd <name of cloned folder >To open the project in VS Code, you have to run the following command when you already navigated to the folder:
$ code .If in doubt, check the following image:
Now we are ready to start working/making changes. Quickly go to the terminal and, while in the copied repository, run the following command:
$ git status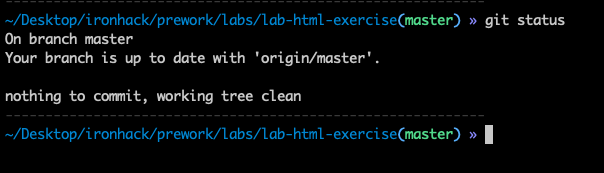
This shows us that there were no changes made locally, yet.
After you made changes to your project, you can check which files you changed by running again:
$ git status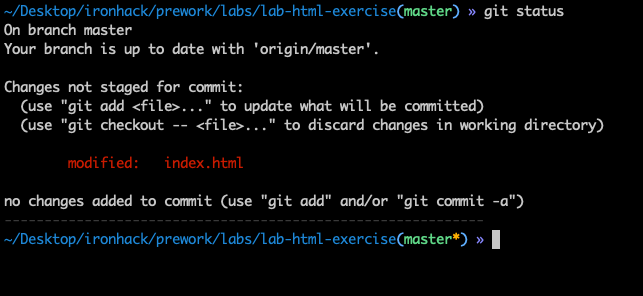
Currently, we demoed making changes to a single file. You might be making changes to one or multiple files; thus, you might see many files marked as modified.
In case you want to add just one file and you are not ready to add the others, you can do so with the following command:
$ git add <name of the file>
However, most likely, you would like to add all the changes so that you will use the following command more often:
$ git add .👍 The dot represents all files in the current repository.

After all changed files are added, you should commit your files and add a commit message describing the things you have changed, with the following command:
$ git commit -m “<your message>”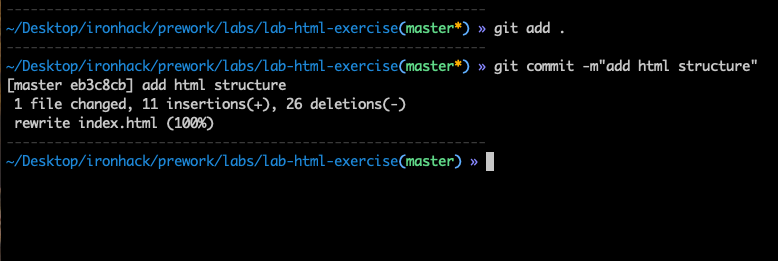
After committing your changes, you can push the commits from your local machine to your remote repository on GitHub with the following command:
$ git push origin master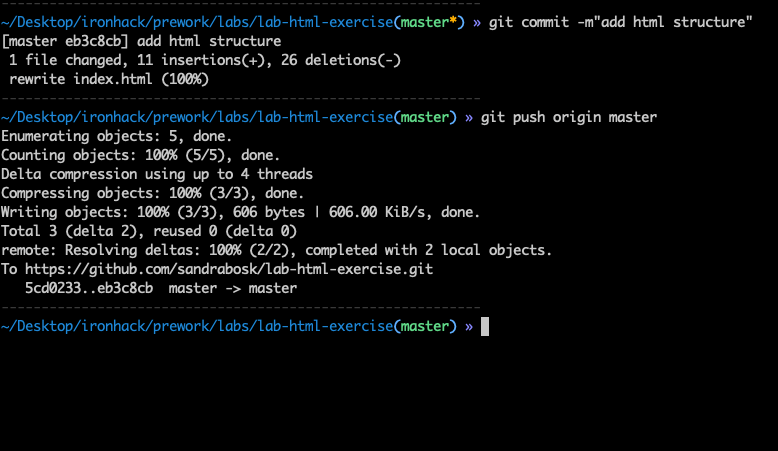
Perfect! The changes we made are now available in the remote repository on our GitHub profile.
Now, let's go to the GitHub and learn how to make the pull request.
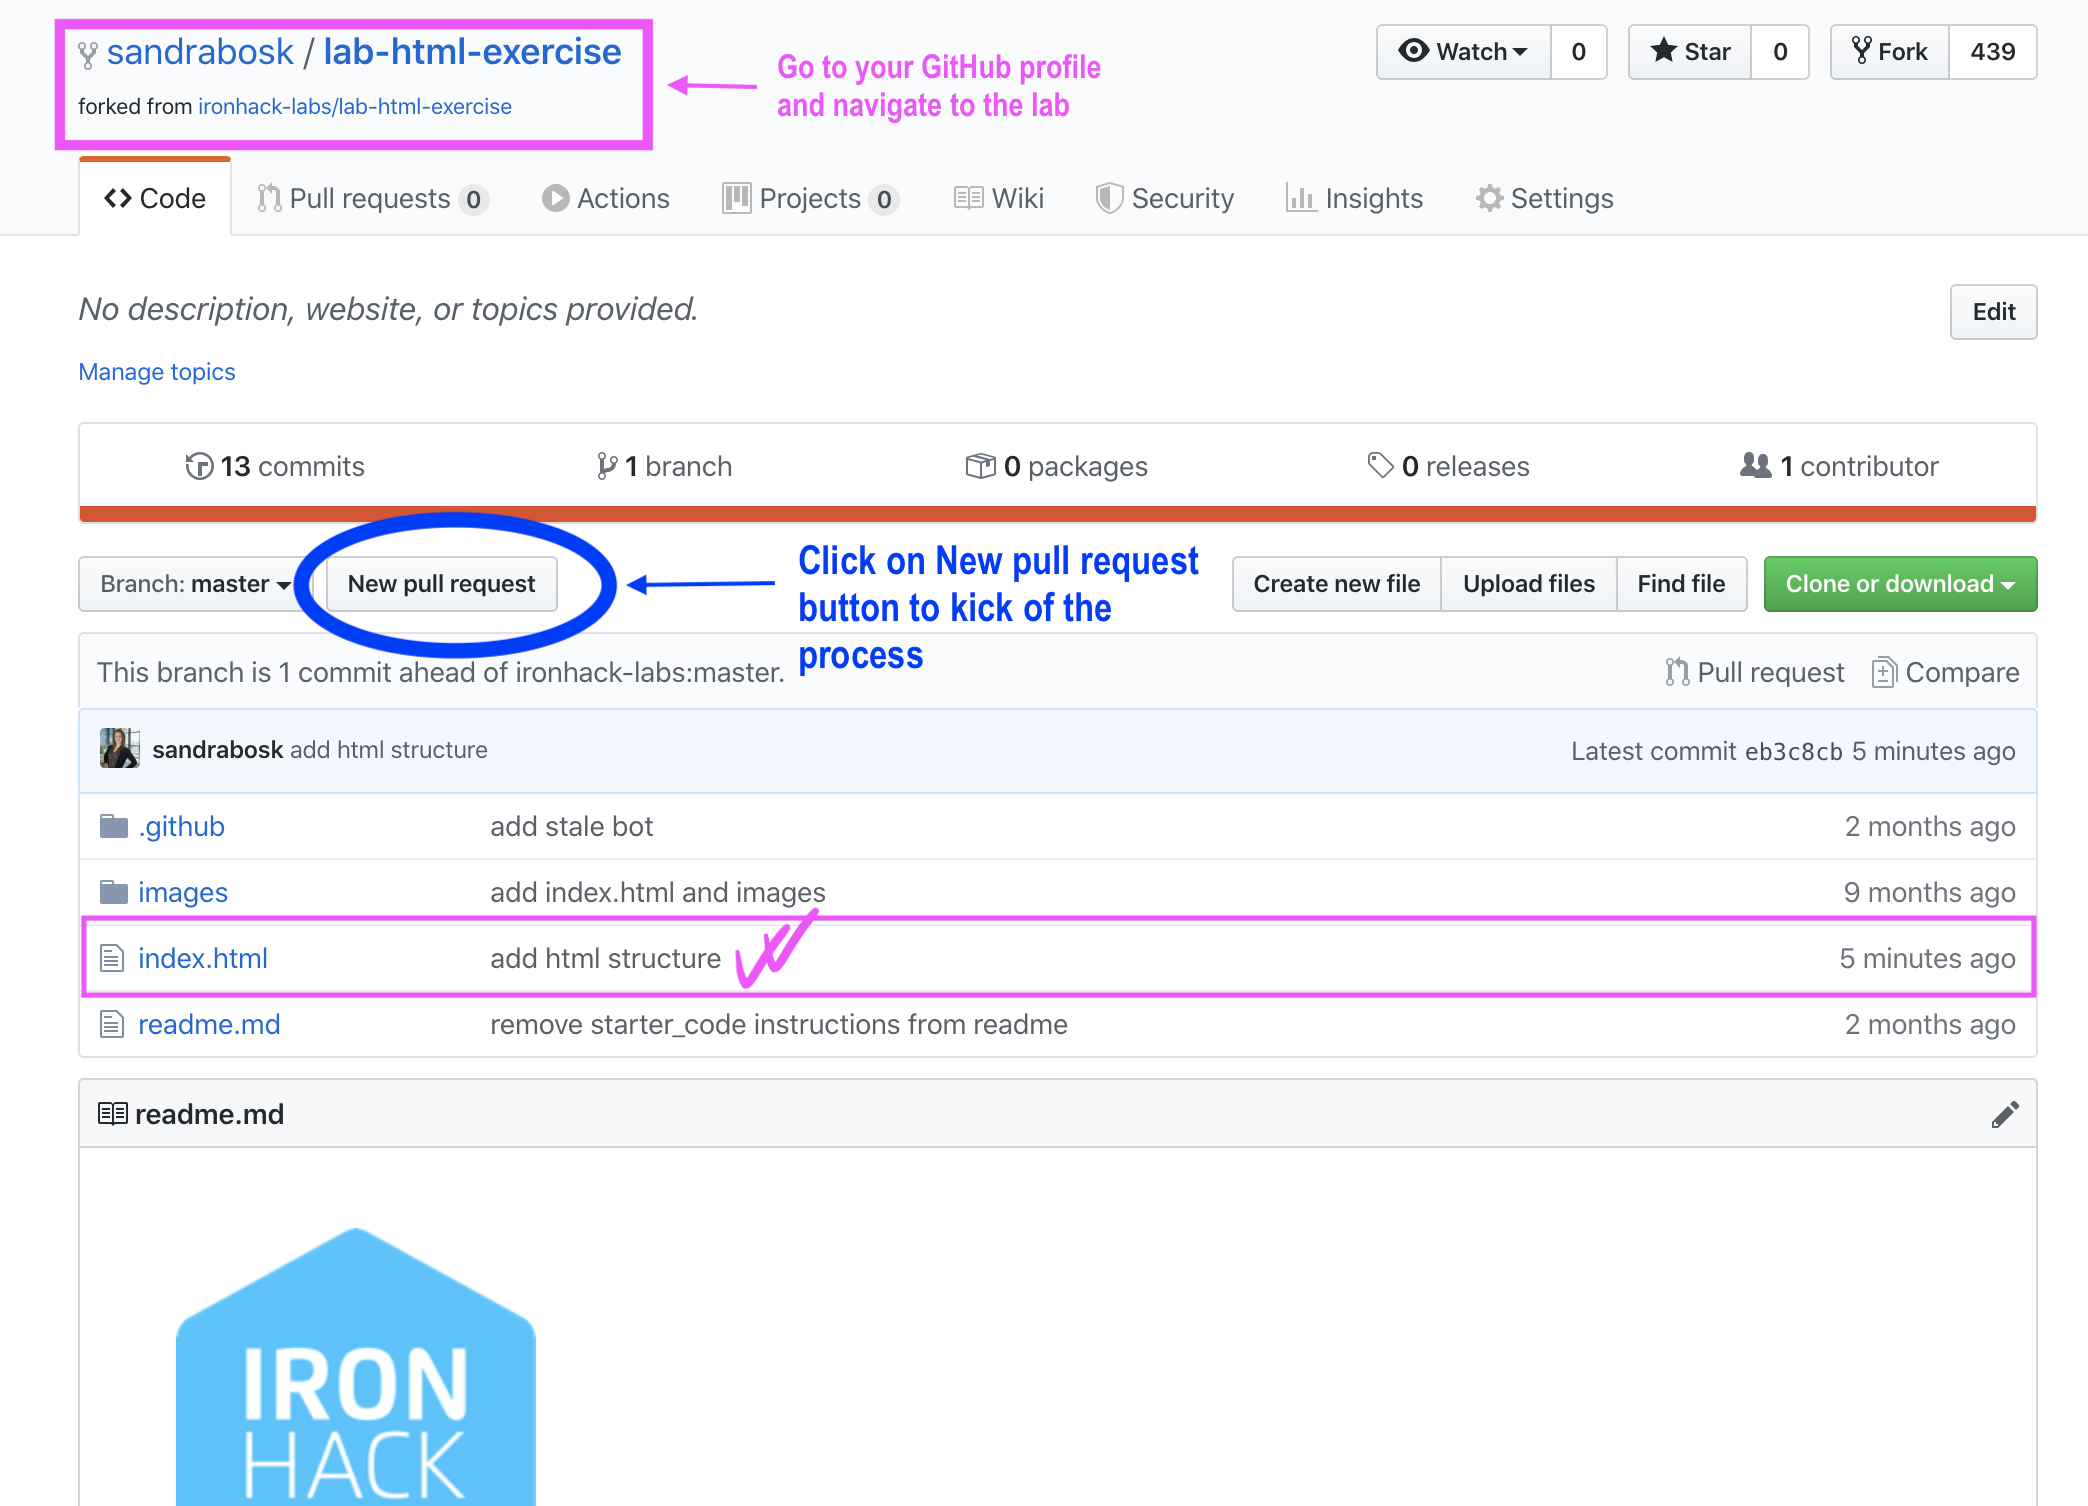
After pushing your changes from your local master to the remote master, your commit should be visible on GitHub (the changes you made locally are now available in GitHub repository as well).
When your commit is successfully pushed to GitHub, you can create a pull request by clicking on the "New pull request" button.
After clicking on that button, you will be forwarded to the following page:
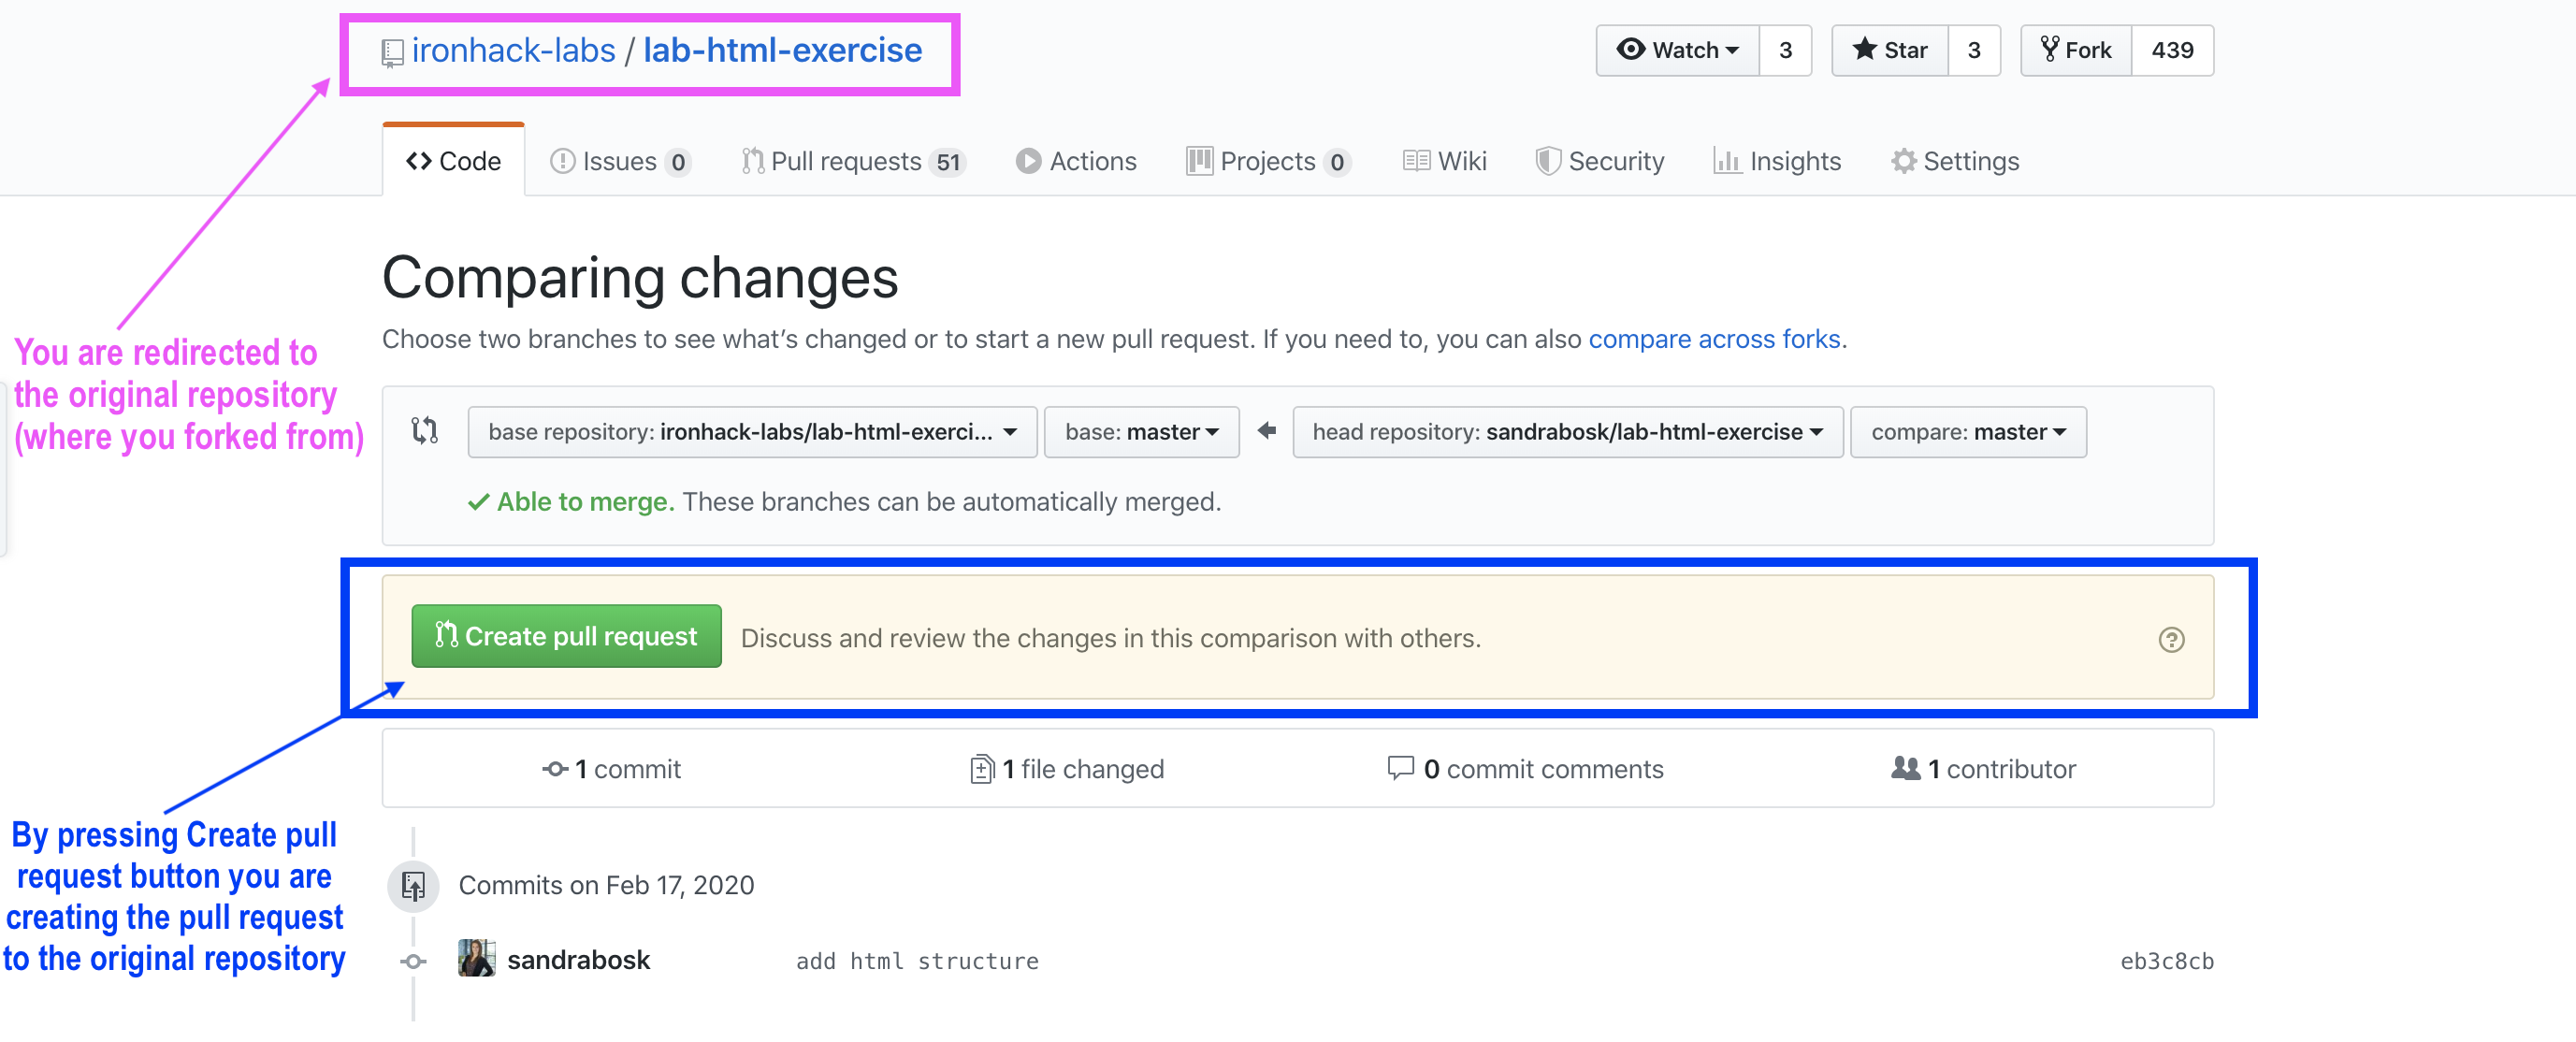
As you can see in the image above, when you initialize the process for creating the pull request, you will be redirected to the original repository (where you were at the very beginning when you started the process of forking).
The final step is just to fill out the pull request title and the body.
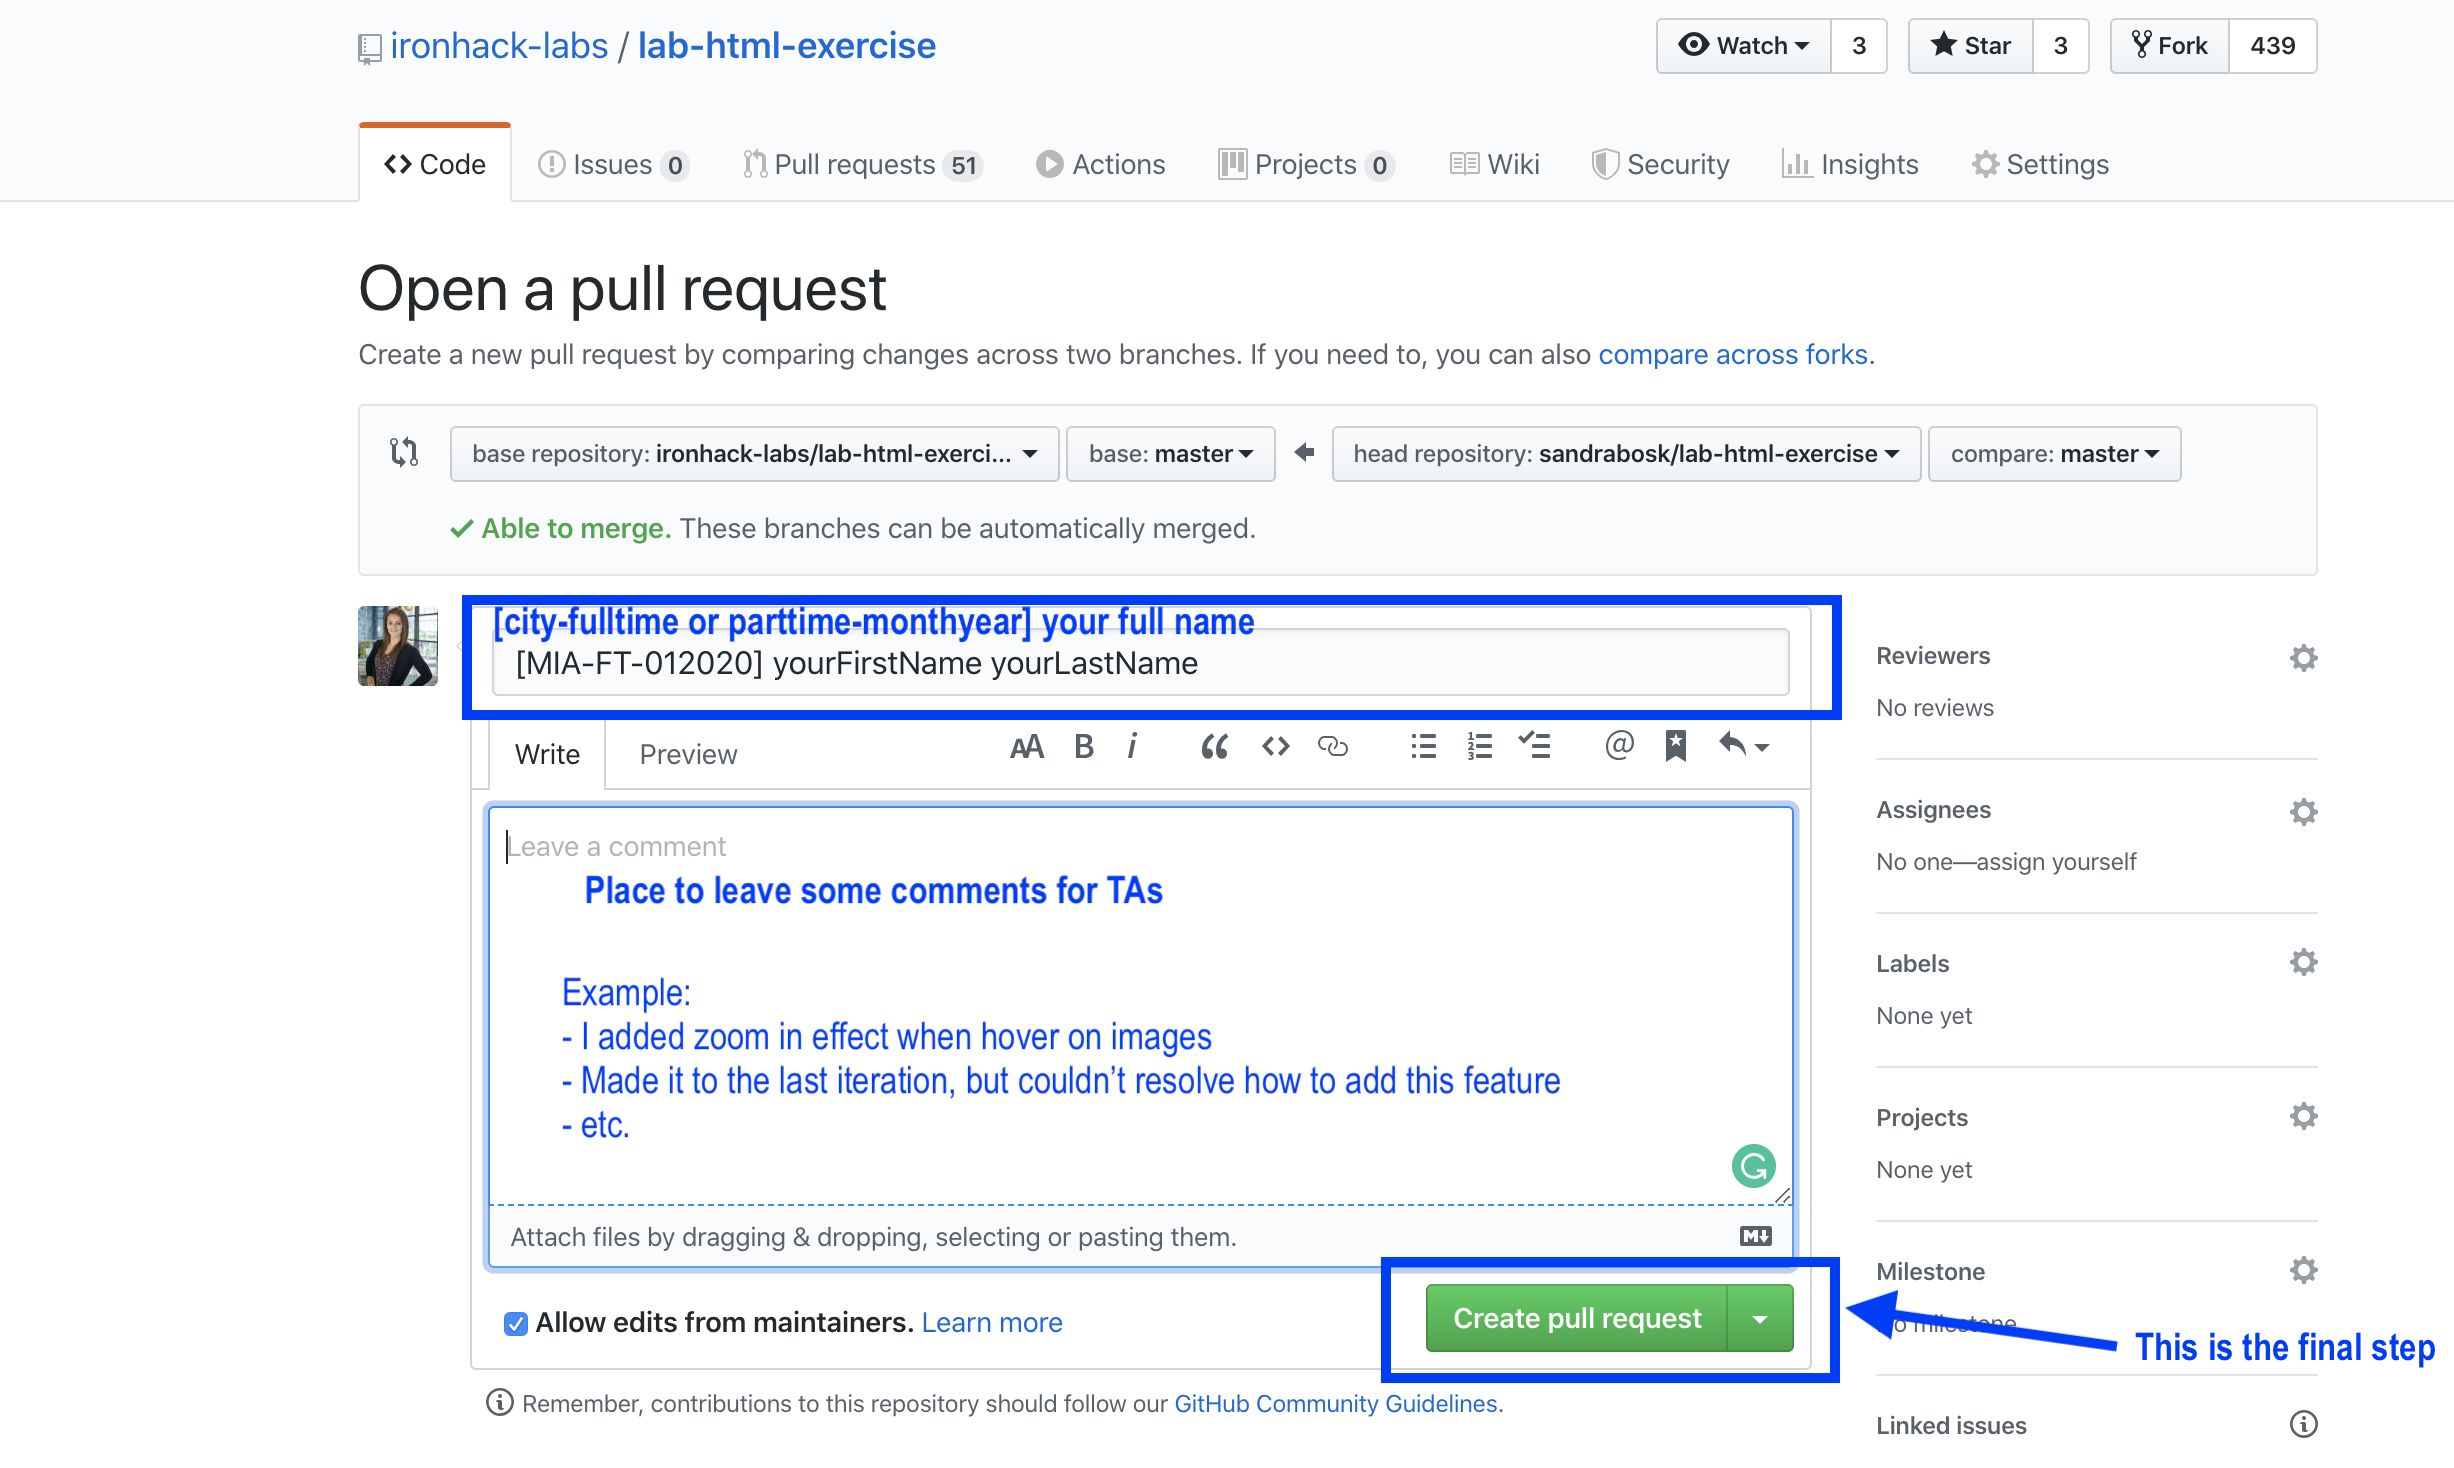
By pressing the green “Create pull request” button, you will create the pull request to the original lab repository.
If you would click on the "Pull requests", you will see your own pull request:
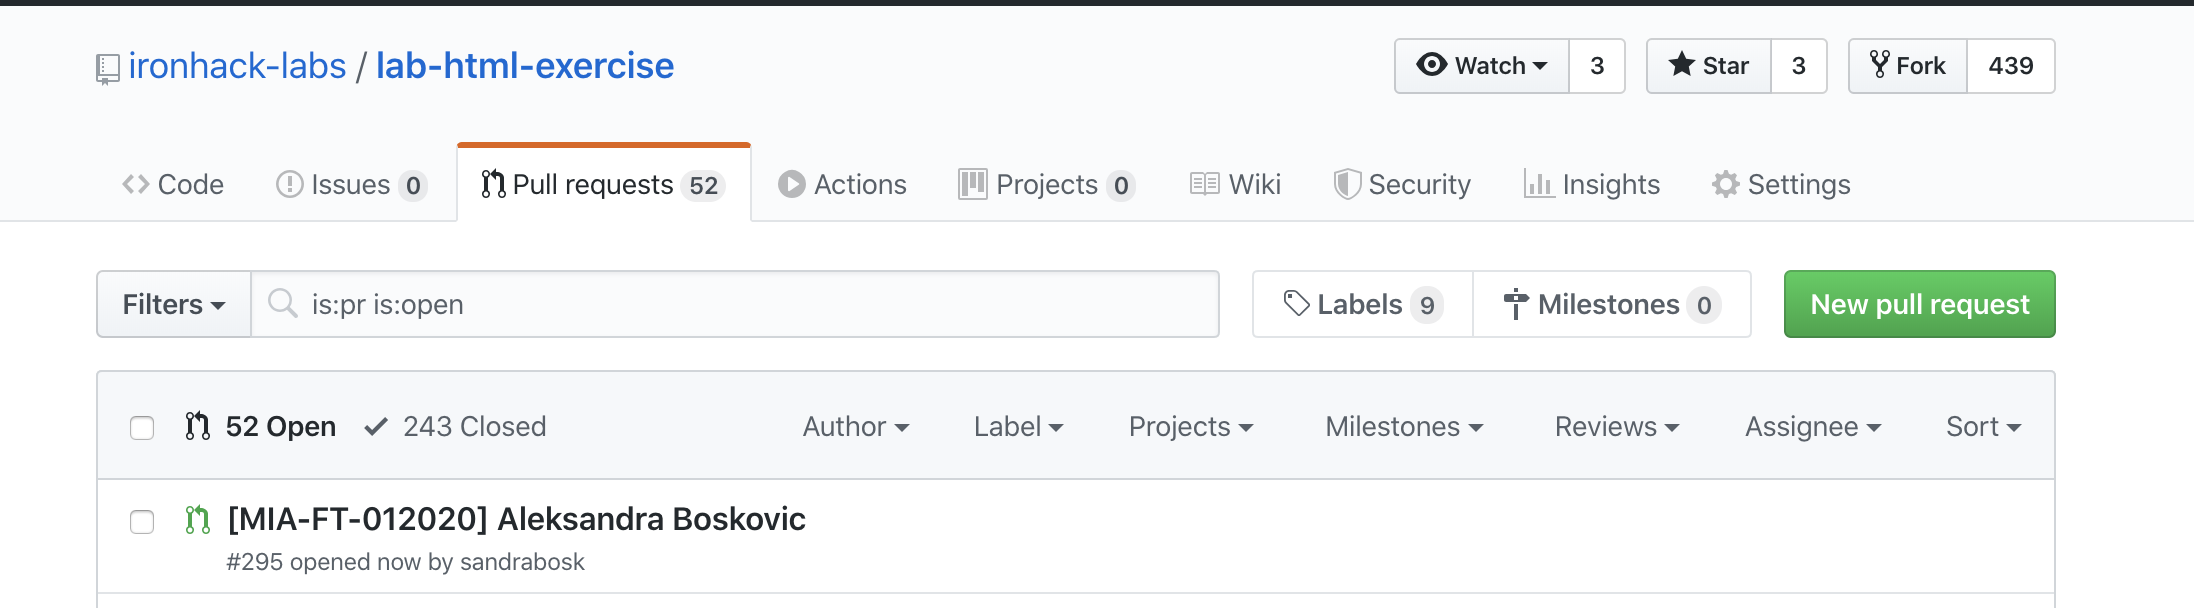
That would be it. Happy coding! ❤️
Done!