You signed in with another tab or window. Reload to refresh your session.You signed out in another tab or window. Reload to refresh your session.You switched accounts on another tab or window. Reload to refresh your session.Dismiss alert
This file contains bidirectional Unicode text that may be interpreted or compiled differently than what appears below. To review, open the file in an editor that reveals hidden Unicode characters.
Learn more about bidirectional Unicode characters
Retrieving metadata from a EC2 bootstrapped instance - Hands-on
I'm currently preparing AWS Certified Solution Architect - Associate certificate.
In the following gist you'll learn how to automate the deployment of an EC2 instance on AWS and retrieve the instance metadata.
The hand-on will consist on a simple web server deployment using Amazon Elastic Compute Cloud and you'll learn how to access its metadata from the AWSCLI.
I performed this setup on my Ubuntu 18.04.2 LTS.
To check your OS version, execute $ lsb_release -a in your Terminal.
Installations
None. Just log into your AWS management console, https://console.aws.amazon.com.
You'll need to perform several tasks in your CLI regarding SSH keygen, so make sure you check the following prerequisites.
Prerequisites
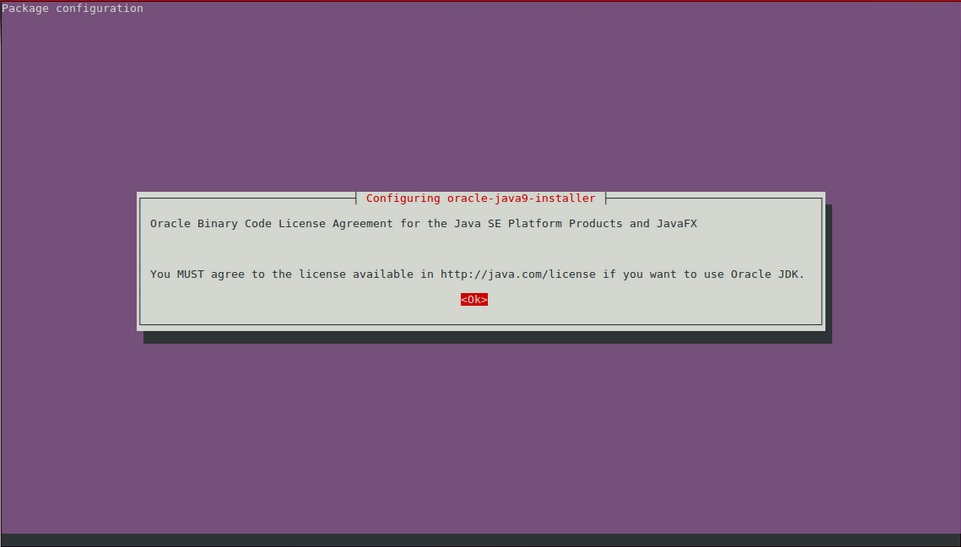
First, make sure Oracle jdk is installed. I recommend java 1.8.0
To uninstall effectively your current jdk, perform this: $ sudo apt-get remove openjdk* $ sudo apt-get remove --auto-remove openjdk* $ sudo apt-get purge openjdk* $ sudo apt-get purge --auto-remove openjdk*
To install java 1.8.0, open Terminal Ctrl+Alt+T and run the command: $ sudo add-apt-repository ppa:webupd8team/java // adds PPA repository $ sudo apt-get update // updates package list $ sudo apt-get install openjdk-8-jdk // installs openjdk
$ javac -version // shows your new java version
Author
Isaac Arnault - AWS Cloud series - Related tags: #EC2 #Metadata #AWSCLI #Linux
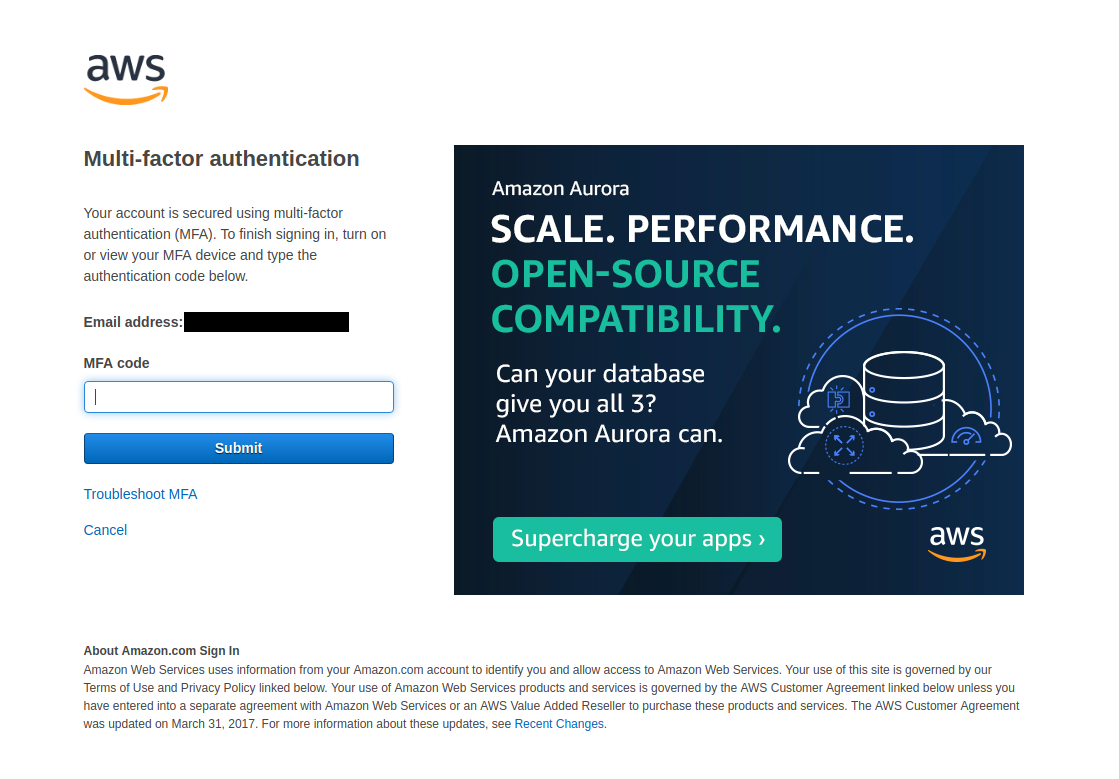
Log into your AWS management console using $ https://console.aws.amazon.com.
I'm using MFA to secure my root account access coupled with Google Authenticator on my Android smartphone.
You can bypass this step and login normally.
🔴 See output
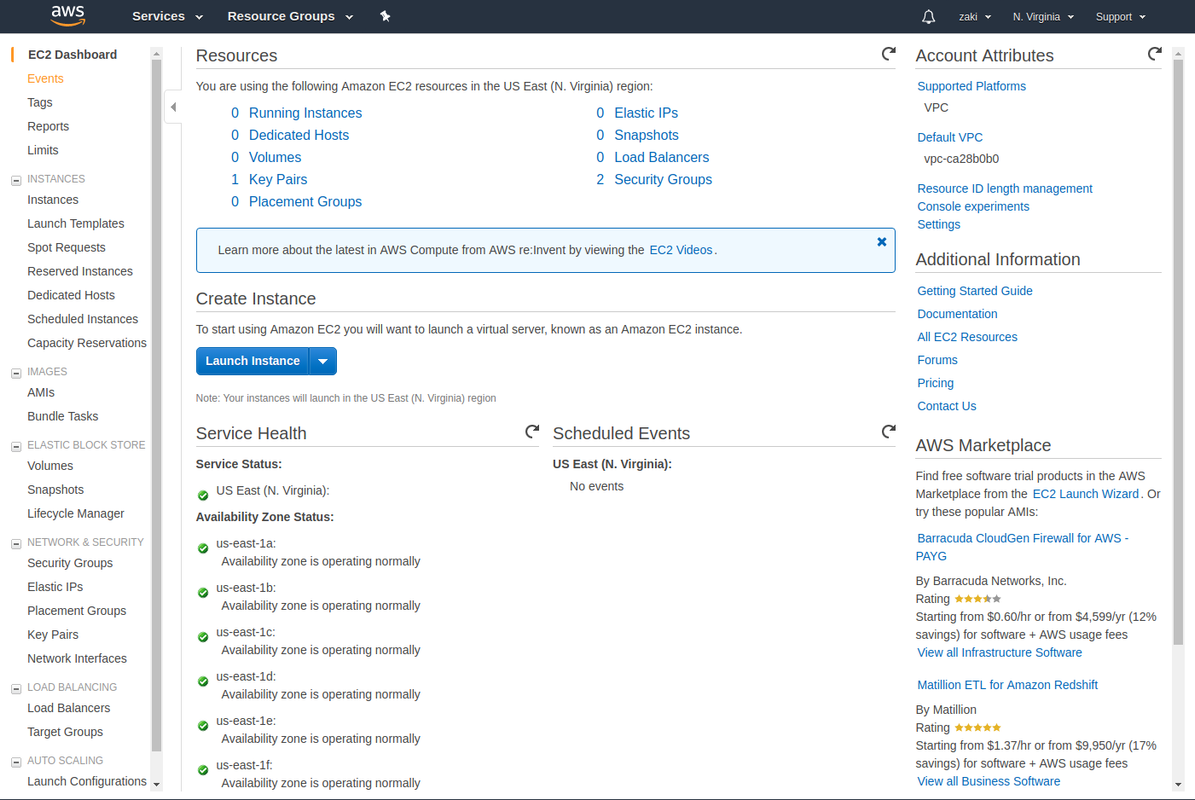
Part 2 : create an EC2 instance
Services > EC2
In "Create Instance" section, click on "Launch Instance"
🔴 See output
Select Amazon Linux 2 AMI (HVM), SSD Volume Type
Instance type: choose t2.micro (Free tier eligible). Instance comes with 1vCPU and 1 GiB (memory).
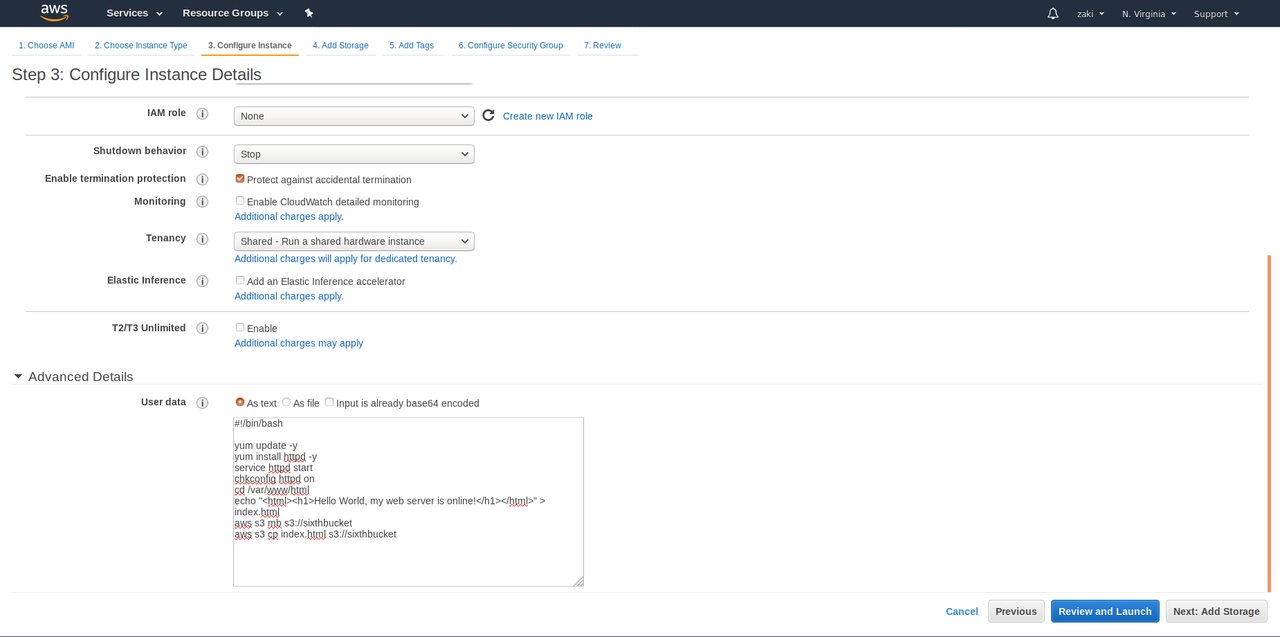
Next: Configure instance details
Leave all fields as they're by default, just Enable termination protection.
Important : click on Advanced Details (here we'll provide out bootstrapped script).
Ues the following Script
🔵 See script
#!/bin/bash
yum update -y
yum install httpd -y
service httpd start
chkconfig httpd on
cd /var/www/html
echo "This is a web server from an EC2 bootstraped instance!" > index.html
aws s3 mb s3://yourbucketname
aws s3 cp index.html s3://yourbucketname
Please note that the last line of the script will push all files related to your web server in a s3 bucket.
🔴 See output
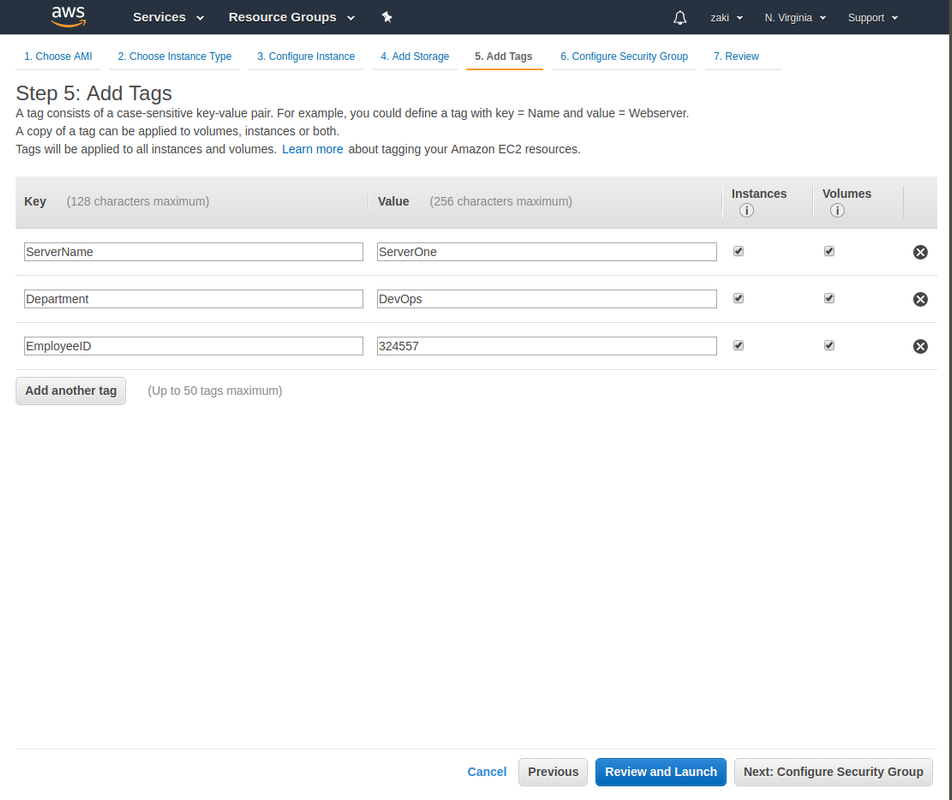
Next : Add Storage
Leave default configuration then click on Next: Add Tags. You can leave tags blanks, here I'm using some tags for my own needs.
🔴 See output
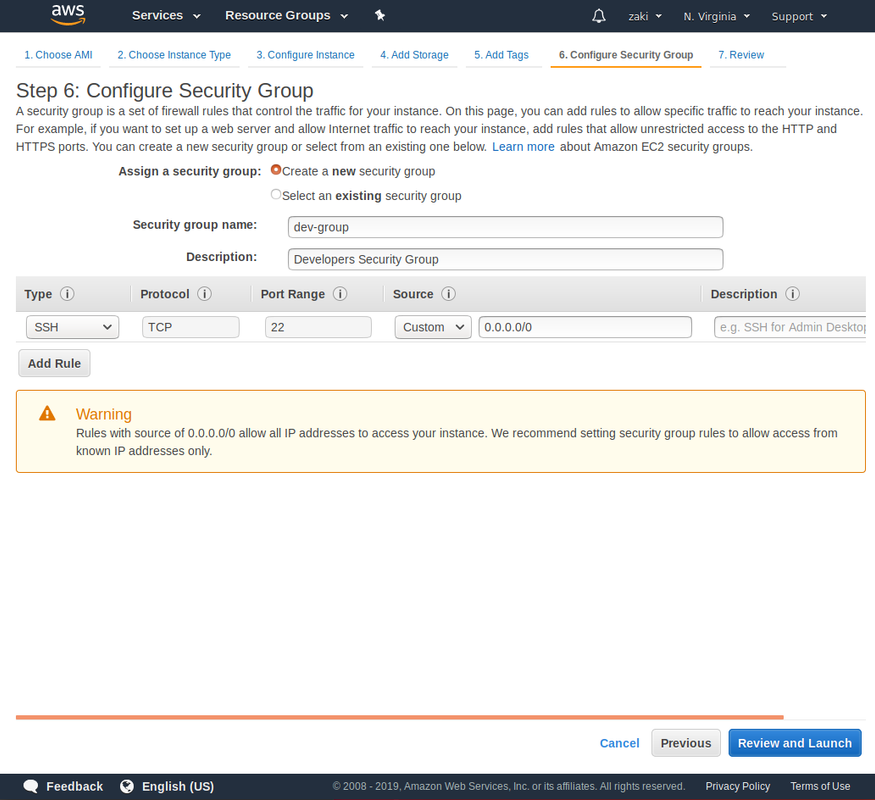
Next : Configure Security Group
Create a new security group > Security group name: dev-master > Description : Security Group Master > Add Rule : add HTTP ptorotocole to allow listening on Port 80 > Review and launch > Launch > Create New Key Pair > Key Pair Name : EC2KP > Download Key Pair (EC2KP.pem should appear in your Downloads).
🔴 See output
Launch Instances > View Instances
Rename your instance to "EC2 Bootstrapped Instance - Web Server".
🔴 See output
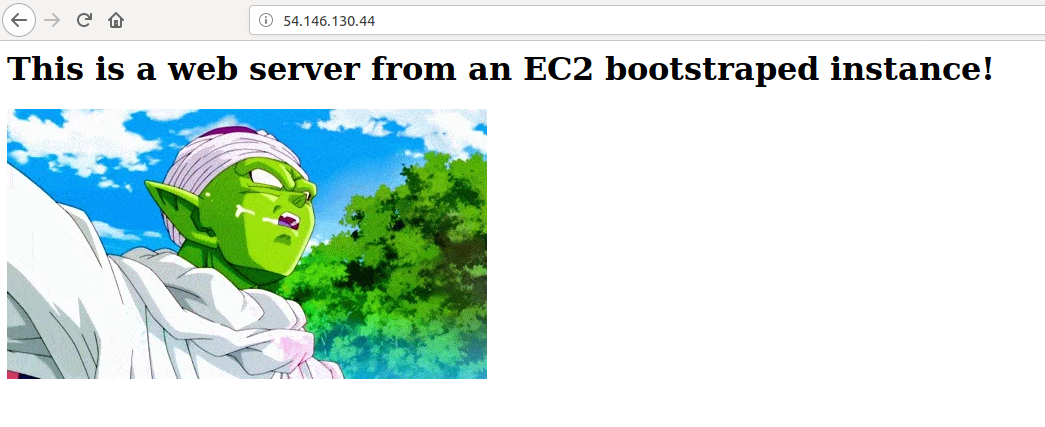
At this point of the tutorial, you should have one running EC2 instance. You can check if it was deployed correctly.
Just use the IPv4 public address provided by your EC2 instance in your web browser.
🔴 See output
Part 3 : use your Command Line Interface to connect to your EC2 instance
$ cd Desktop > $ mkdir SSH
$ cd Downloads > $ sudo mv /home/zaki/Downloads/EC2KP.pem /home/zaki/Desktop>SSH
Go to your SSH directory and check that the file persists there : $ cd Desktop/SSH > ls
Change the permissions to .pem file, ie: $ chmod 400 EC2KP.pem.
🔴 See output
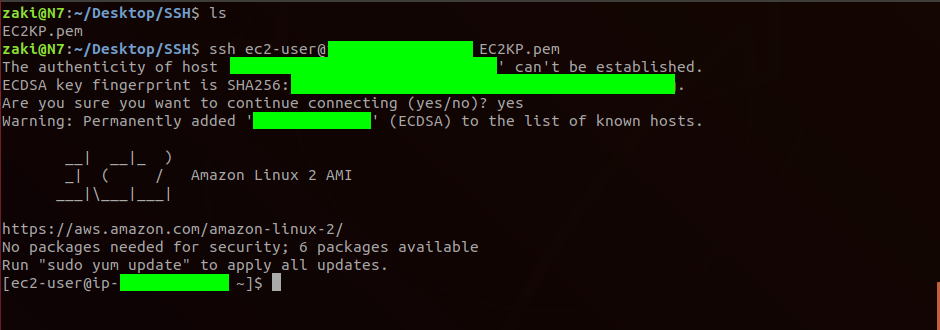
Connect to your EC2 instance using your CLI
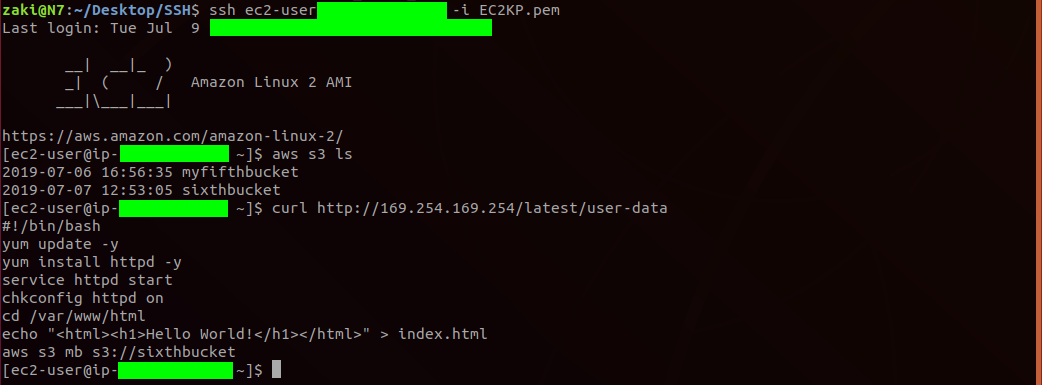
Use : $ ssh ec2-user@your-ipv4-public-address -i EC2KP.pem.
Type "yes" when prompted by the CLI
🔴 See output
Go in root mode : $ sudo su and use $ aws s3 ls. The last command should return "Unable to locate credentials. You can configure credentials by running "aws configure".
To use your provided credentials use : $ aws configure
Remember that you wrote down your Access Key ID and Secret access key when creating your EC2 Instance. Use the provided credentials (go to your Downloads and check for the credentials.csv file).
Provide Access Key ID > AWS Secret Access Key > Default region name (use the Availability Zone of your EC2 instance, ie : us-east-1) > default output format : you can use "text" or "json". In this tutorial i'm using "json".
$ aws s3 ls displays my available buckets. If your buckets do not show up, go to Users > Security credentials > Create a new access key or create a new EC2 instance and restart the procedure in your CLI.
$ aws s3 ls - Outputs that I have 2 available buckets.
🔴 See output
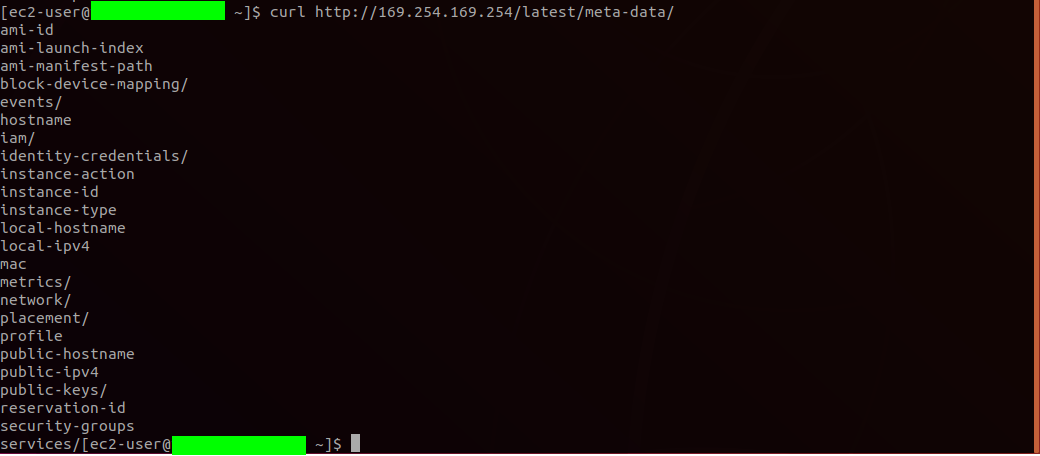
Part 4 : retrieve metadata of your EC2 bootstrapped instance
$ curl http://169.254.169.254/latest/user-data - This should render the script you've provided for bootstraping the EC2 instance.
🔴 See output
At this point of the tutorial you may want to save the script in a .txt file on your s3 bucket.