- Introduction
- Installing Discord.py
- Creating a bot user
- Simple Bot Example
- Conclusion & What next?
- Credits
This is a brief gist to quickly get you started in discord.py library.
The only major requirement here is Python knowledge. Discord.py is a python library and basic python knowledge is required.
The official creator of discord.py has explained himself in discord.py official server:
discord.py is ultimately a complicated Python library for beginners. There are many concepts in there that can trip a beginner up and could be confusing. The design of the library is to be easy to use -- however the target audience for the library is not complete beginners of Python.
With that being said, He also listed some concepts that are very basic and are required:
- The difference between instances and class attributes.
- e.g. guild.name vs discord.Guild.name or any variation of these.
- How to use data structures in the language.
- dict/tuple/list/str/...
- How to solve NameError or SyntaxError exceptions.
- How to read and understand tracebacks.
This list is not exhaustive
If these concepts are confusing -- please feel free to complete a smaller and simpler project first before diving into the complexities that is asynchronous programming in Python.
If you don't meet these requirements, Some good resources for learning Python are:
There are many other resources too. Just do a Google Search.
Discord.py is a powerful API wrapper around Discord API that helps in easily developing discord bots.
Let's assume you already have Python and pip installed, So now, you have to install discord.py library. Simply install it using pip by running a simple command:
python -m pip install discord.pyOR
pip install discord.pyThis will install discord.py and now you can proceed to next step.
Now we need a bot user. A bot user is a special bot account on discord. You can create it from developer portal.
Creating a Bot account is a pretty straightforward process.
- Make sure you’re logged on to the Discord website.
- Head over to https://discord.com/developers/applications
- Click on the “New Application” button.
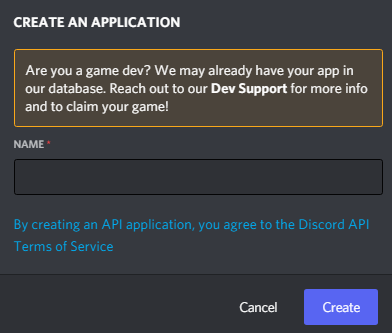
- Now give your application a name. This is your bot name, that you can change anytime later too. Just name it and click on “Create”
- Create a Bot User by navigating to the “Bot” tab in right side and then clicking “Add Bot”.

- Click on “Yes, do it!” to continue.
- Finally! Copy the token using the “Copy” button.
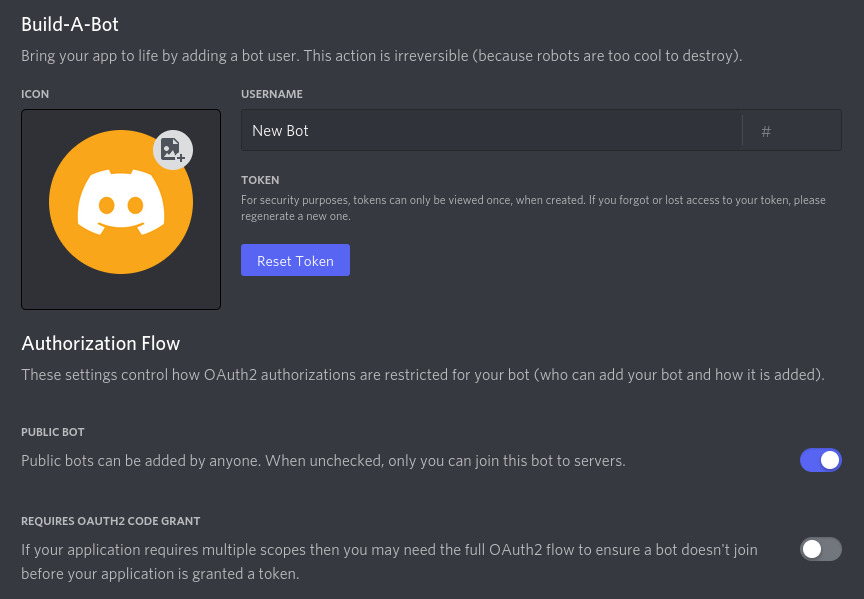
Okay with that being said, You now have a bot user. Make sure to keep the token you copied safe, It is like your bot's password, Anyone with it can access your bot. You can click on “Regenerate” to regenerate the token if you accidentally leaked it.
So you’ve made a Bot User but it’s not actually in any server. You have to invite it to a server where you will test it.
If you want to invite your bot you must create an invite URL for it.
-
Go back to the same site and navigate to your bot.
-
Click on OAuth tab in right side.
-
Tick the
botscope under scope section.
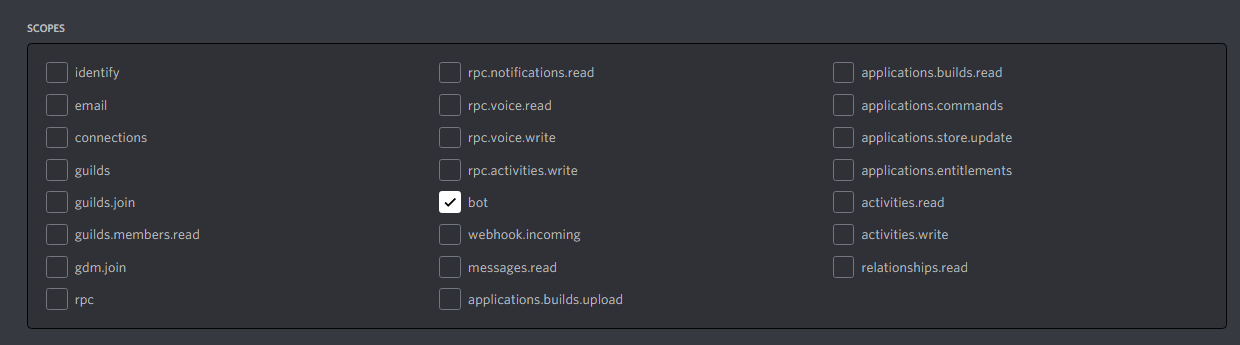
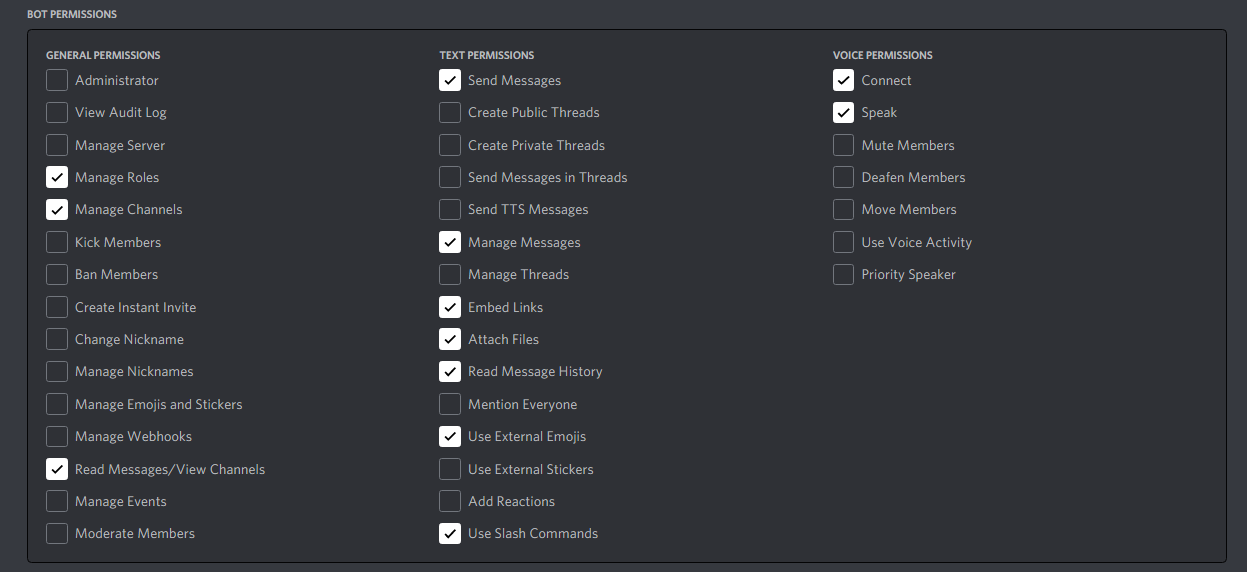
- Tick the permissions required for your bot to function under “Bot Permissions”.
- Now the resulting URL can be used to add your bot to a server. Copy and paste the URL into your browser, choose a server to invite the bot to, and click “Authorize”.
ℹ️ The person adding the bot needs “Manage Server” permissions to do so. It is recommended to test your bot in your private test server.
Now it's time to hop into code and create a basic bot.
Firstly import the required modules:
import discord
from discord.ext import commands
Firstly we imported the discord module that we installed earlier. Then we imported commands module which aids for us in making commands that you will learn about them later in this guide.
Now it's time to initialise our commands.Bot class.
bot = commands.Bot(command_prefix="!")Here, commands.Bot represents our main bot instance and command_prefix argument represents the prefix used for command. You will learn about it later in this guide.
Now we will create an event, Using the Bot.event decorator.
@bot.event
async def on_message(message):
  if message.content.lower() == 'hi':
    await message.channel.send('hello')

  await bot.process_commands(message)
Now please ignore this for now, We will explain it later.
Now it's time to create a command using Bot.command decorator:
@bot.command()
async def ping(ctx):
  await ctx.send("pong")
Finally you have to run the bot, Add the following line to your code at the end:
bot.run(TOKEN)replace TOKEN with your bot's token that you created earlier.
Your code so far looks like this:
import discord
from discord.ext import commands

bot = commands.Bot(command_prefix="!")

@bot.event
async def on_message(message):
  if message.content.lower() == 'hi':
    await message.channel.send('hello')

  await bot.process_commands(message)

@bot.command()
async def ping(ctx):
  await ctx.send("pong")

bot.run(TOKEN)
Now run your python file.
After few seconds, You'll notice that your bot will be Online in discord. Give yourself a pat, because you have created a basic bot. Congratulations!
Go to your server in which your bot is in, and send a message: hi
If you did everything correctly, your bot will respond with hello
Now test the command you created. Send message !ping and your bot should respond with pong
Now let me explain what we just did. Firstly we simply imported required modules:
import discord
from discord.ext import commands
Here discord is our main discord.py library and "commands" is the module that helps us in making commands.
bot = commands.Bot(command_prefix="!")Then we initiated the bot class. This is the main class representing our discord bot. But hey, What is that command_prefix argument? See next.
Remember when you sent !ping the bot responded with pong? This is called a command. The command_prefix kwarg in bot is the prefix that your bot uses for commands. for example, Prefix for the popular Dank Memer bot is pls, The prefix is used before every command.
We made the command like this in our code earlier:
@bot.command()
async def ping(ctx):
  await ctx.send("pong")
This is our command, Commands are decorated with Bot.command() decorator. Then we define an async function, and the function name is your command name. ping is your command name in this case. The ctx parameter represents the discord.Context object and ctx.send() method is used to send a message. :)
Remember, when you sent hi the bot responded with hello. It is because we created an event like this in our code:
@bot.event
async def on_message(message):
  if message.content.lower() == 'hi':
    await message.channel.send('hello')

  await bot.process_commands(message)
Here Bot.event is decorater used to decorate the event and on_message is a predefined function name. This function is called everytime a message is sent and your bot can see it. Here message parameter is your discord.Message object.
The message.content is the message body and we used lower() method on it to make it lowercase so even if you send hI or Hi it doesn't skip it.
Then the message.channel represents the channel that message belongs to and message.channel.send() method sends the message in that channel.
Last line await bot.process_commands(message) prevents the bot from ignoring the commands, If you remove that line then your !ping command or any other commands you create will stop working.
There are many events in discord.py like:
on_ready: Fired when bot is readyon_message: Fired when a message is sent.on_message_delete: Fired when a message is deleted.on_message_edit: Fired when a message is edited.on_guild_join: Fired when bot joins a server.on_guild_leave: Fired when bot leaves a server (i.e Kicked, Ban or simply leaved.).- and many more
There are plenty of more events that you can see in documentation.
Now it's time for you to read the documentation. It can be found at https://discordpy.readthedocs.io This guide was meant to give you a quick start, There's much more this library can do which I'll leave up to you to discover. Read the docs and build something cool.
This guide was created by nerdguyahmad#3195