Arengu pages is a simple CMS to build and deploy static pages based on HTML templates. You can use Mustache variable tags on your HTML template to make your content editable in a custom dashboard.
Some considerations before using Arengu pages:
- This module has been designed to build form-based pages (eg. sign-up pages, login pages, payment subscription pages, etc) and not a whole website.
- Arengu handles the static generation, deployment and hosting of the page, so your team will only need to take care of the content.
- As pages are based on HTML templates, you need to know HTML, CSS and JavaScript to create a template.
- You can upload as many templates as you want and create as many pages as you want using different templates.
- You can set up Arengu pages to work on any domain or subdomain just pointing a CNAME records to our systems. Contact us if you need them working inside a folder of your current domain using a proxy.
Arengu has three types of pages:
- Manual pages: the ones you build using the admin dashboard.
- Internal pages: the 404 error page and other internal pages.
- Automated pages: pages that are automatically built using a Source feed.
You can organize your template folder and assets as you like, for example:
├── /assets
|   ├── /css
|   ├── /fonts
|   ├── /images
|   └── /js
└── index.html (required)
When coding your HTML it's required an index.html file placed on the root of your folder structure. Also it's highly recommended to add the following tag just after opening <head> tag:
<html>
  <head>
    <base href="{{PAGE_URL}}">
    ...
  </head>
  <body>
    ...
  </body>
<html>
This <base> tag specifies the base URL and/or target for all relative URLs in your template.
You can add tags in your HTML template to make your content editable in your custom dashboard. For example:
<html>
  <head>
    <base href="{{PAGE_URL}}">
    <title>{{title}}</title>
  </head>
  <body>
    <div data-arengu-form-id="{{form}}"></div>
  </body>
<html>
The {{title}} and {{form}} tags tell Arengu that you'd like to place dynamic content there. So once you upload your template, Arengu will detect those variables and allow you to map them to different field types you would like to add there (eg. Text, HTML, Image, Form, etc). You can have as many tag variables as you like, you just need to enclose any variable with two curly braces.
Currently supported field types are: Text, Form, Image, HTML and URL. Except HTML field type, all variables are escaped by default.
There are also internal variable tags like {{PAGE_URL}} that will be automatically replaced once you deploy your page. For example:
<html>
  <head>
    <base href="{{PAGE_URL}}">
    <title>{{title}}</title>
    <meta property="og:url" content="{{PAGE_URL}}" />
  </head>
  <body>
    <div data-arengu-form-id="{{form}}"></div>
  </body>
<html>
For example, if you deploy a page with slug foo-bar under the https://www.acme.com domain, it will be replaced by:
<meta property="og:url" content="https://www.acme.com/foo-bar/" />You can automatically deploy static pages linking CSV feed URL to a previously created HTML template. This feed should contain at least the same variables as your template. For example:
<html>
  <head>
    <base href="{{PAGE_URL}}">
    <title>{{title}}</title>
    <meta name="description" content="{{description}}">
  </head>
  <body>
    <h1>{{title}}</h1>
    <p>{{description}}</p>
    <div data-arengu-form-id="{{form}}"></div>
  </body>
<html>
If your template has title, description and form variables, your CSV feed should be something like this:
| title | description | form | slug |
|---|---|---|---|
| Page title 1 | This is a page description 1 | 123456789 | landing-slug-1 |
| Page title 2 | This is a page description 2 | 123456789 | landing-slug-2 |
| Page title 3 | This is a page description 3 | 123456789 | landing-slug-3 |
It's highly recommended to add a slug column where you can specify the slug you want for every page, otherwise you have select a column where Arengu will slugify the content to generate a slug for that page. For example, Page title 1 will be turned to page-title-1.
A scheduler can be configured inside Arengu to read a Source at certain intervals (eg. every 6 hours) to automatically create/update/delete pages based on the values of the feed.
By default, every time the scheduler reads the feed it deploys again all the pages of that feed so, in order to optimize the deployment of a high volume of pages, it's highly recommended to add a new column to specify the latest update date of your page. You can name and format it as you want. For example:
| title | description | form | slug | latest_update |
|---|---|---|---|---|
| Page title 1 | This is a page description 1 | 123456789 | landing-slug-1 | 04-12-1990 15:30:15 |
| Page title 2 | This is a page description 2 | 123456789 | landing-slug-2 | 04-12-1990 21:30:15 |
| Page title 3 | This is a page description 3 | 123456789 | landing-slug-3 | 04-12-1990 22:30:15 |
The scheduler will omit pages that have not been modified since the latest deployment.
Pages that are built using a Source can't be manually deleted or updated. Any changes should be done from the feed.
If you don't have a template yet, you can use this template example.
- Upload your template folder with all your assets and the index.html file on the root of your folder.

- Name your template and define your variables types to automatically create your dashboard input fields.

Now you can use this template to build your first page.
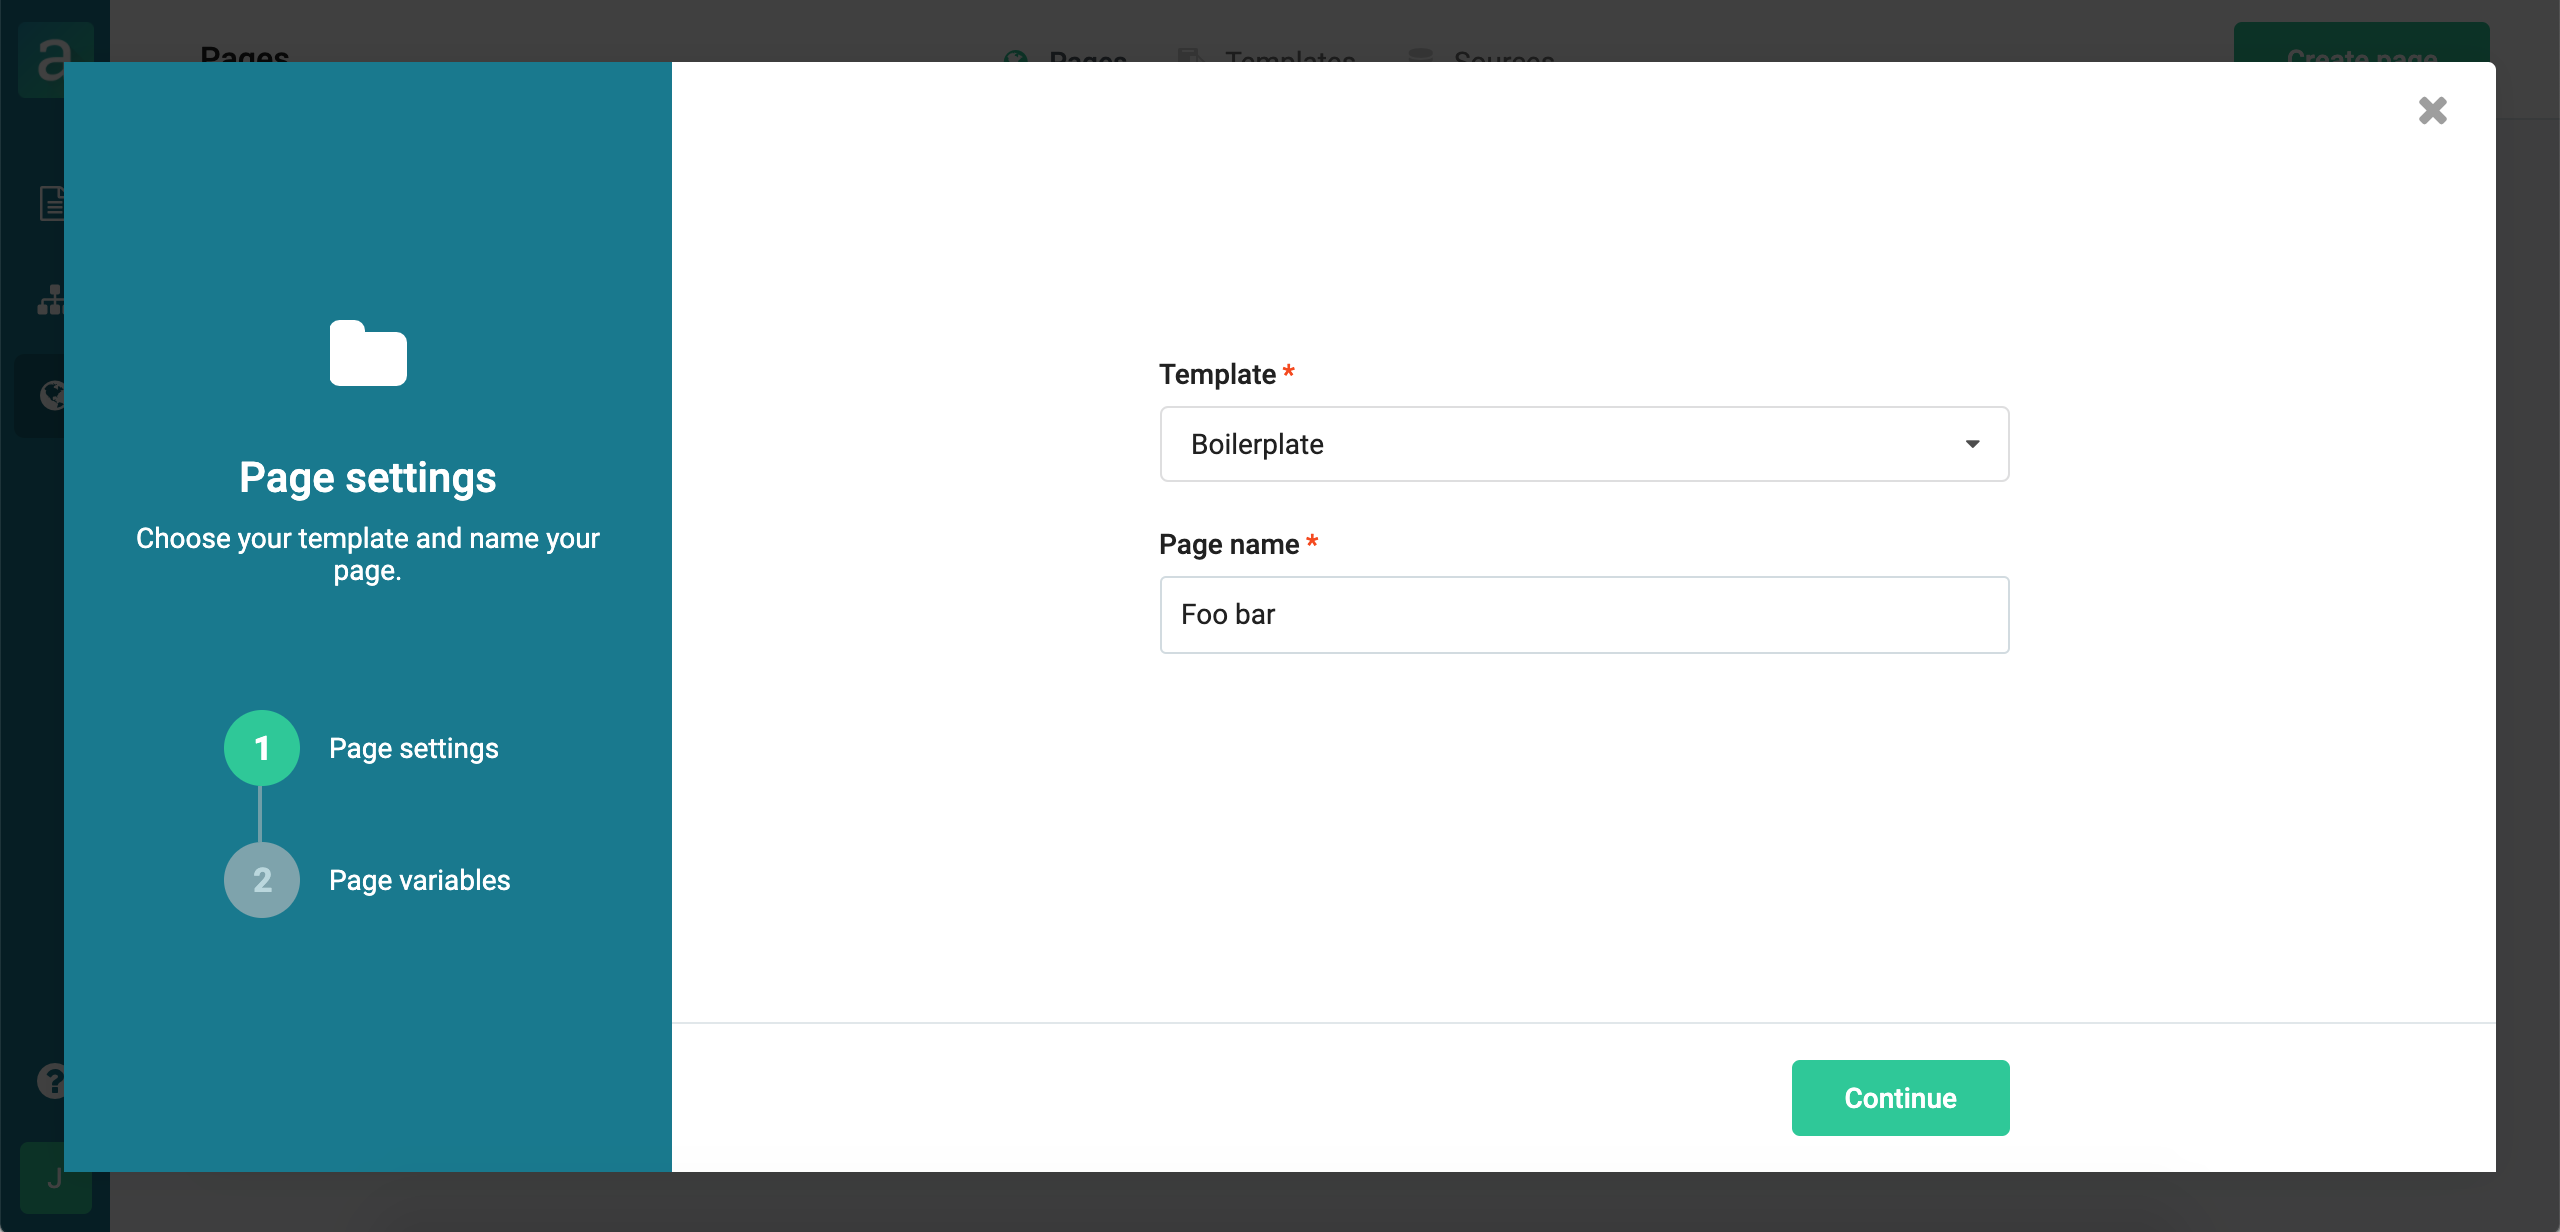
- Choose your template and name your page.
- Fill your page variables and edit your URL path.

Once you click on create, your page will be automatically deployed and publicly available.
Once you have your template and your CSV file ready, you can set up the feed settings to automatically build pages from that Source.
- Choose your template, provide a feed URL and name your page source.

- Specify options to successfully parse your CSV file.

- Map your feed column values to page settings.

Once it's done, your feed will be parsed and all your pages will be automatically deployed and publicly available.