I took all my instructions from this page. https://github.com/crr0004/deepracer
Here are the revised instructions for OSX (bold is console command)
- Change to a folder in terminal that is not case-sensitive. ~/ should be fine
- git clone --recurse-submodules https://github.com/crr0004/deepracer.git
- brew install minio/stable/minio -- you may need to install brew first -- /usr/bin/ruby -e "$(curl -fsSL https://raw.githubusercontent.com/Homebrew/install/master/install)"
- install vncviewer from here https://www.realvnc.com/download/file/viewer.files/VNC-Viewer-6.19.325-MacOSX-x86_64.dmg
- cd rl_coach
- vim env.sh
- replace the $(hostname -i) with your IP Address (i to edit, esc - :wq to save and quit) -- ifconfig|grep -e 'inet [197][970]'
- add a "g" before readlink, so that it reads greadlink
- save and exit
- brew install coreutils
- the "source" command in linux means run a shell script. in Mac you can use "." instead of "source"
- . ./env.sh
- minio server data
- Browse to http://127.0.0.1:9000 and use the credentials the minio command gave you to login
- Create a bucket called "bucket"
- Now edit the env.sh file again, this time replacing "minio" with the minio access key and "miniokey" with the access secret.
- Now you're all done setting up your fake s3 bucket/server
- Let's start Sagemaker setup, do Command T to open new terminal
- Go back to the "deepracer" or repo root folder cd ..
- python3 -m venv sagemaker_venv
- This assumes you already have python3 installed. You probably need both pythons installed, 2 and 3.
- . sagemaker_venv/bin/activate
- pip install PyYAML==3.11
- pip install urllib3==1.21.1
- pip install -U sagemaker-python-sdk/ awscli ipython pandas
- docker pull crr0004/sagemaker-rl-tensorflow:console
- docker tag crr0004/sagemaker-rl-tensorflow:console 520713654638.dkr.ecr.us-east-1.amazonaws.com/sagemaker-rl-tensorflow:coach0.11-cpu-py3
- I'm also assuming you already have docker installed and logged in with a docker account
- mkdir -p ~/.sagemaker && cp config.yaml ~/.sagemaker
- cd rl_coach
- export LOCAL_ENV_VAR_JSON_PATH=$(greadlink -f ./env_vars.json)
- mkdir ~/robo
- mkdir ~/robo/container
- ipython rl_deepracer_coach_robomaker.py
- NOW SAGEMAKER LOCAL should be working
- Now for Robomaker
- Command T to open new terminal window
- cd ..
- . sagemaker_venv/bin/activate
- cd rl_coach
- . ./env.sh
- docker pull crr0004/deepracer_robomaker:console
- cd ..
- edit the robomaker.env file to also reference your local ip address and your aws key and secret
- docker run --rm --name dr --env-file ./robomaker.env --network sagemaker-local -p 8080:5900 -it crr0004/deepracer_robomaker:console
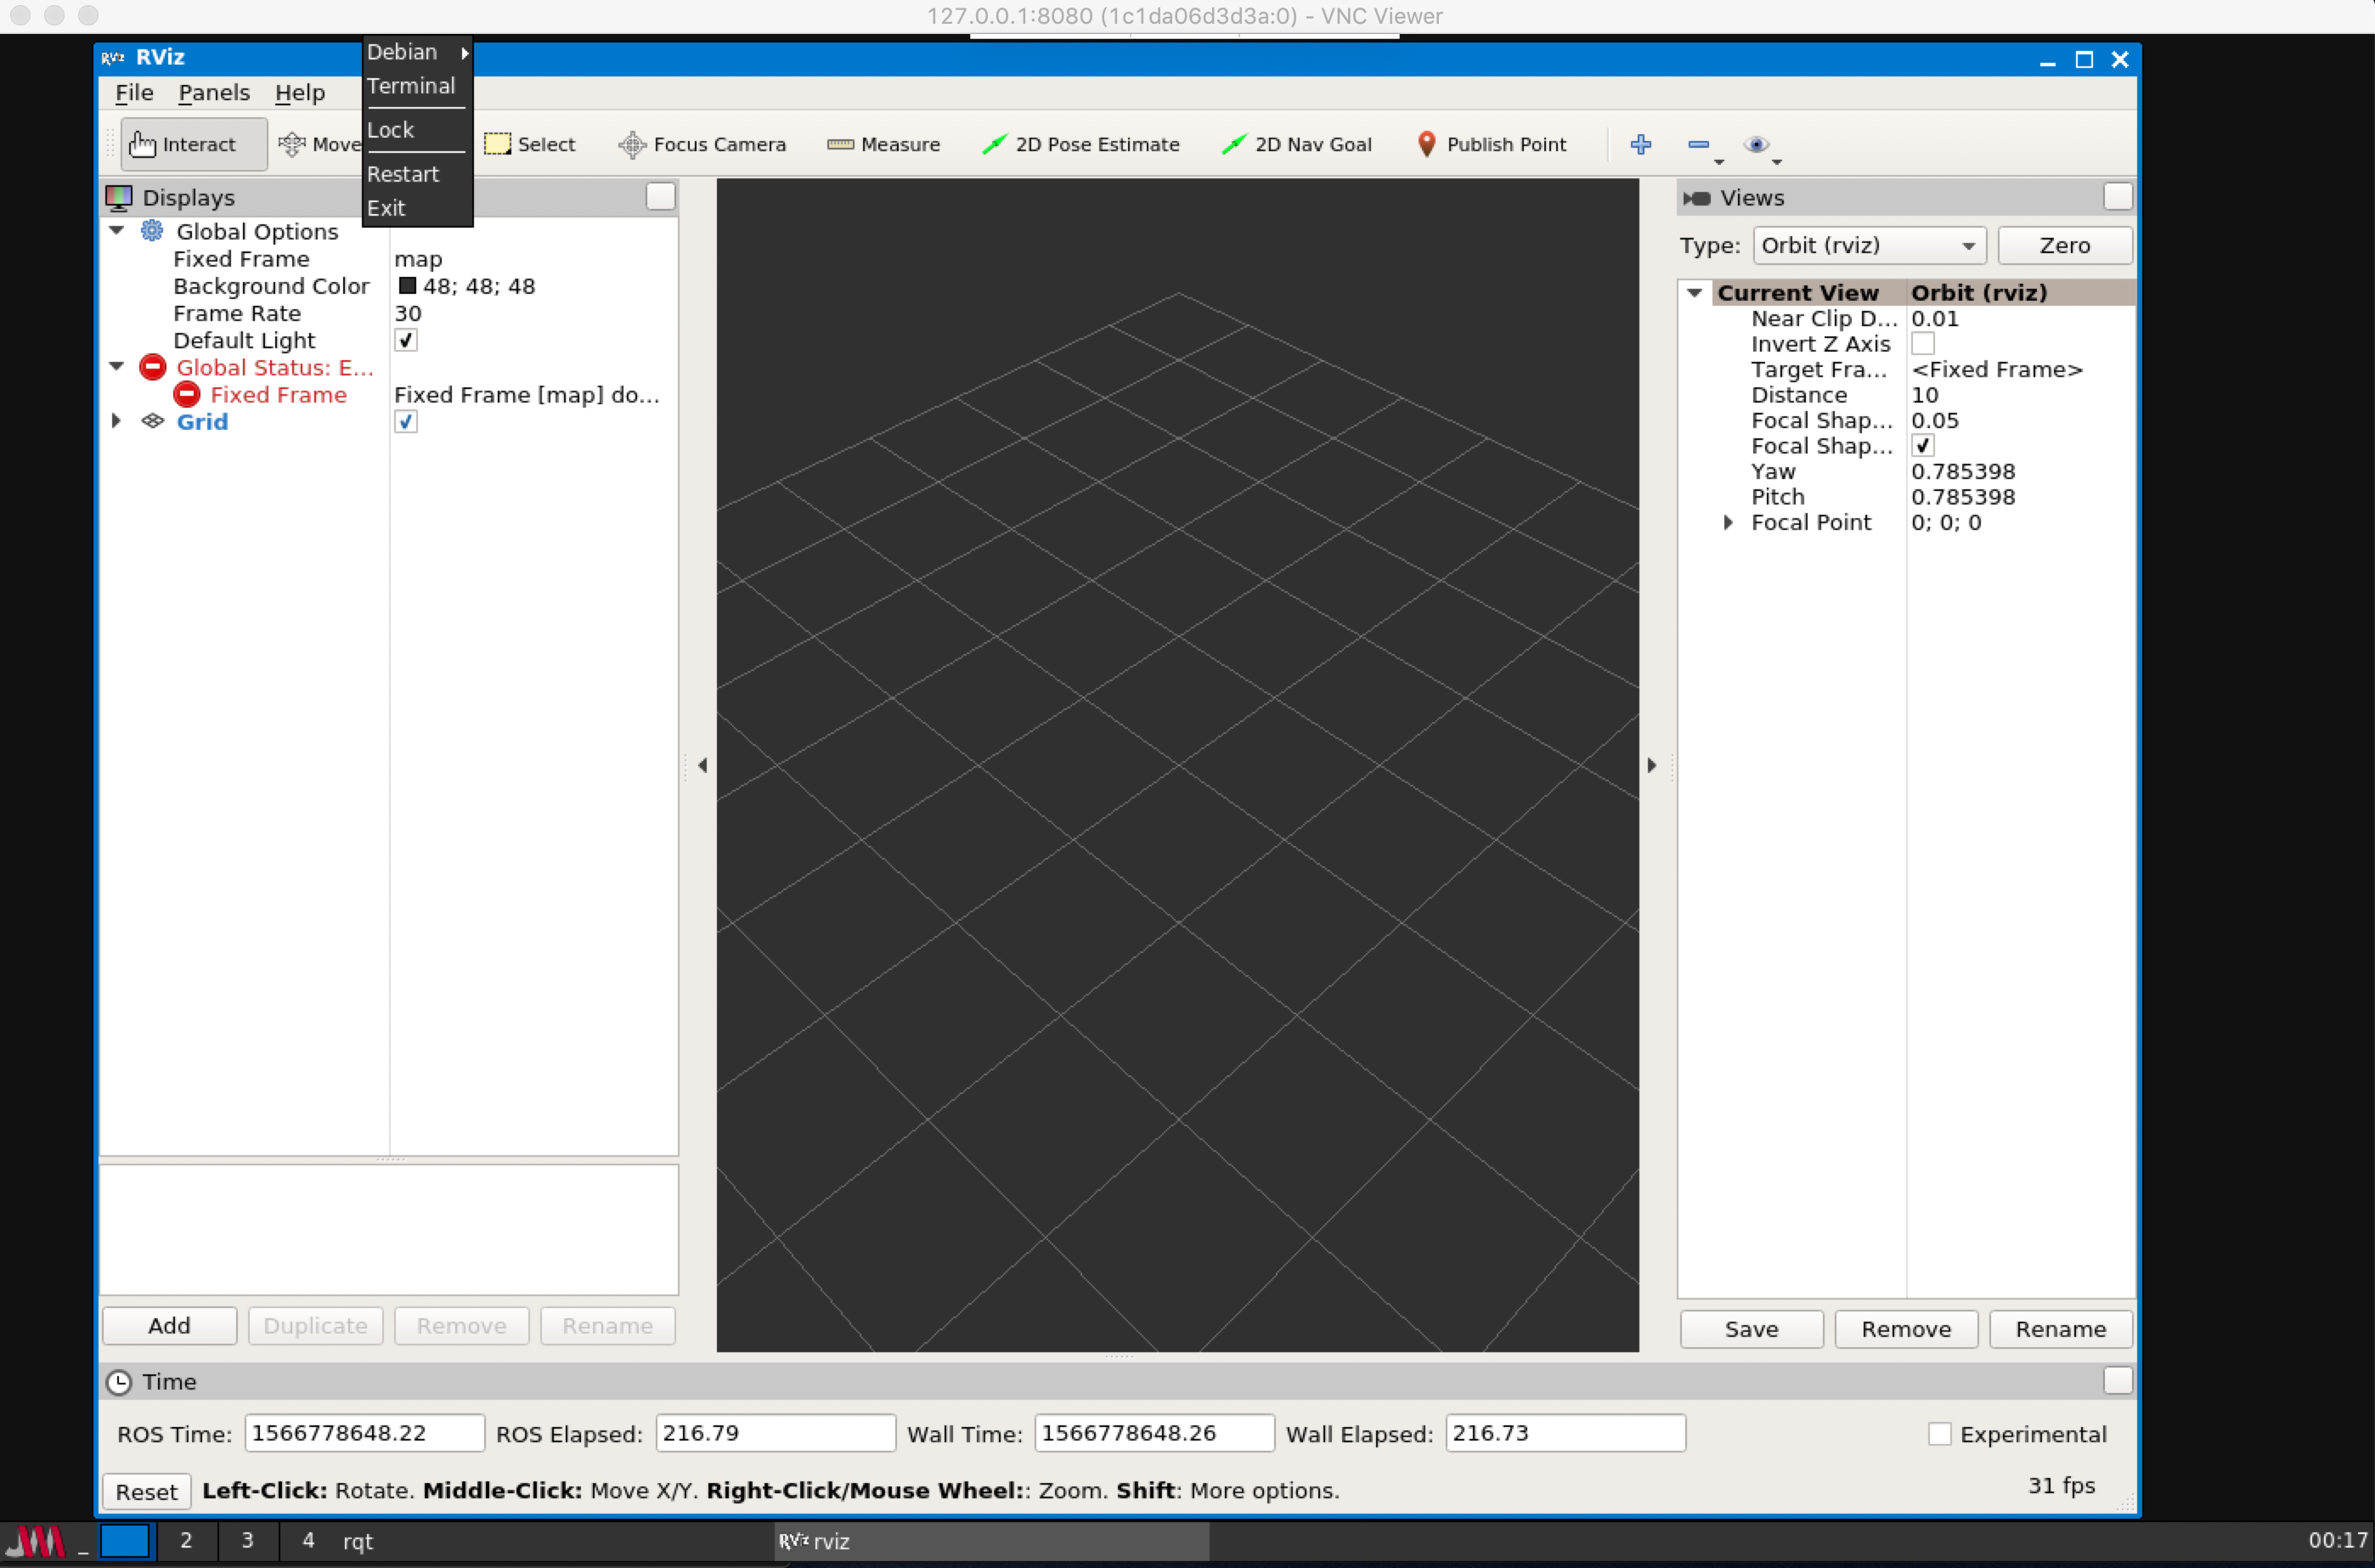
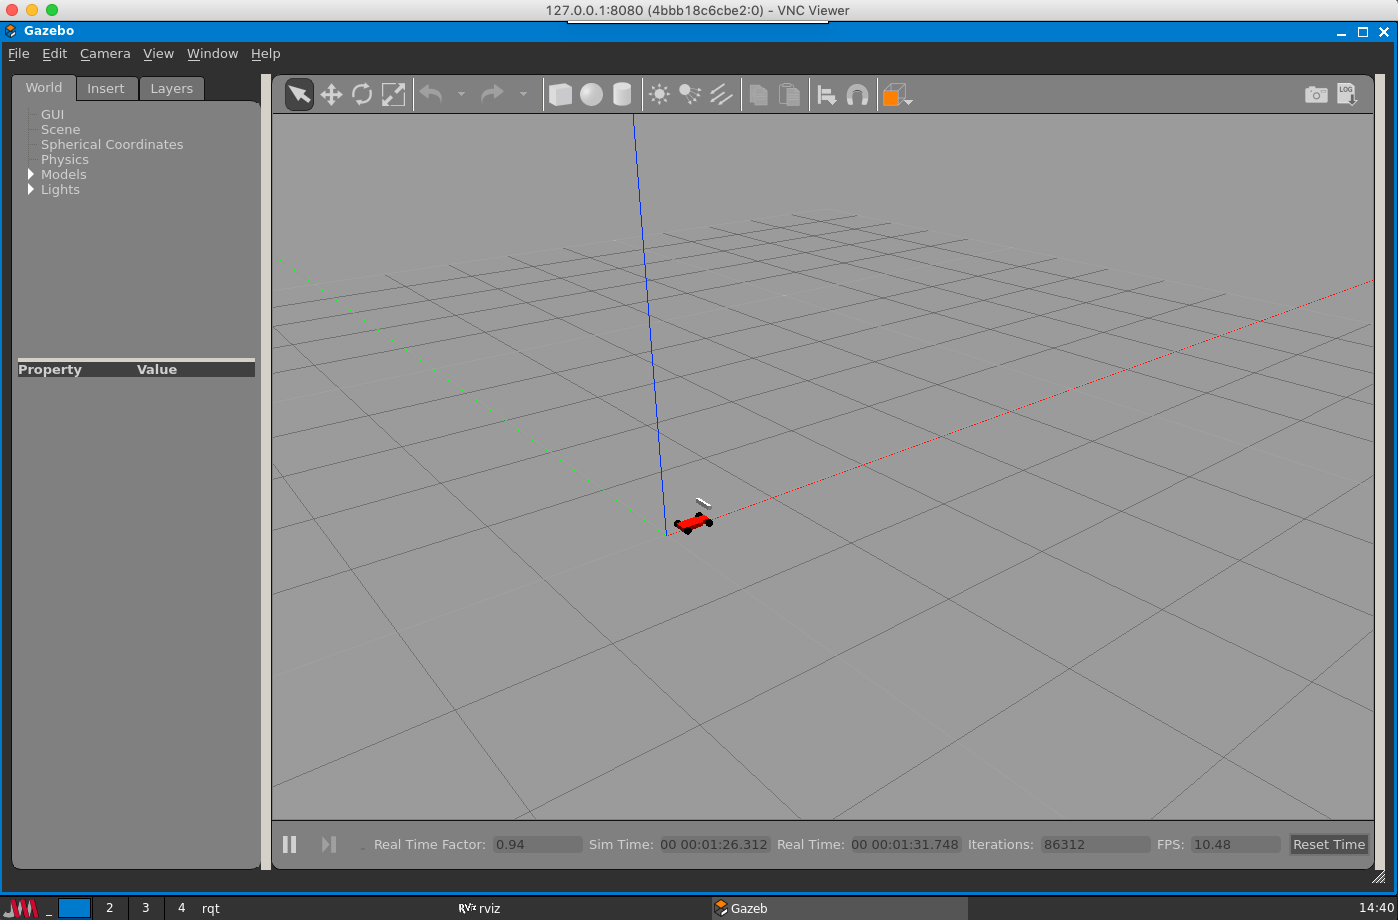
- Command Space, open vnc viewer, connect to 127.0.0.1:8080 to view Gazebo
That reminds me, you've pulled the image already in line 26. If line 34 is still trying to pull image when running it, that indicate you're pulling the NVIDIA version of the image which would not work eventually (Faced the same issue) since Mac doesn't support GPU. you'd need to edit the python script.
Kindly read the instructions here https://github.com/kevinmarlis/deep-racer/blob/master/Mac-Local-Training-Installation.md as it an updated version of this gist