This guide reviews steps for running LDCad for VEX IQ on macOS using Wine. It assumes some basic familiarity with navigating directories using the terminal (with basic commands such as cd and ls), but should otherwise be pretty easy to follow.
Wine is described as follows:
Wine (originally an acronym for "Wine Is Not an Emulator") is a compatibility layer capable of running Windows applications on several POSIX-compliant operating systems, such as Linux, macOS, & BSD. Instead of simulating internal Windows logic like a virtual machine or emulator, Wine translates Windows API calls into POSIX calls on-the-fly, eliminating the performance and memory penalties of other methods and allowing you to cleanly integrate Windows applications into your desktop.
Wine could also be used to run LDCad on Linux; however, an official Linux build of LDCad is available so this isn't necessary.
I tested this procedure on an Intel-based MacBook Pro running macOS Catalina.
To install Wine, we first need Homebrew, which is a package manager for macOS (similar to apt-get on Ubuntu, for example).
If you don't already have Homebrew installed, open a terminal, paste in the following line, and follow any instructions:
/bin/bash -c "$(curl -fsSL https://raw.githubusercontent.com/Homebrew/install/master/install.sh)"Once you have Homebrew, install Wine by pasting the following two lines into your terminal, entering your password when prompted:
brew cask install xquartzbrew cask install --no-quarantine wine-stableNow, confirm that Wine is installed with the following:
wine64 --versionA short string should be printed describing the version of Wine that has been installed.
Throughout the rest of this document, make sure you're using wine64 and not wine - the latter is a 32-bit binary and thus will not run on macOS Catalina or later.
Next, we need to download LDCad and the VEX IQ parts library, and make some changes to get a VEX IQ-compatible version of the latest LDCad build. To do that, follow step 1 of this guide to download and edit the necessary files.
NOTE: Make sure that you copy LDCad64.exe to the LDCadVEX folder instead of the 32-bit version.
Once you've finished step 1 of the linked guide, come back here and continue with these steps. After you've finished these steps, there are some good tips for using LDCad at the end of the other guide.
Now that we've downloaded and configured all the LDCad files, it's time to run LDCad for the first time.
Back in your terminal, navigate to your LDCadVEX directory and run wine64 LDCadVEX.exe. The first run of LDCad may take some time (a few minutes or more) as Wine configures some things. After the first couple of launches, launch time should decrease significantly.
While Wine is starting, launch the System Preferences app and select "Security and Privacy". If there's a message at the bottom of the window about "LDCadVEX.exe not being from an identified developer" or something similar, click the lock, enter your password, and then click the button to allow the app to run.
Eventually, a window will appear asking you to accept a liscense agreeement. After accepting the agreement, another window will appear asking you to locate your LDraw parts library. The file picker will be missing from this window, but that's OK, just click "Cancel" - we'll point LDCad to the parts library later.
After clicking "Cancel", a window should appear which looks something like this:

This is because LDCad is looking for fonts in the Windows font directory. Wine helpfully created such a directory, but didn't put any fonts in there by default. So, we need to add some font files for LDCad to use. We can use any font we want, as long as the files in the Windows font directory are named what LDCad expects them to be named. For the purposes of this guide, we'll use the GNU Free Font FreeSans.
To get the right font files to appear in the right location, do the following:
- Close LDCad.
- Download the FreeFont package from this link, and extract the resulting zip file. Within the extracted contents, locate the file
FreeSans.ttfinside thesfddirectory. - In a new Finder window, press Command-Shift-G, or select "Go to Folder" from the "Go" menu. In the box that appears, type
~/.wine/drive_c/Windows/Fontsand click "Go". This is the Windows font folder where we'll place the font file. - Copy the
FreeSans.ttffile into the Windows font folder. - Make a second copy of
FreeSans.ttfin the Windows font folder, and rename the new copy toverdana.ttf.
There should now be two files in the Windows font folder, FreeSans.ttf and verdana.ttf. These are the two font files LDCad expects to find in this directory. If you want to use a font other than FreeSans, you can, just make sure you end up with two .ttf files in the Fonts directory with the exact names FreeSans.ttf and verdana.ttf. LDCad will use verdana.ttf for almost everything and FreeSans.ttf for only the small "part info box" that appears when you select a part.
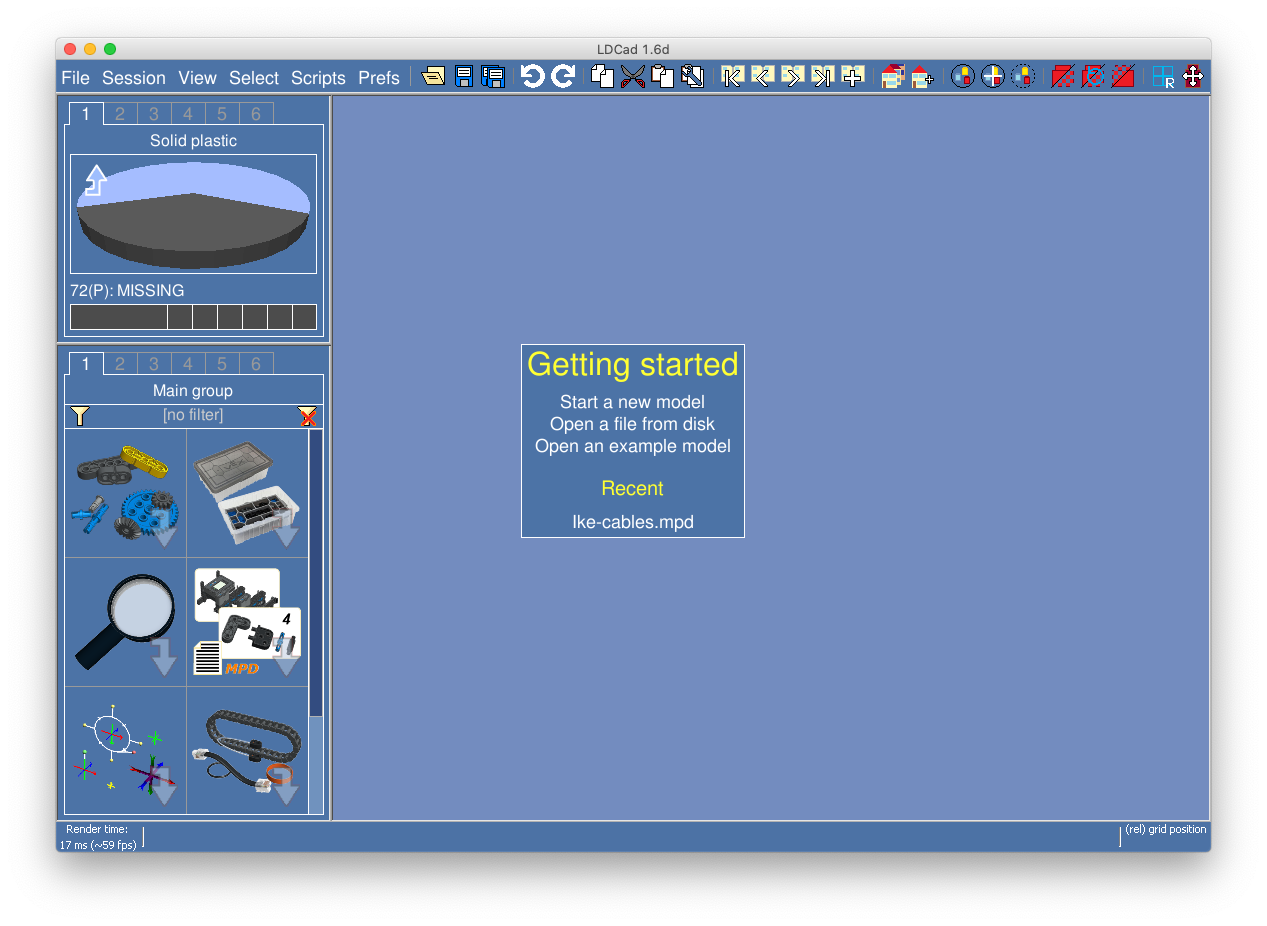
After copying the files over to the Windows font folder, relaunch LDCad with wine64 LDCadVEX.exe in the terminal. The text in the interface should now appear correctly:
Now that the LDCad interface is legible, it's time to point it at our parts library. To do this:
- Select "Prefs" > "LDraw" > "Search (library) paths".
- Click "New".
- Change the "type" to "Official library".
- Unfortunately, the graphical file picker doesn't seem to work here, so we'll have to enter the path to the library ourselves. This is a Windows-style file path, so forward-slashes are used (
\, not/), and the root of your Mac's file system is mounted atZ:\as far as programs running in Wine are concerned. So, your documents folder will be atZ:\Users\{your username}\Documents\, and my parts folder ended up being atZ:\Users\john\Documents\vexiq_snapcad_parts\. Don't forget the trailing slash after the name of the folder. - Click accept, then close and relaunch LDCad.
Once you've relaunched LDCad, the parts library should be loaded correctly. Confirm that it is by clicking around in the parts selector on the left-hand side of the window. If you can see preview images of all the individual parts, then LDCad has successfully found your parts library.
We've now set up LDCad in Wine on macOS, and the next step is to build something cool! To launch LDCad again in the future, you'll need to navigate to the folder containing the LDCad executable, and run wine64 LDCadVEX.exe.
For more information on using LDCad, consult the official documentation.