
brew install --cask iterm2
Or, if you do not have homebrew (you should ;)): Download and install iTerm2
iTerm2 has better color fidelity than the built in Terminal, so your themes will look better.
Get the iTerm color settings
Just save it somewhere and open the file(s). The color settings will be imported into iTerm2. Apply them in iTerm through iTerm → preferences → profiles → colors → load presets. You can create a different profile other than Default if you wish to do so.
More info here: https://github.com/robbyrussell/oh-my-zsh
sh -c "$(curl -fsSL https://raw.githubusercontent.com/robbyrussell/oh-my-zsh/master/tools/install.sh)"
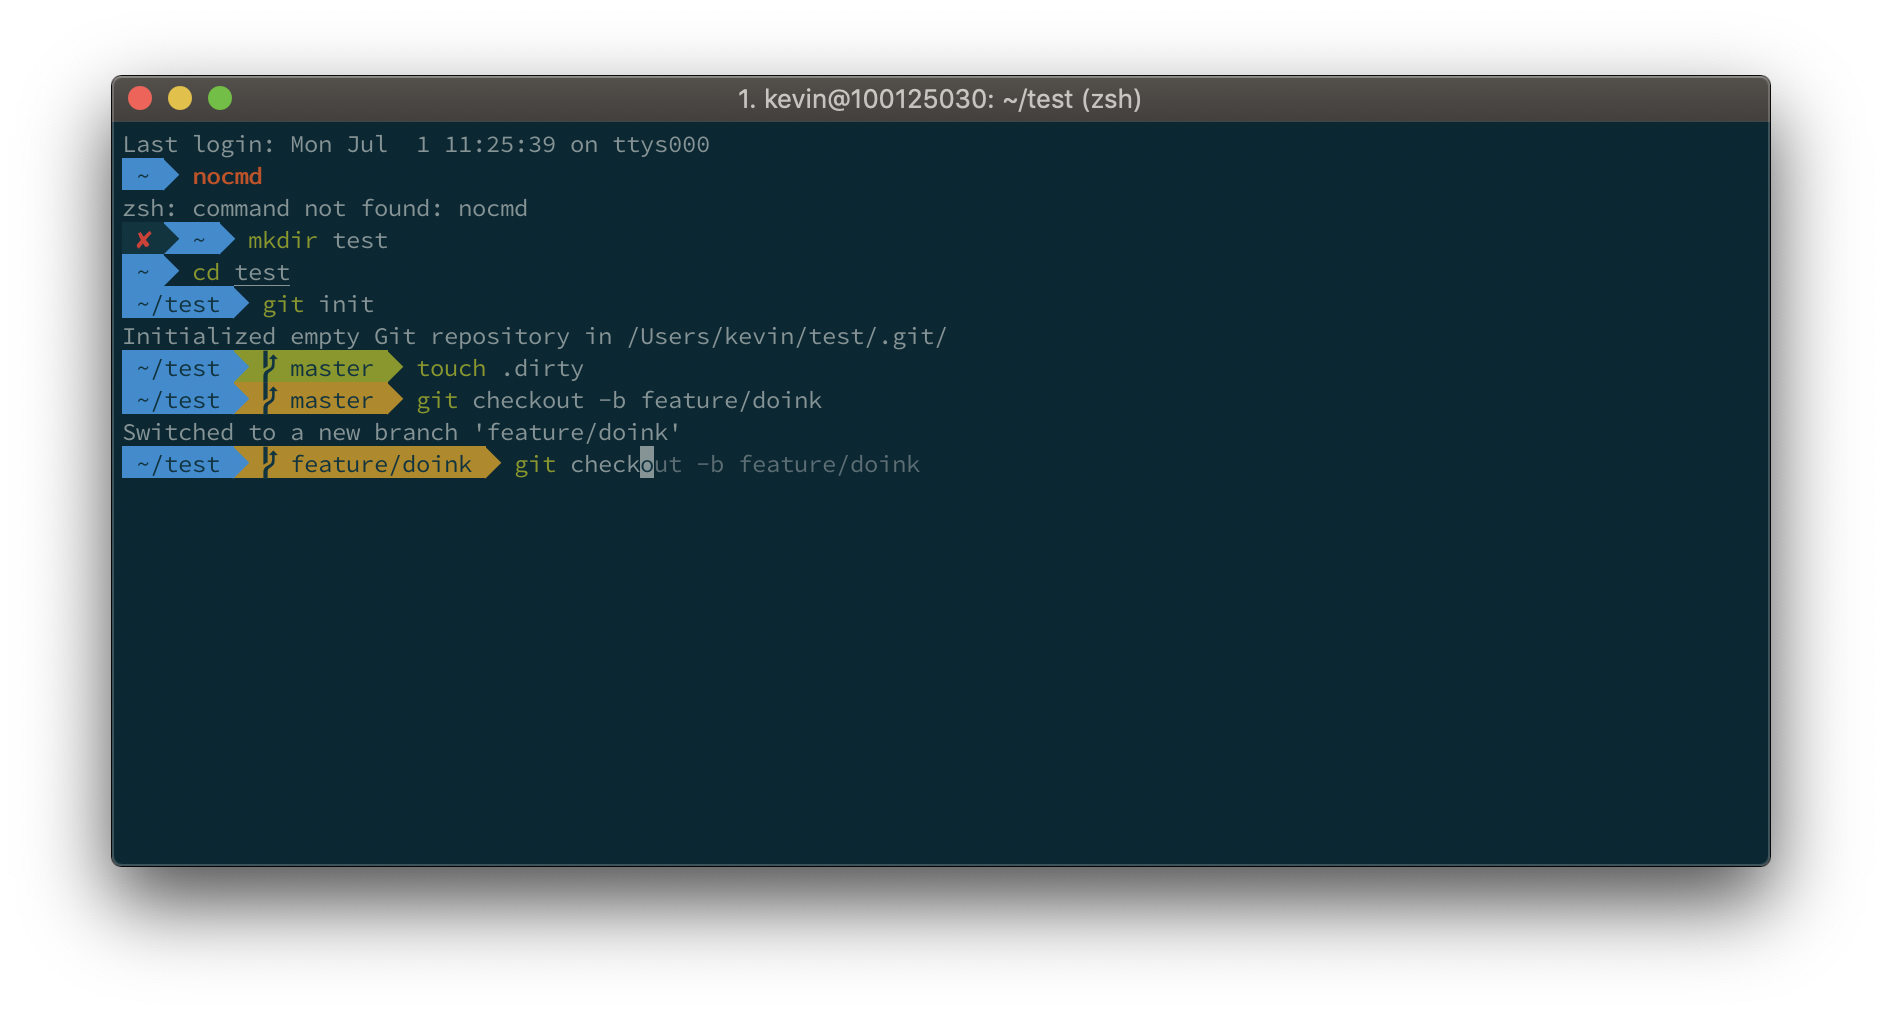
When the installation is done, edit ~/.zshrc and set ZSH_THEME="agnoster" for the default look. Or better yet, go for Powerlevel10k.
Why Powerlevel10k? Well, because it's a drop-in replacement for Powerlevel9k, just a lot faster to render your prompt. ls feels fast again!
So if you prefer the Powerlevel10k look with added info such as exit codes and timestamps on the right, run:
git clone https://github.com/romkatv/powerlevel10k.git $ZSH_CUSTOM/themes/powerlevel10k
Then edit your ~/.zshrc and set ZSH_THEME="powerlevel10k/powerlevel10k". Once you do so, when you start a new terminal session, the Powerlevel10 configure wizard will be launched to set your prompt, beware, there are many many options!
Powerlevel10k offers a whole lot more and is extremely configurable, best is to check its project page.
If you want to trigger the configuration wizard immediately, simply run p10k configure to discover all options, which are plentiful.
If you did not go with Powerlevel10k or you want another font, read on:
Open the downloaded font and press "Install Font".
Set this font in iTerm2 (iTerm → Preferences → Profiles → Text → Font), in the dropdown select the desired Font. You will see it change on the fly.
Restart iTerm2 for all changes to take effect.
Things like
can be found in the section below.

Just follow these steps: https://github.com/zsh-users/zsh-autosuggestions/blob/master/INSTALL.md#oh-my-zsh
If the auto suggestions do not appear to show, it could be a problem with your color scheme. Under "iTerm → Preferences → Profiles → Colors tab", check the value of Black Bright, that is the color your auto suggestions will have. It will be displayed on top of the Background color. If there is not enough contrast between the two, you won't see the suggestions even if they're actually there..
By default, word jumps (option + → or ←) and word deletions (option + backspace) do not work. To enable these, go to "iTerm → Preferences → Profiles → Keys → Key mappings → Presets... → Natural Text Editing → Boom! Head explodes"
Clone the repository:
git clone https://github.com/zsh-users/zsh-syntax-highlighting.git ${ZSH_CUSTOM:-~/.oh-my-zsh/custom}/plugins/zsh-syntax-highlighting
Activate the plugin in ~/.zshrc:
plugins=( [plugins...] zsh-syntax-highlighting)
Restart iTerm2 for all changes to take effect.
Installing a patched font will mess up the integrated terminal in VS Code unless you use the proper settings. You'll need to go to settings (CMD + ,) and add or edit the following values:
"terminal.integrated.fontFamily": "'SourceCodePro+Powerline+Awesome Regular'". The single quotes are important! Restart VS Code after the config change."terminal.integrated.fontFamily": "Source Code Pro for Powerline""terminal.integrated.fontFamily": "Meslo LG M for Powerline"You can also set the fontsize e.g.: "terminal.integrated.fontSize": 14
@romkatv
Oh, I got it, thanks!!!
I successfully installed self-suggestion, but it recommends letter by letter, not word suggestion.
I use WebStorm and the icons are not showing. How do I fix it? Many Thanks

I use WebStorm and the icons are not showing. How do I fix it? Many Thanks
You need to download font and apply terminal font.

@Prrromanssss The GitHub logo is displayed when you are on a branch with a remote on github.com. In your git repository the branch "main" either does not have a remote or it's not on github.com.