This is a simple guide on how to automate UK lights with a Shelly 1 by installing the shelly 1 relay into the ceiling pendant which has both permanent live, neutral and a switched live back from the wall switch.
These steps are from my own experience making my lighting "smart" but also user friendly (it works via a wall switch!). This simple guide will go through replacing an a normal ceiling pendant with one with room for a Shelly 1. If you have a ceiling light with a bigger base it's even easier.
Warning Electrical regulations must be followed by law. If you are not a competent person under the regulations do not attempt electrical work. https://www.diydoctor.org.uk/projects/electrical_safety.htm
This diagram has been taken from here and modified to include the Shelly 1.

- Shelly 1 - https://shelly.cloud/product/shelly-1-open-source/
- Connector Set - https://www.screwfix.com/p/ideal-lever-wire-connectors-combo-pack-30-piece-set/6472g
- 3 Core Flex - https://www.toolstation.com/shop/Electrical/d190/Doncaster+Cables+%26+Flexes/sd3428/Doncaster+Cables+3+Core+Round+Flex+Cable+%283183Y%29/p42361
- Ceiling Rose [optional] - https://www.ebay.co.uk/itm/E27-Holder-Ceiling-Rose-Pendant-Light-PVC-Fabric-Flex-Lamp-Fitting-Lighting-Uk/232976733437
- Wire Stripper [optional] - https://www.amazon.co.uk/AWinEur-Stripper-Multifunctional-Automatic-Stripping/dp/B07C3FH1QR/
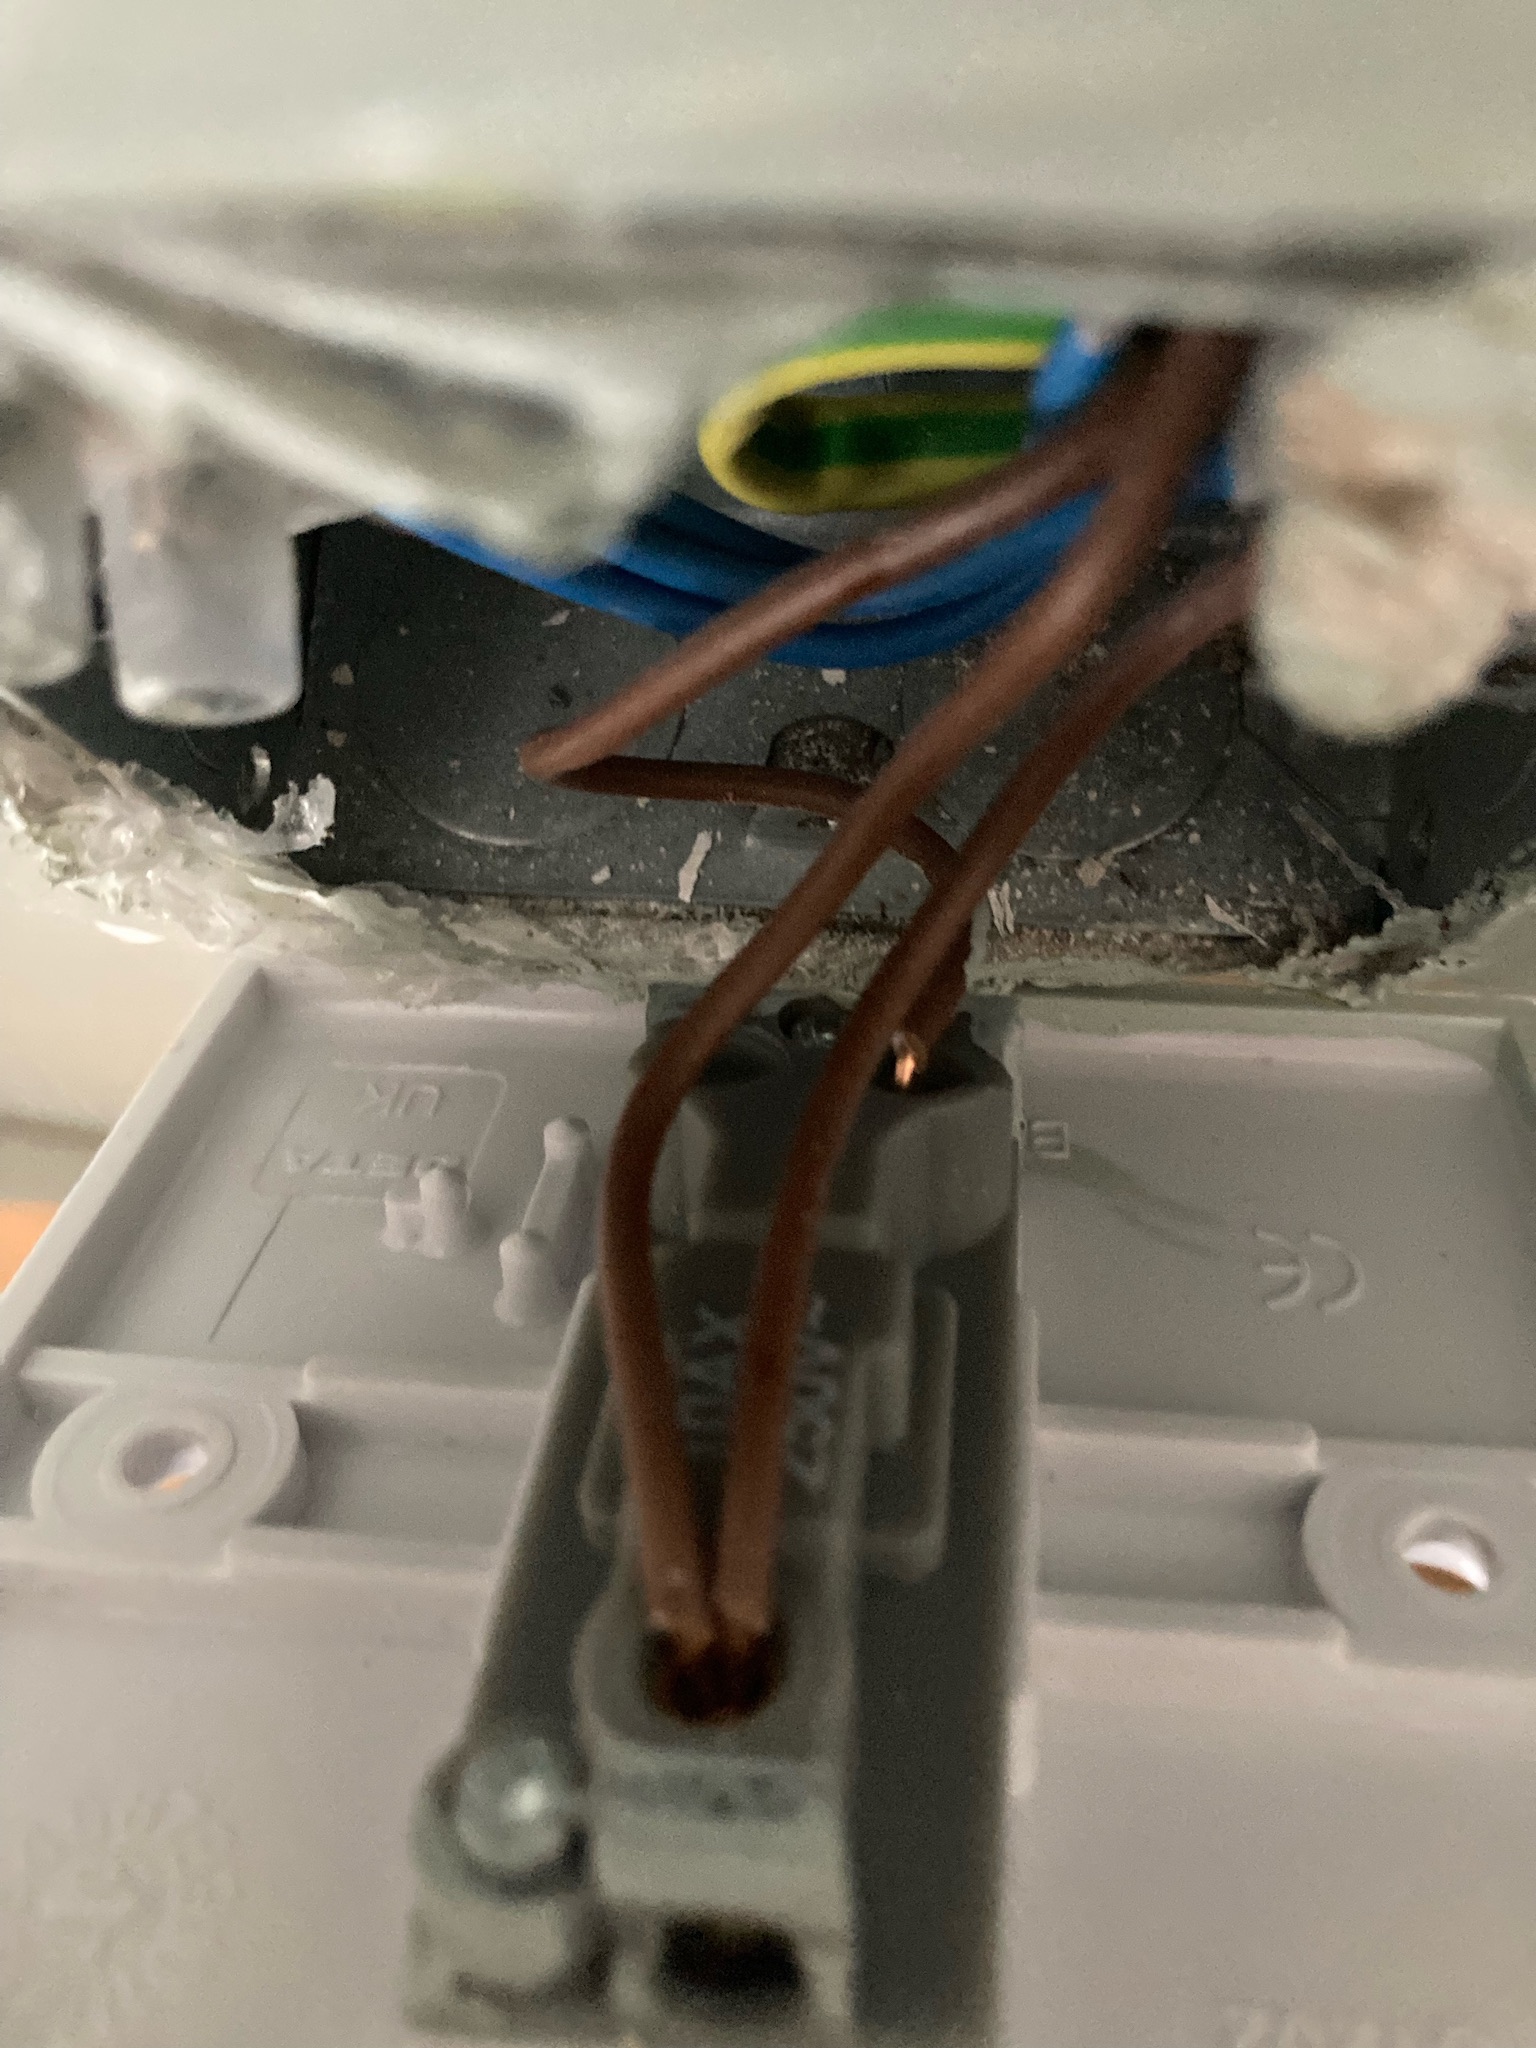
- First pre-wire as much as the Shelly as you can.
2. You want a two lengths of brown wire around 6cm which will be the LIVE in and the SW in (Switched live back from the light switch), a length of blue wire around 6cm for the NEUTRAL in.
3. Cut a small piece of wire to connect LIVE to I (Input). This is the power feed shelly will supply to your light.
4. It should now look something like the following, only O (output which goes to the lamp live) will be un-populated.
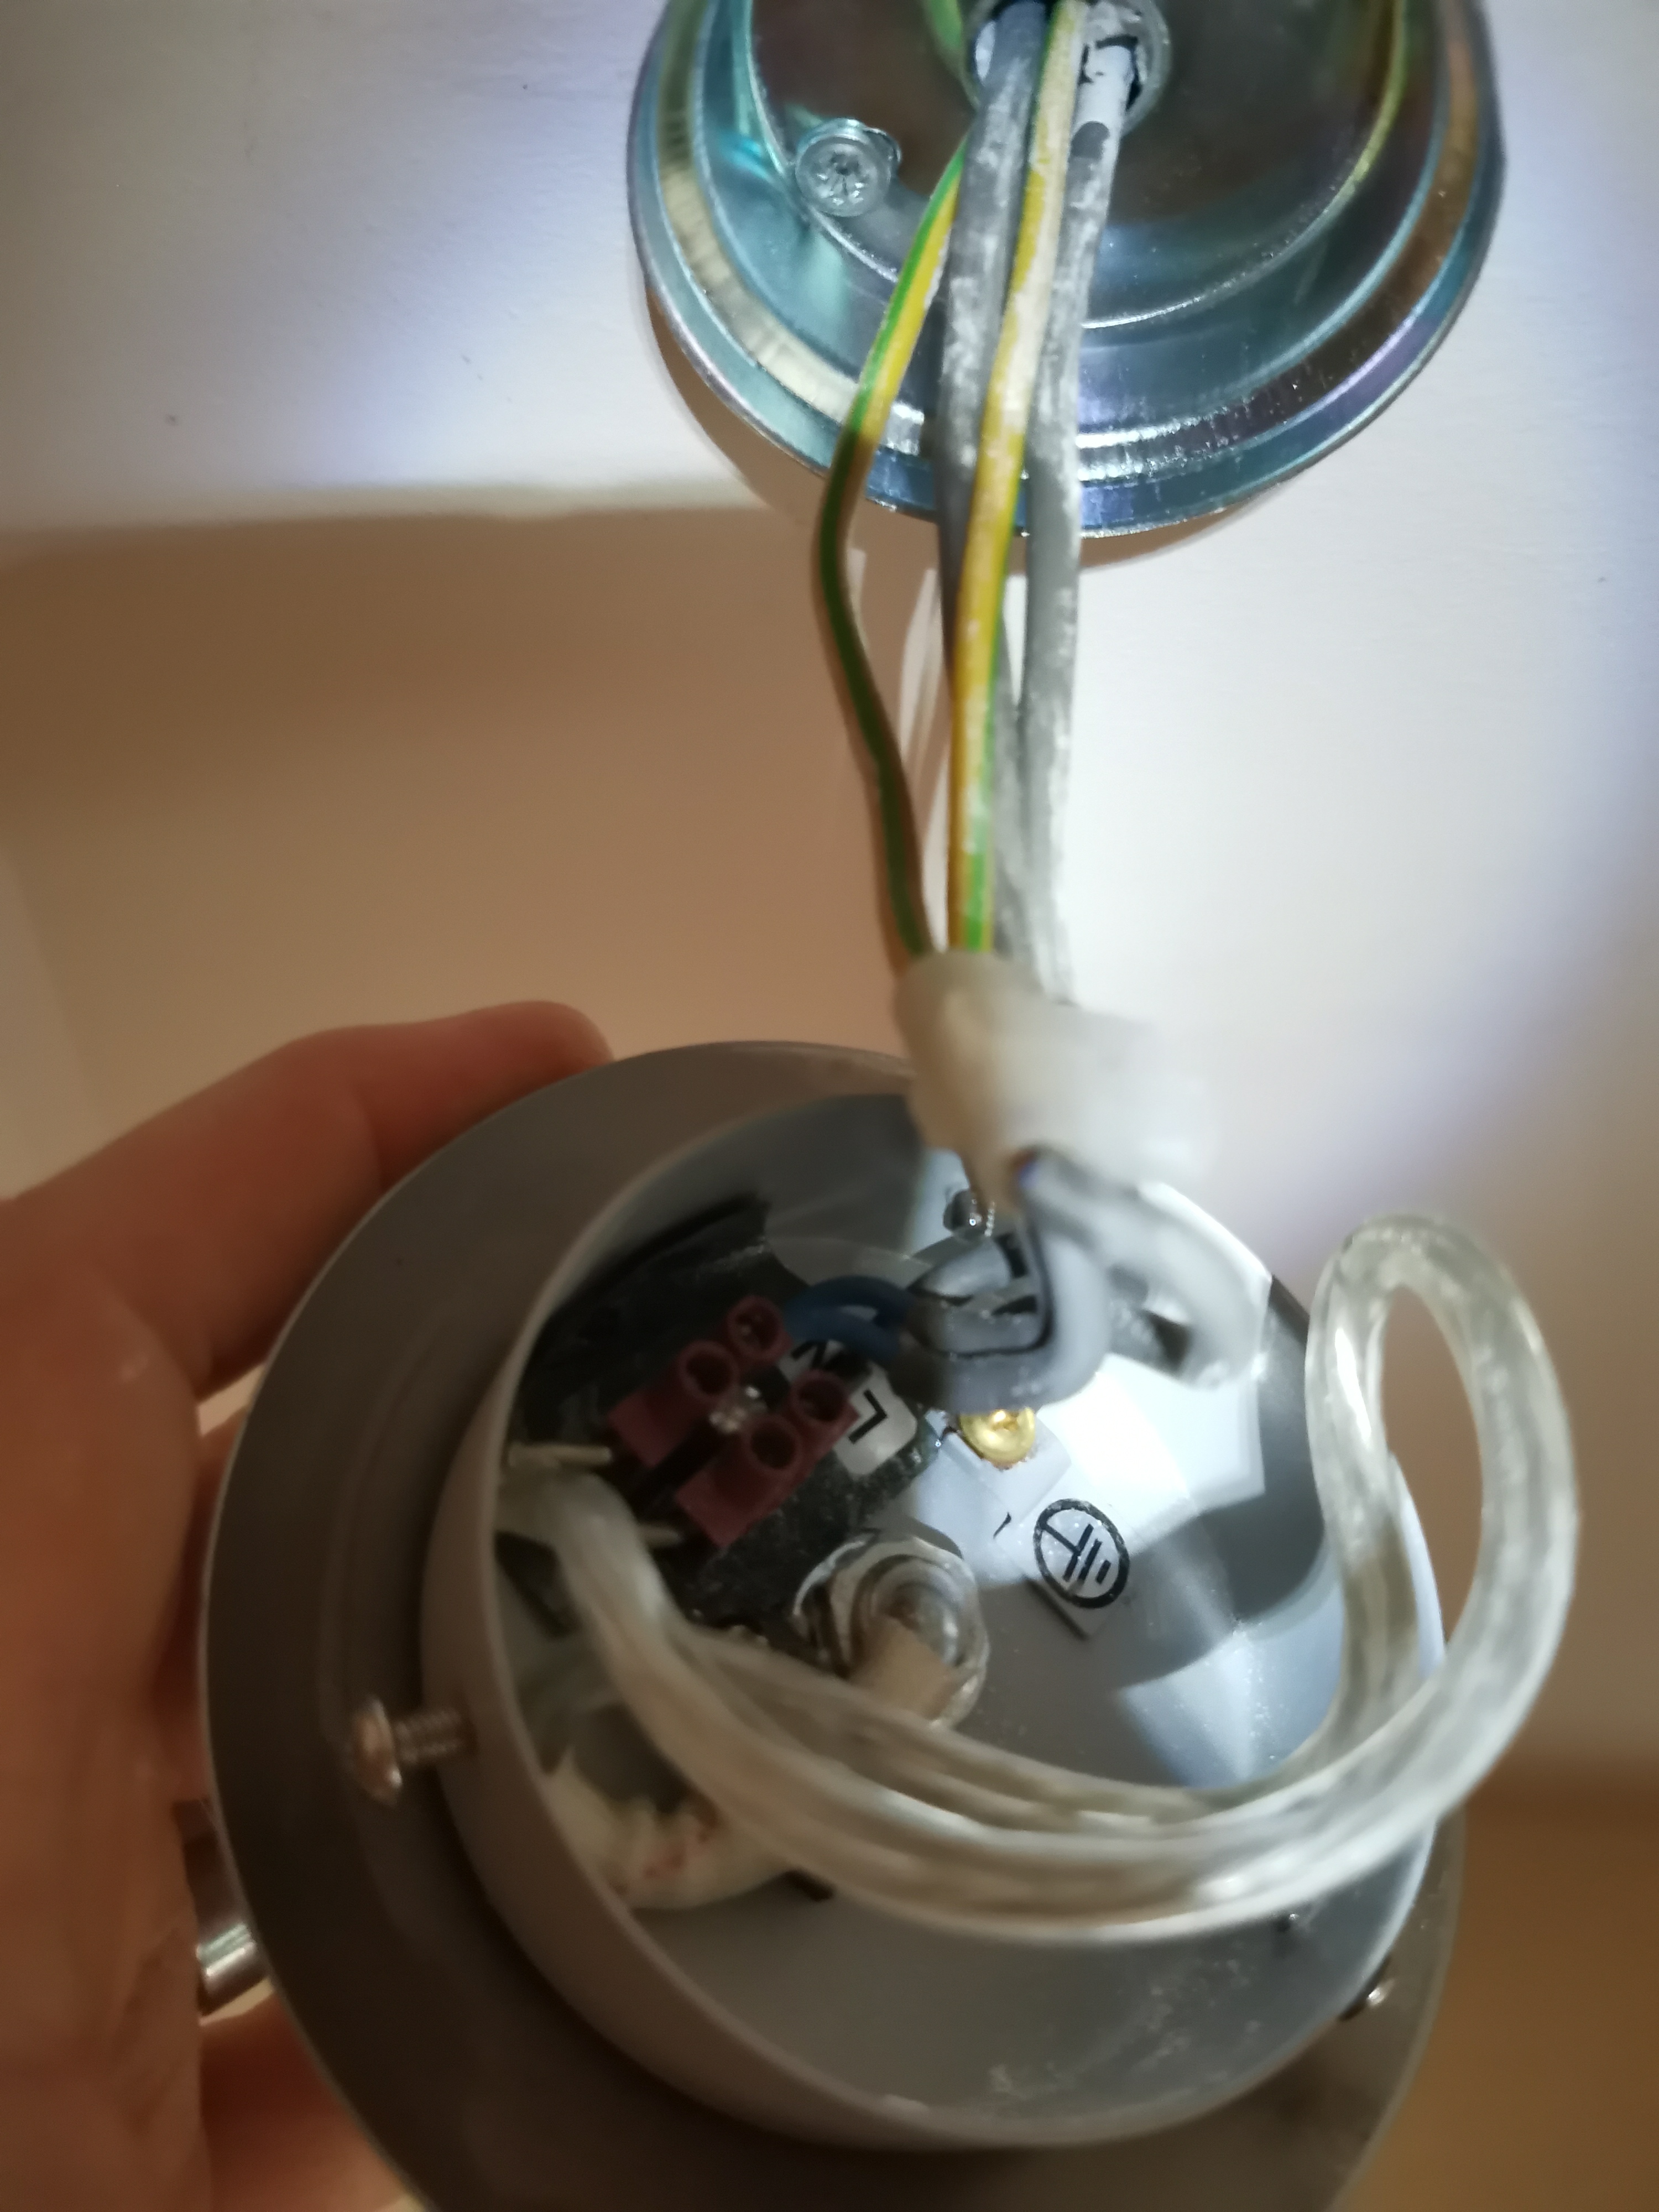
- Install the shelly into the base of the new lamp and connect up the lamp wires. 3. Rember to reduce the length of the lamp wire so the pendant is at the correct height. 4. The red/brown live of the lamp should connect to the O(utput) of the Shelly 1. The shelly will only supply power when you want the light on! 5. The neutral of the lamp can be fitted into the N terminal of the shelly if there is room, otherwise you can put it into the neutral connector block you will be installing.
- It should look something like this:
- Time to replace the ceiling pendant. If the wiring seems strange and you don't understand it, do not go ahead and please consulate a qualified electrician.
- Turn off the lighting circuit you are modifying and ensure that nothing is live (ensure the light does not work and use a voltage detector around the base of the light)
- Once you have removed the lamp shade, bulb and unscrewed the pendant it should look like this:
- Please make sure you know what wires are which, this is very important!
- In this instance it's a very basic ceiling rose as the room only has one light. There are two neutral wires, three permanent live wires and a switched live wire (a red sleeved neutral wire which returns from the wall switch).
- The ceiling rose has a built in connector block, in order to fit the shelly we are replacing this with a simply bracket which the ceiling rose cover fits to and using our own connector blocks instead of one built into a base.
- You need to disconnect the lamp, which connects to the switched live block and the neutral block. It should now look something like this:
- Remove the base keeping the wires together, you will need 4 connector blocks (Earth, Live, Neutral, Switched Live). For each block you need support for N + 1 wires. For example, Live in the above example will need a 4 way, the switched live will need a 2 way.
- Install the bracket for the new ceiling rose it should look something like this (I had not put on the earth connector at this point)
- Time to connect the lamp up. 14. Connect up the N(eutral) from the Shelly (which includes the lamp) to the Neutral connector block. 15. Connect the L(ive) from the permanent live block to the Shelly. 16. Connect the SW(switched live) input from shelly to the switched live (sleeved neutral) connector block. 17. Connect the earths of all wires AND the metal ceiling rose together.
- It should now look something like this, this can be very tricky as there's not much space! It's much easier with lights with large bases. Make sure all connections are secure!
- Secure the cover to the bracket on the ceiling, being careful with the cables and ensuring they have room and that the cables are secure. It should now look something like this:
- Done! Install a bulb and time to turn the power back on.
- Use the Shelly 1 App to add the Light to your network, also configure the button action! I have mine set to "Edge Switch" so the wall switch will change the status of the light no matter the position.


Before and After pictures


I use the shelly MQTT support to monitor and control the lights in real-time (no waiting on a HTTP poll). WARNING using MQTT will disable cloud functionality through the shelly app.
- Get the IP address of the Shelly through the Shelly App (Settings -> Device Information). Also make a note of your Device ID.
- In a web browser go to the IP address of the Shelly, under the "Internet Security" tab there is an "ADVANCED - DEVELOPER SETTINGS" toggle. Tick the "Enable action execution via MQTT" 3. Enter your MQTT server IP and port 4. Tick "Retain" this ensures that home assistant always knows the correct state.
- Hit Save!
- In your home-assistant configuration.yml put the following
    light:
	  - platform: mqtt
	    name: Some Light
	    command_topic: "shellies/shelly1-<DEVICEID>/relay/0/command"
	    state_topic: "shellies/shelly1-<DEVICEID>/relay/0"
	    payload_on: "on"
	    payload_off: "off"
- This is making the assumption that you already have your MQTT server configured. I personally use a separate MQTT instance instead of the built-in one as I have a lot of devices using MQTT.
- Done! restart home assistant and you should be away.


In regards to what?
Having a neutral connected for the dimmer would allow the shelly to complete it's circuit without going through the bulb which will be better. But it could just be the bulb which is the issue.