Step 1 - Register for a Mailgun account
Go to this page and register for an account: https://www.mailgun.com
There is a free option available.
Step 2 - You should see a success page for Mailgun
You’ll then be brought to a success page. Here is an example:
http://cl.ly/0F2L2h380Y22/Image%202016-06-29%20at%205.45.07%20PM.png
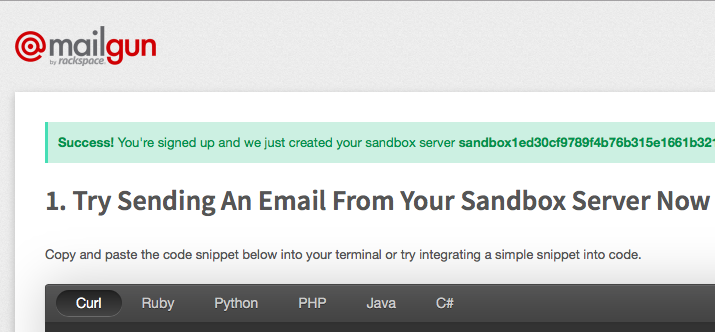
Scroll down to the end of the page and you’ll see an area to add your domain. Instead of doing that, lets verify your email address with Mailgun. This will be required later so it is a good idea to take care of this task now.
Step 3 - Confirm your email address with Mailgun
Go to your email inbox and look for an email from Mailgun. Here is an example:

Then click on the button to confirm your email address and you’ll be taken to a page where you’ll need to enter a mobile phone number to verify. Enter your mobile phone number and click Send Verification Code.
Within a few moments, you should receive the verification code as a text message. Enter that code into the Verification Code field and then click on the Validate button.
Step 4 - Add a custom domain to Mailgun
You'll now be viewing the dashboard for your Mailgun account. Here is an example:

In the top left area of the screen, you’ll see a link for Domains. Go ahead and click on it.
Then click on the Add New Domain button which looks like this:
http://cl.ly/2L3f1Q0D1b44/Image%202016-06-29%20at%205.55.40%20PM.png
Now enter your domain name. For example, if your website URL was example.com, then you would enter example.com in the Domain Name field and click on the Add Domain button.
Step 5 - Verify your Domain through your DNS Provider
You'll now need to verify that you own the domain that you are trying to add and that will require making some changes to your DNS records. If you are not familiar with DNS records, then please reach out to a web professional for some help.
Then complete steps 1 through 3. Step 4 is optional and is not needed. Additional information is available on this page:
https://help.mailgun.com/hc/en-us/articles/202052074-How-do-I-verify-my-domain-
Once you are done, click on the Continue to Domain Overview button which appears at the end of the page.
Step 6 - Allow time for your Domain to be Verified by Mailgun
The verification process depends on how quickly your DNS records are updated. It can take anywhere from a couple hours up to about a day. You don’t need to keep checking on your own. Mailgun will send you a notification email to let you know when the verification process is complete. Here is an example:

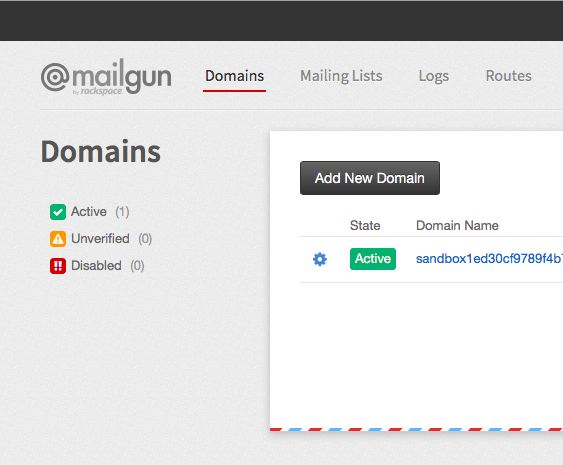
Now you can return to your Mailgun dashboard and go back to the Domains screen.
Login to your Mailgun account here: https://www.mailgun.com
Next, look for Domains in the top left area of the screen and click on it. You should see your domain appear with an Active status. Here is an example:

Go ahead and click on the domain name and on the next screen look for the Domain Information section. You’ll need some information from there shortly so keep this browser tab open.
Step 7 - Install and Activate the Mailgun plugin on your WordPress site
Open a new browser tab and login to your WordPress dashboard (WP-admin) and go to Plugins. Then click on Add New. Type Mailgun in the search box and run the search. You'll then see some search results. Look for the Mailgun plugin. Here is an example:

Then click on Install Now to install the plugin and then click on Activate.
Step 8 - Configure your Mailgun plugin
Look for the Settings menu in the admin menus on the left side of your screen and then click on Mailgun.
You'll now be viewing the settings page for Mailgun within your WP-admin (WP dashboard). Here is an example:

Look for Click Tracking and Open Tracking and set both of those settings to No. If you have enabled DNS records for tracking, then you can leave them as-is. If you are not sure if this task was done, then it is a better choice to set them to No so that your email links are not broken.
In the field for Mailgun Domain Name, enter your exact domain name as you entered it when you setup your Mailgun account. For example, if your web domain was called example.com, then you’ll want to enter in that domain:
example.com
Now you’ll need your API Key for Mailgun. Switch back to your browser tab for Mailgun and look for the API Key and copy it. Then switch back to your Mailgun settings screen for WordPress and paste it in.
Now scroll down to the end of the page and click on Save Changes.
You can then scroll down to the end of the page and click on the Test Configuration button. Once you do that, then you will see a pop-up notification and an email will be sent to the email address that is setup for the WordPress site in WP-admin --> Settings --> General.

If you see a success message and receive the test email, then things are working. If not, then double-check your domain name and the API Key and save changes. Then try again.
References:
https://eventespresso.com/wiki/postmark-app-mandrill-transactional-email-handling-services/
See more tips for Event Espresso