So, you want to host an event on Discord. You've come to the righ place! Discord is home to many communities, and we are excited to welcome yours as well; we hope that it sticks around after the event is done!
You're looking to make sure that the management of your event goes off without a hitch, especially for folks who may be new to Discord. This doc will walk through what the experience looks like for someone attending your event, from buying a ticket to getting connected to others.
The experience with Discord starts at the point that your attendee purchases (or claims, or otherwise obtains) their ticket. At this point, you'll want to prompt the user to connect their Discord account to access the Discord for the event. No worries; if they don't have an account, they'll be prompted to create one.
Your attendees will land on a page that looks like this:
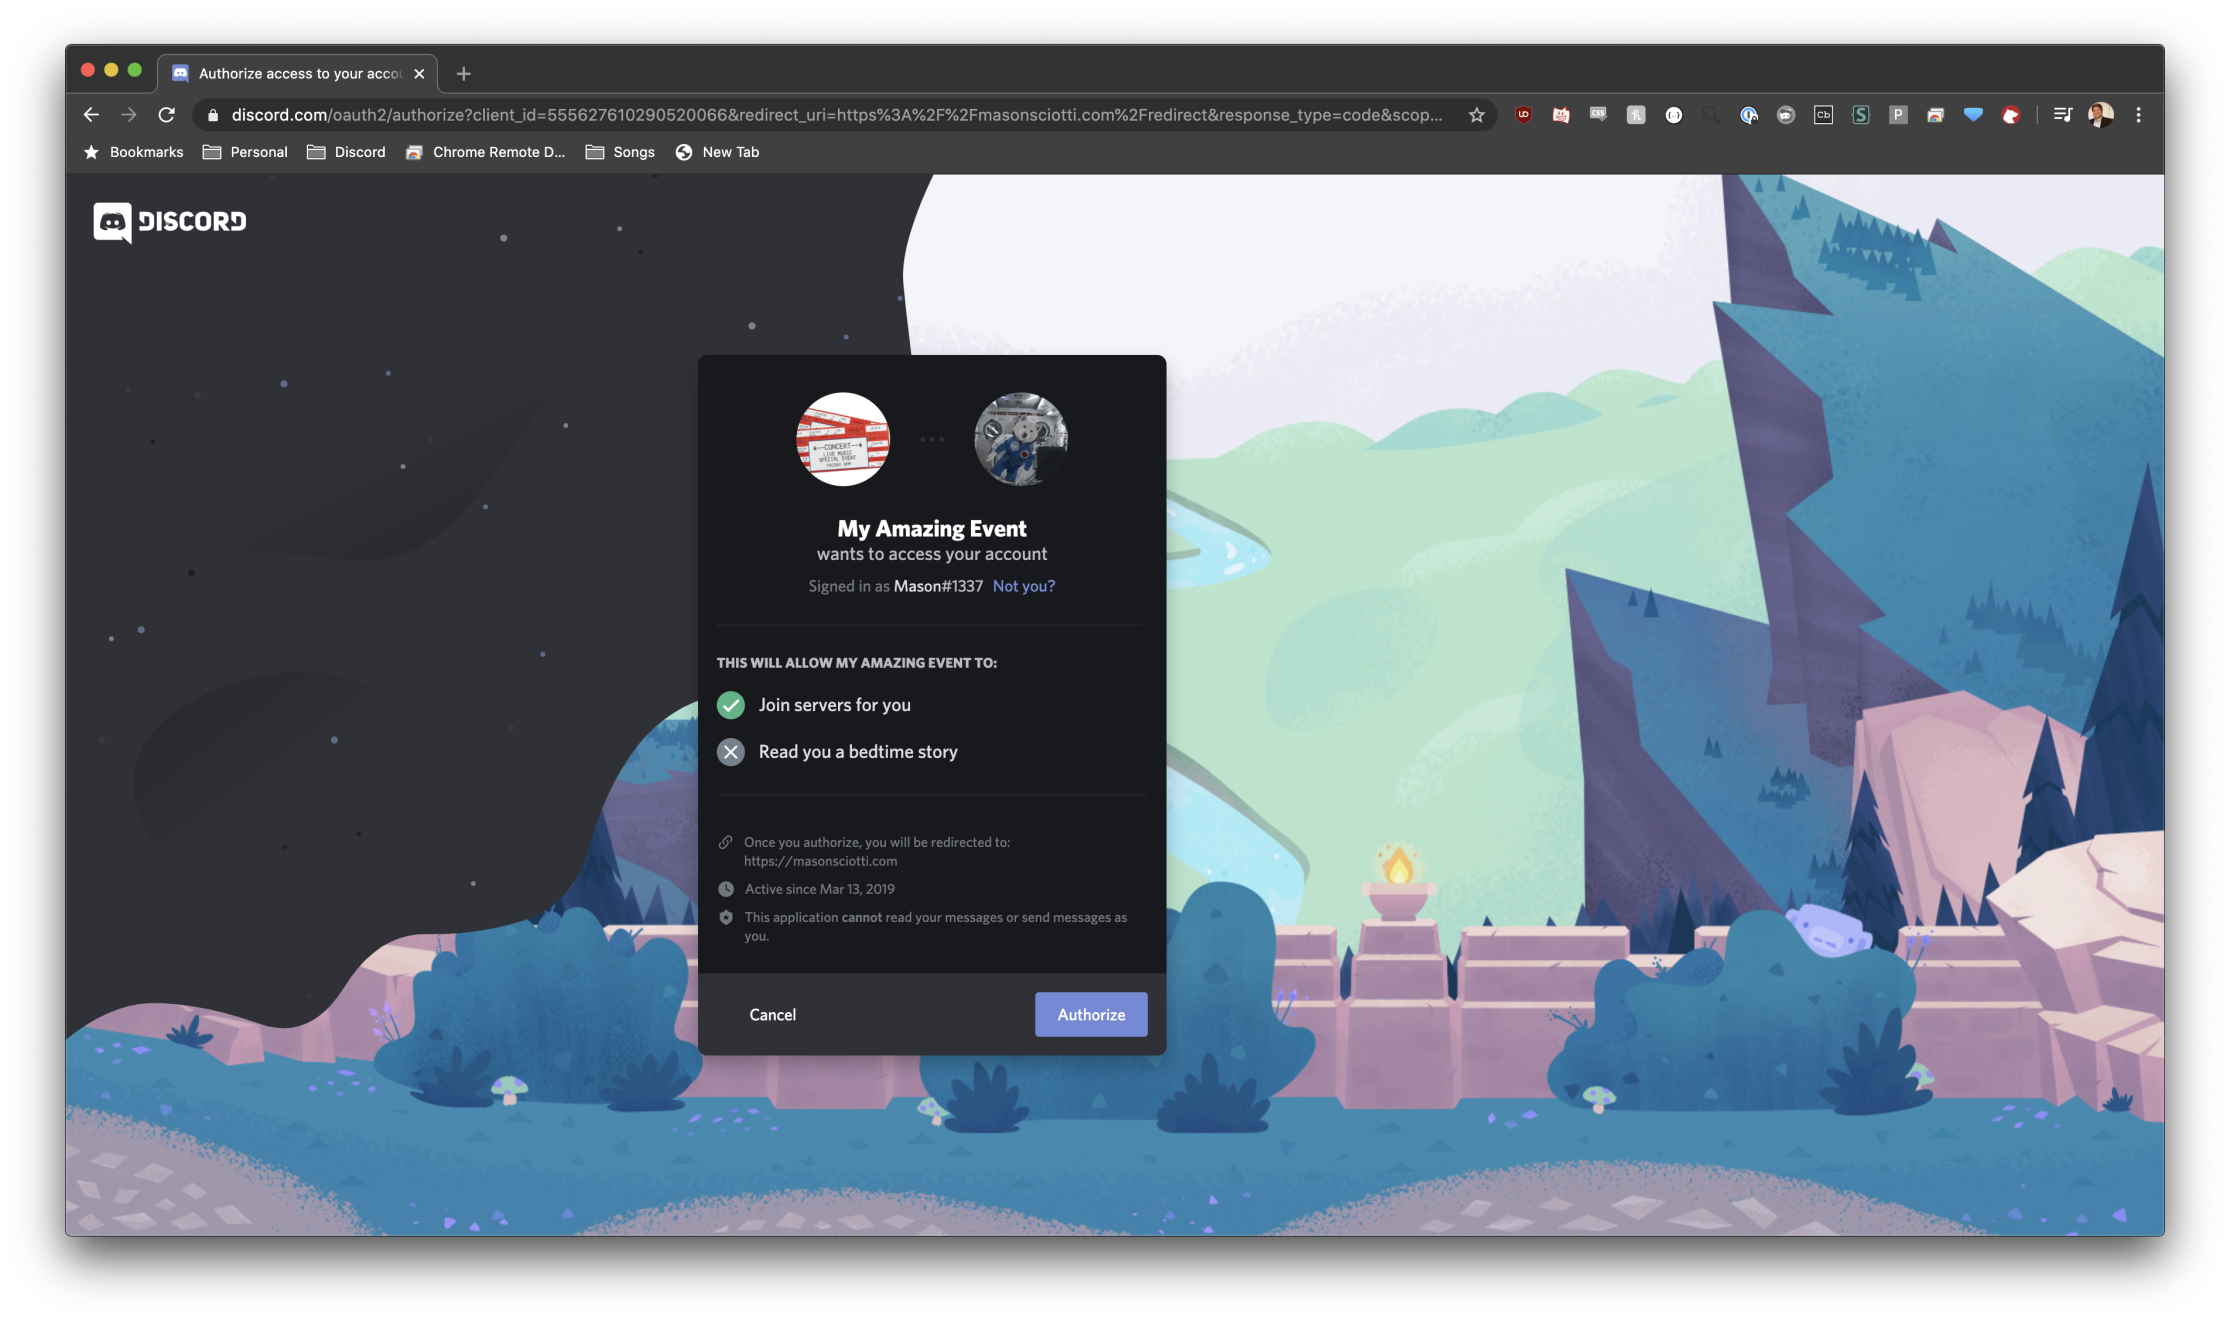
Again, if they don't have a Discord account, they'll first be asked to make one, and then they'll see this page.
Next, due to your integration, they'll be automatically joined to the event's Discord server, and given whatever roles you've decided they should have. Presumably you have your own backend system that knows who should be an attendee, a presenter, a moderator, etc.
Now everyone's in Discord and all organized; time to start the show!
Now that we understand the user experience, let's talk tech. This integration depends on using OAuth2 from Discord to connect a user's Discord account to your own infrastructure. We highly recommend you read our OAuth2 documentation prior to starting work: https://discord.com/developers/docs/topics/oauth2
guild- what we call Discord servers internallyguild_id- the unique ID of the Discord server. This can be found by opening up User Settings --> Appearance --> Toggle on Developer Mode --> Right click the server in the list --> Copy Idrole_ids- the unique id of a role in the guild. They can be fetched by using https://discord.com/developers/docs/resources/guild#get-guild-roles
First, create an application in Discord's Developer Portal at: https://discord.com/developers/applications

Next, you'll want to open up your application and navigate to the "Bot" section. Hit "Add Bot" and confirm:

Copy your Bot's token and keep it somewhere safe; you'll need to interact with the Discord API:

Next, we need to add the bot to our server with the right permissions to be able to assign roles to users. You'll want to click on this link, replacing CLIENT_ID with your application's client id, found on the General Overview page:
https://discord.com/api/oauth2/authorize?client_id=CLIENT_ID&permissions=268435456&scope=bot
THIS IS NOT A LINK TO SHARE WITH YOUR ATTENDEES.
When you click that link, make sure you've got your event server picked, and continue to the end of the flow:
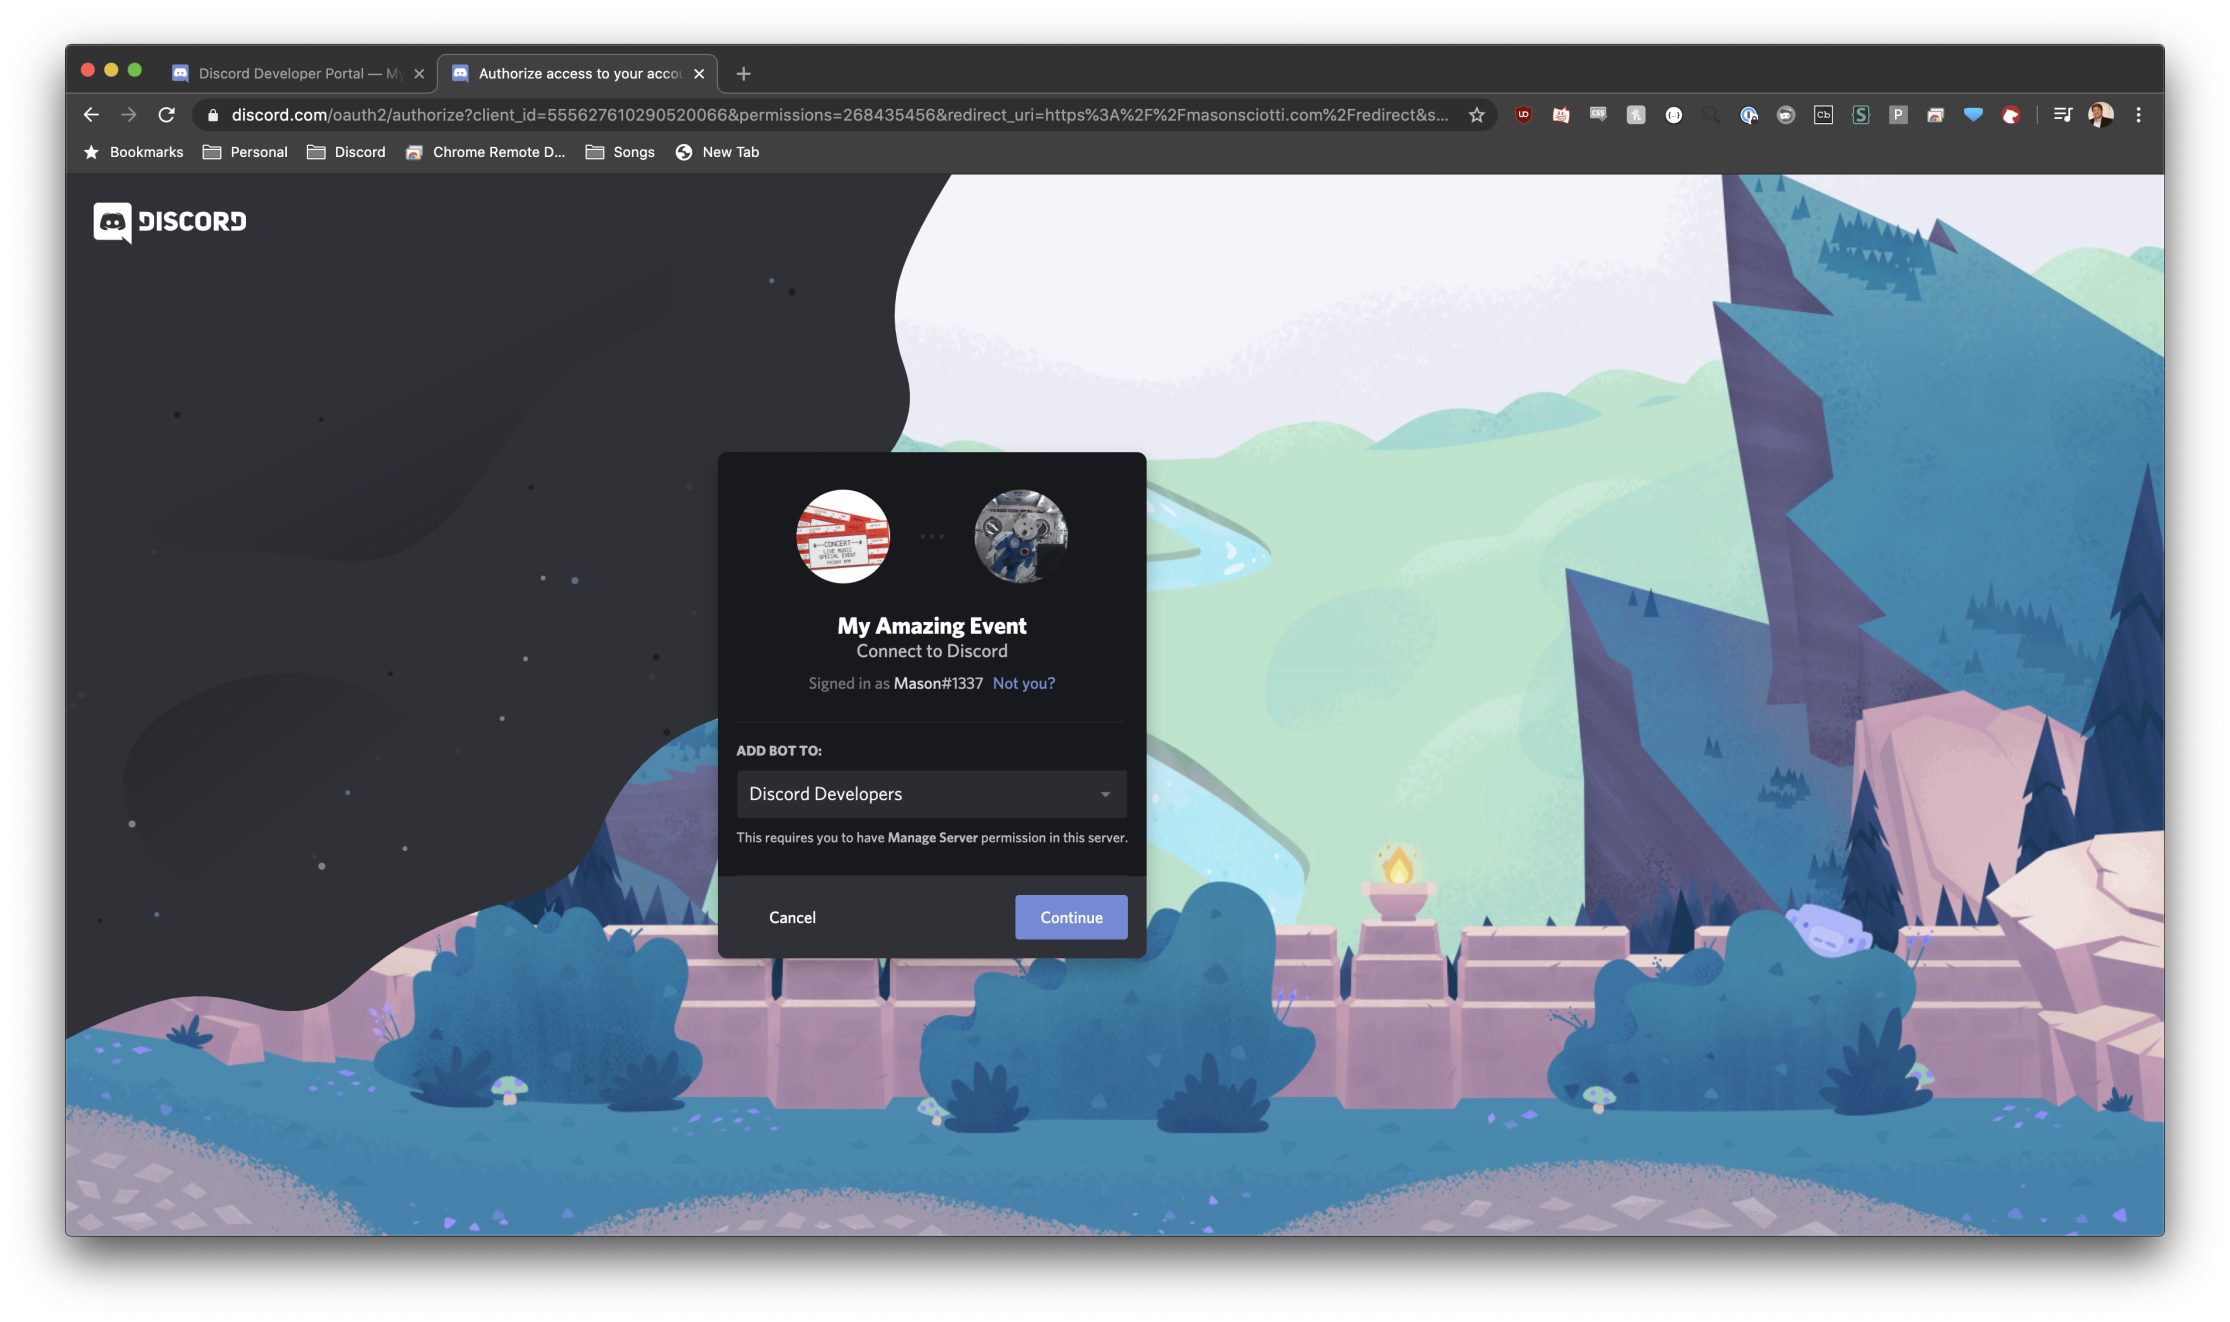
If it all worked correctly, you'll see your new bot in the member list of your server!
OK, so how do we get people into this server? Let's set up our OAuth2 integration! Head back to your application and click on the "OAuth2" subsection. You'll need to enter a redirect_uri, as per the OAuth2 RFC spec:

After that, you'll want to build the URL that attendees will click on to begin the flow. Luckily we've got a tool to make it easy! Make sure the following checkboxes are checked:

And click copy to get the URL. This is what your attendees will click! Clicking on this URL will bring you to a page similar to the one where we invited the bot. At the end, the user will be redirected to your redirect_uri. We recommend setting up a redirect_uri as an endpoint on a backend server that can handle the GET request and parse the OAuth2 code out of the query parameters to continue the OAuth2 flow. You can nicely redirect your attendee to a completion screen afterwards for a good UX.
Lastly, we need to exchange the code for an access token for the user. This is standard OAuth2 stuff, but here's a small code snippet to help:
API_ENDPOINT = 'https://discord.com/api/v6'
CLIENT_ID = '332269999912132097'
CLIENT_SECRET = '937it3ow87i4ery69876wqire'
REDIRECT_URI = 'https://nicememe.website'

def exchange_code(code):
  data = {
    'client_id': CLIENT_ID,
    'client_secret': CLIENT_SECRET,
    'grant_type': 'authorization_code',
    'code': code,
    'redirect_uri': REDIRECT_URI,
    'scope': 'identify email guilds.join'
  }
  headers = {
    'Content-Type': 'application/x-www-form-urlencoded'
  }
  r = requests.post('%s/oauth2/token' % API_ENDPOINT, data=data, headers=headers)
  r.raise_for_status()
  return r.json()
At the end of this, you'll have an acess token for the attendee (and a refresh token, for when it runs out) that you can use against the Discord API.
At this point, you'll want to finish the flow by adding the attendee to the server—that's what the guilds.join scope was for!
First, you can use our GET Current User endpoint to get the basic Discord profile information about the token's owner: https://discord.com/developers/docs/resources/user#get-current-user
Because we asked for the email scope, you'll also get the email address with which they signed up to Discord. If you don't want that, you can remove that scope from your requests.
The "magic" endpoint is our Add Guild Member endpoint: https://discord.com/developers/docs/resources/guild#add-guild-member.
This endpoint allows you to add a user to a guild if you have their access token; you can also give them pre-defined roles that they'll join with!
An important note: the Add Guild Member endpoint requires a bot token for authorization. Remember that token we saved earlier from our bot? We need that now. We'll want to make a request that looks something like this:
API_ENDPOINT = 'https://discord.com/api/v6/guilds/<id>/users/<id>'

def add_to_guild(access_token):
  body = {
    'access_token': access_token,
    'roles': [list_of_role_ids]
  }
  headers = {
    'Authorization': 'Bot <token>'
  }
  r = requests.put(API_ENDPOINT, body=body, headers=headers)
  r.raise_for_status()
  return r.json()
Et voilà! The attendee is now in the event's Discord server with the proper roles.