You can see it anywhere. It's very popular in home screen, gallery screen. See how to do that.
- Create new project. Remove ViewController.swift and the view controller in Main storyboard.
- Add TableViewController to storyboard. Don't forget check
Is Initial View Controller - Name the Table View Cell and Identifier
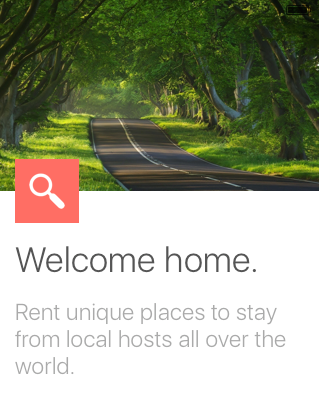
HeaderCell. Set cell's height to 400. - Design your cell look like this
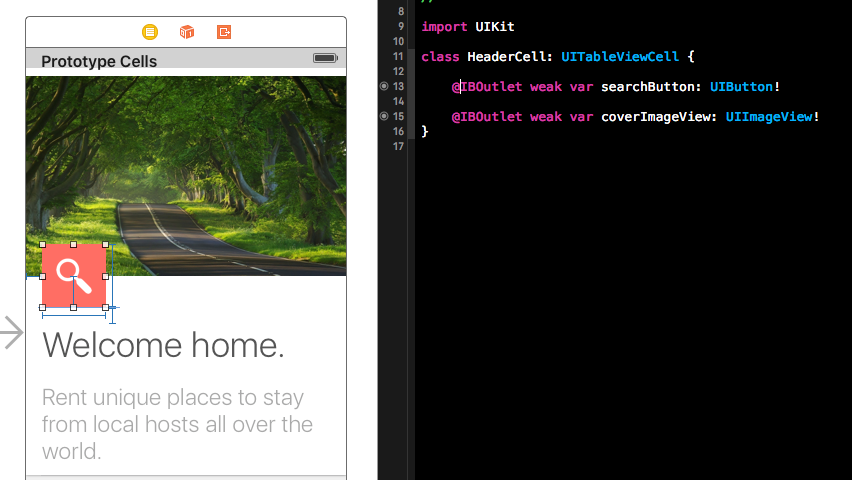
- Add new file
HeaderCell.swiftand connect with our HeaderCell. Remember,HeaderCell.swiftis subclass of UITableViewCell. Clear code and connect outlets.
-
Write a method to make the search button as a circle. Create a new file name
UIExtension.swift. You see how it's useful later.extension UIView { func createBorder(color: UIColor, width: CGFloat = 2) { self.layer.borderColor = color.CGColor self.layer.borderWidth = width } func createRoundCorner(radius: CGFloat = 4) { self.layer.cornerRadius = radius self.clipsToBounds = true } }
If you don't know about Extension yet, read more here. It's awesome.
-
Back to HeaderCell, add
setupView()method.func setupView() { searchButton.createRoundCorner(radius: 22) // radius must be button's height / 2 } -
Add a subclass of UITableViewController file name
HomescreenViewController.swift, connect it to your Table View Controller in IB and clear all template codes. -
Add some codes
class HomescreenTableViewController: UITableViewController { let sections = ["", "Recently View", "Favourite", "Suggestion"] // It's the header of the sections. The first empty section header is use for header. // MARK: - Table view data source override func numberOfSectionsInTableView(tableView: UITableView) -> Int { return 1 } override func tableView(tableView: UITableView, numberOfRowsInSection section: Int) -> Int { return sections.count } override func tableView(tableView: UITableView, cellForRowAtIndexPath indexPath: NSIndexPath) -> UITableViewCell { let cell = tableView.dequeueReusableCellWithIdentifier("HeaderCell", forIndexPath: indexPath) as! HeaderCell cell.setupView() return cell } override func tableView(tableView: UITableView, heightForRowAtIndexPath indexPath: NSIndexPath) -> CGFloat { return 400 } } -
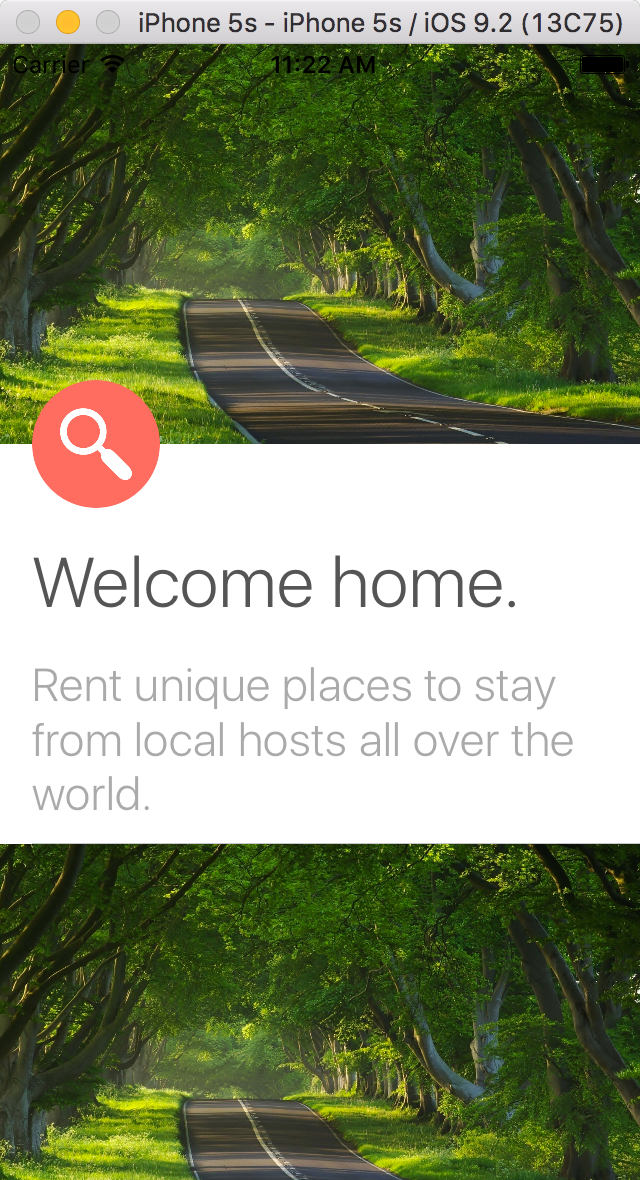
Run app and you see header cell.
- Now is the main design of the screen. Add new Table View Cell, name and Reuse identifier is
PlaceCategory - Change cell height to 400.
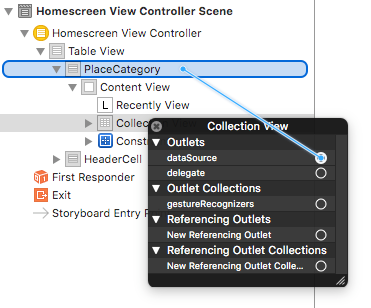
- Add a Collection View to your cell, set delegate and datasource to your
PlaceCategorycell.
- Select the Collection View and set cell size to width: 300, height: 350. Set scroll direction to Horizontal.
- Select the Collection View Cell and set reuse identifier is
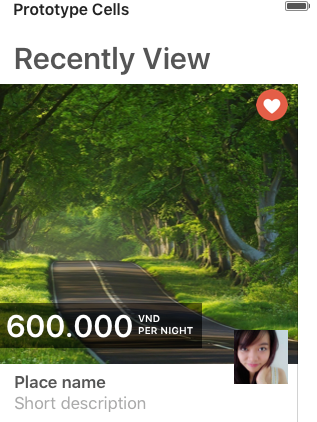
PlaceCell - Design the PlaceCell like the UI.
- Add new file (subclass of UITableViewCell), name
PlaceCategoryCell.swift. Connect it to your PlaceCategoryCell and connect outlets to your file. - Add new file (subclass of UICollectionViewCell), name
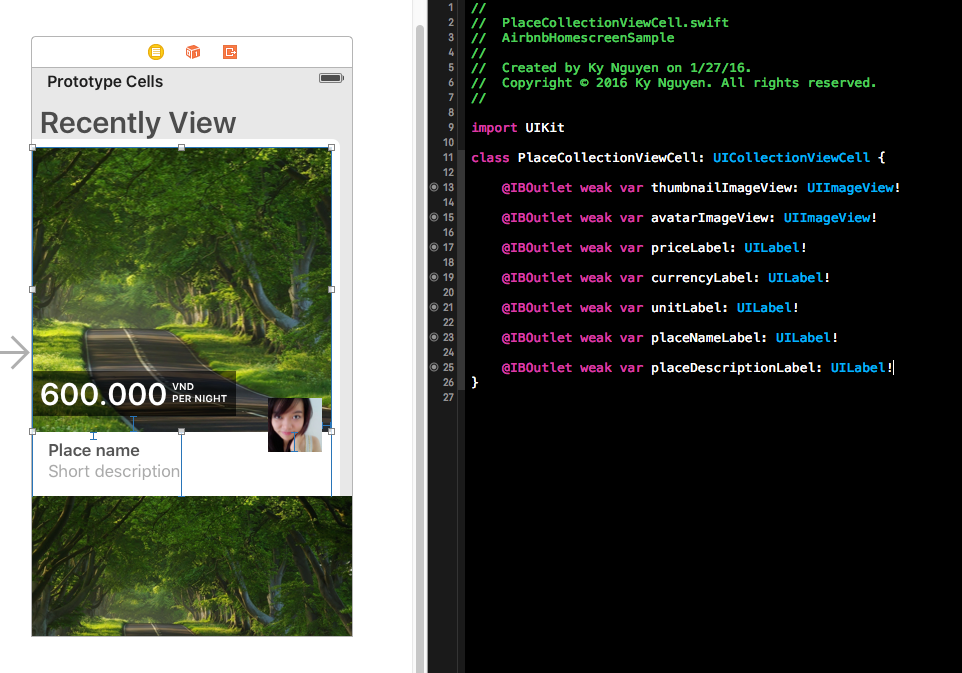
PlaceCollectionViewCell. Connect it to your PlaceCell. Connect outlets to your file.
-
Add
setupView()method to your codefunc setupView() { avatarImageView.createRoundCorner(radius: 22) // radius must be avatarImageView's height / 2 } -
Back to
PlaceCategoryCell.swiftand add some codes.// Model class PlaceModel : NSObject { var placeName = "" var shortDescription = "" var price: Int64 = 0 var currency = "" var unit = "" var thumbnailImage: UIImage? var avatarImage: UIImage? var didWish = false } class PlaceCategoryTableViewCell: UITableViewCell, UICollectionViewDelegateFlowLayout, UICollectionViewDataSource { @IBOutlet weak var sectionLabel: UILabel! var placeList = [PlaceModel]() // Setup for collection view func collectionView(collectionView: UICollectionView, numberOfItemsInSection section: Int) -> Int { return placeList.count } // setup data for the collection view cell. func collectionView(collectionView: UICollectionView, cellForItemAtIndexPath indexPath: NSIndexPath) -> UICollectionViewCell { let cell = collectionView.dequeueReusableCellWithReuseIdentifier("PlaceCell", forIndexPath: indexPath) as! PlaceCollectionViewCell cell.setupView() let place = placeList[indexPath.row] cell.thumbnailImageView.image = place.thumbnailImage cell.avatarImageView.image = place.avatarImage cell.priceLabel.text = String(place.price) cell.currencyLabel.text = place.currency cell.unitLabel.text = place.unit cell.placeNameLabel.text = place.placeName cell.placeDescriptionLabel.text = place.shortDescription return cell } func collectionView(collectionView: UICollectionView, layout collectionViewLayout: UICollectionViewLayout, sizeForItemAtIndexPath indexPath: NSIndexPath) -> CGSize { return CGSize(width: 300, height: 350) } } -
It's nearly done. Your UI setup is ready to display data. We create some sample data to show now.
-
Create new file
SampleData.swiftand add some codesimport UIKit class SampleData { static let places = ["Ha Noi", "Hai Phong", "Trang An", "Hoi An", "Ho Chi Minh", "Bien Hoa", "My Tho", "Can Tho", "Tay Ninh", "Con Dao"] static let avatars = ["Avatar1", "Avatar2", "Avatar3", "Avatar4", "Avatar5", "Avatar6", "Avatar7", "Avatar8", "Avatar9", "Avatar10"] static let thumbnails = ["Place1", "Place2", "Place3", "Place4", "Place5", "Place6", "Place7", "Place8", "Place9", "Place10"] static let prices: [Int64] = [5000000, 15000000, 18000000, 2000000, 25000000, 15000000, 9000000, 1000000, 12000000, 6000000] static let shortDescriptions = ["New BedRm by C.Park", "Cozy & Private Floor of Brownstone", "AMAZING MANHATTAN SKYLIN", "Studio Apartment with King Bed", "Beautiful Midtown East", "Brooklyn Style - With a Balcony!!!", "Cozy Bedroom in Apartment", "Loft with Manhattan skyline view!", "Hell's Kitchen 1-Bdr. Apt. Share", "Green Room"] static func generateFavouriteList() -> [PlaceModel] { var favouriteList = [PlaceModel]() for _ in 0..<10 { let randomIndex = randomInt(10) let place = PlaceModel() place.placeName = places[randomIndex] place.avatarImage = UIImage(named: avatars[randomIndex]) place.thumbnailImage = UIImage(named: thumbnails[randomIndex]) place.unit = "PER NIGHT" place.currency = "VND" place.price = prices[randomIndex] place.shortDescription = shortDescriptions[randomIndex] favouriteList.append(place) } return favouriteList } static func generateRecentlyList() -> [PlaceModel] { var recentlyList = [PlaceModel]() for _ in 0..<10 { let randomIndex = randomInt(10) let place = PlaceModel() place.placeName = places[randomIndex] place.avatarImage = UIImage(named: avatars[randomIndex]) place.thumbnailImage = UIImage(named: thumbnails[randomIndex]) place.unit = "PER NIGHT" place.currency = "VND" place.price = prices[randomIndex] place.shortDescription = shortDescriptions[randomIndex] recentlyList.append(place) } return recentlyList; } static func generateSuggestionList() -> [PlaceModel] { var suggestionList = [PlaceModel]() for _ in 0..<10 { let randomIndex = randomInt(10) let place = PlaceModel() place.placeName = places[randomIndex] place.avatarImage = UIImage(named: avatars[randomIndex]) place.thumbnailImage = UIImage(named: thumbnails[randomIndex]) place.unit = "PER NIGHT" place.currency = "VND" place.price = prices[randomIndex] place.shortDescription = shortDescriptions[randomIndex] suggestionList.append(place) } return suggestionList } static func randomInt(max: UInt32) -> Int { return Int(arc4random_uniform(max)) } } -
Please make sure you add 10 avatar images (Avatar1.png, Avatar2.png..., Avatar10.png) and 10 place images (Place1.png, Place2.png..., Place10.png)
Run and enjoy.
The main purpose is to show how nest a Collection View in a Table View. The Airbnb home has many things to do.
You can download my project at my github
Written on Jan 27, 2016