See Google groups.
Overview: https://all3dp.com/1/best-3d-slicer-software-3d-printer/
Choosing a slicer tool is important because you'll need to learn it very well, every single option, to troubleshoot your failures and improve time and quality.
BIBO provides settings for repetier host, Cura (both old and new version) and simplify 3d. Many of these slicer configurations profiles were built by community members and included by BIBO.
I've never tried repetier host, simplify 3d is pricey so I've started using Cura.
TIP: Read every single parameter and understand what it does. Watch youtube videos about infill, speed, supports, etc
I didn't, and my first print is into the bin.
This site allows you to open a gcode file and read/view the details.
These are some interesting links for generic troubleshooting, not BIBO specific.
https://support.3dverkstan.se/article/23-a-visual-ultimaker-troubleshooting-guide
https://rigid.ink/pages/ultimate-troubleshooting-guide
NOTE: I'm leaving here the notes I've taken during the complete tebuild of the extruder block. It happened not long after I've bought the BIBO printer, and I had to learn everything with logic and a caliper because, officially, BIBO has no part list whatsoever. The user is basically on its own, and the (few) "original" (nothing is original on BIBO, it's completely made of cheap stuff) parts are usually out of stock, forcing you to buy from china.
Why my? Because I suppose this printer will get upgrades and changes so all this is related the printer I had, with those specific screws and measures and parts. I'm not aware there's a serial to refer, so I cannot mention what is it specifically, the name was just "BIBO 2 3D printer touch".
I've bought a BIBO printer a while ago, my first 3D printer.. and as a beginner, not so long after I've managed to break some parts of the hot end. That resulted in a journey across multiple parts of the printer, eventually learning a lot and, more importantly, identifying most of the parts of which the printer is built with.
Apparently the BIBO 3D printer is a clone of the orignal Makerbot Replicator, see this picture and you'll see the similarities:

BIBO, Like CTC and others, have taken the basic design and made their own changes for manufacturing and design differences. the BIBO2 is obviously different due to these changes (and the original Makerbot replicator was twice as expensive and the newer Makerbot replicator 2x is about 5 times as expensive), but this information helped me a lot to find spares. Also, the Makerbot replicator isn't gifting the laser engraving tool ;)
From http://www.ourbibo.com/qa/
Here are the files in the SD card sent to you for BIBO2 touch.
1a. August 4,2018 BIBO parts assembly video for touch
1b. August 4,2018 operation manual V3.0a18
- On arrival, check all the screws and tight them if necessary.
- Check that the machine is stable and leveled.
- BIBO has only three movement sensors for X, Y and Z: there's no sensor on the bottom, when the bed goes down, on X axes going to the left and on Y axes going forward, towards you. Bear this in mind while manually moving the extruder because...
- ...There's no way, at least from the LCD, to cancel those 4 times you've pressed the "Z down" icon. Whatever you'll do, your bed is going to hit the bottom. Push that button only once. If you need to move a lot make sure there's enough space.
Some important note from experience and from the documentation.
- Remember to load the filament before unloading.
- The preheating tool will keep the hot end heated until you'll not turn it off, don't forget it on.
- Never leave the preheating on for a long time, if you're not printing turn it off
- Never turn off BIBO while the heated part is over 50 degrees.
- Once you've started the loading tool into filament, there's no way to push the filament manually into the printer, you need to turn it off and on again.
I'm currently based in the UK, so the link I'm adding below are related Ebay/Amazon UK. The important information anyway is the part itself.
These are some of the parts' names on a generic 3D printer, as a reference:

Lou in the Facebook community support group created a very helpful community maintained document with links to common replacement parts and some "upgrades" users install. https://docs.google.com/document/d/1HcdBnMtCpi05ohrBIn7AhPbdGrnSrGCY0uqut9-614U/edit
BIBO 2 uses an MKS GEN L v1.0 motherboard which is a custom Arduino Mega with built in Ramps 1.4 board This motherboard is one of the most common motherboards on 3d printers.
The BIBO 2 uses five common A4988 Stepper motor drivers.
Inner socket hex allen screws like these:

Easy to find on any shop including ebay or amazon. Size is 3mm x 3mm.
The hex screws almost everywhere on the printer are M3-0.5 (3mm and 0.5mm pitch). 4 lengths have been used: 8 mm, 12 mm, 16 mm, and 20 mm. Here's a link to the 10 mm ones.
The motherbord cover pannel uses much longer philips M3-0.5 bolts with M3-0.5 self locking nuts.
Unfortunately due to constant manufacturing changes, I cannot be sure all the BIBO printers are using the same screws and bolts, best is to buy a caliper and a metric thread pitch gauge and be ready to measure yours before buy anything.
First thing first, at least in my case the printer didn't come with any tools to service it besides a normal screwdriver and 2 allen wrenches (1.5mm and 2mm).
To disassemble the hot end you'll need 20 mm spanner and a 6 mm tube spanner.
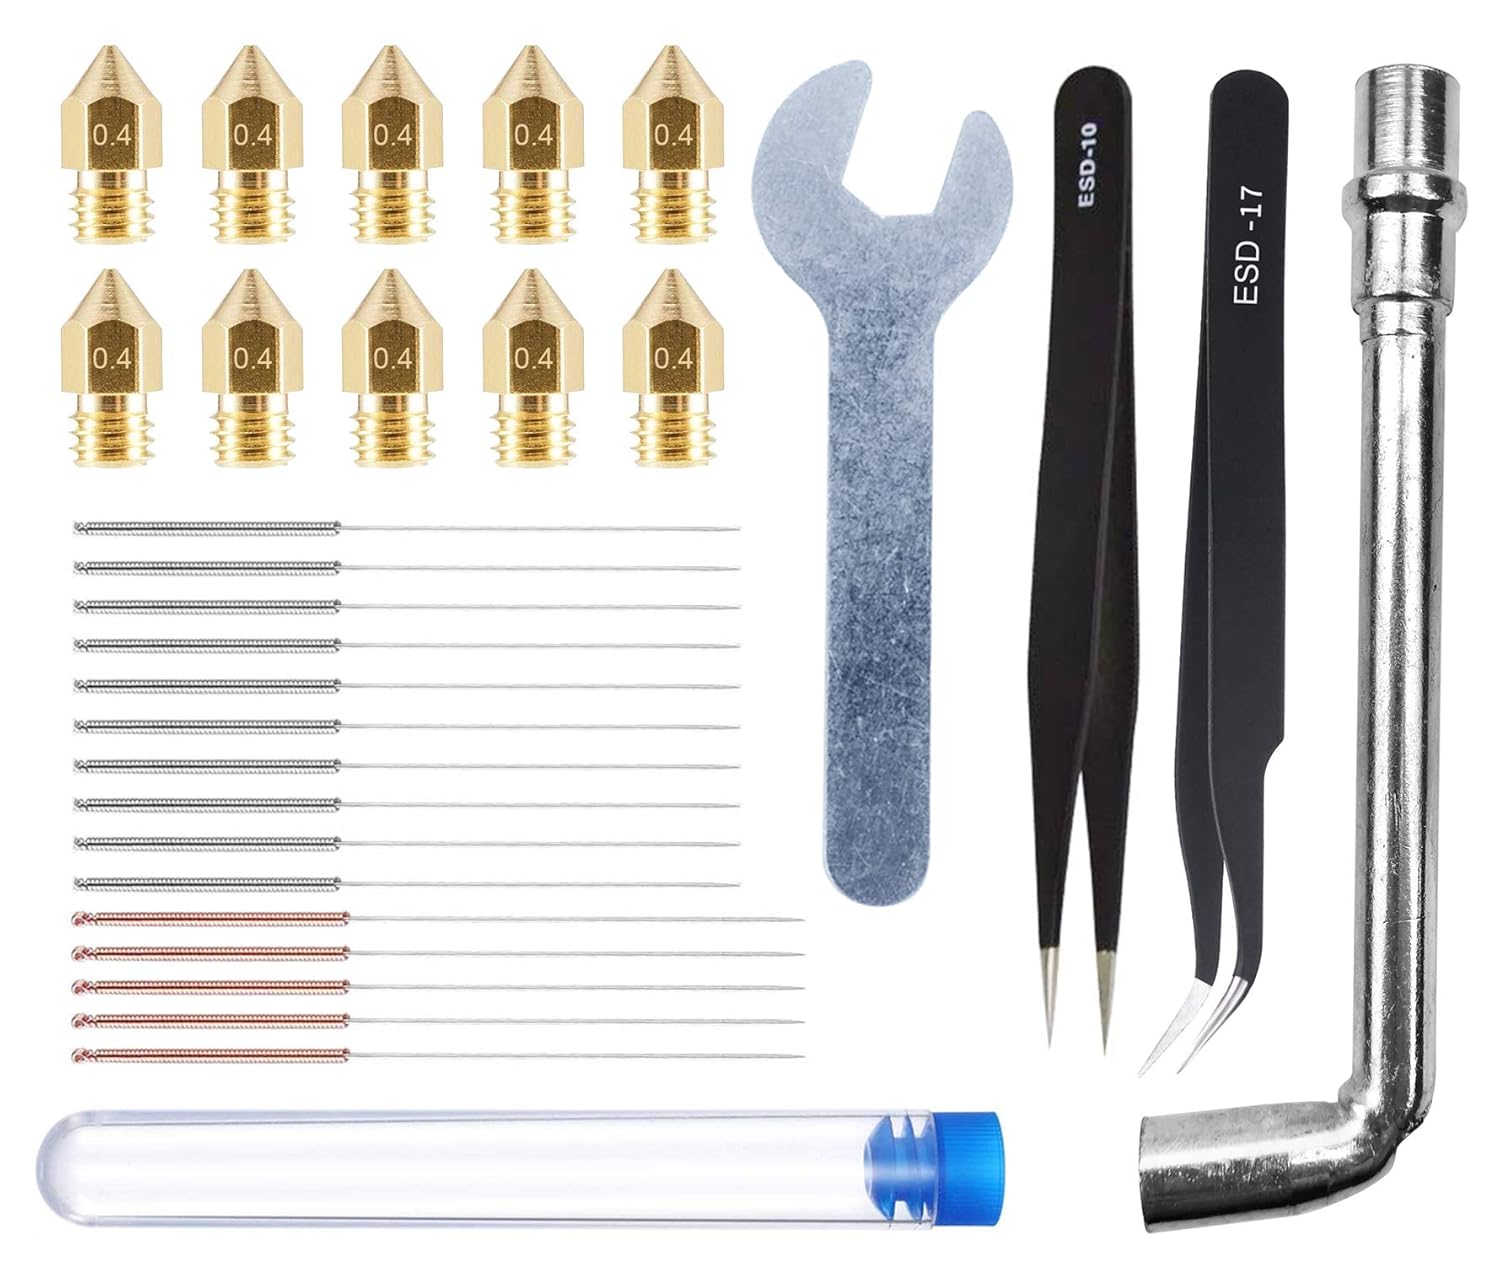
I've found this kit useful, it provides the right 2cm spanner, one tube spanner for the provided nozzles and some cleaning needles. Note that the provided nozzles are slightly smaller (original are 6mm diameter - not the thread, the top side) but they works well as far as I can see: 3D Printing Tool Kit, 10pcs 0.4mm Nozzle + 15pcs Cleaning Needle (10 x 0.35mm + 5 x 0.4mm) + 2pcs Tweezers + 2pcs Spanner
For the belts, you'll need a 5.5 Nut Driver such as this one:

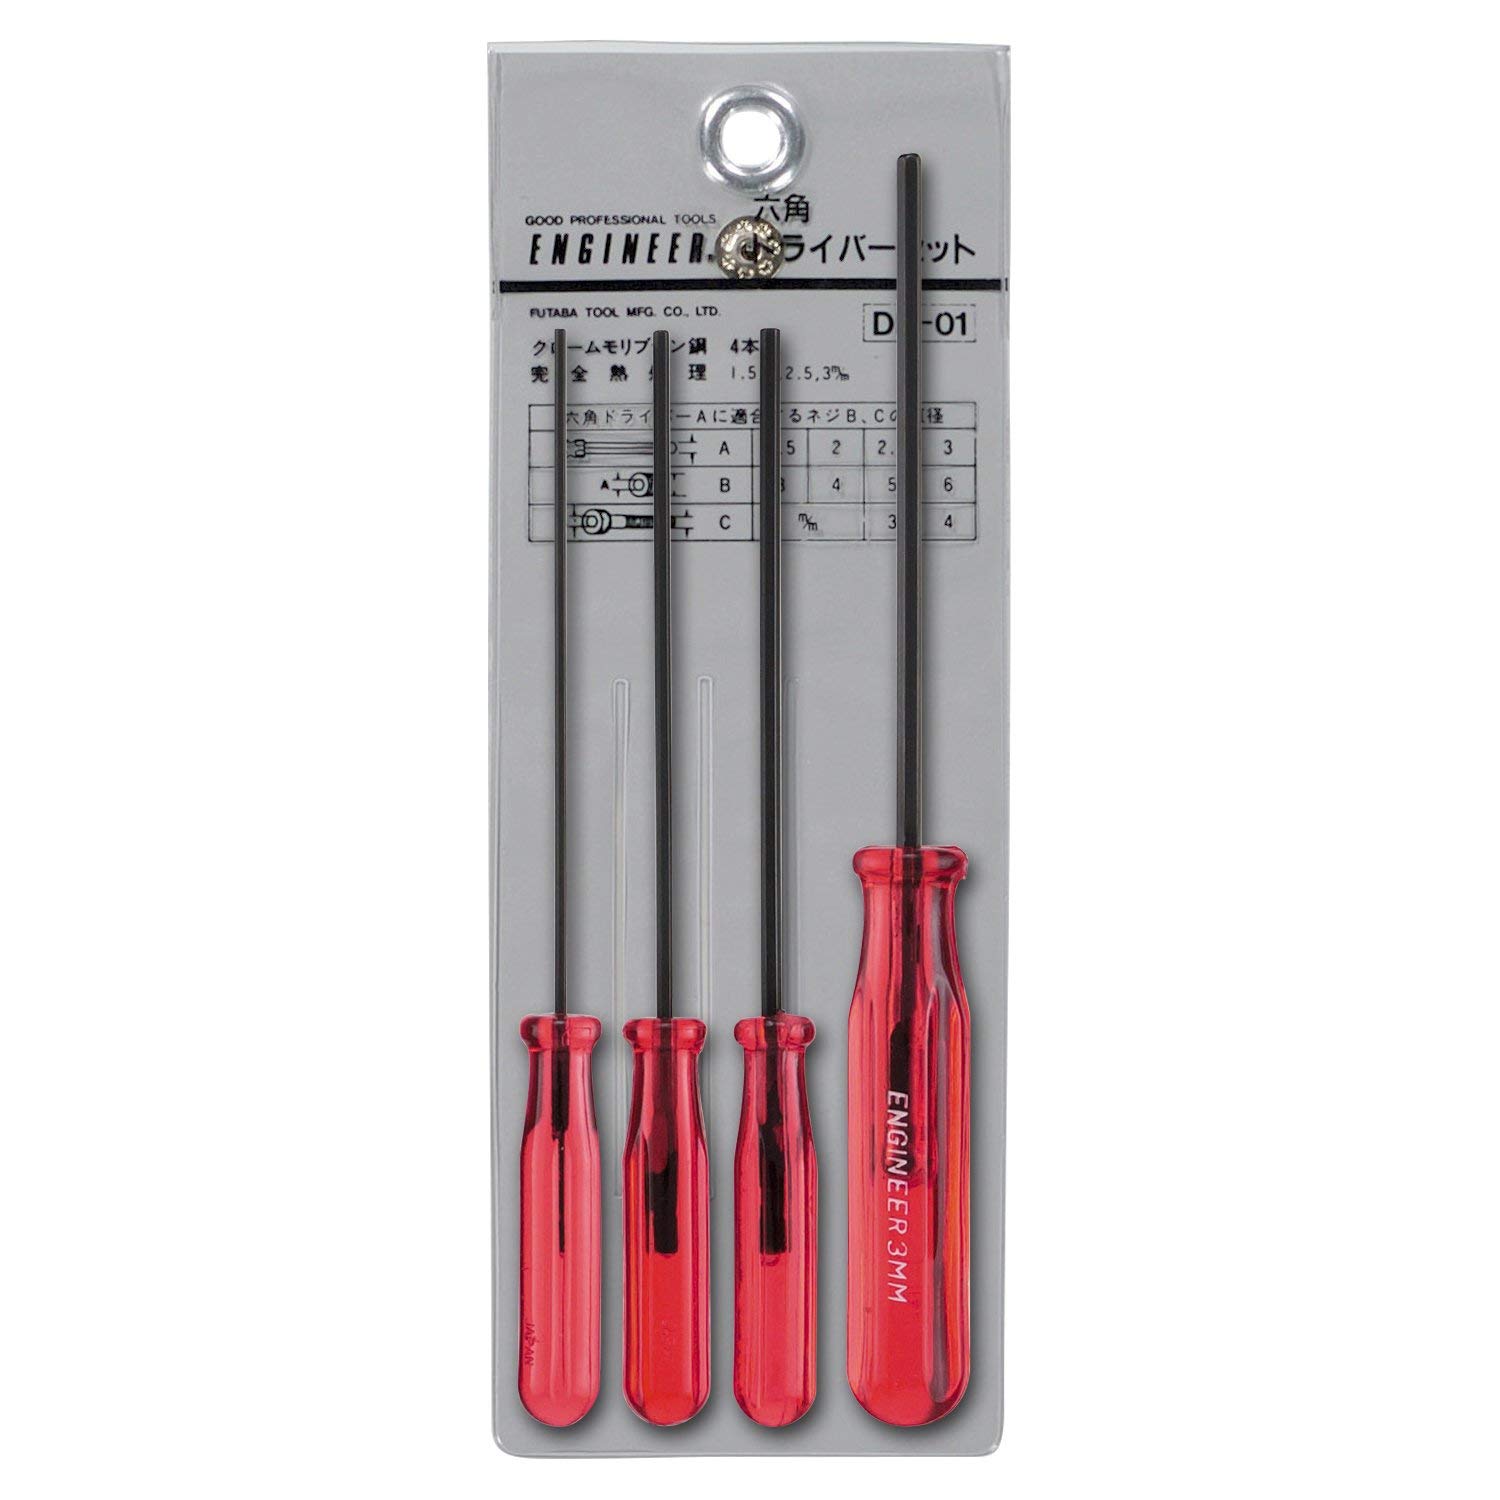
The two allen wretch are good but small. If you need to change the hot end you'll need something more convenient. One is 1.5 mm and the other is 2mm, this is a good set:
See: https://www.sculpteo.com/en/glossary/extruder-definition/
The 3D extruder is the part of the 3D printer that ejects material in liquid or semi-liquid form in order to deposit it in successive layers within the 3D printing volume.
The extruder has 2 parts, the cold and the hot end.
The cold end is the cold part in the upper portion of the 3D printer extruder. At this point, there is no heating of the filament. This is just the part with the motor and gearing, pushing the 3D printer filament into the hot end. Different systems actually exist, there is usually a combination of gears and hobbed bolts, dictating the movement of the printing filament.
The hot end is the part where the filament is transitioning from solid to liquid, while extruded on the building plate. But how is the filament melting? Indeed, something has to be hot enough to melt materials and as we want to print an accurate part, the temperature between the cold filament, the hot end, and the final cold and solid part has to be perfectly managed. The heat break, in combination with the heat sink, maintains a boundary at which the filament is confronted with high temperatures. There is, in the system, a heater cartridge that is getting hot, transferring heat to the nozzle via the heater block in aluminum.
Most desktop 3D printers ship with 0.4mm nozzles as standard, but there are many other sizes available. Brass is usually used for 3D printer nozzles, but there are also several options. For some materials, stainless steel or hardened A2 tool steel nozzles are preferred.
The hot end will is the part where ultimately the melted plastic is exiting creating, one layer at a time, the 3D print. For this reason, this is likely the part that will need maintenance before any other.
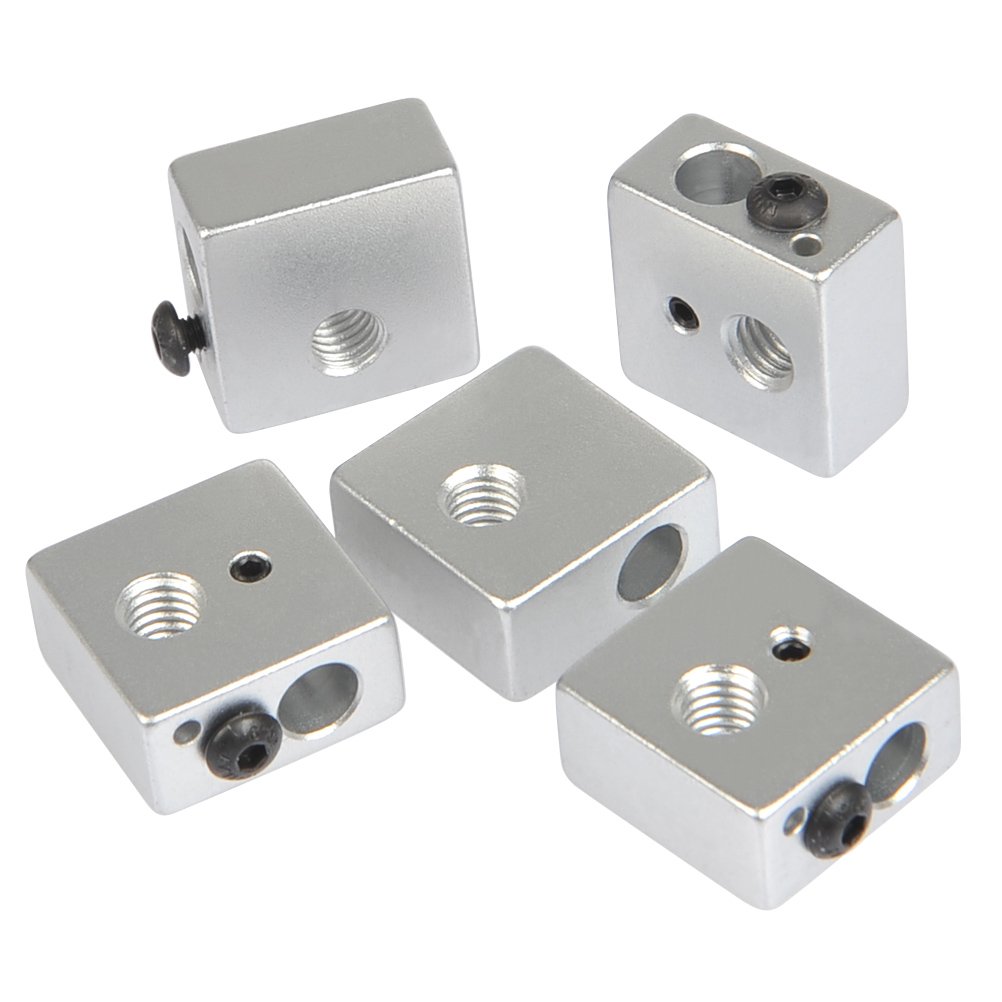
BIBO's hot end is and MK8 and in turn made by:
MK8 Extruder Dual Head Mount Bar M6
Throats on a stock printer are an MK8 6mmx30mm smooth outside and PTFE lined.
See below the differences between MK8/MK10/.. The MK8 heat block holes are for M6 (6 mm) throats. The cooling bar holes can be smooth (like the original) or threaded (I've mounted these throats types, are easier to find and to fit). Remember to match this hot end with the throats. MK8 mount block with threaded holes goes with M6 threaded throats. I didn't try the MK10, that requires M7 throats.

It is extremely important to choose the right ones. Look at the picture. There's a small hole near the black screw, for the thermistor. The first I've bought was exactly the same, but without that hole making impossible to correctly fit the thermistor's sensor. Check the screws, I've seen many without and you'll need to source them yourself.


This isn't strictly required but it's important to have some spare to change the one into the throats. Original's size is 2 ID and 4 OD - for Inside and Outside dimensions, in mm.

Optionally: Heatsinks
Original size: 15x15x10 mm

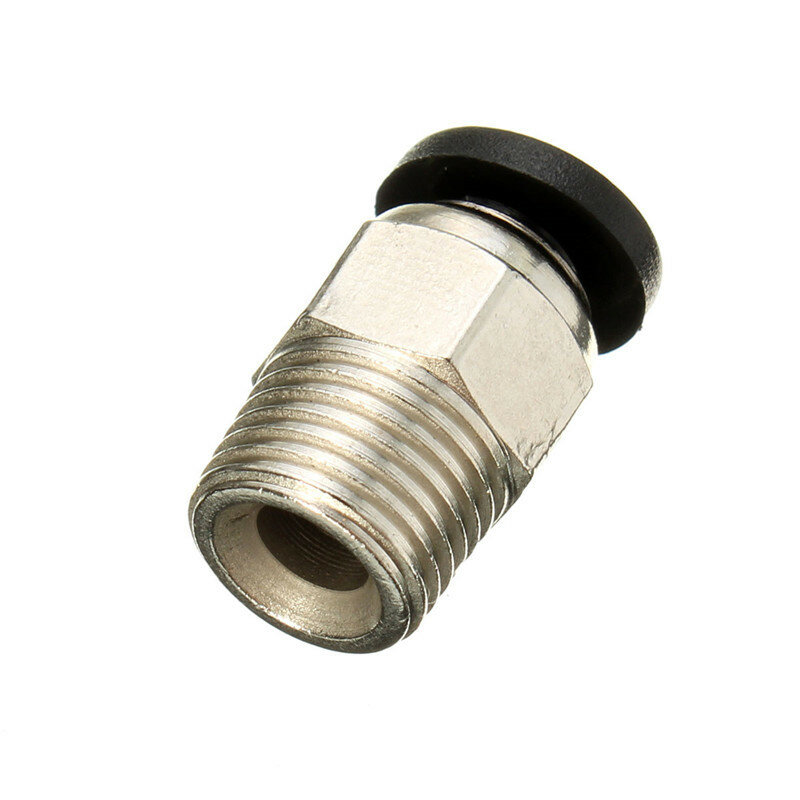
Couplers - holding the PTFE tube in place
The original motor has a label: SL42STH34-0804A for 12volt, 1.8 degree step angle, 0.8A rated current per phase, and 0.4N.M holding torque.
It should be a NEMA 17 like this one:
Dc12v 1.8 Degree Step Angle 0.4a
I suppose the label means:
SL [WIDE mm] STH [HEIGHT mm] - [3 DIGIT Current/Phase] [LAST DIGIT # of Leads]
But I still need to find out what motor is this exactly. Can the last part (0804A) change? I've found lots with the initial part of the model but with different type. This is crucial to understand if and what upgrades are possible.
Drive Feed MK8 modified direct extrusion spring extruder frame.
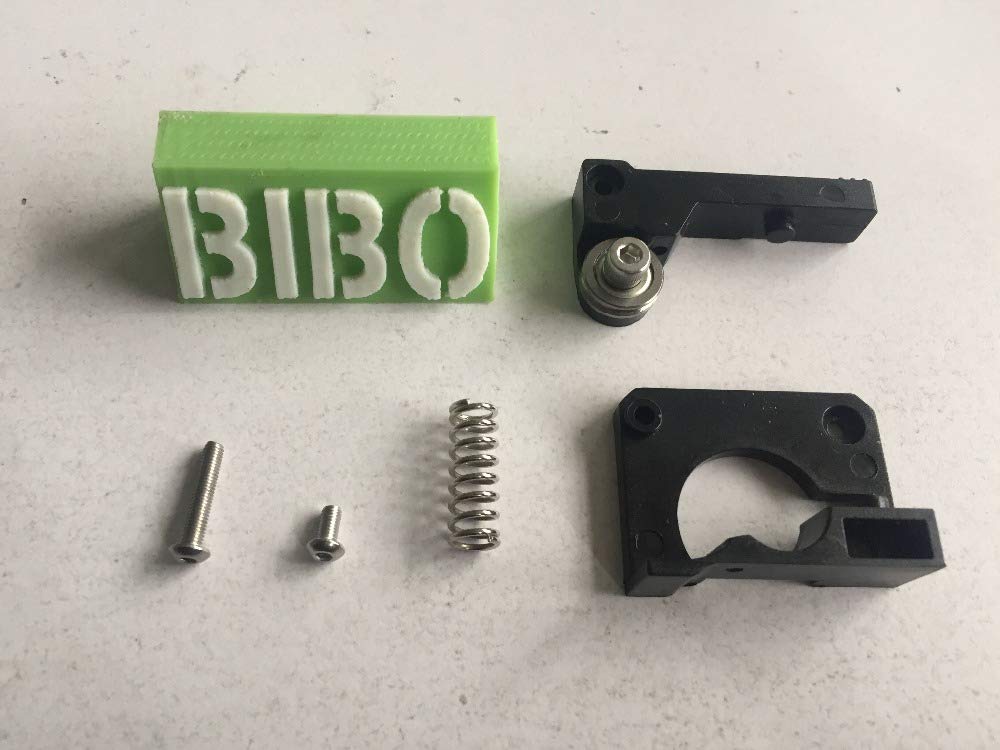
I'm not able to find a suitable drive feed alternative. From facebook, people that were speaking about this written that it's not easy to find a replacement without making some modification.
The common upgrade is an All Metal MK10 Feed Device (left and right hand) similar to this one but the top plate has to be modified. some people say it's a "drop in replacement" others say there are alignment issues.
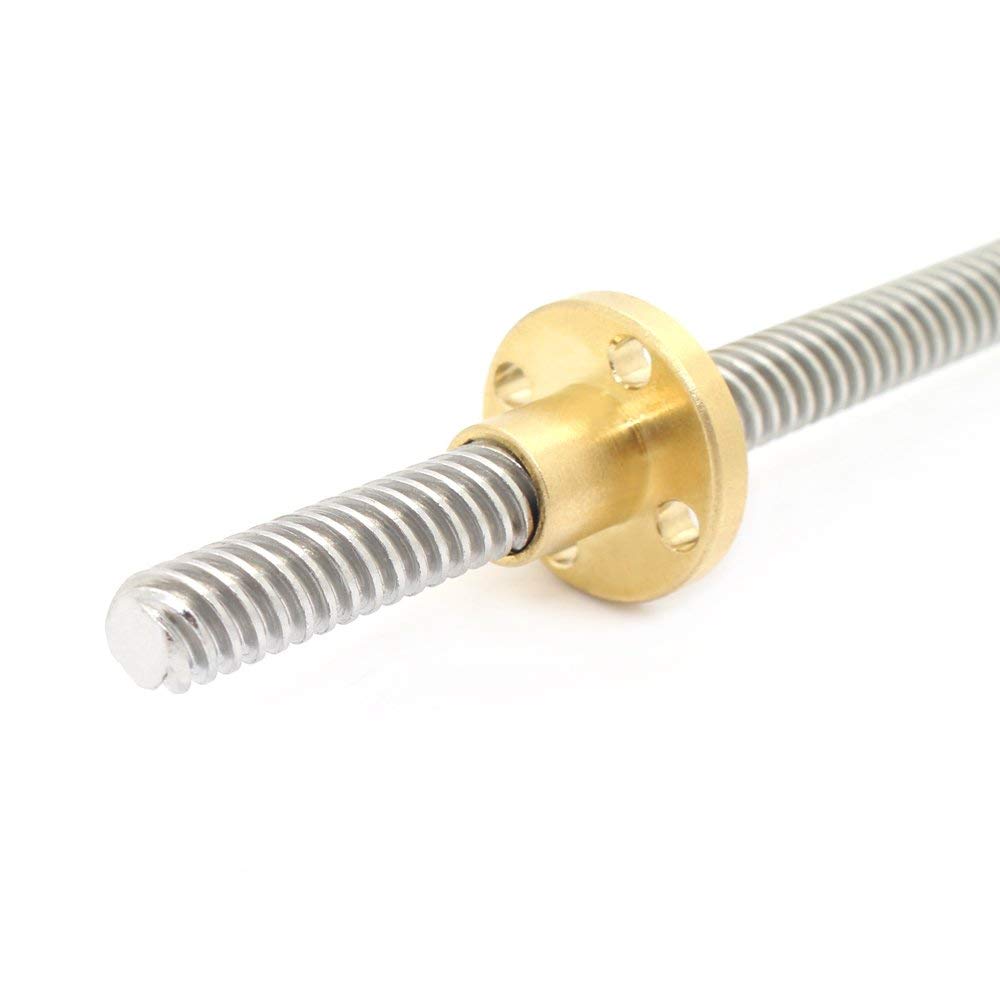
The big screw that moves the Z axes is a common lead screw 8x30 mm with a 2 mm pitch angle for 3D printers.


The test gcode is your fall back for every time you do major maintenance or are having problems. They are especially useful in checking whether you are having a printer problem or a slicer problem. If you can print the Test gcode with no problem your printer is setup correctly and the issue is in the slicer or model.