The printer is a Lulzbot Taz6. We also have a dual-head that we can attach.

To print we need an .stl file. The .stl file describes a 3d object. The file only describes the object. It does not describe how to print it. STL files may be used for many things besides 3D printing.
One source of STL files is https://www.thingiverse.com/. There are millions of .stl files there which may be downloaded and used.
If you want to edit, modify, or create an stl file you need some type of CAD program. One popular site is https://www.tinkercad.com/
To get the .stl file ready for printing we need some software called a slicer. Cura is a popular slicer. Lulzbot has it own version of Cura. It is available at https://www.lulzbot.com/cura. There is a video on that site that I strongly suggest you watch.
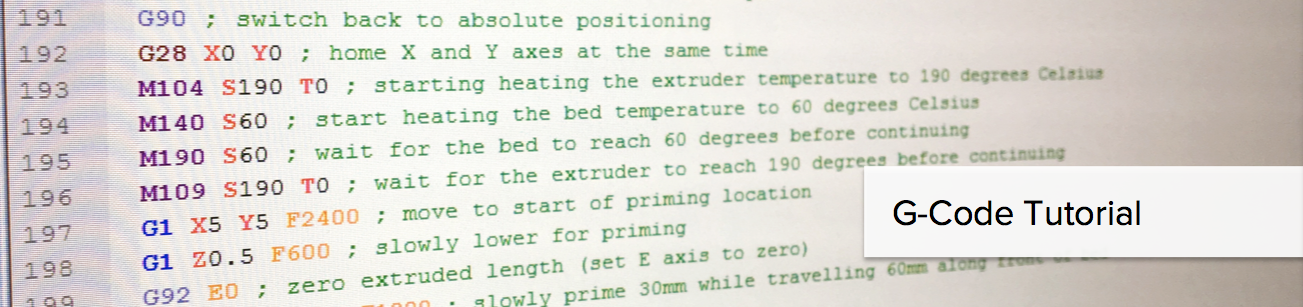
The slicer puts out gcode. Gcode is more or less a standard language used by all 3D printers. You don't need to know gcode immediately. Here is a tutorial. In some cases you may want to edit the gcode manually. It can be done.
The most straightforward method is to simply attach a printer via USB. You start Cura or another slicer and then connect to the printer. You load the .stl file into cura. You can adjust temperatures and other things on the printer. One of the most important things is picking the filament to match the type of filiment you are using. (They are using green filament in the picture. You see a spool of it to the right of the printer.)
Having the computer attached allows you to monitor things like temperature and the progress of the print. You may also be able to tweak settings as the print continues.
There are a couple of problems with an attached computer. One is that if your computer goes down for any reason you lose the print. It is pretty much impossible to restart the print. The other obvious problem is that you must always go to the printer to print, possibly taking a laptop.
There is a slot for an SD card on the printer.
On your computer, tell the slicer to output the GCode to an SD card. Then you put the SD card in the TAZ6. You can use the display to pick the image if there is more than one on the card.
There are a couple of problems with this method as well. First, you have to go to the printer every time you want to print. It is also harder to monitor and tweak the printing as the print runs.
This is actually a variation of Method 1. We attach a Raspberry Pi to the printer just like we would a laptop.
Rather than using the standard Raspbian image, we will use OctoPrint https://octoprint.org/download/
I have a Raspberry Pi 3b and everything we need (I hope) except the case.
The tricky thing we will have to do with is the netword address. We need to set up a DNS entry to the Pi. I think we will need to do a wifi connection because if we move the system to the machine room there are no ethernet drops. Also, if we use the printer at something like Super Science Saturday we may not have an ethernet jack. We will have to work with Fred to get this set up.
The OctoPrint system has a slicer built in. It is controlled via a web interface. It allows remote monitoring of the print job so you do not need to go there unless you have to change the filament. It also has the ability to watch the printout on a webcam.