In today's lesson we are going to look at installing django to cloud9.
Django is a web framework that will enable us to quickly write and deploy our web apps.
It's homepage defines it as:
Django is a high-level Python Web framework that encourages rapid development and clean, pragmatic design. Built by experienced developers, it takes care of much of the hassle of Web development, so you can focus on writing your app without needing to reinvent the wheel.
Typically installations can be a bit painful involving setting up django and python involves a series of steps. Specifically
- Install Python
- Install pip
- Install virtualenv
- Finally install Django
Thankfully with cloud9 we jump most of this steps.
Let us start
##Step 1
We start by creating a new workspace. You may remember that we had done this for the project that we now use in class.

This will lead you to the page where you select your project settings. Select to build a django workspace.
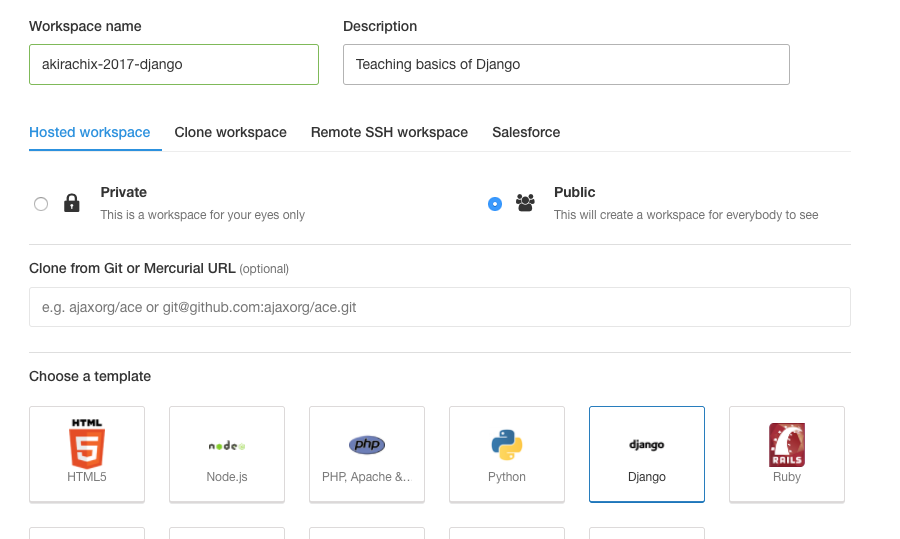
You can use a description that makes the most sense to you.
##Step 2
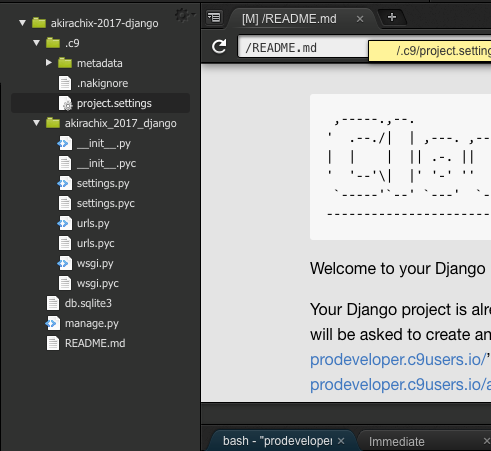
Cloud 9 should take care of all the hardwork of setting up your environment.
The file structure will look as follows.
Once this is done try to run the project to see what you get. The button isa menu item on top of the page.
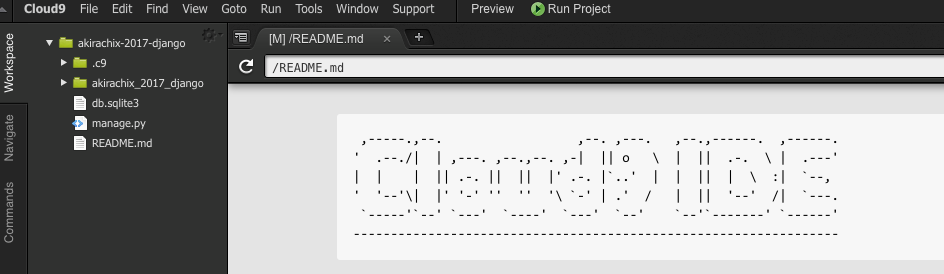
You should be able to see a welcome to django page.
By default, c9 uses Python 2.7. We need to change it to use python 3.
Run the following commands on your bash
sudo mv /usr/bin/python /usr/bin/python2
sudo ln -s /usr/bin/python3 /usr/bin/python
sudo pip install django
This commands will do the following respectively:
- Move the shortcut for python to a different file
- Make python3 the default
- Install django using python3
##Step 3
Now we can go right ahead and create our first app. We do this by running the command.
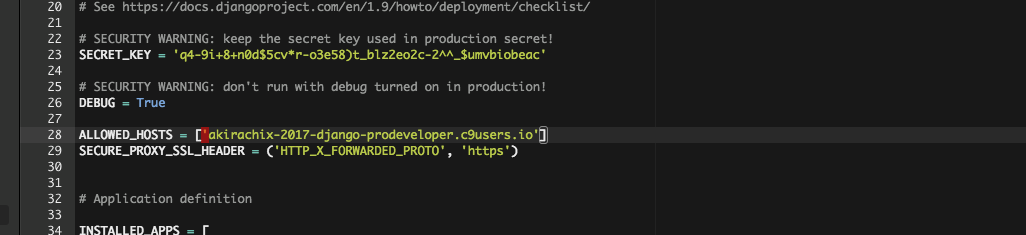
python manage.py startapp firstappNow run the app once more. You should see an error message.

All you need to do is now add the host to your hosts file. Eg mine is ‘akirachix-2017-django-prodeveloper.c9users.io'. Copy that to your allowed hosts in settings.py
Save the file and run the project once more. This time, you should once more see the homepage.
##Step 4
Django comes with a free admin panel preinstalled. To use it, we first must create a super user.
On the terminal, type the following command:
python manage.py createsuperuser
With the password you created, you can now login to the admin panel on the webpage.
The admin panel is found by adding /admin to the end of your url. For example mine is
https://akirachix-2017-django-prodeveloper.c9users.io/admin
You should see the login page.
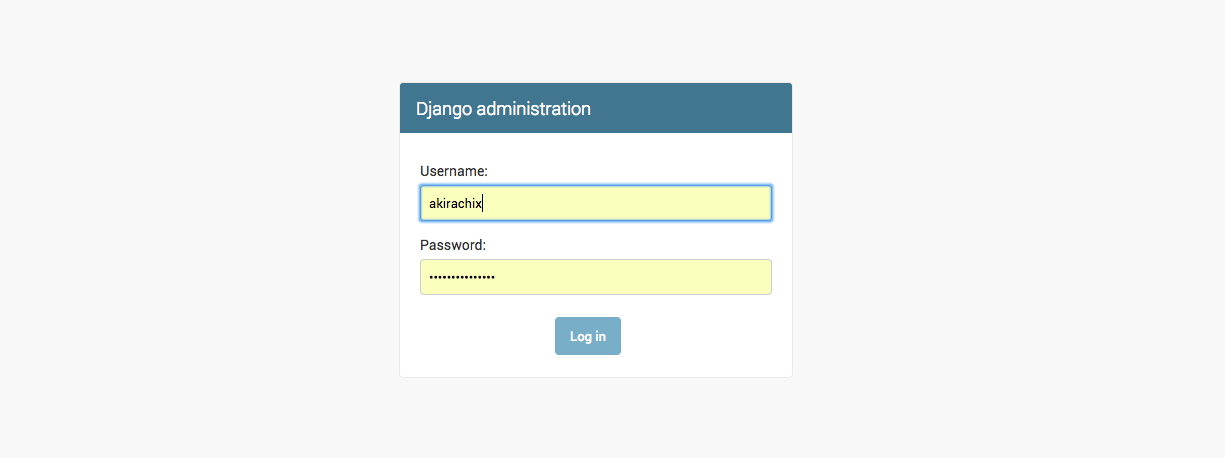
Put in the username and password you just created to login.
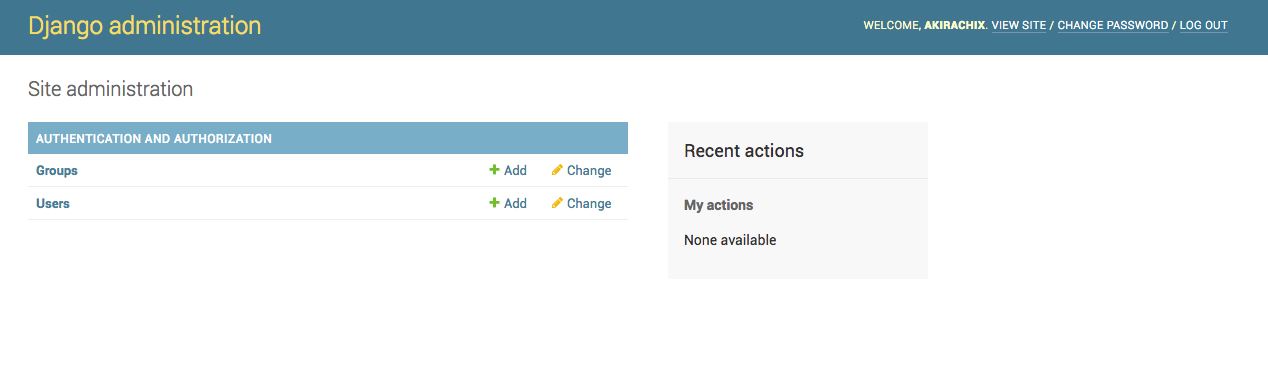
For now there is not much in the admin page, but this will change as we add more things.
##Assignment
For your assignment. Run through the process above to create a new and different workspace.
Create a new user in your admin panel and see if you can login with that user's credentials.
##Links
- https://docs.djangoproject.com/en/1.11/misc/design-philosophies/
- https://tutorial.djangogirls.org/en/installation/
- https://www.youtube.com/playlist?list=PL6gx4Cwl9DGBlmzzFcLgDhKTTfNLfX1IK
- https://docs.djangoproject.com/en/1.11/intro/tutorial01/
- https://docs.djangoproject.com/en/1.11/topics/settings/
Hi, for some reason, when I add my c9 link host thing to
ALLOWED_HOSTSin settings.py, it still isn't working and I'm still getting that screen when I go to it.Any ideas?