This Gist Post has the purpose to illustrate how to install Scene Builder software on Linux Ubuntu-Like Systems.
Scene Builder is a crossplatform software with the aim of creating and design GUIs (Graphical User Interfaces) compatible with the library JavaFX for desktop software applications development. The output is an xml file with the definition of the elements of the graphic interface and captured events.
Usually it is operated inside IntelliJ IDE from JetBrains with its pluguin but it is a little bit unstable. In the other hand, the Scene Builder desktop application, which is the protagonist of this gist post, works much better.
Note
This was tested for Scene Builder 21.0.0 over an Ubuntu 22.04.3 LTS 64-bit GNOME Version 42.9 but it should work on any Ubuntu starting from version 18.04.4 LTS and above.
Download the latest .deb version of the software here: https://gluonhq.com/products/scene-builder/#download

Note
In the date of the current gist post (late February 2024) the latest version was Scene Builder 21.0.0.
Locate the downloaded .deb file in your Downloads folder:
- Copy-paste the file inside a new temporary folder. Name the folder as you like; in my example I named it as SceneBuilder
- Then do a mouse right click over the file and click over Properties
- Navigate to Permissions tab
- Active the tick
Allow executing file as program - Close the properties window (no apply is needed to save changes)

Open a terminal and navigate to the folder.
Execute the following command to unpack the .deb file using sudo with its password:
sudo dpkg -i SceneBuilder-21.0.0.deb
Install all the installable files inside the current folder:
sudo apt-get install -f
Clean the non necessary dependencies once the installation is complete (this will free up some hd space which is nice):
sudo apt autoremove
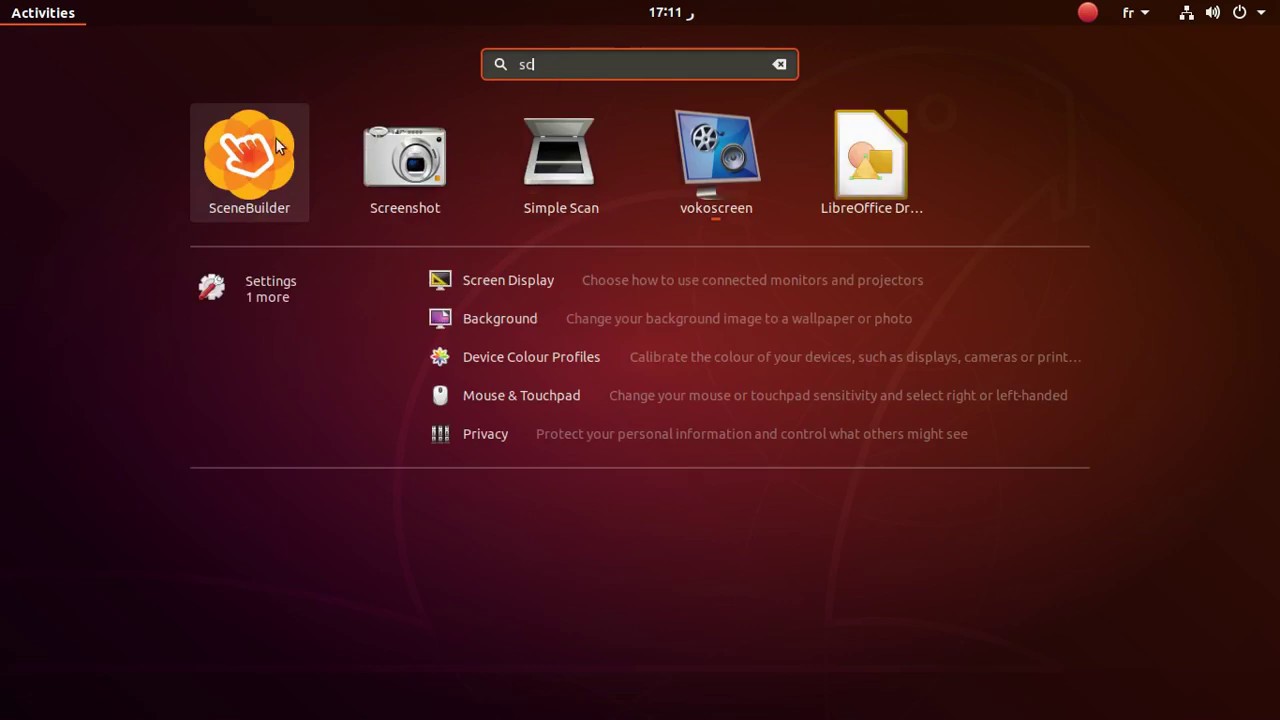
Locate the installed folder inside applications:

Scene Builder up and running:

For more info, view the youtube video below:
Note
The source and credits of this info was found here: https://youtu.be/zkX0x617Pi0