
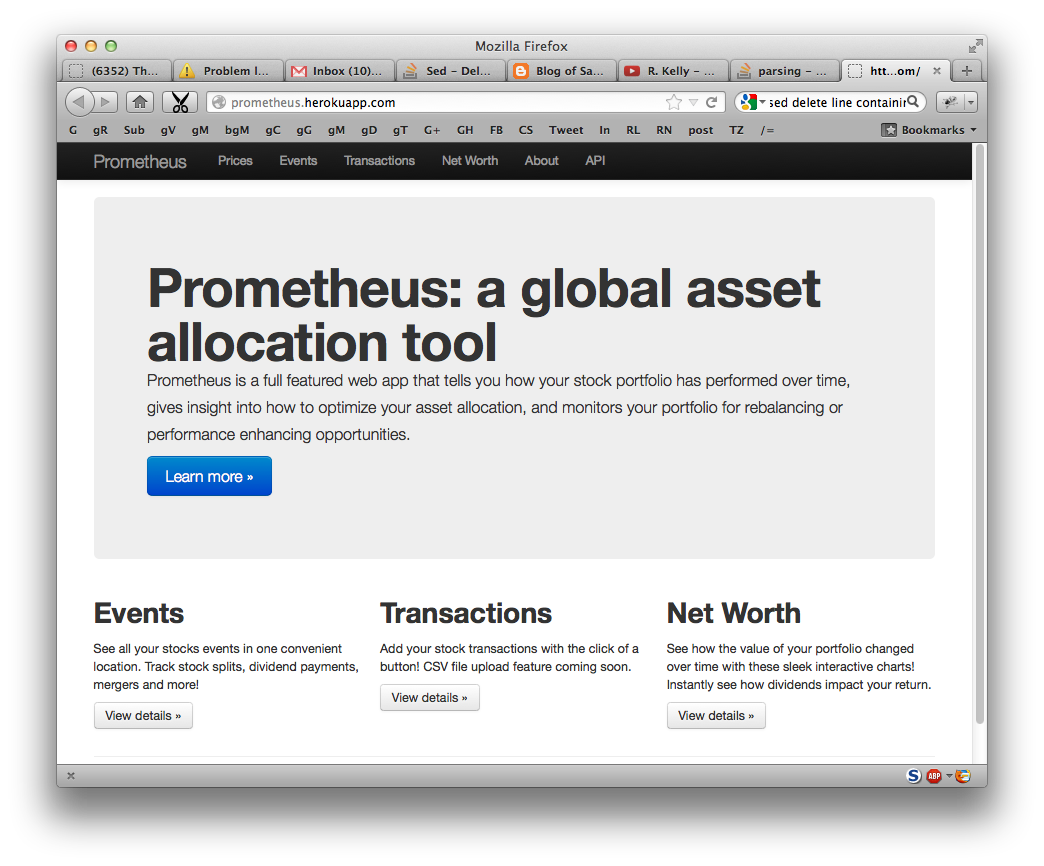
prometheus is a flask powered web app that tells you how your stock portfolio has performed over time, gives insight into how to optimize your asset allocation, and monitors your portfolio for rebalancing or performance enhancing opportunities. It has been tested on the following configuration:
- MacOS X 10.7.5
- Python 2.7.4
prometheus requires the following in order to run properly:
Prometheus aims to give investors an easy way to:
- construct portfolios of low cost ETFs and mutual funds
- generate customized portfolios based on their individual risk tolerance
- access asset classes that have since only been available to the elite
Prometheus provides a suite of tools to:
- track and monitor portfolio performance and allocation
- compare portfolios across various categories (account, manager, etc.)
- visualize various portfolio metrics
- Database abstraction with SQLAlchemy.
- Web forms validation with WTForms.
- Script support with Flask-Script.
- Bootstrap integration with Flask-Bootstrap
- Markdown parsing with Flask-Markdown
- Database validation with SAValidation
- RESTful API generation with Flask-Restless
Clone the repo
git clone git@github.com:reubano/prometheus.git
cd prometheus
Install requirements
sudo easy_install pip
sudo pip install -r requirements-local.txt
Run server
./manage.py runserver
Now view the app at http://localhost:5000
Prometheus comes with a built in script manager manage.py. Use it to start the
server, run tests, and initialize the database.
./manage.py <command> [command-options] [manager-options]
start server
./manage.py runserver
run nose tests
./manage.py runtests
initialize the production database
./manage.py initdb -m Production
-m MODE, --cfgmode=MODE  set the configuration mode, must be one of
                         ['Production', 'Development', 'Test'] defaults
                         to 'Development'. See `config.py` for details
-f FILE, --cfgfile=FILE  set the configuration file (absolute path)
checkstage  Checks staged with git pre-commit hook
cleardb     Removes all content from database
initdb      Removes all content from database and initializes it
            with default values
popdb       Removes all content from database initializes it, and
            populates it with sample data
popprices   Add prices for all securities in the database
runserver   Runs the Flask development server i.e. app.run()
runtests    Run nose tests
shell       Runs a Python shell inside Flask application context.
testapi     Test to see if API is working
Type ./manage.py <command> -h to view any command's options
./manage.py manage runserver -h
usage: ./manage.py runserver [-h] [-t HOST] [-p PORT] [--threaded]
                             [--processes PROCESSES] [--passthrough-errors]
                             [-d] [-r]

Runs the Flask development server i.e. app.run()

optional arguments:
  -h, --help              show this help message and exit
  -t HOST, --host HOST
  -p PORT, --port PORT
  --threaded
  --processes PROCESSES
  --passthrough-errors
  -d, --no-debug
  -r, --no-reload
start production server on port 1000
./manage.py runserver -p 1000 -m Production
Ideally, you should install modules for every project into a virtual environment. This setup will allow to install different version of the same module into different projects without worrying about any adverse interactions.
cd prometheus
sudo pip install virtualenv virtualenvwrapper
Add the following to your ~/.profile
export WORKON_HOME=$HOME/.virtualenvs
export PIP_VIRTUALENV_BASE=$WORKON_HOME
export PIP_RESPECT_VIRTUALENV=true
source /usr/local/bin/virtualenvwrapper.sh
Create your new virtualenv
mkvirtualenv --no-site-packages prometheus
workon prometheus
sudo easy_install pip
sudo pip install -r requirements-local.txt
By default, this project uses the API hosted at http://prometheus-api.herokuapp.com. If you would like to host your own API do the following:
Clone the repo
git clone git@github.com:reubano/prometheus-api.git
cd prometheus-api
Install requirements
mkvirtualenv --no-site-packages prometheus-api
workon prometheus-api
sudo pip install -r requirements-local.txt
Run server (pick a different port than the main app)
./manage.py runserver -p 5005
Now that your api is up and running at http://localhost:5005, set the
api_base variable in config.py to the url of your new api.
Getting Gevent up and running is a bit tricky so follow these instructions carefully.
To use gevent, you first need to install libevent.
Linux
apt-get install libevent-dev
Mac OS X via homebrew
brew install libevent
Mac OS X via macports
sudo port install libevent
Mac OS X via DMG
download on Rudix
Now that libevent is handy, install the remaining requirements
sudo pip install -r requirements.txt
Or via the following if you installed libevent from macports
sudo CFLAGS="-I /opt/local/include -L /opt/local/lib" pip install gevent
sudo pip install -r requirements.txt
Finally, install foreman
sudo gem install foreman
Now, you can run the application locally
foreman start
You can also specify what port you'd prefer to use
foreman start -p 5555
Prometheus will reference the following environment variables in config.py
if they are set on your system.
SECRET_KEY
CSRF_SESSION_KEY
RECAPTCHA_PUBLIC_KEY
RECAPTCHA_PRIVATE_KEY
BOOTSTRAP_GOOGLE_ANALYTICS_ACCOUNT
To set an environment variable, do the following:
echo 'export VARIABLE=value' >> ~/.profile
If you haven't signed up for Heroku, go ahead and do that. You should then be able to add your SSH key to Heroku, and also heroku login from the commandline.
Install heroku and create your app
sudo gem install heroku
heroku create -s cedar app_name
Now before pushing to Heroku, remove pandas (there is a bug where heroku won't
install pandas unless numpy is already installed)
pip freeze -l | sed '/pandas/d' > requirements.txt
git push heroku master
pip freeze -l > requirements.txt
git push heroku master
heroku ps:scale web=1
Finally, we can make sure the application is up and running
heroku ps
Now, we can view the application in our web browser
heroku open
And anytime you want to redeploy, it's as simple as git push heroku master.
Once you are done coding, deactivate your virtualenv with deactivate.
tree . | sed 's/+----/├──/' | sed '/.pyc/d' | sed '/.DS_Store/d'
prometheus
     ├──Procfile                        (heroku process)
     ├──README.rst
     ├──app
     |   ├──__init__.py                 (main app module)
     |   ├──apollo                      (visualization engine)
     |   |    ├──__init__.py                        (main apollo module)
     |   |    ├──views.py
     |   ├──connection.py               (api interface module)
     |   ├──cronus                      (portfolio analytics engine)
     |   |    ├──__init__.py                        (blank - see sub modules)
     |   |    ├──analytics.py
     |   |    ├──coredata.py
     |   |    ├──forms.py
     |   |    ├──sources.py
     |   |    ├──views.py
     |   ├──favicon.ico
     |   ├──helper.py                   (manage/views/forms helper)
     |   ├──hermes                      (price/event data aggregator)
     |   |    ├──__init__.py            (main hermes module)
     |   |    ├──forms.py
     |   |    ├──views.py
     |   ├──LICENSE
     |   ├──MANIFEST.in                 (pypi includes)
     |   ├──markdown                    (static pages - auto parsed into html)
     |   |    ├──about.md
     |   |    ├──api.md
     |   ├──README.rst                  (this file)
     |   ├──setup.py                    (pypi settings)
     |   ├──static                      (scripts)
     |   |    ├──extra.js
     |   |    ├──jquery-1.9.1.min.js
     |   |    ├──lpoll.js
     |   ├──templates                   (Jinja templates)
     |   |    ├──barchart.html
     |   |    ├──base.html
     |   |    ├──entry.html
     |   |    ├──footer.html
     |   |    ├──home.html
     |   |    ├──markdown.html
     |   |    ├──page.html
     |   |    ├──topnav.html
     |   ├──tests
     |        ├──__init__.py            (main tests module)
     |        ├──standard.rc            (pylint config)
     |        ├──test.sh                (git pre-commit hook)
     |        ├──test_cronus.py
     |        ├──test_hermes.py
     |        ├──test_site.py
     |        ├──trnx.csv
     ├──config.py                       (app config)
     ├──manage.py                       (flask-script)
     ├──requirements.txt
     ├──runtime.txt                     (python version)
     ├──setup.cfg                       (unit test settings)
- Fork
- Code (if you are having problems committing because of git pre-commit
hook errors, just run
./manage.py checkstageto see what the issues are.) - Test
./manage.py runtests - Do a pull request
git shortlog -s -n
commits: 405
  404  Reuben Cummings
  1    Luke Cyca
Flask is a BSD-licensed microframework for Python based on Werkzeug, Jinja2 and good intentions.
prometheus is distributed under the BSD License, the same as Flask on which this program depends.