A Pen by Abbos Nurgulshanov on CodePen.
This file contains bidirectional Unicode text that may be interpreted or compiled differently than what appears below. To review, open the file in an editor that reveals hidden Unicode characters.
Learn more about bidirectional Unicode characters
| ## SELECTOR | |
| ### CSS2 | |
| /* Child Selector */ | |
| div > p { | |
| color: red; | |
| } | |
| /* Adjacent Sibling Selector */ | |
| h1 + p { | |
| margin-top: 20px; |
sandikodev
/ heart-loading-animation.markdown
Created
December 23, 2022 21:00
Heart Loading Animation
sandikodev
/ gsm-setup.md
Created
February 23, 2021 10:07
— forked from heyalexej/gsm-setup.md
SIM Card Management Through GSM Modem On Linux
I am using the built in GSM (UMTS) modem of my Thinkpad X1 extensively because I am often in places with flaky internet connections. I connect through the standard Network Manager on Ubuntu and everything works fine. There was one major annoyance though. Every time I wanted to top up the SIM balance or book a new package, I needed a phone to send and receive USSD codes. So I took some time to figure out how to do it from the shell. I wrote this down as a help for others and a reminder for myself. Without further ado...
First intsall gammu and picocom.
➜ ~ sudo apt-get install -y gammu picocom
This file contains bidirectional Unicode text that may be interpreted or compiled differently than what appears below. To review, open the file in an editor that reveals hidden Unicode characters.
Learn more about bidirectional Unicode characters
| https://www.hikvision.com/content/dam/hikvision/en/support/download/how-to/ipc/How%20to%20Get%20IPC%20MJPEG%20Stream%20via%20HTTP%20Commands.pdf | |
| https://www.hikvision.com/ueditor/net/upload/2017-05-26/df89f1cb-b905-4182-bdb0-661de58584c1.pdf | |
| http://mega-avr.net/file/programmy/IP-camera/HIKVISION/2.SDK/ISAPI/HIKVISION%20ISAPI_2.0-RaCM%20Service.pdf | |
| http://86.49.187.98/Hikvision/Jak%20na%20to/Kamery_DVR_NVR/How%20to%20integrate%20with%20Hikvision%20LPR%20function%20via%20ISAPI.pdf | |
| ftp://ftp.luis.ru/Raznoe/LTV_SDK/LTV_IP_S-Series_API/ISAPI_2.0-PTZ%20Service.pdf | |
| https://11936797612864389938.googlegroups.com/attach/4fbec897364cf/HUNT%20RTSP%20and%20HTTP%20urls.pdf?part=0.1&view=1&vt=ANaJVrHQtZY6rc7ss5P8_hPsEVoagPjQD-5pcKxIXCHiEoNn_sOCsAnV9jRxTekz3i2T19u1bYlYbIRU9JzZJBs7y8vo855cip2x5rNoB0tq5jviERXBNUM | |
| http://en0.ch/2020/08/add-temperature-to-hikvision-camera-overlay/ | |
| 324284193-HIKCGI-Image-Display-Function.pdf |
sandikodev
/ phpmyadmin cheatsheet
Last active
June 4, 2021 01:01
This file contains bidirectional Unicode text that may be interpreted or compiled differently than what appears below. To review, open the file in an editor that reveals hidden Unicode characters.
Learn more about bidirectional Unicode characters
| ==============[ configure user of mysql/mariadb ]============== | |
| sudo mysql -u root | |
| CREATE DATABASE wordpress CHARACTER SET utf8mb4 COLLATE utf8mb4_general_ci; | |
| GRANT ALL ON wordpress.* TO 'wp-user'@'localhost' IDENTIFIED BY 'Passw0rd!'; | |
| exit | |
| ==============[ install phpmyadmin by backport repo's ]============== | |
| echo "deb http://deb.debian.org/debian buster-backports main" >> /etc/apt/sources.list | |
| sudo apt update | |
| sudo apt -t buster-backports install phpmyadmin | |
| PROMPT > web server as autoinstall > APACHE2 |
sandikodev
/ openssl cheatsheet
Created
June 2, 2021 13:44
This file contains bidirectional Unicode text that may be interpreted or compiled differently than what appears below. To review, open the file in an editor that reveals hidden Unicode characters.
Learn more about bidirectional Unicode characters
| #create public key | |
| openssl req -x509 -new -nodes -keyout pub.key -out pub.pem | |
| #create keynodes | |
| openssl req -new -nodes -keyout nas.key -out nas.pem | |
| #register keynodes to publickey | |
| openssl x509 -req -CA pub.pem -CAkey pub.key -in nas.pem -out nas.crt -set_serial 01 |
sandikodev
/ BeagleBoneLinuxUBootFromScratch.md
Created
February 24, 2021 17:44
— forked from eepp/BeagleBoneLinuxUBootFromScratch.md
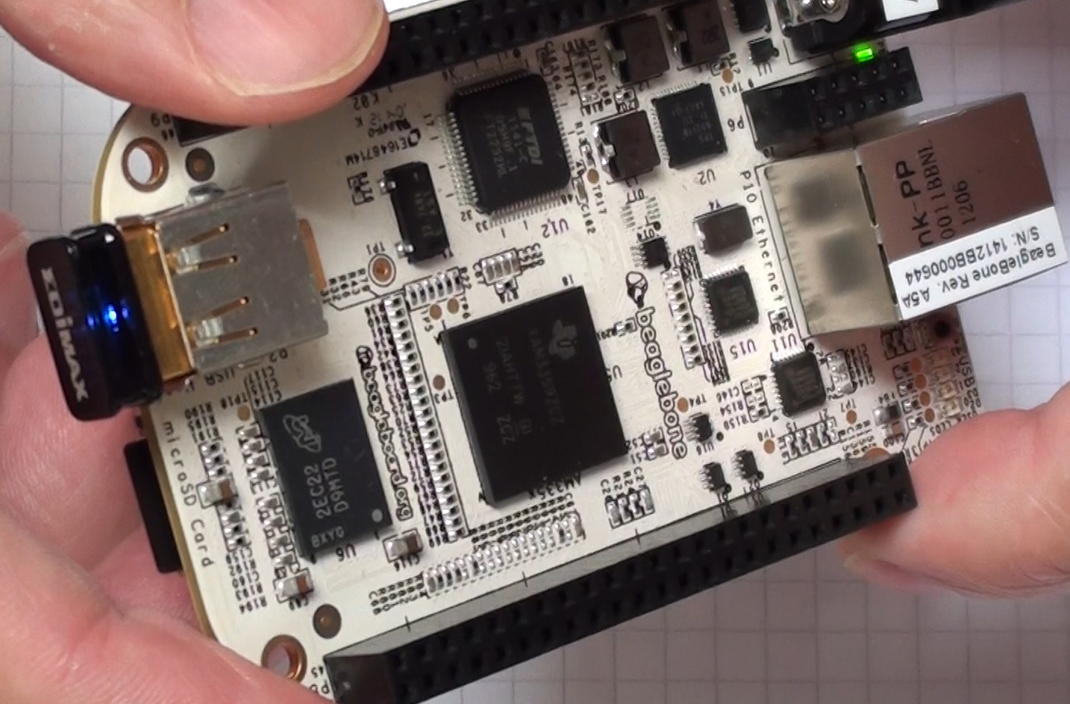
Building U-Boot and Linux 3.11 from scratch for the BeagleBone, and booting
- Author: Philippe Proulx
- Date: Fri Sep 13 18:05:26 EDT 2013
sandikodev
/ emulator-install-using-avdmanager.md
Created
February 23, 2021 20:04
— forked from mrk-han/emulator-install-using-avdmanager.md
Installing and creating Emulators with AVDMANAGER (For Continuous Integration Server or Local Use)
sandikodev
/ _Ping I2C Johnny Five backpack.md
Created
February 15, 2021 16:01
— forked from soundanalogous/_Ping I2C Johnny Five backpack.md
Note: This is a bit of a scratch to see what's involved in getting the ping sensor to work as an I2C backpack.
I did this on a Trinket as that's what I had to hand to make programming a bit faster. If you use a trinket you will need the custom arduino. Check out the Adafruit Trinket info https://learn.adafruit.com/introducing-trinket/introduction
You also need a custom form of the TinyWireS library that manages sending multiple registers on one read request (the
sandikodev
/ ffmpeg4matelight.sh
Created
February 9, 2021 01:17
— forked from MichaelKreil/ffmpeg4matelight.sh
using ffmpeg to stream videos, gifs, the webcam or the screen to matelight
This file contains bidirectional Unicode text that may be interpreted or compiled differently than what appears below. To review, open the file in an editor that reveals hidden Unicode characters.
Learn more about bidirectional Unicode characters
| # Stream a video | |
| ffmpeg -re -i video.avi -vf "scale=40:ih*40/iw, crop=40:16" -f rawvideo -vcodec rawvideo -sws_flags bilinear -pix_fmt rgb24 - > /dev/udp/matelight.cbrp3.c-base.org/1337 | |
| # Loop a gif | |
| ffmpeg -re -ignore_loop 0 -i image.gif -vf "scale=40:ih*40/iw, crop=40:16" -f rawvideo -vcodec rawvideo -sws_flags bilinear -pix_fmt rgb24 - > /dev/udp/matelight.cbrp3.c-base.org/1337 | |
| # Stream webcam | |
| # Mac | |
| ffmpeg -re -f avfoundation -r 30 -s 1280x720 -i "0" -vf "scale=40:ih*40/iw, crop=40:16, pp=autolevels:f, eq=1.5" -f rawvideo -vcodec rawvideo -sws_flags bilinear -pix_fmt rgb24 - > /dev/udp/matelight.cbrp3.c-base.org/1337 |
NewerOlder