I was tasked with sending a live stream 3D video from the ZED camera to a Gear VR app. More accurately, I would need to process the ZED stream on the Jetson TX2 and send that over to a phone (Samsung Galaxy S8) and view it through the Gear VR headset. Don't ask me why I had to do this (I've been asking and haven't received any concrete answers ...). I'll update with the academic paper assoiciated with this project soon. Anyway, here's a brief description of all the equipment I used just in case.
- Gear VR - It's basically an oculus rift but completely powered by the phone. A compatible phone is plugged into the headset through USB type-C or by USB type-B and placed directly in front of the lens.
- ZED Camera - This is one beast of a camera, currently costing ~$400. It's actually two cameras, as it captures 2 images that are slightly offset from one another. This way, the ZED can do depth sensing, 3D mapping, etc. However, we're only treating it as a UVC compatible web cam for the purposes of this project.
- Jetson TX2 - This is $600 mobile computer built on arm architecture. It has some pretty hefty specs (you can check 'em out here) and are generally used for robotics projects. It comes preloaded with a Tegra X2 flavored Ubuntu OS.
- Samsung Galaxy S8 - It's a phone.
Before I even started doing any coding, I made sure to map out each component of the project. Basically, get a rough sense of how all the parts would come together. This way, I don't do a significant amount of work on one part and then scrap it later because it wasn't compatible with the next part.
So I needed to live stream webcam video over the internet. After some online scouring, I found the best way was to to implement an RTSP server. RTSP (Real Time Streaming Protocl) is a protocol for sending data between a client and a server, a lot like HTTP. Unlike HTTP, which transports different types of web files, RTSP is for primarily for sending video and audio packets. More specifically, RTSP tells the requester the video format and also relays playback and stop requests to the server. RTP (real time proctocol) is the protool that handles delivery of the video data, which is in either UDP or TCP.
RTP (when done on top of UDP) is good for live streaming by saving on overhead costs by not performing initial handshaking. UDP also doesn't garantee delivery. That would be bad for say, downloading files, but good for live streaming when a viewer would rather skip ahead to the next frame rather than wait for a lost frame to be redelivered. Here are some links for your perusal: tcp vs udp, rtsp vs rtp.
Great! I had a way for live streaming video. Plus, gstreamer provided apis for implementing an rtsp server and I already had some experience using gstreamer. However, I needed to display the live stream on a Gear VR app. Videos served from rtsp servers can be viewed using links that look rtsp://kinda/like/this. So I needed to learn how to write a Gear VR app and display a 2d video inside it.
Most of the resources I found online were for building gvr apps using unity. However, I opted for using GearVRframework because:
- I've never used unity before
- GearVRf provided a java api that could be used inside an android app.
I cloned the GearVRf demos from their github repository and found a sample that played video, gvr-video. After looking through the source code and the GearVRf javadocs, I found the source of the video came fromGVRVideoSceneObjectPlayer<T>.GVRVideoSceneObjectPlayer<T>accepts an AndroidMediaPlayerobject as a type. And looking at the Android docs.MediaPlayercould play video from an RTSP link. Everything fits together now:
Get an RTSP server running on the Jetson TX2 using gstreamer. Link the server to the ZED camera. Get an RTSP link. Finally, modify the gvr-video sample app so that it would play video from the RTSP link instead of the default Tron clip it plays.
Here's a pretty good intro to gstreamer if you need it
Geting an RTSP server up on the Jetson TX2 would be a challenge since, from what I've found, gstreamer doesn't provide an RTSP server plugin that can be used with gst-launch-1.0 and the only one out there costs $1500. Haha, no. However, gstreamer does provide a C library called gst-rtsp-server for writing your own rtsp server. Doing apt-cache search libgstrtsp in the terminal I get:
libgstrtspserver-1.0-0 - GStreamer RTSP Server (shared library)
libgstrtspserver-1.0-0-dbg - GStreamer RTSP Server (debug symbols)
libgstrtspserver-1.0-dev - GStreamer RTSP Server (development files)
libgstrtspserver-1.0-doc - GStreamer RTSP Server (documentation)
You're going to want libgstrtspserver-1.0-0 & libgstrtspserver-1.0-dev. So do:
sudo apt-get install libgstrtspserver-1.0
sudo apt-get install libgstrtspserver-1.0-dev
After reading the docs on their repository, and looking at their test-readme.c example, I had a basic understanding for writing an RTSP server. The test-readme.c example implements a rtsp server for videotestsrc, so we need to replace that with /dev/video1 (assuming that video1 corresponds to the ZED camera). Basically the example sets up most of the initial pipeline using gst_rtsp_media_factory_set_launch. This function creates a pipeline using a gst-launch command-like string
parameter. In the example, the command is "( videotestsrc is-live=1 ! x264enc ! rtph264pay name=pay0 pt=96 )". So replace that with v4l2src is-live=1 device=/dev/video1 ! video/x-raw,framerate=30/1,width=2560,height=720 ! omxh264enc ! rtph264pay name=pay0 pt=96. Basically v4l2 is a linux program that gstreamer uses to get video from the camera pointed to by /dev/video1. The snippet after the ! sets the camera format settings. Then the stream is directed to omxh264enc where it is encoded into a .mp4 format and then at rtph264pay the encoded video is being set to as RTP packets with a payload type of 96. Eventually, the pipline is mounted to an RTSP server created with gst_rtsp_server_new () using gst_rtsp_server_attach (server, NULL).
Now the the stream can be accessed using the default port and host: rtsp://127.0.0.1:8554/test. You can access the video with this command:
gst-launch-1.0 --gst-debug=3 rtspsrc location="rtsp://127.0.0.1:8554/test" latency=100 ! decodebin ! nvvidconv ! autovideosink
From a phone you can download an app called RTSP Player such as this RTSP Player and view the live stream using the rtsp link. You need to modify the link however with the TX2's broadcast address. Type ifconfig into the terminal and look for your broadcast address. Then replace 127.0.0.1 with that. You're going to get ~4 sec delay between what's on video to what's actually happening. This is partially caused due to latency and also because the app buffers frames.
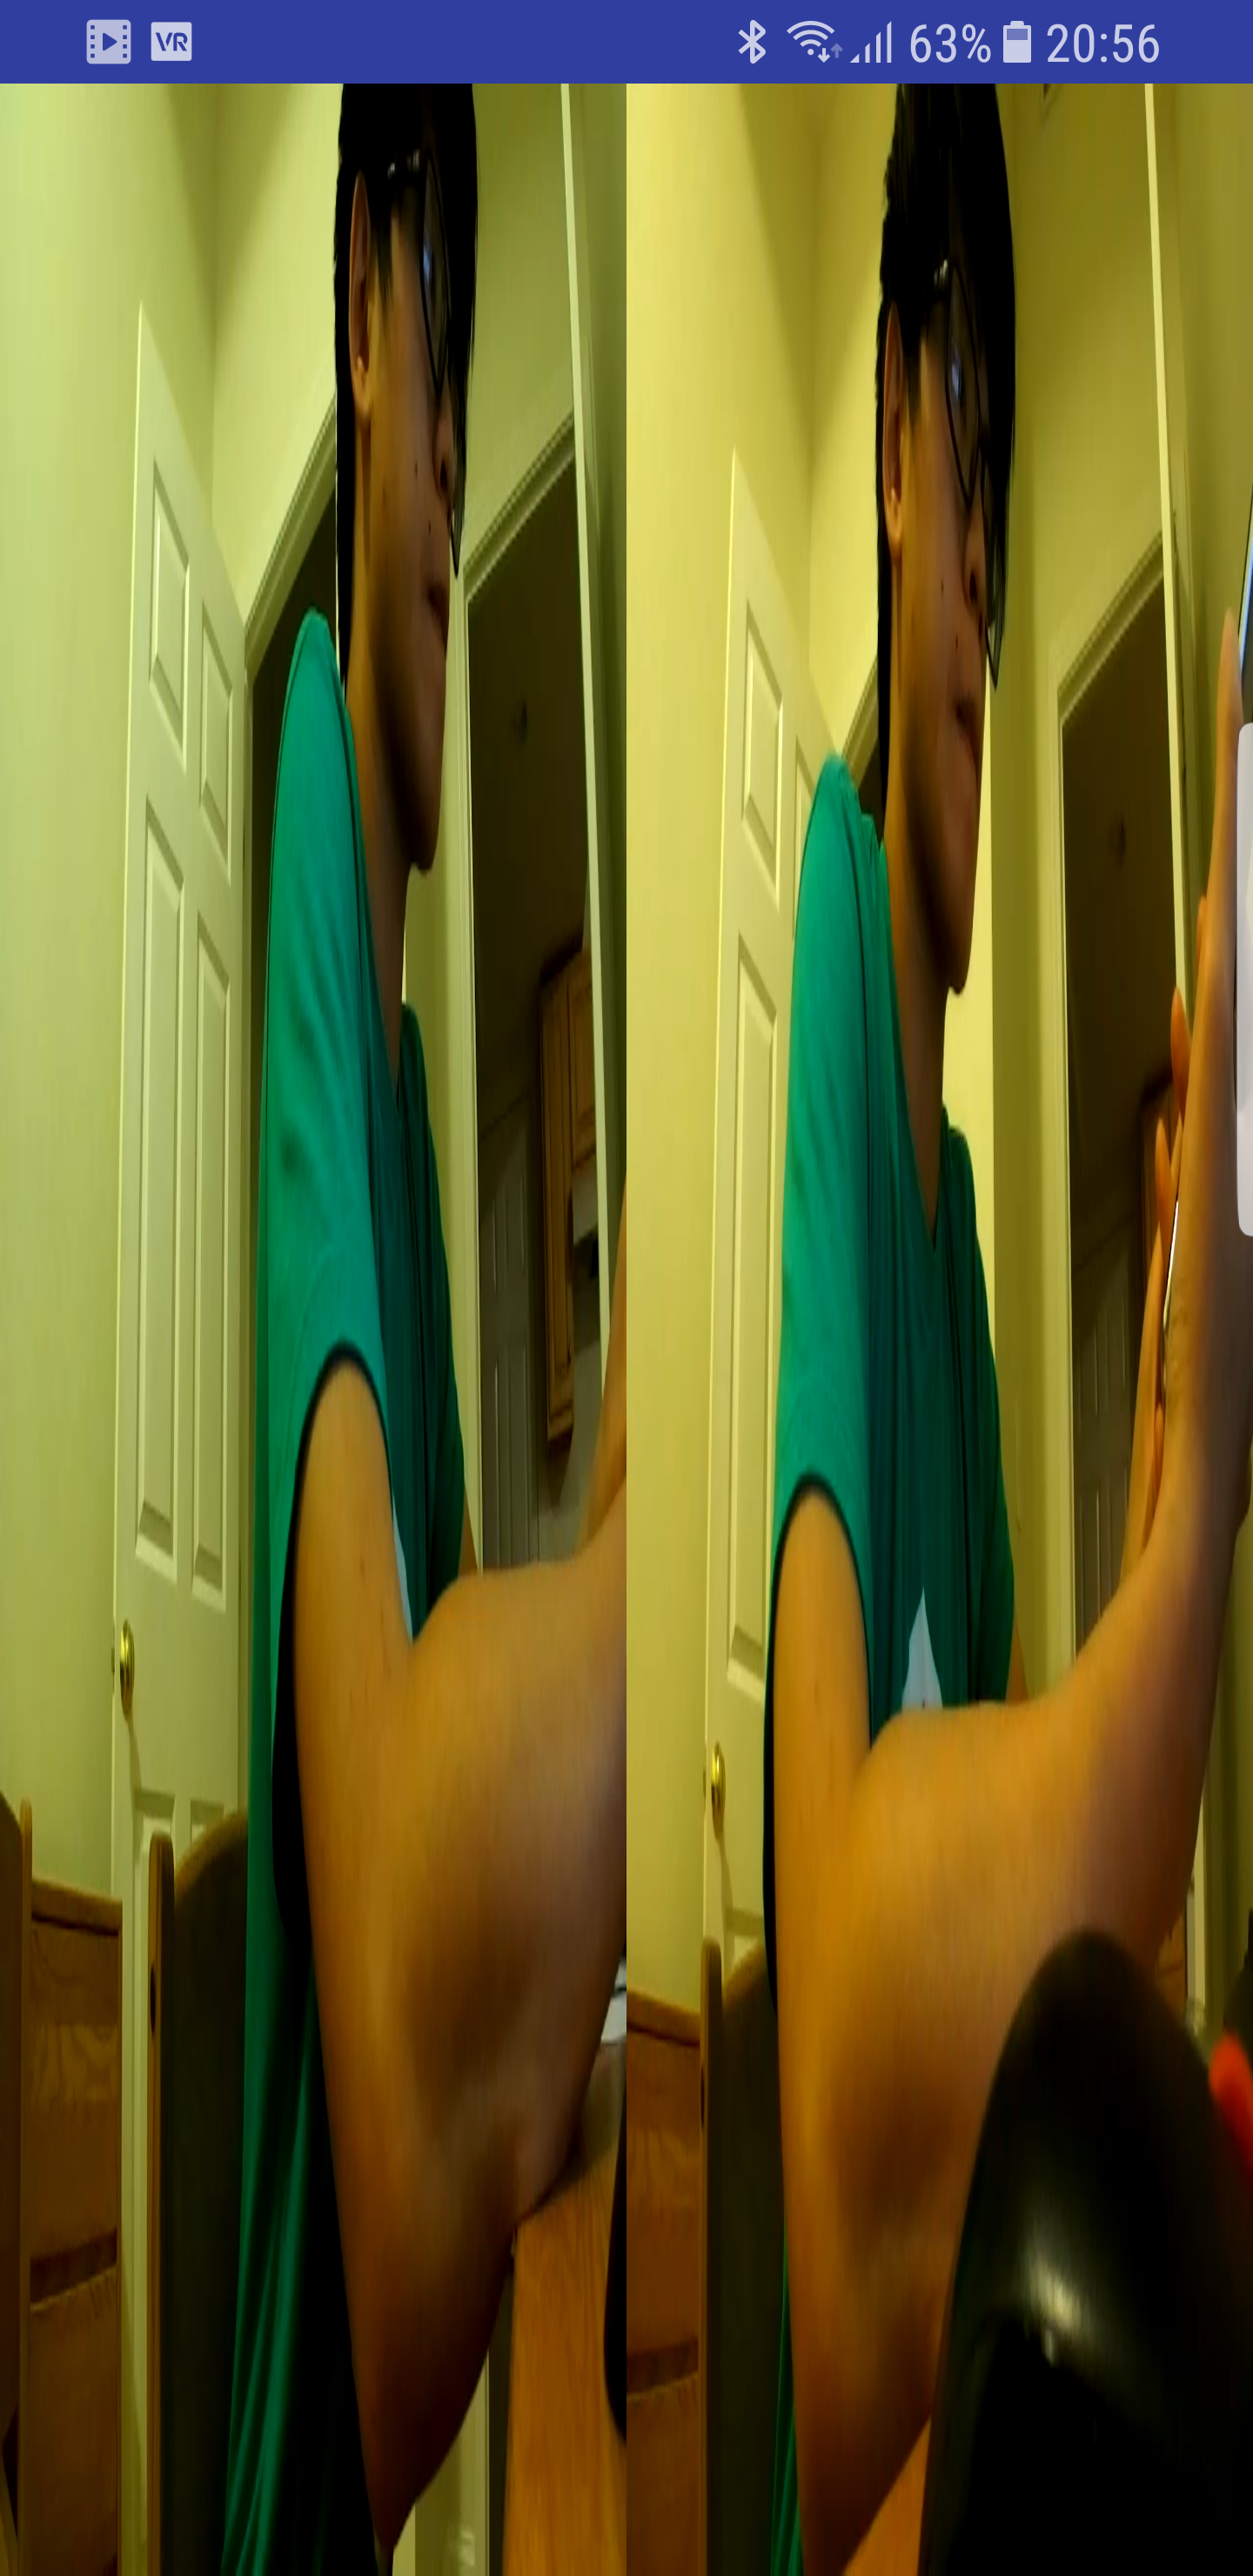
Next I opened up android studio and followed Sue Smith's tutorial on creating a video player in android. Using this as the base, I only modify the Activity class, replacing the String vidAddress with the rtsp link, "rtsp://10.0.0.36:8554/test". I then build the app and install the .apk file into the phone. If you're using android studio, it's as simple as pressing the green arrow "run" button. Then select the android device connected to your computer. Once building and installing is complete, the app should open. Here's what I got:
We're in the home stretch now! All that's left to do is to substitute the rtsp link for the tron movie in the gvr-video app.
Download the repository here. Currently, to be able to run GearVR apps you need to have an oculus signature file inside the project. Go to here, follow their instructions, download the oculussig file unique to your device. Place that file into the assets directory of your project's source code.
We are going to modify the file MovieManager.java located inside gvr-video/app/src/main/java/org/gearvrf/video/movie/MovieManager.java. Replace the line mediaPlayer.setDataSource(afd.getFileDescriptor(), afd.getStartOffset(), afd.getLength()); with mediaPlayer.setDataSsource("rtsp://10.0.0.36:8554/test");. Comment out or remove all lines containing the afd variable. Set the Use_Exo_Player variable to false. Finally, go into the AndroidManifest.xml file and add <uses-permission android:name="android.permission.INTERNET" /> along with the other permissions. This is necessary in order to access resources from the internet such as our RTSP server.
If you want to view the video in 3D Side by Side (since the ZED captures SBS video) change the VideoType parameter of the lines that read:
screen = new GVRVideoSceneObject(context, screenMesh, player,
                  screenTexture, GVRVideoSceneObject.GVRVideoType.MONO);
from GVRVideoSceneObject.GVRVideoType.MONO to GVRVideoSceneObject.GVRVideoType.HORIZONTAL_STEREO inside the file MultiplexMovieTheater.java
screen = new GVRVideoSceneObject(context, screenMesh, player,
                    screenTexture, GVRVideoSceneObject.GVRVideoType.HORIZONTAL_STEREO);
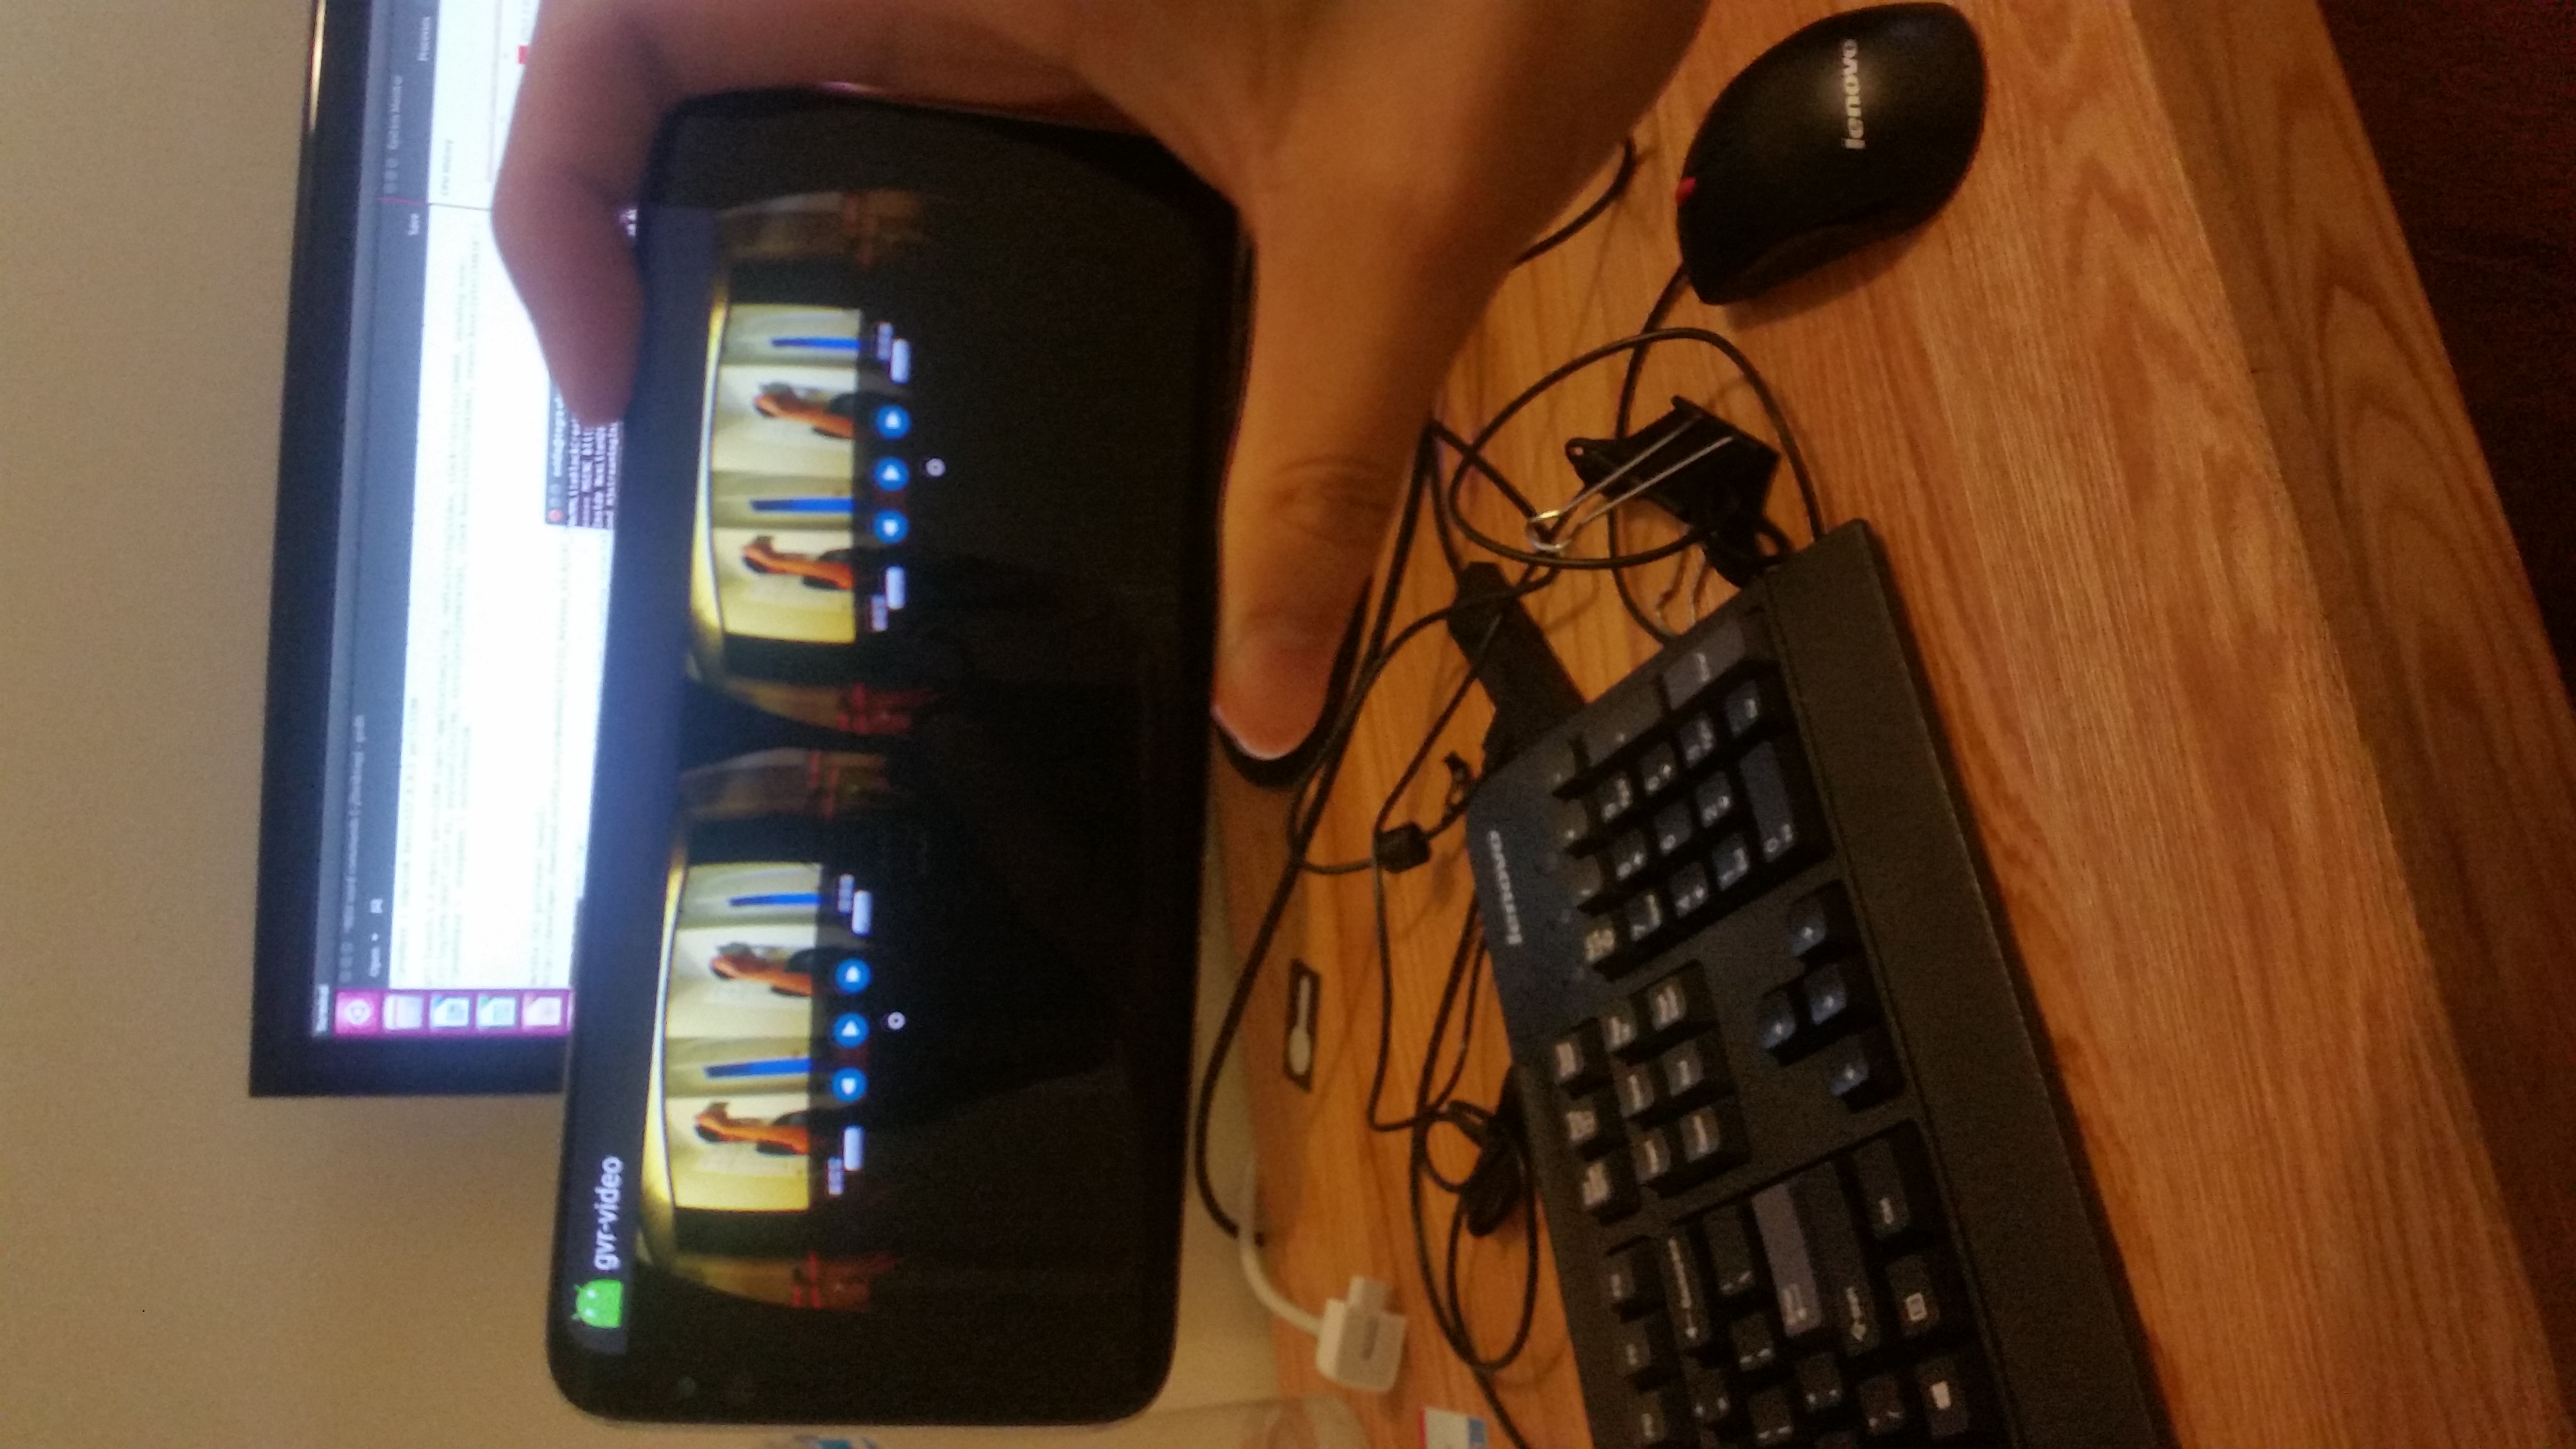
Build and install the apk into the phone. If you've turned on developer mode for GearVR you should have something like this:
The gvr-video app we've made (or rather hacked together) is alright so far, but what we want is for the video to always be centered in front of the lens. I started from a GVRf template and built it up from there. Import the project into android studio, go into the AndroidManifest.xml file and add the line <uses-permission android:name="android.permission.INTERNET" /> below the other permissions just like we did before.
Next go into the MainActivity.java file, replace all lines inside the onInit function with:
            mScene = gvrContext.getMainScene();
            //each param takes on values from 0 - 1 (not 0 - 255)
            mScene.getMainCameraRig().getLeftCamera().setBackgroundColor(0.0f, 0.0f, 0.0f, 1.0f);   //rgba -> black
            mScene.getMainCameraRig().getRightCamera().setBackgroundColor(0.0f, 0.0f, 0.0f, 1.0f);  //rgba -> black
            //player
            player = makeMediaPlayer(gvrContext, "tx2_zed_sample20.mp4");
            // screen
            GVRMesh screenMesh = gvrContext.getAssetLoader().loadMesh(new GVRAndroidResource(
                    gvrContext, "multiplex/screen.obj"));
            GVRExternalTexture screenTexture = new GVRExternalTexture(gvrContext);
            screen = new GVRVideoSceneObject(gvrContext, screenMesh, player,
                    screenTexture, GVRVideoSceneObject.GVRVideoType.HORIZONTAL_STEREO);
            screen.getRenderData().setCullFace(GVRRenderPass.GVRCullFaceEnum.None);
            //center the screen in front of the camera
            mScene.getMainCameraRig().addChildObject(screen);
Some explanation:
Main extends GVRMain where the GVRf application lives. GVRMain gives us access to the GVRContext object, which contains our scene graph. The Scene graph is a tree containing the objects/graphics to render on screen. Child node objects inherit properties from their parent, such as their transformation or position in space.
Here we set the left and right lenses background to black:
mScene = gvrContext.getMainScene();
//each param takes on values from 0 - 1 (not 0 - 255)
mScene.getMainCameraRig().getLeftCamera().setBackgroundColor(0.0f, 0.0f, 0.0f, 1.0f);   //rgba -> black
mScene.getMainCameraRig().getRightCamera().setBackgroundColor(0.0f, 0.0f, 0.0f, 1.0f);  //rgba -> black
Next we instantiate our android Media Player:
player = makeMediaPlayer(gvrContext, "tx2_zed_sample20.mp4");Soon, we will add our makeMediaPlayer method, which can play a local video or from the internet. Next we create our screen. From our assets we load in an obj file that holds the 3D info for our screen. We use GVRVideoSceneObject to project our video onto our screen. We also set our video type to 3D sbs using GVRVideoSceneObject.GVRVideoType.HORIZONTAL_STEREO
GVRMesh screenMesh = gvrContext.getAssetLoader().loadMesh(new GVRAndroidResource(
                    gvrContext, "multiplex/screen.obj"));
GVRExternalTexture screenTexture = new GVRExternalTexture(gvrContext);
screen = new GVRVideoSceneObject(gvrContext, screenMesh, player,
        screenTexture, GVRVideoSceneObject.GVRVideoType.HORIZONTAL_STEREO);
screen.getRenderData().setCullFace(GVRRenderPass.GVRCullFaceEnum.None);
Finally, we add our screen as a child node to our Camera node. Since the Camera is always positioned in front of the lens, the screen will inherit these properties and also be positioned in front of the screen.
mScene.getMainCameraRig().addChildObject(screen);Okay, that's it. Some more things to do are:
- add a seek bar
- add a play/pause button
- add fastforward and backward buttons
Here's the link: https://github.com/schen2315/reu_site_code to all code! :). Here's some additional resources:
- https://en.wikipedia.org/wiki/Real_Time_Streaming_Protocol
- https://en.wikipedia.org/wiki/Real-time_Transport_Protocol
- https://www.howtogeek.com/190014/htg-explains-what-is-the-difference-between-tcp-and-udp/
- https://stackoverflow.com/questions/4303439/what-is-the-difference-between-rtp-or-rtsp-in-a-streaming-server
- https://resources.samsungdevelopers.com/Gear_VR_and_Gear_360/GearVR_Framework_Project
- https://github.com/gearvrf/GearVRf-Demos
- http://docs.gearvrf.org/v3.2/Framework/index.html
- https://developer.android.com/reference/android/media/MediaPlayer.html
- https://gstreamer.freedesktop.org/documentation/tutorials/basic/concepts.html
- https://developer.ridgerun.com/wiki/index.php/RTSP_Sink
- https://github.com/GStreamer/gst-rtsp-server
- https://tools.ietf.org/html/rfc3551#page-32
- https://play.google.com/store/apps/details?id=org.rtspplr.app&hl=en
- https://code.tutsplus.com/tutorials/streaming-video-in-android-apps--cms-19888
- https://dashboard.oculus.com/tools/osig-generator/
- https://github.com/gearvrf/GearVRf-Demos/tree/master/template/GVRFApplication


