Skip to content

Instantly share code, notes, and snippets.

@swiftgeek
Last active November 1, 2023 04:18
  • Star 18 You must be signed in to star a gist
  • Fork 9 You must be signed in to fork a gist
Star You must be signed in to star a gist
Save swiftgeek/0ccfb7f87918b56b2259 to your computer and use it in GitHub Desktop.
RW1990 programmer, with arduino
// Based on https://danman.eu/blog/cloning-ibutton-using-rw1990-and-avr/
// and: http://elimelecsarduinoprojects.blogspot.com/2013/06/read-dallas-ibutton-arduino.html
// By Swift Geek 28-08-2015
// TODO: danger to atmega328! Use OpenCollector logic!
// Used 4.8kΩ Pull-up and 3.1 Vcc for arduino/pull-up
#include <OneWire.h>
OneWire ibutton (8); // I button connected on PIN 2.
byte addr[8]; //array to store the Ibutton ID.
void setup(){
Serial.begin(115200);
}
void loop(){
if (!ibutton.search (addr)){//read attached ibutton and asign value to buffer
ibutton.reset_search();
delay(200);
return;
}
Serial.print(millis()/1000);
Serial.print("> ");
for (byte x = 0; x<8; x++){
Serial.print(addr[x],HEX); //print the buffer content in LSB. For MSB: for (int x = 8; x>0; x--)
Serial.print(" ");
}
//compute crc//
byte crc;
crc = ibutton.crc8(addr, 7);
Serial.print("CRC: ");
Serial.println(crc,HEX);
if ( Serial.read() == 'w' ){
ibutton.skip();
ibutton.reset();
ibutton.write(0x33);
Serial.print(" ID before write:");
for (byte x=0; x<8; x++){
Serial.print(' ');
Serial.print(ibutton.read(), HEX);
}
Serial.print('\n');
Serial.print(" Writing iButton ID:\n ");
// Hardcode here your desired ID //
// 01 D5 9F DC 02 00 00 96
byte newID[8] = {0x01, 0xD5, 0x9F, 0xDC, 0x02, 0x00, 0x00, 0x96};
ibutton.skip();
ibutton.reset();
ibutton.write(0xD5);
for (byte x = 0; x<8; x++){
writeByte(newID[x]);
Serial.print('*');
}
Serial.print('\n');
ibutton.reset();
}
}
int writeByte(byte data){
int data_bit;
for(data_bit=0; data_bit<8; data_bit++){
if (data & 1){
digitalWrite(8, LOW); pinMode(8, OUTPUT);
delayMicroseconds(60);
pinMode(8, INPUT); digitalWrite(8, HIGH);
delay(10);
} else {
digitalWrite(8, LOW); pinMode(8, OUTPUT);
pinMode(8, INPUT); digitalWrite(8, HIGH);
delay(10);
}
data = data >> 1;
}
return 0;
}
@MagicLegend
Copy link

MagicLegend commented Nov 17, 2019

For me this code didn't write to my RW1990. However, a slightly modified version found here does: https://github.com/tes66/Arduino-Uno/blob/master/RW1990.ino

However, this isn't fully complete (a hardcoded pin 10 is used); so here is my slightly modified version:

#define pin 10

OneWire ibutton (pin); // I button connected on PIN 2.

byte addr[8]; //array to store the Ibutton ID.

void setup(){
 Serial.begin(115200); 
}

void loop(){
  if (!ibutton.search (addr)){//read attached ibutton and asign value to buffer
    ibutton.reset_search();
    delay(200);
    return;
 }
 
  Serial.print(millis()/1000);
  Serial.print("> ");
  for (byte x = 0; x<8; x++){  
    Serial.print(addr[x],HEX); //print the buffer content in LSB. For MSB: for (int x = 8; x>0; x--) 
     Serial.print(" ");
  }
 
  //compute crc//
  byte crc;
  crc = ibutton.crc8(addr, 7);
  Serial.print("CRC: ");
  Serial.println(crc,HEX);
  if ( Serial.read() == 'w' ){
    ibutton.skip();ibutton.reset();ibutton.write(0x33);
    Serial.print("  ID before write:");
    for (byte x=0; x<8; x++){
      Serial.print(' ');
      Serial.print(ibutton.read(), HEX);
    }
    // send reset
    ibutton.skip();
    ibutton.reset();
    // send 0xD1
    ibutton.write(0xD1);
    // send logical 0
    digitalWrite(pin, LOW); pinMode(pin, OUTPUT); delayMicroseconds(60);
    pinMode(pin, INPUT); digitalWrite(pin, HIGH); delay(10);
    
    Serial.print('\n');
    Serial.print("  Writing iButton ID:\n    ");
    // Hardcode here your desired ID //
    // 01 D5 9F DC 02 00 00 96
    byte newID[8] = {0x01, 0xA8, 0x29, 0xC9, 0x01, 0x00, 0x00, 0xCA};
                     
    ibutton.skip();
    ibutton.reset();
    ibutton.write(0xD5);
    for (byte x = 0; x<8; x++){
      writeByte(newID[x]);
      Serial.print('*');
    }
    Serial.print('\n');
    ibutton.reset();
    // send 0xD1
    ibutton.write(0xD1);
    //send logical 1
    digitalWrite(pin, LOW); pinMode(pin, OUTPUT); delayMicroseconds(10);
    pinMode(pin, INPUT); digitalWrite(pin, HIGH); delay(10);

  }
} 

int writeByte(byte data){
  int data_bit;
  for(data_bit=0; data_bit<8; data_bit++){
    if (data & 1){
      digitalWrite(pin, LOW); pinMode(pin, OUTPUT);
      delayMicroseconds(60);
      pinMode(pin, INPUT); digitalWrite(pin, HIGH);
      delay(10);
    } else {
      digitalWrite(pin, LOW); pinMode(pin, OUTPUT);
      pinMode(pin, INPUT); digitalWrite(pin, HIGH);
      delay(10);
    }
    data = data >> 1;
  }
  return 0;
}

@mateusz-talma
Copy link

@MagicLegend For me this version also working fine. Thanks!

@irekfpl
Copy link

irekfpl commented Feb 1, 2021

@MagicLegend Thanks for your version because the code written by @swiftgeek was hardcoded pin 8 in part of his code, and whene I use it with pin 12 my ibutton writing didn't work.

@DavidFpv
Copy link

Hello,
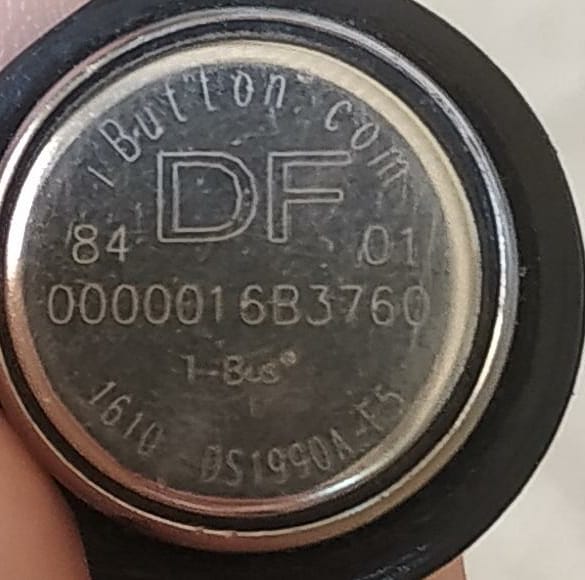
I have a button like in the picture and I can't read it.
I burned the code and connected as needed but there is nothing on the screen ... can someone help me, please?

There is also a number on the button that might be used?

WhatsApp Image 2021-05-24 at 11 23 44
WhatsApp Image 2021-05-24 at 11 23 25 (1)
WhatsApp Image 2021-05-24 at 11 23 25

@irekfpl
Copy link

irekfpl commented May 24, 2021

  1. If You using program above use pin 8 for data or change in program for pin 7.
  2. Do You gave +5v on pin "AREF"?

@DavidFpv
Copy link

  1. If You using program above use pin 8 for data or change in program for pin 7.
  2. Do You gave +5v on pin "AREF"?

1.I use pin 8
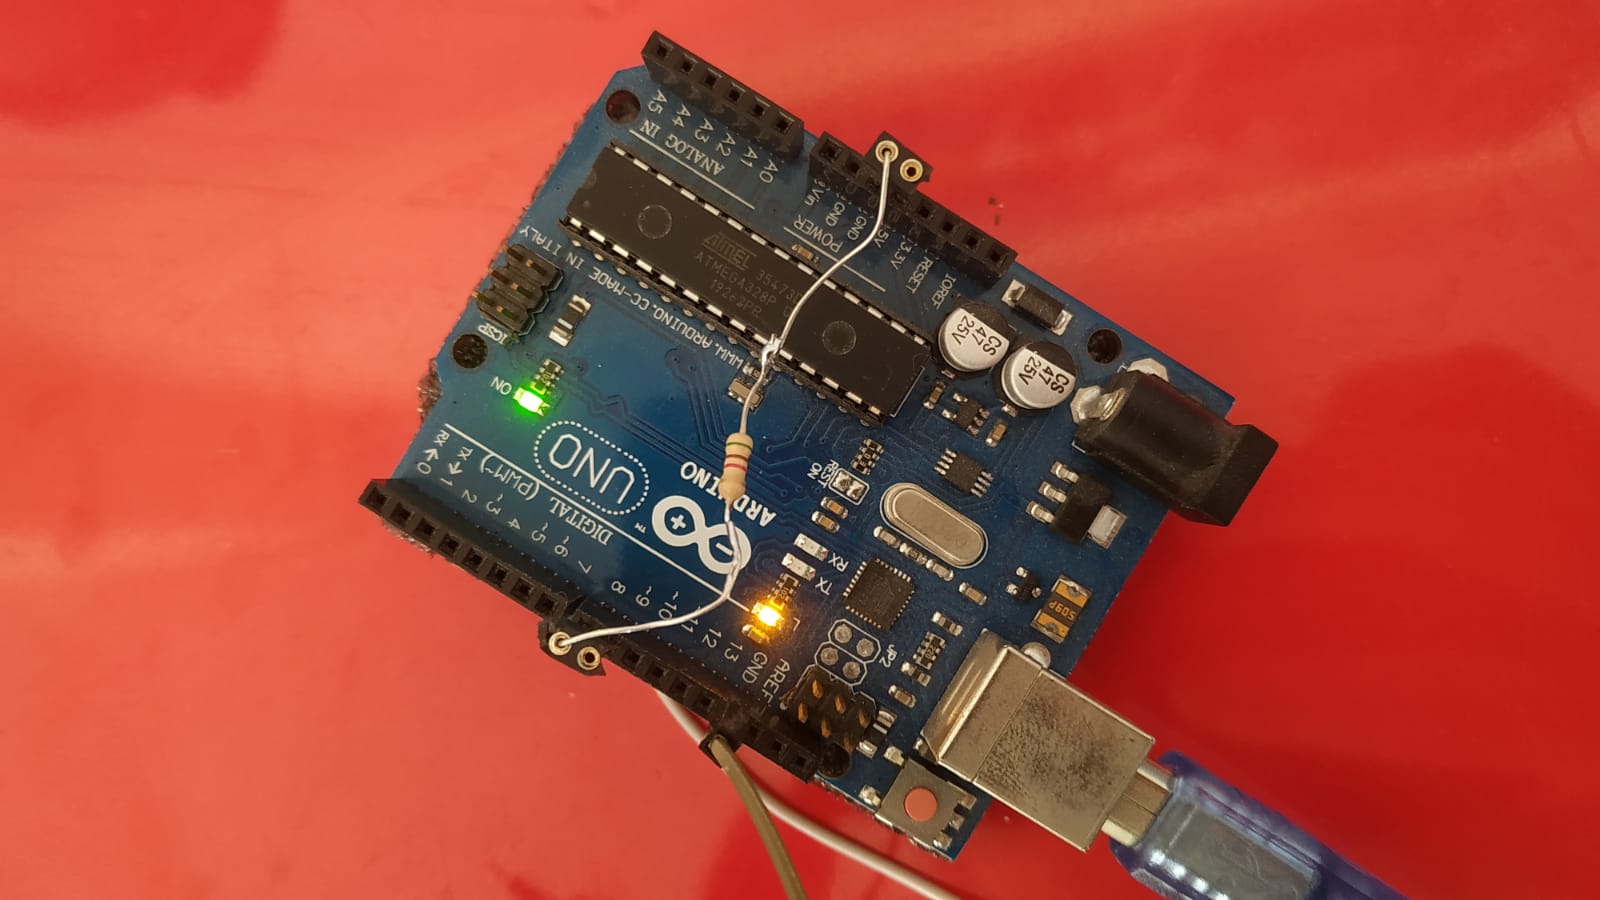
2.I put it this way:
5V to RES 4.8K to pin 8 to the middle part of the Ibutton and the outside of the button simply to ground

@irekfpl
Copy link

irekfpl commented May 24, 2021

Ok, my mistake, on phone it is a pin 8, but on photos I see GND - Resistor to pin 8 .
@DavidFpv do You use program from MagicLegend on 17 Nov 2019?
Do You change line:
#define pin 10
to
#define pin 8
?
Do You have other 1wire button to check?
Do You chech this 1wire button on other device (intercom with reader)?

@DavidFpv
Copy link

o You have other 1wire button to che

As for the resistor connected to GND you are right.
This is an outdated picture.
Everything is connected as I mentioned

"program from MagicLegend on 17 Nov 2019" No, I did not try. I will try tomorrow
Which penis to use? 10 or 8
This button works 100% because it opens a door

Maybe try connecting a smaller RES?
I realized people do it ...

@irekfpl
Copy link

irekfpl commented May 24, 2021

Use program writen by MagicLegen. You can use pin 10 or 8 - but you must set in program what pin You use.
4.8k it may be too big. Try 4.7k.

@DavidFpv
Copy link

Use program writen by MagicLegen. You can use pin 10 or 8 - but you must set in program what pin You use.
4.8k it may be too big. Try 4.7k.

Ok I will try it.
Regarding the resistor I saw someone who used 330 ohms ... what do you say about that?

@irekfpl
Copy link

irekfpl commented May 24, 2021

I use 4.7k ohms like others projects. It works and I don't see the need to use other values.

@AfaqSaleem15
Copy link

IS IT POSSIBLE TO WRITE DATA ON ds1990a-f5?

@irekfpl
Copy link

irekfpl commented Mar 29, 2023

No, ds1990a-f5 is read only chip.

Sign up for free to join this conversation on GitHub. Already have an account? Sign in to comment