Skip to content

Instantly share code, notes, and snippets.

@tdcosta100
Last active December 10, 2024 03:11
Show Gist options
  • Save tdcosta100/385636cbae39fc8cd0937139e87b1c74 to your computer and use it in GitHub Desktop.
Save tdcosta100/385636cbae39fc8cd0937139e87b1c74 to your computer and use it in GitHub Desktop.
A tutorial to use GUI in WSL2 replacing original XServer by Xvnc, allowing WSL to work like native Linux, including login screen

WSL2 with GUI using Xvnc

Note

If you want to use pure WSLg, you can try the new WSLg (XWayland) tutorial or the WSLg (Wayland) tutorial.

In this tutorial, we will setup GUI in WSL2, and access it using VNC. No additional software outside WSL (like VcXsrv) is required, except, of course, a VNC Viewer (RealVNC, TightVNC, TigerVNC, UVNC, etc, all of them might work flawlessly).

The key component we need to install is the desktop metapackage you want (GNOME, KDE, Xfce, Budgie, etc) and tigervnc-standalone-server.

For this setup, I will use Ubuntu (20.04, 22.04 and 24.04 are working), and install GNOME Desktop. Since the key components aren't bound to Ubuntu or GNOME, you can use your favorite distro and GUI. Check the Sample screenshots section for examples.

So let's go. First, we need a working WSL2 installation.

Warning

WSLg may not work as expected, since Wayland sockets are disabled for everyone, and not every app can handle this.

Before going to real business, let's make sure we are updated.

sudo apt update
sudo apt upgrade

You also need to make sure /etc/wsl.conf have the following lines:

[boot]
systemd=true

If not, create/edit this file, add these lines and restart WSL (for example, using wsl.exe --shutdown, then reopening the distro terminal).

Now we are ready to go.

Installing components

Installing GUI

  1. First you select your favorite desktop environment metapackage. Here is a list of the most common metapackages:

    DistroDesktop EnvironmentMetapackage
    UbuntuBudgieubuntu-budgie-desktop
    GNOMEubuntu-desktop
    KDEkubuntu-desktop
    Kylinubuntukylin-desktop
    LXDElubuntu-desktop
    MATEubuntu-mate-desktop
    Studioubuntustudio-desktop
    Unityubuntu-unity-desktop
    Xfcexubuntu-desktop
    Ubuntu/DebianCinnamontask-cinnamon-desktop
    GNOMEtask-gnome-desktop
    GNOME Flashbacktask-gnome-flashback-desktop
    KDE Plasmatask-kde-desktop
    LXDEtask-lxde-desktop
    LXQttask-lxqt-desktop
    MATEtask-mate-desktop
    Xfcetask-xfce-desktop
  2. Once you have chosen the metapackage, let's install it. For example, if you choose ubuntu-desktop, the command will be:

    sudo apt install \
    `[ ! -z "$(apt-cache search ^acpi-support$)" ] && echo "acpi-support-"` \
    tigervnc-standalone-server \
    ubuntu-desktop
    

    This will install the ubuntu-desktop and tigervnc-standalone-server, but excluding the acpi-support dependency, if included. If acpi-support is installed, it will render your distro almost unusable (see microsoft/WSL#10059), so we will tell apt to not install it.

    The installation will take a while, so be patient.

  3. If in Ubuntu, you may want to install snap-store. If you don't need it, you can skip this step:

    sudo snap install snap-store
    

Configuring the environment

If you are using Debian, you need to configure the locale (this is not needed in Ubuntu):

echo "LANG=en_US.UTF-8" | sudo tee -a /etc/default/locale

Create and modify services

  1. Now we have everything installed, we need to fix the directory /tmp/.X11-unix/, because it's mounted as read-only by default. We will create a new systemd unit:

    sudo systemctl edit --full --force wslg-fix.service
    
  2. Paste the code below in the editor:

    [Service]
    Type=oneshot
    ExecStart=-/usr/bin/umount /tmp/.X11-unix
    ExecStart=/usr/bin/rm -rf /tmp/.X11-unix
    ExecStart=/usr/bin/mkdir /tmp/.X11-unix
    ExecStart=/usr/bin/chmod 1777 /tmp/.X11-unix
    ExecStart=/usr/bin/ln -s /mnt/wslg/.X11-unix/X0 /tmp/.X11-unix/X0
    
    [Install]
    WantedBy=multi-user.target
    
  3. Exit the editor saving the changes to the file.

  4. Let's enable wslg-fix.service:

    sudo systemctl enable wslg-fix.service
    
  5. We also need to remove all references to Wayland, because if not, some apps (gnome-terminal, for example) will open outside the desktop shell. We will edit the user-runtime-dir@.service service:

    sudo systemctl edit user-runtime-dir@.service
    
  6. Paste the code below in the editor:

    [Service]
    ExecStartPost=-/usr/bin/rm -f /run/user/%i/wayland-0 /run/user/%i/wayland-0.lock
    

Warning

Please read the editor instructions about the correct place to position the text cursor before pasting. If you paste the code in the wrong place, it will be discarded.

  1. Restart WSL using wsl.exe --shutdown, then reopen your distro terminal.

Creating VNC Server passwords

Important

In Debian, the GDM user is Debian-gdm, so you need to replace gdm by Debian-gdm in the commands below.

  1. In some distros, the directory /var/lib/gdm3/ has an incorrect owner, so let's fix it before setting the VNC Server passwords:

    sudo chown gdm:gdm /var/lib/gdm3/
    
  2. In this setup, each user has a different VNC password. So you have to configure at least three passwords, one for the current user, other for root, and other for GDM, who will present the login screen. If you don't configure the password, you won't able to access the login screen, or the user's desktop. First, let's configure the VNC password current user:

    vncpasswd
    
  3. Now, let's configure the VNC password for root (needed if you use LightDM instead GDM):

    sudo -H vncpasswd
    
  4. Finally, let's configure the VNC password for GDM (skip this step if you are not using GDM):

    sudo -H -u gdm vncpasswd
    

    You can repeat the process for other existing users.

Replacing default Xorg by Xvnc

By default, the display manager call multiple Xorg instances, one for each user session, including the login screen, provided by GDM. So we will replace Xorg script by a new version which calls Xvnc instead the classic Xorg. This is the real magic we are trying to do.

  1. First, let's backup the original Xorg script.

    sudo mv /usr/bin/Xorg /usr/bin/Xorg.original
    
  2. Then, we create a new Xorg script.

    sudo nano /usr/bin/Xorg.Xvnc
    
  3. Paste the code below in the editor:

    #!/bin/bash
    for arg do
      shift
      case $arg in
        # Xvnc doesn't support vtxx argument. So we convert to ttyxx instead
        vt*)
          set -- "$@" "${arg//vt/tty}"
          ;;
        # -keeptty is not supported at all by Xvnc
        -keeptty)
          ;;
        # -novtswitch is not supported at all by Xvnc
        -novtswitch)
          ;;
        # other arguments are kept intact
        *)
          set -- "$@" "$arg"
          ;;
      esac
    done
    
    # Find an available display number
    for displayNumber in $(seq 1 100)
    do
      [ ! -e /tmp/.X11-unix/X$displayNumber ] && break
    done
    
    # Here you can change or add options to fit your needs
    command=("/usr/bin/Xvnc" ":${displayNumber}" "-geometry" "1024x768" "-rfbport" "$((5900 + $displayNumber))" "-rfbauth" "${HOME:-/root}/.vnc/passwd" "$@")
    
    systemd-cat -t /usr/bin/Xorg echo "Starting Xvnc:" "${command[@]}"
    
    exec "${command[@]}"
    

    Please note the resolution of the virtual screen. You can change that to fit your needs (1366x768, 1920x1080, etc). Also, you can change the -rfbauth option to point to a fixed location instead the home of current user, so you don't need to have a password for each user.

  4. Finally, we set the correct permissions for the file and create a link to it:

    sudo chmod 0755 /usr/bin/Xorg.Xvnc
    sudo ln -sf Xorg.Xvnc /usr/bin/Xorg
    

Warning

Sometimes, system updates replace Xorg link with the original version. Just repeat this step if this happens, and Xvnc will work again as Xorg replacement.

Running your distro with GUI enabled

Now you have everything ready to start. First we shut down WSL:

wsl.exe --shutdown

Then reopen your distro terminal.

Doing this is like booting Linux again, and GDM will start automatically, and will create a Xorg instance to display the login interface. We changed this process to make it create Xvnc instances, so we can access them. The first instance will listen to port 5901, the second instance will listen to port 5902, and so on.

Accessing the VNC screen

After a while (usually a few seconds, but it can take more if you don't have a SSD), you can test if it's working properly. Use your favorite VNC Viewer to connect to your localhost port 5901 (localhost:5901). Use the VNC password set for user gdm (or Debian-gdm, if in Debian). The login screen must appear.

After logging in, the screen will be blank and eventually will be closed automatically. This is because a new instance of Xvnc was created for user desktop, listening to port 5902. Connect to this port now. The logged user's desktop must appear. When you log out, the screen at port 5901 will show the login interface again. This applies to GDM (which is the case if you installed Ubuntu Desktop). You can change this behavior changing the configuration file like this:

  1. sudo nano /etc/gdm3/custom.conf

  2. Uncomment and edit the following lines:

     AutomaticLoginEnable=true
     AutomaticLogin=[your username without the brackets]
    

If you are using LightDM, the desktop screen will appear in port 5901, so there's no need to connect to port 5902.

Shutting down

One important thing is: once you start your WSL instance, you cannot just stop it. You must perform a standard Linux shutdown. You can do one of the alternatives below:

  • Power off option on GUI menu
  • sudo poweroff

After doing that, you can safely shut down your WSL instance, either by wsl.exe --terminate or wsl.exe --shutdown. Not doing the shutdown process may cause damage to your WSL instance. So be careful.

Tips and tricks

  • VNC is a very adaptive protocol, and by default tries to use the most aggressive compression available, for better networking performance. But in our case, doing this only adds unnecessary CPU extra load, since you are connecting to localhost ("infinite" bandwith, near zero ping). To remove all compression algorithms and reduce lagging, force your VNC Viewer to connect using RAW encoding. The performance gain is noticeable, specially when playing videos (not a spectacular performance in this particular scenario, though).

Troubleshooting

  1. If it doesn't work at first, try to check your journalctl logs:

    journalctl -b -t /usr/lib/gdm3/gdm-x-session -t /usr/bin/Xorg --no-pager
    

    If you are using Debian, then the command is:

    journalctl -b -t /usr/libexec/gdm-x-session -t /usr/bin/Xorg --no-pager
    

    In the output, you must see what command line was generated for Xvnc, and which error messages appear. Of course, even if it works correctly, you can check the logs just to see what is happening, or for debugging.

  2. You must check if the custom Xorg script was not replaced by the default version of it. If it was the case, just repeat the steps of Replacing default X by Xvnc section.

  3. Check if Xorg is your default display server, not Xephyr or Wayland. If it's not, you must change it to have Xorg as your default display server.

  4. If you are using LightDM, you also need to check logs at /var/log/lightdm (you will need to use sudo to cat files in that directory). The Xvnc output will be in the file /var/log/lightdm/x-0.log.

  5. If you can connect to 59XX ports, but receive an error like Authentication failure: No password configured for VNC Auth, the file $HOME/.vnc/passwd is missing for that particular user (on port 5901, the user is gdm). Try to repeat the steps described in section Creating VNC Server passwords and try to connect again.

  6. If it still doesn't work, you can try to restart WSL with wsl.exe --shutdown (don't forget to save everything that is unsaved before, because WSL will shut down completely), then open your distro shell again and repeat the steps of section Accessing the VNC screen.

Sample screenshots

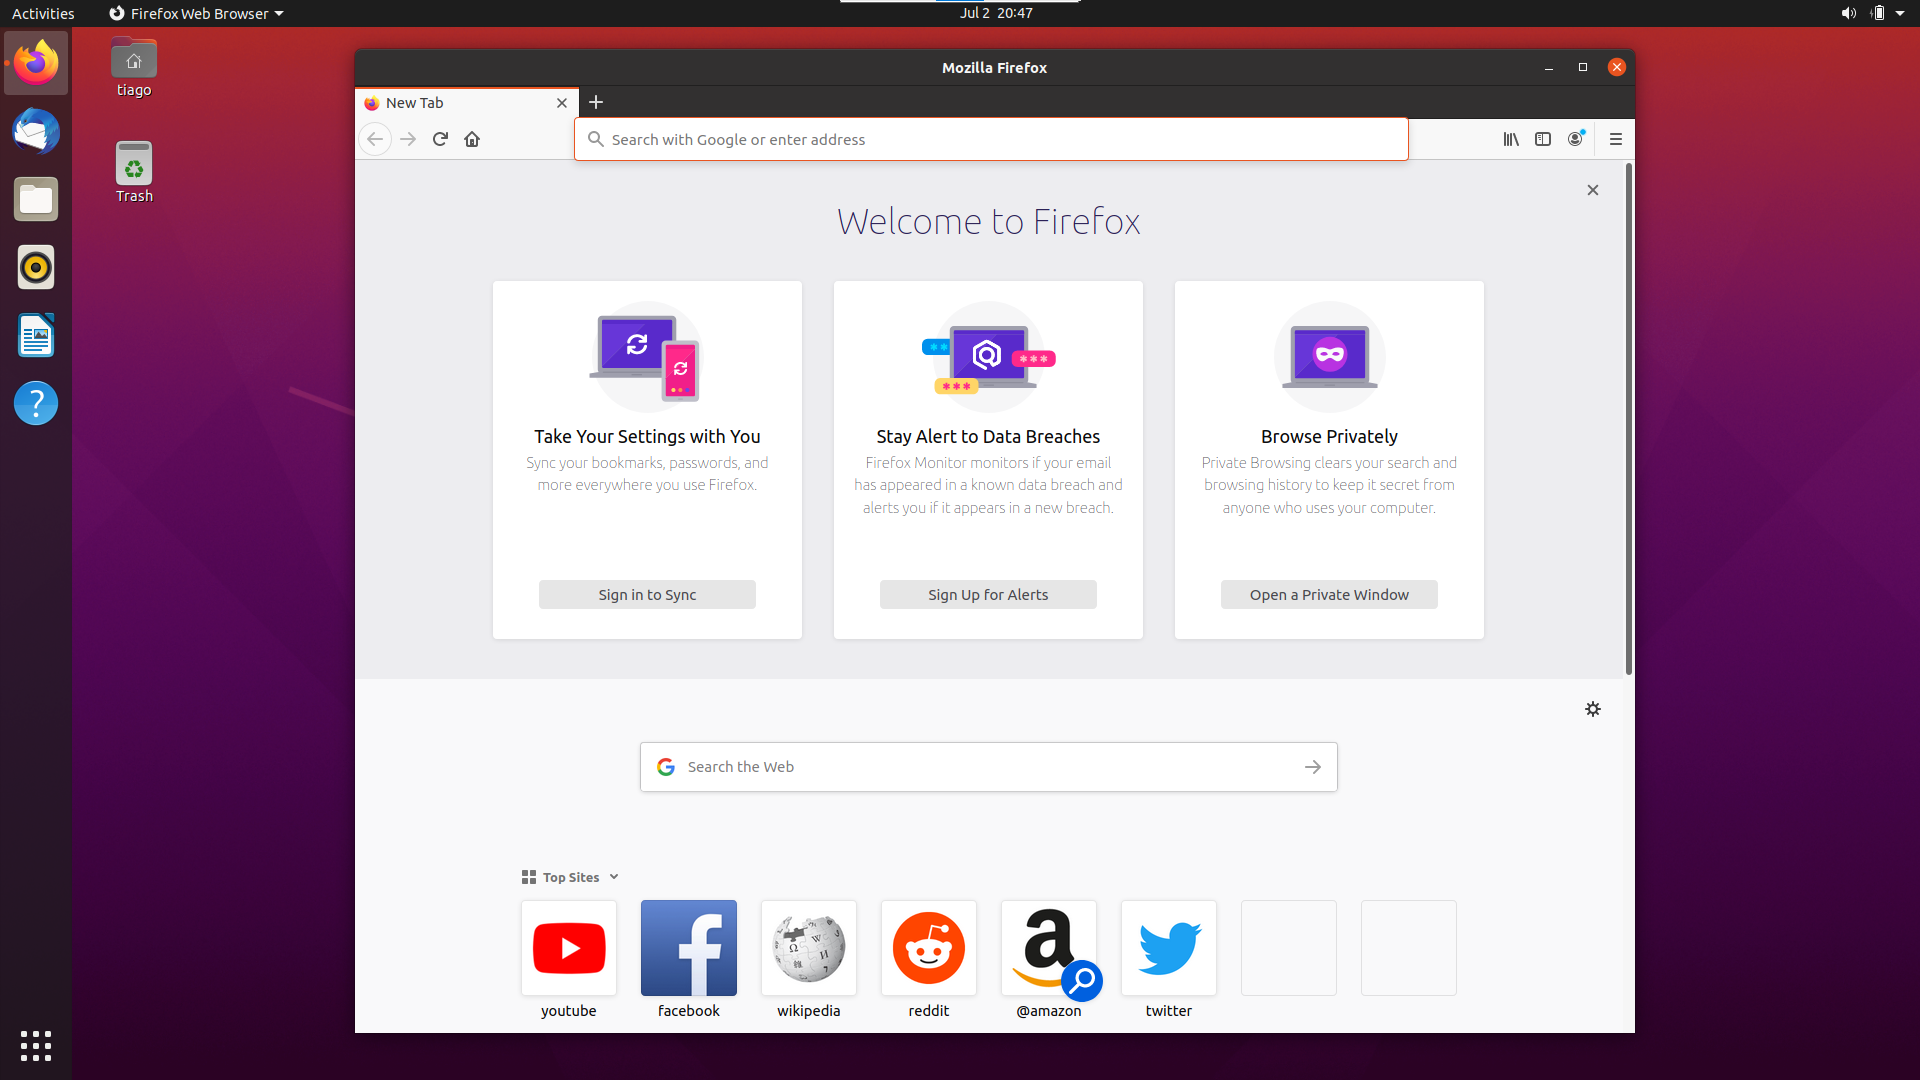
GDM

GDM

LightDM

LightDM

GNOME

GNOME

KDE

KDE

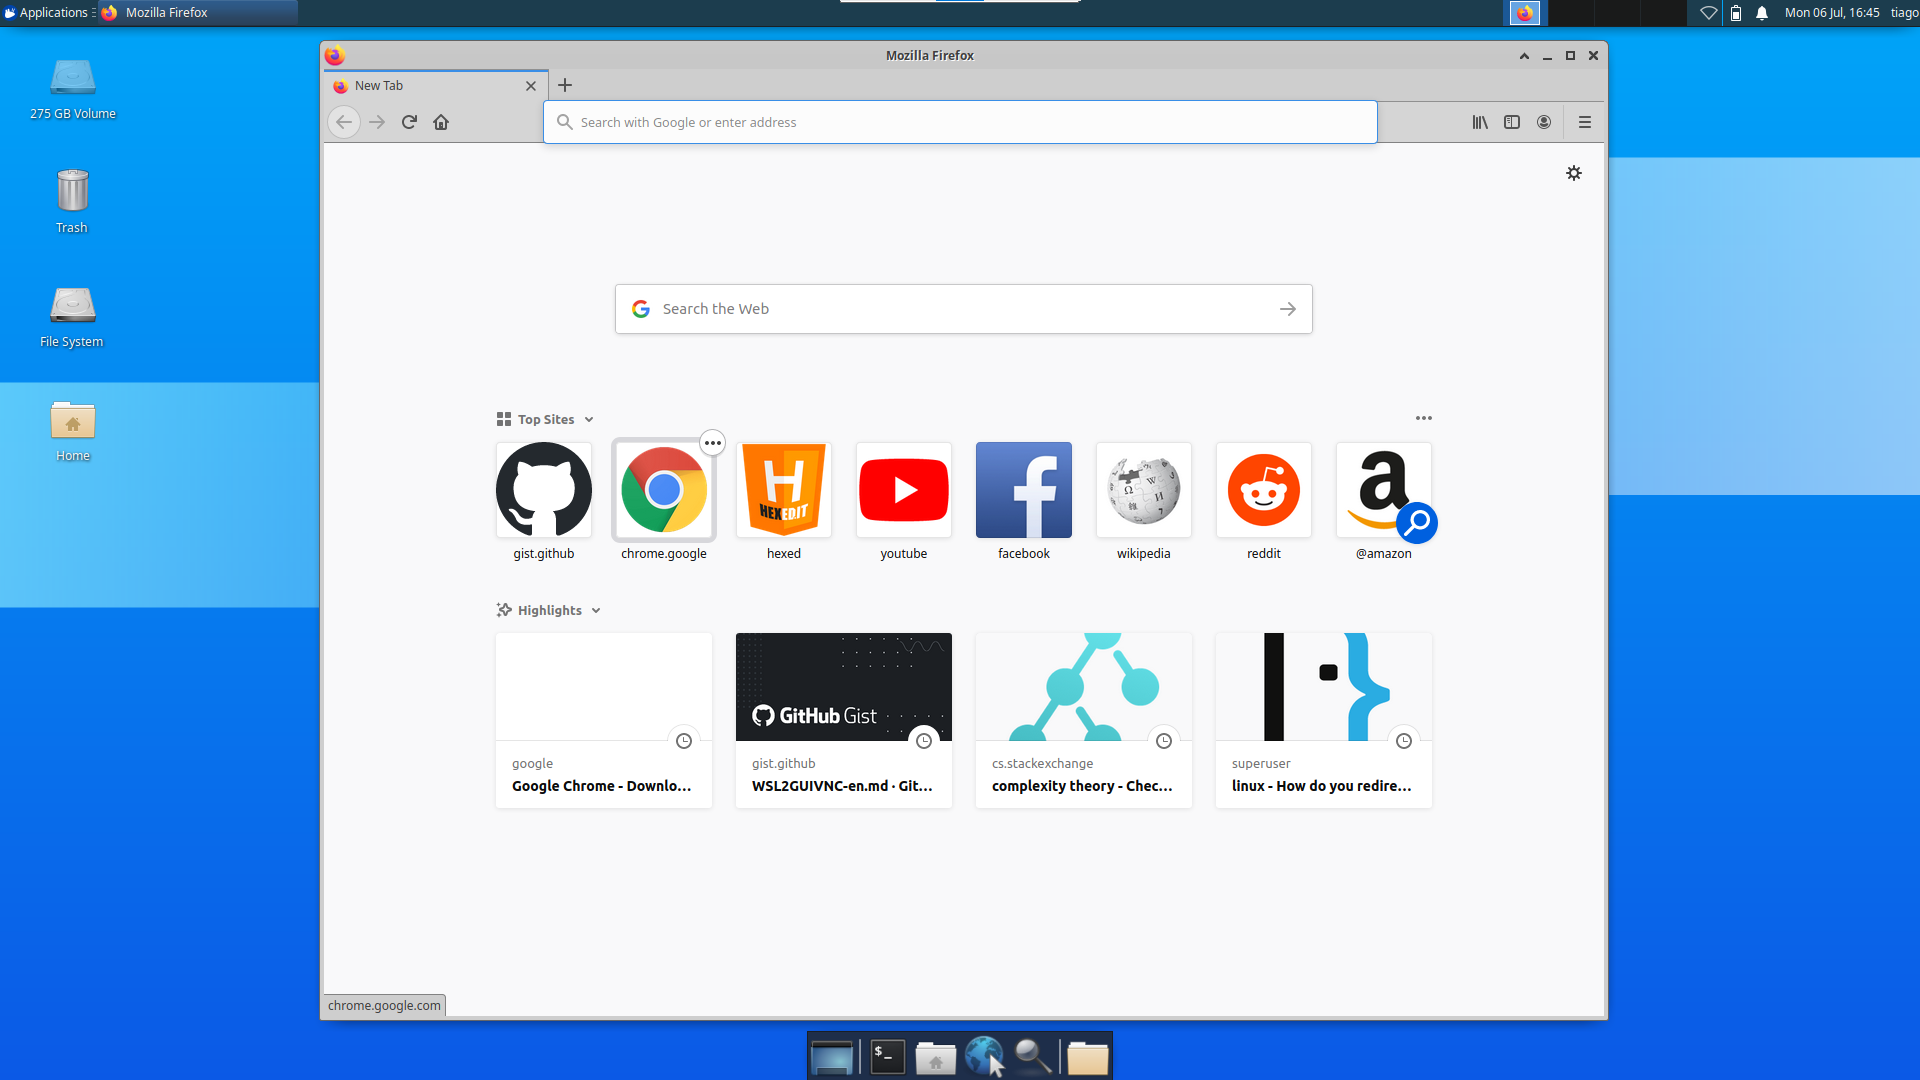
Xfce

Xfce

Budgie Desktop

Budgie Desktop

Contributors

Thanks to this guys, whose feedback made this tutorial reach the current level of quality and completeness (and it will be more and more complete as more feedback is given).

@tdcosta100
Copy link
Author

It's strange, because some messages suggest you are logging in with your user. If you are not, there is nothing else I can do for you, because everything is exchausted already.

@Thisisauser6443
Copy link

Ah, that sucks... Guess I'll have to stick with Win-KeX on Kali, then, but thank you for trying to help me out :)

@tdcosta100
Copy link
Author

If it works for you, then you should consider it your first option. WSL will need to correct a lot of things before being fully usable for everyone. It works for some of us, like me and others, but a lot of people get stuck without a working solution. That's sad, but I hope it will get better.

@SathvikKS
Copy link

SathvikKS commented Mar 23, 2023

I'm getting this error

Mar 23 11:10:48 MSI /usr/lib/gdm3/gdm-x-session[821]: _XSERVTransSocketCreateListener: failed to bind listener
Mar 23 11:10:48 MSI /usr/lib/gdm3/gdm-x-session[821]: _XSERVTransSocketUNIXCreateListener: ...SocketCreateListener() failed
Mar 23 11:10:48 MSI /usr/lib/gdm3/gdm-x-session[821]: _XSERVTransMakeAllCOTSServerListeners: failed to create listener for unix
Mar 23 11:10:48 MSI /usr/lib/gdm3/gdm-x-session[821]: _XSERVTransmkdir: Mode of /tmp/.X11-unix should be set to 1777

WSL info

WSL version: 1.1.3.0
Kernel version: 5.15.90.1
WSLg version: 1.0.49
MSRDC version: 1.2.3770
Direct3D version: 1.608.2-61064218
DXCore version: 10.0.25131.1002-220531-1700.rs-onecore-base2-hyp
Windows version: 10.0.19045.2788

Ubuntu details

No LSB modules are available.
Distributor ID: Ubuntu
Description:    Ubuntu 20.04.6 LTS
Release:        20.04
Codename:       focal

EDIT:
I manually remounted with rw permission using

sudo mount -o remount,rw /tmp/.X11-unix

and then restarted gdm with

sudo service gdm3 restart

However, this gives new issue

Mar 23 11:40:13 MSI /usr/lib/gdm3/gdm-x-session[37271]: dbus-update-activation-environment: setting _=/usr/bin/dbus-update-activation-environment
Mar 23 11:40:13 MSI /usr/lib/gdm3/gdm-x-session[37189]:  ComparingUpdateTracker: 0 pixels in / 0 pixels out
Mar 23 11:40:13 MSI /usr/lib/gdm3/gdm-x-session[37189]:  ComparingUpdateTracker: (1:-nan ratio)
Mar 23 11:40:13 MSI /usr/lib/gdm3/gdm-x-session[37189]: (EE)
Mar 23 11:40:13 MSI /usr/lib/gdm3/gdm-x-session[37189]: (EE) Backtrace:
Mar 23 11:40:13 MSI /usr/lib/gdm3/gdm-x-session[37189]: (EE) 0: /usr/bin/Xvnc (OsLookupColor+0x13c) [0x562f144a339c]
Mar 23 11:40:13 MSI /usr/lib/gdm3/gdm-x-session[37189]: (EE) 1: /lib/x86_64-linux-gnu/libpthread.so.0 (funlockfile+0x60) [0x7f050865d47f]
Mar 23 11:40:13 MSI /usr/lib/gdm3/gdm-x-session[37189]: (EE) 2: /usr/lib/wsl/drivers/nvmiig.inf_amd64_7b850875618e1cb3/libnvwgf2umx.so (_ZNSt3__112basic_stringIcNS_11char_traitsIcEENS_9allocatorIcEEE6__initIPmEENS_9enable_ifIXsr21__is_forward_iteratorIT_EE5valueEvE4typeES9_S9_+0xff3d4c) [0x7f04fe58f7b8]
Mar 23 11:40:13 MSI /usr/lib/gdm3/gdm-x-session[37189]: (EE)
Mar 23 11:40:13 MSI /usr/lib/gdm3/gdm-x-session[37189]: (EE) Segmentation fault at address 0x7f04faafa000
Mar 23 11:40:13 MSI /usr/lib/gdm3/gdm-x-session[37189]: (EE)
Mar 23 11:40:13 MSI /usr/lib/gdm3/gdm-x-session[37189]: Fatal server error:
Mar 23 11:40:13 MSI /usr/lib/gdm3/gdm-x-session[37189]: (EE) Caught signal 11 (Segmentation fault). Server aborting
Mar 23 11:40:13 MSI /usr/lib/gdm3/gdm-x-session[37189]: (EE)

@tdcosta100
Copy link
Author

Hi, @SathvikKS. It's complicated to use this tutorial with WSLg enabled and it demands extra steps. This tutorial is intended to be done with WSLg disabled.

@4t8dd
Copy link

4t8dd commented Sep 4, 2023

I'm getting this error

Mar 23 11:10:48 MSI /usr/lib/gdm3/gdm-x-session[821]: _XSERVTransSocketCreateListener: failed to bind listener
Mar 23 11:10:48 MSI /usr/lib/gdm3/gdm-x-session[821]: _XSERVTransSocketUNIXCreateListener: ...SocketCreateListener() failed
Mar 23 11:10:48 MSI /usr/lib/gdm3/gdm-x-session[821]: _XSERVTransMakeAllCOTSServerListeners: failed to create listener for unix
Mar 23 11:10:48 MSI /usr/lib/gdm3/gdm-x-session[821]: _XSERVTransmkdir: Mode of /tmp/.X11-unix should be set to 1777

WSL info

WSL version: 1.1.3.0
Kernel version: 5.15.90.1
WSLg version: 1.0.49
MSRDC version: 1.2.3770
Direct3D version: 1.608.2-61064218
DXCore version: 10.0.25131.1002-220531-1700.rs-onecore-base2-hyp
Windows version: 10.0.19045.2788

Ubuntu details

No LSB modules are available.
Distributor ID: Ubuntu
Description:    Ubuntu 20.04.6 LTS
Release:        20.04
Codename:       focal

EDIT: I manually remounted with rw permission using

sudo mount -o remount,rw /tmp/.X11-unix

and then restarted gdm with

sudo service gdm3 restart

However, this gives new issue

Mar 23 11:40:13 MSI /usr/lib/gdm3/gdm-x-session[37271]: dbus-update-activation-environment: setting _=/usr/bin/dbus-update-activation-environment
Mar 23 11:40:13 MSI /usr/lib/gdm3/gdm-x-session[37189]:  ComparingUpdateTracker: 0 pixels in / 0 pixels out
Mar 23 11:40:13 MSI /usr/lib/gdm3/gdm-x-session[37189]:  ComparingUpdateTracker: (1:-nan ratio)
Mar 23 11:40:13 MSI /usr/lib/gdm3/gdm-x-session[37189]: (EE)
Mar 23 11:40:13 MSI /usr/lib/gdm3/gdm-x-session[37189]: (EE) Backtrace:
Mar 23 11:40:13 MSI /usr/lib/gdm3/gdm-x-session[37189]: (EE) 0: /usr/bin/Xvnc (OsLookupColor+0x13c) [0x562f144a339c]
Mar 23 11:40:13 MSI /usr/lib/gdm3/gdm-x-session[37189]: (EE) 1: /lib/x86_64-linux-gnu/libpthread.so.0 (funlockfile+0x60) [0x7f050865d47f]
Mar 23 11:40:13 MSI /usr/lib/gdm3/gdm-x-session[37189]: (EE) 2: /usr/lib/wsl/drivers/nvmiig.inf_amd64_7b850875618e1cb3/libnvwgf2umx.so (_ZNSt3__112basic_stringIcNS_11char_traitsIcEENS_9allocatorIcEEE6__initIPmEENS_9enable_ifIXsr21__is_forward_iteratorIT_EE5valueEvE4typeES9_S9_+0xff3d4c) [0x7f04fe58f7b8]
Mar 23 11:40:13 MSI /usr/lib/gdm3/gdm-x-session[37189]: (EE)
Mar 23 11:40:13 MSI /usr/lib/gdm3/gdm-x-session[37189]: (EE) Segmentation fault at address 0x7f04faafa000
Mar 23 11:40:13 MSI /usr/lib/gdm3/gdm-x-session[37189]: (EE)
Mar 23 11:40:13 MSI /usr/lib/gdm3/gdm-x-session[37189]: Fatal server error:
Mar 23 11:40:13 MSI /usr/lib/gdm3/gdm-x-session[37189]: (EE) Caught signal 11 (Segmentation fault). Server aborting
Mar 23 11:40:13 MSI /usr/lib/gdm3/gdm-x-session[37189]: (EE)

sudo umount /tmp/.X11-unix
ln -sf /mnt/wslg/.X11-unix/X0 /tmp/.X11-unix/

This fixs my issue. from here: microsoft/WSL#9303

@tdcosta100
Copy link
Author

This is happening because you are trying to make WSLg and GNOME coexist. Usually it doesn't work. If you disable WSLg, then you can use GNOME normally.

@nobody4t
Copy link

nobody4t commented Sep 6, 2023

Oh, this killed me almost.

@kchovi
Copy link

kchovi commented Oct 5, 2023

Hello im getting this screen after a few connections, however im able to use gnome normally after completely unnistaling and reinstalling the distro.
Any help is appreciated, i am absoluttely clueless

Thanks
384557394_889679089248684_955829697391718332_n

@tdcosta100
Copy link
Author

I'm sorry to getting so long to answer you. Please tell me what distro are using, and the version (for example, Ubuntu 22.04).

@kchovi
Copy link

kchovi commented Oct 9, 2023

I'm sorry to getting so long to answer you. Please tell me what distro are using, and the version (for example, Ubuntu 22.04).

no problemo, im using Debian 12

@xinxilas
Copy link

xinxilas commented Oct 13, 2023

Está dando problema com o tasksel: tasksel apt-get failed (100)
Logo depois de selecionar o Ubuntu desktop ele retorna aquilo no terminal
E se voce explicar uma forma alternativa de instalar o Ubuntu Desktop, ou só o xfce4 e algum outros exemplos?

@tdcosta100
Copy link
Author

I'm sorry to getting so long to answer you. Please tell me what distro are using, and the version (for example, Ubuntu 22.04).

no problemo, im using Debian 12

@kchovi, unfortunately Debian 12 suffers from the same problem Ubuntu 22.04 does: it is so bonded to WSLg that it's somewhat broken with the setup I propose in this tutorial. So if you want to make it work like intended in this tutorial, you must use Debian 11.

@tdcosta100
Copy link
Author

Está dando problema com o tasksel: tasksel apt-get failed (100) Logo depois de selecionar o Ubuntu desktop ele retorna aquilo no terminal E se voce explicar uma forma alternativa de instalar o Ubuntu Desktop, ou só o xfce4 e algum outros exemplos?

Olá, @xinxilas. Para suporte em português, por gentileza poderia repetir esse post nesse outro tutorial?

https://gist.github.com/tdcosta100/c5c206f8958e82e638fa0ea226351081

@osseigh
Copy link

osseigh commented Dec 5, 2023

Finished everything...what command do I need to start it...in kali win-kex there is a command but I don't see one here

@spinell
Copy link

spinell commented Dec 6, 2023

Hi @tdcosta100, awesome tuto. I give it a try on Rocky8 with lightdm + Xfce, Mate, Cinnamon and it look to work welll.
But I have a few question (I know you used ubuntu so maybe it a bit different).

  • The first think I realizes is once I'm inside a desktop environment, I'm not able o switch user and come back to lightdm.
  • If the manually start light dm systemctl start lightdm it work. But if I try to enable it at startup systemctl enable lightdm. It does not work. Lightdm does not start and I don't havelogs in /var/log/lightdm

@tdcosta100
Copy link
Author

tdcosta100 commented Dec 12, 2023

Finished everything...what command do I need to start it...in kali win-kex there is a command but I don't see one here

Hi, @osseigh. If you are using the default setup (Ubuntu 20.04), you just need to restart WSL, and open it in the Terminal. This will be enough to start everything. If you are using another Ubuntu version, or another distro, please let me know so I can assist you better.

@tdcosta100
Copy link
Author

Hi @tdcosta100, awesome tuto. I give it a try on Rocky8 with lightdm + Xfce, Mate, Cinnamon and it look to work welll. But I have a few question (I know you used ubuntu so maybe it a bit different).

  • The first think I realizes is once I'm inside a desktop environment, I'm not able o switch user and come back to lightdm.
  • If the manually start light dm systemctl start lightdm it work. But if I try to enable it at startup systemctl enable lightdm. It does not work. Lightdm does not start and I don't havelogs in /var/log/lightdm

Hi, @spinell. What image do you have installed? According to this page, there are 3 options: Base x86_64, Minimal x86_64 and UBI x86_64. I need to know which one are you using (or another) to reproduce your scenario.

@spinell
Copy link

spinell commented Dec 12, 2023

Hi @tdcosta100 , I'm using Base x86_64

@Barbaduque
Copy link

Rapaz eu to com a mesma tela to quase desistalando e instalandod e novo o sistema, ta foda

@keghan001
Copy link

keghan001 commented Mar 7, 2024

Please how do i revert back into using the original Xserver, do i have to just change the config in .wslconfig or it would conflict. So how do I revert back totally.
Or is there a way to switch inbetween them seamlessly enabeling and disabelling when needed

@keghan001
Copy link

Please, Everytime i open a gui app like Gazebo or Rviz in the 5901 port it immediately crashes and I have to login on the 5900 port again and it keeps on crashing are there any additional settings or help to resolve this

@vervoortkobe
Copy link

I'm using Ubuntu Desktop as said in the tutorial, however upon connecting to the VNCserver I always get following error:
The target machine actively refused the connection.
image
Could someone help me with this, please? Thanks!
I already enabled ufw to allow port 5900 and 5901, but that didn't seem to solve my problem.

@TechnicallyJackson
Copy link

I'm using Ubuntu Desktop as said in the tutorial, however upon connecting to the VNCserver I always get following error: The target machine actively refused the connection. image Could someone help me with this, please? Thanks! I already enabled ufw to allow port 5900 and 5901, but that didn't seem to solve my problem.

I found the problem: You need to turn off WSLg for it to work. Instructions are at the top

@tdcosta100
Copy link
Author

Hey guys. I Finally updated the tutorial, so many errors may have be corrected. Tell me if it helps you. There is no need to disable WSLg anymore.

@TechnicallyJackson
Copy link

Hey guys. I Finally updated the tutorial, so many errors may have be corrected. Tell me if it helps you. There is no need to disable WSLg anymore.

Thank goodness I like WSLg

@tdcosta100
Copy link
Author

@TechnicallyJackson maybe you should try the new WSLg tutorial.

@Momossim
Copy link

hey. I followed the tutorial but when i type "sudo -H -u gdm vncpasswd" i get the errors: "sudo: unknown user gdm
sudo: error initializing audit plugin sudoers_audit". do i need to create the user gdm ?

@Momossim
Copy link

Momossim commented Jul 14, 2024

hey. I followed the tutorial but when i type "sudo -H -u gdm vncpasswd" i get the errors: "sudo: unknown user gdm sudo: error initializing audit plugin sudoers_audit". do i need to create the user gdm ?

i also tried in debian, in it i get the error "Editing "/etc/systemd/system/user-runtime-dir@.service.d/override.conf" canceled: temporary file is empty.". and if i try to connect to it/to ubuntu anyway (using tightvnc) no password is working.

@tdcosta100
Copy link
Author

tdcosta100 commented Jul 14, 2024

Hi, @Momossim. The tutorial says user in Debian is Debian-gdm, not gdm. Try again with Debian-gdm and tell me if it works now.

hey. I followed the tutorial but when i type "sudo -H -u gdm vncpasswd" i get the errors: "sudo: unknown user gdm sudo: error initializing audit plugin sudoers_audit". do i need to create the user gdm ?

This error occurs because you need to paste the code in the right place. Follow the instructions that appear in the file you are editing.

Sign up for free to join this conversation on GitHub. Already have an account? Sign in to comment