-
-
Save thalamus/561d028ff5b66310fac1224f3d023c12 to your computer and use it in GitHub Desktop.
| /* | |
| * This document is provided to the public domain under the | |
| * terms of the Creative Commons CC0 public domain license | |
| */ | |
| How to boot Arch Linux ARM in QEMU (patched for M1) | |
| Prerequisites: | |
| QEMU - patched for M1 processors - patches: https://github.com/utmapp/qemu | |
| A working linux distribution of some description. | |
| I personally used Ubuntu 20.10 ARM64 running in Parallels TP to carry out this originally, | |
| but any should work, and it doesn't have to be ARM64. | |
| The following software on said linux system: | |
| qemu-img | |
| fdisk | |
| kpartx | |
| bsdtar | |
| wget | |
| Additionally, if you wish to use QEMU you may need to download this on your M1 Mac | |
| EFI BIOS - https://github.com/qemu/qemu/raw/master/pc-bios/edk2-aarch64-code.fd.bz2 | |
| if you have installed QEMU from source, it will be located in the 'share' folder within | |
| the installation prefix. | |
| Knowledge of the command line. | |
| Commands prefixed with $ are ran as a normal user and those prefixed # require root. | |
| $ sudo -s is a suitable way of getting root. | |
| 1) Create a suitable directory, download the Arch tarball and create the raw image: | |
| $ mkdir ~/alarm | |
| $ cd ~/alarm | |
| $ wget http://os.archlinuxarm.org/os/ArchLinuxARM-aarch64-latest.tar.gz | |
| $ qemu-img create archlinux.img 32GB | |
| 2) Partition the image with fdisk: | |
| $ fdisk archlinux.img | |
| - then g (to create a new GPT partition table) | |
| - then n (to create a new partition), then enter twice, then +200M and enter | |
| - then t (to change the type), then 1 for EFI System Partition | |
| - then n and enter three times, then w to write changes and exit | |
| 3) Become root, create the loop devices and format the partitions of the image. | |
| $ sudo -s | |
| # kpartx -av archlinux.img | |
| # ls /dev/mapper - you should see two new devices - something like loop6p1 / loop6p2 | |
| # mkfs.vfat /dev/mapper/loop6p1 | |
| # mkfs.ext4 /dev/mapper/loop6p2 | |
| 4) Mount the partitions and extract the Arch Linux ARM tarball to them. | |
| # mkdir root | |
| # mount /dev/mapper/loop6p2 root | |
| # mkdir root/boot | |
| # mount /dev/mapper/loop6p1 root/boot | |
| # bsdtar -xpf ArchLinuxARM-aarch64-latest.tar.gz -C root | |
| 5) Edit /etc/fstab and create /boot/startup.nsh files. | |
| # blkid | |
| - you'll need the UUID for both partitions - the vfat partition looks like: UUID="XXXX-XXXX" | |
| and the ext4 one looks like UUID="XXXXXXXX-XXXX-XXXX-XXXX-XXXXXXXXXXXX" | |
| # nano root/etc/fstab | |
| Paste the following (with the correct UUIDs to suit your system of course: | |
| /dev/disk/by-uuid/XXXXXXXX-XXXX-XXXX-XXXX-XXXXXXXXXXXX / ext4 defaults 0 0 | |
| /dev/disk/by-uuid/XXXX-XXXX /boot vfat defaults 0 0 | |
| # nano root/boot/startup.nsh | |
| The startup.nsh is read by the EFI as a last resort. We need this to be able to do the initial boot. | |
| This should look exactly like this (with the correct UUID for the ext4 partition): | |
| Image root=UUID=XXXXXXXX-XXXX-XXXX-XXXX-XXXXXXXXXXXX rw initrd=\initramfs-linux.img | |
| 6) Unmount the partitions and exit from the root shell. | |
| # umount root/boot | |
| # umount root | |
| # kpartx -d archlinux.img | |
| # sync | |
| # exit | |
| 7) Convert the image to a qcow2 (optional, but much smaller), and create flash partitions with EFI BIOS. | |
| $ qemu-img convert -O qcow2 archlinux.img archlinux.qcow2 | |
| - then move the image to your M1 Mac filesystem | |
| In the Mac terminal - do the following: | |
| $ truncate -s 64M flash0.img (this is for the EFI BIOS) | |
| $ truncate -s 64M flash1.img (this is to store EFI variables) | |
| - Unzip the EFI Bios file | |
| $ dd if=/path/to/edk2-aarch64-code.fd of=flash0.img conv=notrunc | |
| - Put the flash0.img, flash1.img and archlinux.qcow2 into a suitable folder. | |
| Use a command similar to this to boot the VM: | |
| qemu-system-aarch64 -L ~/bin/qemu/share/qemu \ | |
| -smp 8 \ | |
| -machine virt,accel=hvf,highmem=off \ | |
| -cpu cortex-a72 -m 4096 \ | |
| -drive "if=pflash,media=disk,id=drive0,file=flash0.img,cache=writethrough,format=raw" \ | |
| -drive "if=pflash,media=disk,id=drive1,file=flash1.img,cache=writethrough,format=raw" \ | |
| -drive "if=virtio,media=disk,id=drive2,file=archlinux.qcow2,cache=writethrough,format=qcow2" \ | |
| -nic user,model=virtio-net-pci,hostfwd=tcp::50022-:22 -nographic \ | |
| -device virtio-rng-device -device virtio-balloon-device -device virtio-keyboard-device \ | |
| -device virtio-mouse-device -device virtio-serial-device -device virtio-tablet-device \ | |
| -object cryptodev-backend-builtin,id=cryptodev0 \ | |
| -device virtio-crypto-pci,id=crypto0,cryptodev=cryptodev0 | |
| - QEMU should boot the VM automatically after dropping to the EFI shell. | |
| 8) Upon successful first boot, login as root, password root | |
| You now need to get pacman up and running, update the system and install efibootmgr: | |
| # pacman-key --init | |
| # pacman-key --populate archlinuxarm | |
| # pacman -Syu | |
| # pacman -S efibootmgr | |
| We now need to create the EFI boot entry: | |
| # blkid - you'll need the UUID for vda2 | |
| # efibootmgr --disk /dev/vda --part 1 --create --label "Arch Linux ARM" --loader /Image --unicode 'root=UUID=XXXXXXXX-XXXX-XXXX-XXXX-XXXXXXXXXXXX rw initrd=\initramfs-linux.img' --verbose | |
| - you should get output which shows a list of the boot entries. | |
| 9) Poweroff and boot the system again | |
| # poweroff | |
| - start the QEMU VM | |
| - this time it should just boot without dropping into an EFI shell. | |
| 10) Post Install notes | |
| Arch Linux ARM is a bit basic out of the box - you will probably want to set a suitable locale, | |
| create a user and install some useful stuff, | |
| You'll find info on doing all of that on the Arch Wiki - https://wiki.archlinux.org | |
| - which, in my opinion, is one of the best distro wikis available. | |
| This was originally written up mainly from memory and bash history - but the missing bits have been added! | |
| Edited on 10/08/2021 to remove all references to Parallels - use QEMU instead. |
I can’t convert it with prl_convert, I have the same issue, if I put the vhdx file then I can’t boot the vm. Please help

I can’t convert it with prl_convert, I have the same issue, if I put the vhdx file then I can’t boot the vm. Please help
Refer to the reply above you. Just use: qemu-img convert -O vhdx archlinux.img archlinux.vhdx
it's blocked here. I haven't used ssh because the sshd is always dead, I've tried with another vm, but I still have a problem. And I have a question, in step 8, I have to write /dev/sda or sda2? and the uudid that I have to put Is sda2 uudid? Please help
problem
when i try to do shh root@ip i have always connection refused
Hello there. I get this error after run " prl_convert archlinux.vmdk" command:
"The source virtual disk contains no operating system."
I sure correctly complated steps. What can i do ?
I try to "qemu-img convert -O vhdx archlinux.img archlinux.vhdx" but unfortunately same error
which driver i have to choose to boot arch?
after step 9 I have to install arch manually right? because I don't know which driver I have to choose
I try to "qemu-img convert -O vhdx archlinux.img archlinux.vhdx" but unfortunately same error
with this, you don't need to convert it, just open the file and boot it
Hi, I see journalctl I see that I have some dependency failed, how can I resolve?

the only steps that i'm missing is the driver, please can someone tell me which driver I have to choose?
Please
I tried using qemu-img convert -O vhdx arch-m1.img arch-m1.vhdx. I still get this error:

Trying to run prl_convert /path/to/archlinux.vhdx --allow-no-os on the image yields An internal error (135364618) has occurred..
This is the script I'm using to execute the above steps: https://git.sr.ht/~whynothugo/m1-vm/tree/f65f02c69114c8ff49de77bad94d9a5224112643/item/prepare.sh
Any ideas? What are you guys doing differently?
HI, I finally booted arch Linux but how can I install parallels tools? the installation doesn't work
No idea, sorry. I uninstalled Parallels when the tech preview stagnated and they released an expensive half baked product (as per their standard business model).
I'd just use QEMU, it works better. If you build the UTM version from source: https://github.com/utmapp/qemu - you don't have to mess about patching it.
Updated the gist to remove all the references to Parallels.
This was intended as a proof of concept and a bit of fun, not as a 'daily driver' for anything.
It certainly wasn't intended for anything other than console work, so video acceleration is entirely irrelevant as far as I'm concerned.
@WhyNotHugo I haven't tried this yet but it seems you can get OpenGL working via this process.
@thalamus I made a script based on your gist and am now working on nightly image builds so thanks very much for this!!
@m-bers Nice! So much easier than doing it manually. To be honest, it would be much easier if Arch packaged it in a writable disc image as well as a tarball, not sure why they don't - it would probably encourage more people to use it if it was easier to install.
The OpenGL improvements you linked to look pretty interesting too...QEMU might actually become usable with a GUI on M1. I've noticed that various improvements have been merged to QEMU recently although I haven't tried it for a while.
@thalamus it's very usable and there's a homebrew repo for easy installation: https://github.com/knazarov/homebrew-qemu-virgl
Performance feels snappy enough I often forget that I'm running Arch in a VM!
Can i install grub to it?
@Yrosenz No idea, you tell me. Anything is possible but I don’t see the point in adding the extra complexity for no gain if I’m honest.
Thanks very much I actually wanted a generic Arch Linux ARM emulator on Arch Linux amd64 host, nothing Apple-related involved, and these directions also work great for that with minimal modification, a sign of a great tutorial. One thing I had to change for my use case:
- the QEMU boot drive argument given did not seem to allow my EFI firmware to detect the drive or the
startup.nsh, resulting in drop to EFI Shell without automatically loading the kernel at first boot. I tried various boot drive configurations until this achieved the expected result for me (I also specified the boot priority to bypass PXE):
-drive if=none,file=archlinux.qcow2,format=qcow2,id=hd0 \
-device virtio-scsi-pci,id=scsi0 \
-device scsi-hd,bus=scsi0.0,drive=hd0,bootindex=1 \
I might try to optimize this in the future, since I'm not sure what the root cause of my problem was. A side effect of my change is that /dev/vda became /dev/sda from that point on.
I've modified the script @WhyNotHugo posted to work on Arch Linux as a host.
https://gist.github.com/mdeanda/b11ba916fb93c9cd438b94c86f03e004
I can get this to work, but it takes forever to boot.
In my case, I did the following, using only my M1 Mac:
- fire up QEMU with the downloaded Arch.Linux.Arm--aarch64.iso as /dev/vdb and an empty archlinuxinstall.img raw file as /dev/vda
- in the Arch Arm ISO system, set up 1 FAT partition on /dev/vda, mounted it, and created an empty archlinux.img raw disk file on it
- followed directions given above to setup archlinux.img using a loopback device that has EFI and EXT4 partitions, extracting the ArchLinuxARM-aarch64-latest.tar.gz to the root of the EXT4, setting up /etc/fstab with correct /dev/disk/by-uuid entries and /boot/startup.nsh with correct root=UUID= line.
- quit QEMU, and have Mac mount the archlinuxinstall.img using hdituil as /Volumes/INSTALL (where INSTALL is name of FAT partition)
- copied the /Volumes/INSTALL/archlinux.img file that has the bootable ARM system created in QEMU
- detach the archlinuxinstall.img file
- fire up QEMU using the same BIOS file I used to boot the archiso with the archlinux.img raw disk
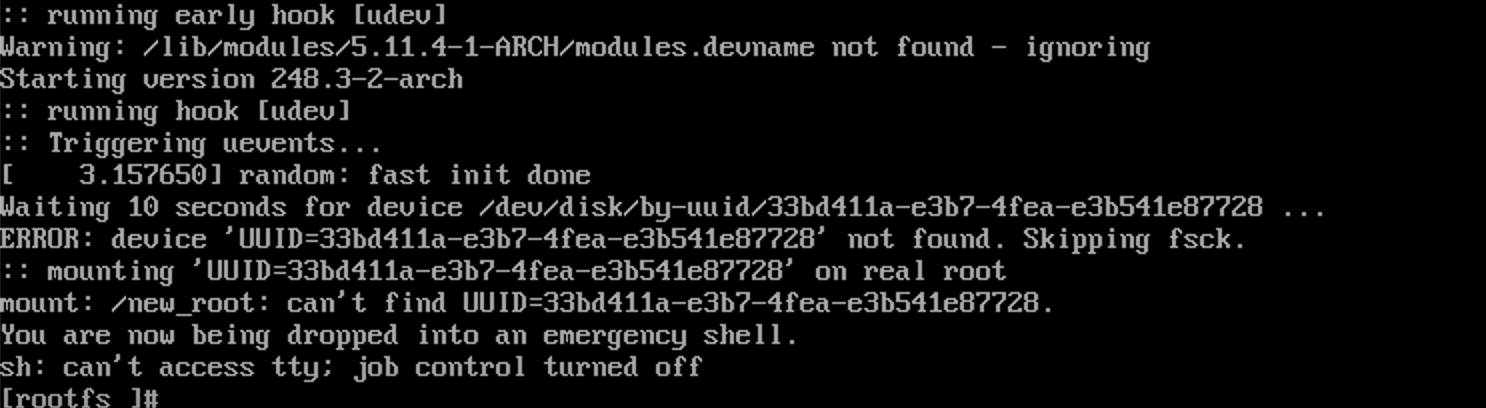
On boot, I get an error that says:
BdsDxe: failed to load Boot0001 "UEFI Misc Device" from VenHw(93E34C7E-B50E-11DF-9223-2443DFD72085,00): Not Found
BdsDxe: failed to load Boot0002 "UEFI Misc Device 2" from PciRoot(0x0)/Pci(0x4,0x0): Not Found
Start PXE over IPv4.
After a long time, it then tries IP6.
After another long time, it shows the EFI shell I recall seeing in the past (not on this Mac, somewhere else, maybe VirtualBox?)
The EFI shell then boots the system.
So it works, but it sucks having to wait several minutes for it to fail before falling back on the EFI shell.
I tried setting the GPT legacy BIOS boot attribute on the EFI partition, didn't help.
There must be something missing here, probably very simple, I just don't know what it is :) I'm an x64-head, so don't know the deeper details of booting on ARM.
It occurs to me the issue could be just plain old EFI booting, which expects one of two things:
- An EFI app with the default name in the default folder path. This is how ISOs boot on any random EFI computer without having to select an app in an EFI shell, or set EFI vars.
- Use efi vars to specify the path to the app.
I'll look at the ISO that I used initially, it must have the correct default app path. Then I'll see if the extracted bootable image uses the same path, and try changing it if not. Maybe that will solve it.
Not sure. You're following a different set of steps for the most part so it's difficult to know. I know that the instructions given above don't have that issue, so it's whatever you're doing.
I would guess the issue is the boot order in the UEFI bios - try putting PXE as the last one, but other than that, you're on your own I'm afraid.
Actually, it's exactly the same steps - I'm just using a Linux VM rather than a physical machine to create the image file, partition it, make the filesystems, and extract the base image to it. It's still Linux creating the file with the same tools. Maybe you used a different Linux distro, but that doesn't matter.
Judging by the dating of this article, it is probably written for QEMU 6.2, and I am using 7.0, which does cause some known issues on Mac OS as I am finding, so that is probably the real difference.
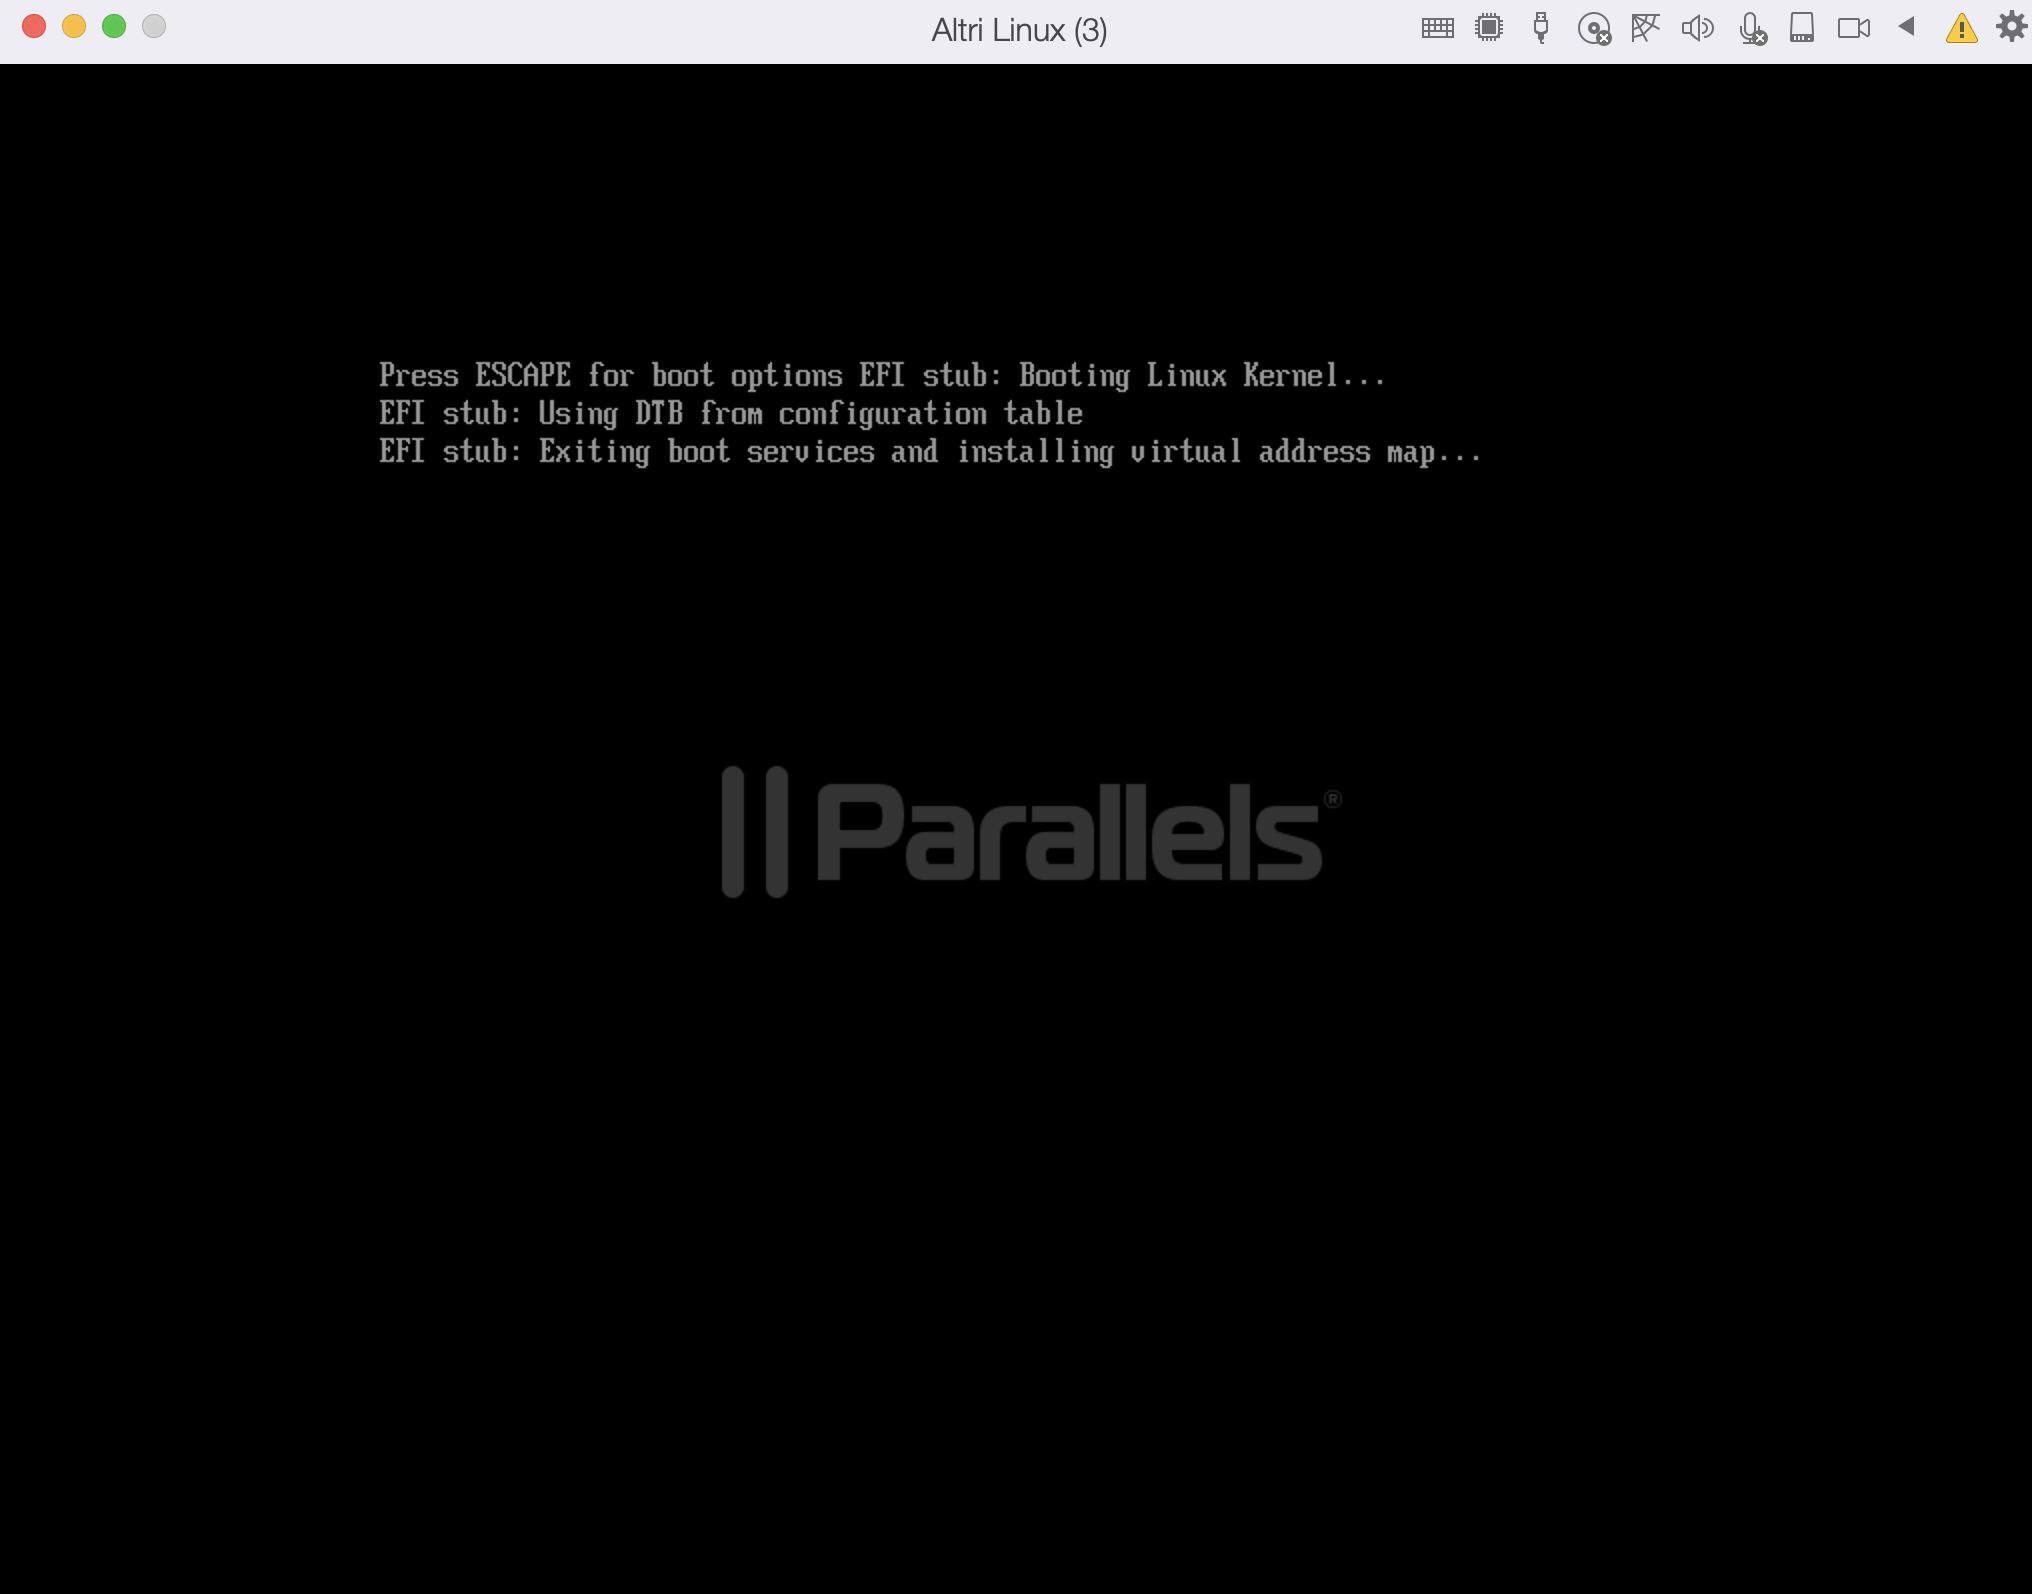
I read at utmapp/UTM#2333 that using the ESC key can allow quickly bypassing the delay and going straight to the EFI shell. This did in fact work for me in two ways:
- If I hit ESC during the EFI loader progress bar, I get the OVMF EFI shell (same one VirtualBox uses), and can choose EFI Shell.
- If I wait until the error appears, I can get the EFI shell.
So it seems I'm probably right about some kind of UEFI boot order issue. I've tried various things I found online, and none of them seem to work, so I'm going with QEMU 7 is doing something different that somehow affects EFI. I have a work around that does not require waiting a couple of minutes, so am satisfied for now :)
I found the solution, and wrote a self-contained script to automate the process, it takes about 5 minutes to run, and all you have to is download and run the script, and follow a few manual steps. See https://github.com/bantling/tools/tree/master/qemu-vms.
Change: qemu-img convert -O vmdk archlinux.img archlinux.vmdk
to : qemu-img convert -O vhdx archlinux.img archlinux.vhdx
which can avoid the use of prl_convert
Then open the archlinux.vhdx in Mac