Open command prompt
OPTION 1
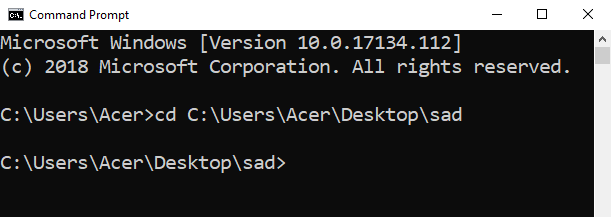
If you need to install tailwind in specific folder that you've been created before, just move to your project folder by type this
cd C:\Users\PCname\project\folder
OPTION 2
You may need quick step, just create new folder with this command
mkdir foldername
cd foldername
then install
npm install tailwindcss
then there must be error here
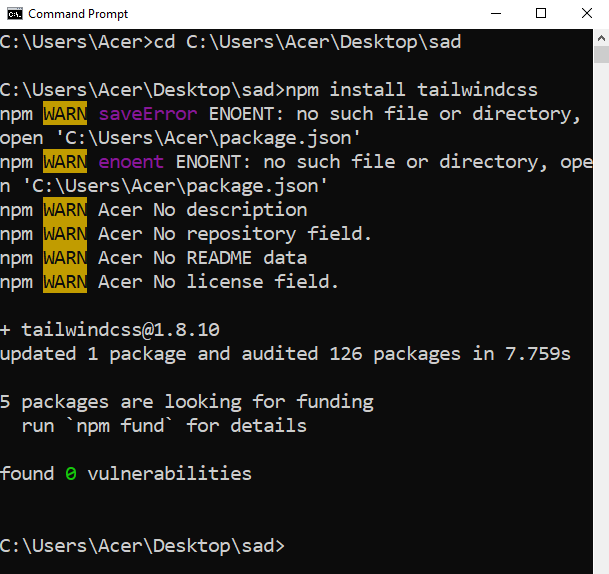
(in my cases) alway face this error and tailwindcss is not installed. What is the problem ? we need package.json file in our project folder. You know ? we can create a simple package.json file with this command
npm init
then we just need to fill some information about our project... some item can be blank or whatever you want.
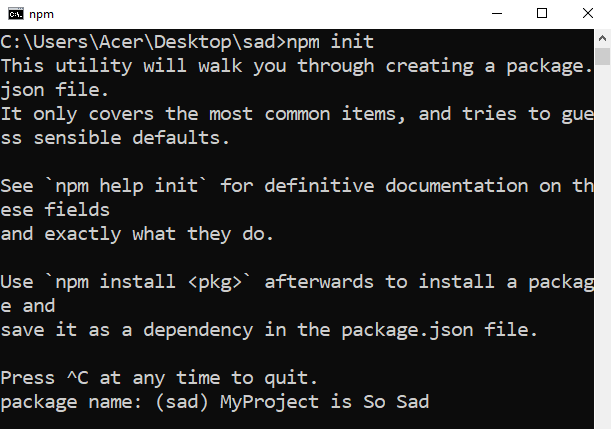
After that, we'll have package.json file and now ... once again let's install tailwindcss, and it must works!! to see if tailwind installed just check your project folder is must be node_modules folder inside.
You better still in command prompt, now we need tailwind.config.js
This should be done by type this
npx tailwindcss init
Then, we have tailwind.config.js
Now open your text editor
This file should contain default tailwind base style, component, utility, and our custom/combined style. But by default it may be like this
@import 'tailwindcss/base';
@import 'tailwindcss/components';
@import 'tailwindcss/utilities';
Because i need to use postcss, not tailwind cli i am use @import.
Open your command prompt
npm install -g postcss-cli
Install postcss globally then test if there is installed or not with run this command
postcss --version
This can be done by text editor create new file named postcss.config.js
Then insert this script
module.exports = {
    plugins : [
    require('tailwindcss'),
    // require('autoprefixer'),
    ]
}
What is autoprefixer ?? this can make our css bigger, but better browser support XD you better googling for this. But in this case let's turn off this option by adding double slash "//"
Yeah tailwind and postcss-cli installed, but where is .css file ? you must build it bro.
postcss tailwind.css -o style.css
Yeah.. now we should have style.css
Let's try some utility
<!doctype html>
<html lang="id">
<head>
<meta charset="utf-8">
<meta name="viewport" content="width=device-width, initial-scale=1, viewport-fit=cover">
<title>Sad Project</title>
<link rel="stylesheet" href="style.css">
</head>
<body class="bg-gray-100 h-screen flex flex-col justify-center items-center">
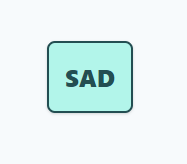
<div class="p-4 m-4 text-2xl bg-teal-200 border-2 border-teal-900 text-teal-900 font-extrabold rounded-lg shadow">
SAD
</div>
</body>
</html>
It should looks like this
Ok... you know just play ...
Open your text editor
Find tailwind.config.js
you may add new configuration like this
module.exports = {
  purge: ['./*.html'],
  theme: {
    extend: {},
  },
  variants: {},
  plugins: [],
}
that configuration will purge our big file css in to small one based on css classes used in .html file
For example we have simple page in section 6
We've use tailwind utility class
bg-gray-100 h-screen flex flex-col justify-center items-center
p-4 m-4 text-2xl bg-teal-200 border-2 border-teal-900 text-teal-900 font-extrabold rounded-lg shadow
and what we get next is just that classes + base class.
Let's begin, now open command prompt again and run this code, if you found error try to execute this code line by line
NODE_ENV=production
postcss tailwind.css -o production.css
if no error (just warning) we should have new file called production.css that contain our new purged css file, and it must not be more than 20KB for now.
Update our postcss.config.js
module.exports = {
    plugins : [
    require('tailwindcss'),
    require('autoprefixer'),
    ]
}
Update our package.json file and this
  "browserslist": [
    "last 10 versions"
  ]
Then execute this in command prompt
NODE_ENV=production
postcss tailwind.css -o production.css
what is browserlist ?? you better googling bro.. but it will add something like -webkit-flex- and more like display: -webkit-box; display: -webkit-flex; display: -moz-box; display: -ms-flexbox; display: flex;
based on number of browser last version... higher version.. higher browser support, but bigger css file.. is up to you
First because we use WINDOWS, we need to install "cross-env" package it will make our cmd run multiple line of node js command.
npm install -g cross-env
Voila...
This mean, you can just run "npm run build" and our css with production ready will created.
Just modify your package.json file and find scripts section then make it like this
"scripts": {
  "dev": "cross-env NODE_ENV=development postcss tailwind.css -o style.css",
  "build": "cross-env NODE_ENV=production postcss tailwind.css -o production.css"
}
save, then open command prompt we should be able to create dev version of css with this command (style.css)
npm run dev
and create production version with this command (production.css)
npm run build